Page 250 of 444

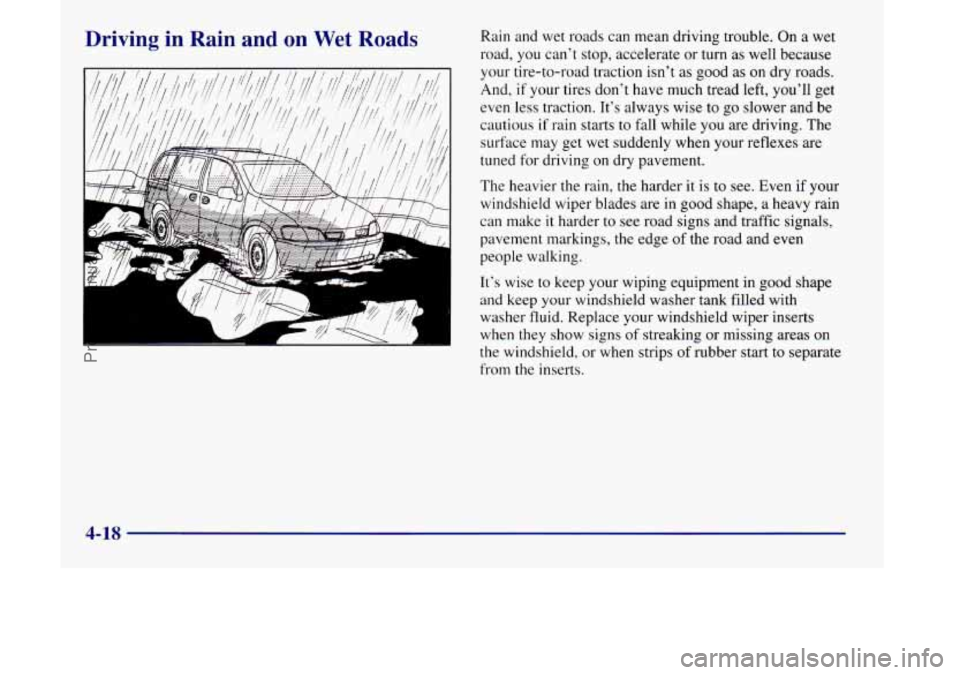
Driving in Rain and on Wet Roads Rain and wet roads can mean driving trouble. On a wet
road, you can’t stop, accelerate or
turn as well because
your tire-to-road traction isn’t as good
as on dry roads.
And, if your tires don’t have much tread left, you’ll get
even less traction. It’s always wise to go slower and be
cautious
if rain starts to fall while you are driving. The
surface may get wet suddenly when your reflexes are
tuned for driving on dry pavement.
The heavier the rain, the harder it is to see. Even if your
windshield wiper blades are in good shape, a heavy rain
can make
it harder to see road signs and traffic signals,
pavement markings, the edge of the road and even
people walking.
It’s wise to keep your wiping equipment in good shape
and keep your windshield washer tank filled with
washer fluid. Replace your windshield wiper inserts
when they show signs of streaking
or missing areas on
the windshield, or when strips of rubber start to separate
from the inserts.
4-18
ProCarManuals.com
Page 253 of 444
City Driving Here are ways to increase your safety in city driving:
0
0
0
One of the biggest problems with city streets is the
amount of traffic on them. You’ll want
to watch out for
what the other drivers are doing and pay attention to
traffic signals. Know
the best way to get to where
you are
going. Get a city map and plan your trip into an
unknown part
of the city just as you would for a
cross-country trip.
Try to use the freeways that rim and crisscross most
large cities. You’ll save time and energy. (See the
next part, “Freeway Driving.”)
Treat a green light as a warning signal.
A traffic
light is there because the corner is busy enough to
need it. When a light turns green, and just before you
start to move, check both ways
for vehicles that have
not cleared the intersection or may be running the
red light.
4-21
ProCarManuals.com
Page 254 of 444

Freeway Driving
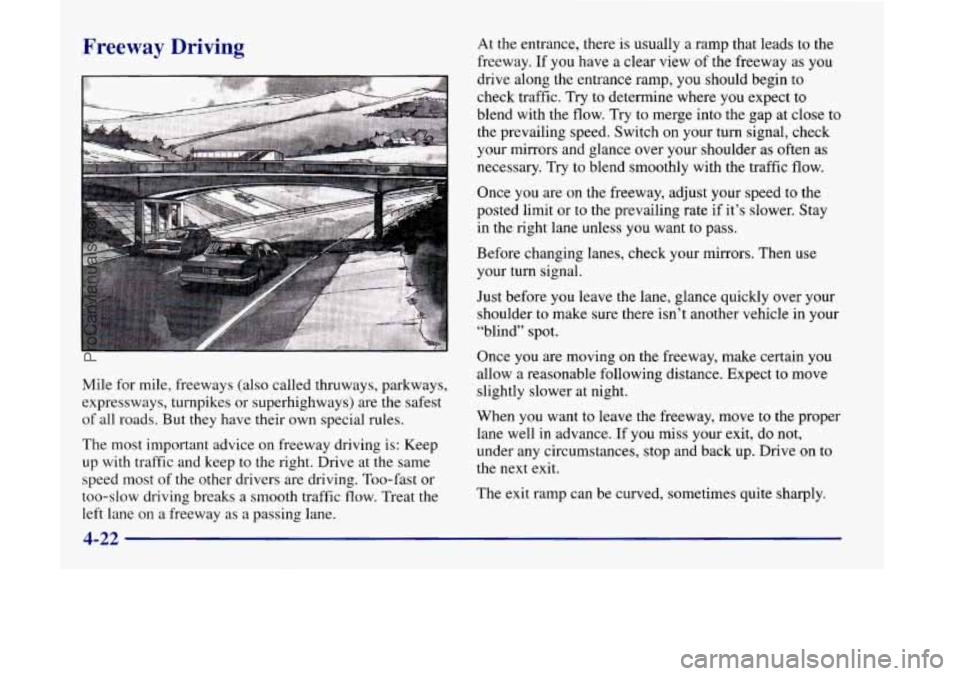
Mile for mile, freeways (also called thruways, parkways,
expressways, turnpikes or superhighways) are the safest
of all roads. But they have their own special rules.
The most important advice on freeway driving is: Keep
up with traffic and keep to the right. Drive at the same
speed most
of the other drivers are driving. Too-fast or
too-slow driving breaks a smooth traffic flow. Treat the
left lane on a freeway as a passing lane. At
the entrance, there is usually a ramp that leads to the
freeway.
If you have a clear view of the freeway as you
drive along the entrance ramp, you should begin
to
check traffic. Try to determine where you expect to
blend with the flow. Try to merge into the gap at close to
the prevailing speed. Switch on your turn signal, check
your mirrors and glance over your shoulder as often as
necessary. Try to blend smoothly with the traffic flow.
Once you are on the freeway, adjust your speed to the
posted limit or to the prevailing rate
if it’s slower. Stay
in the right lane unless you want to pass.
Before changing lanes, check your mirrors. Then
use
your turn signal.
Just before you leave the lane, glance quickly over your
shoulder to make sure there isn’t another vehicle in your
“blind” spot.
Once you are moving on the freeway, make certain you
allow a reasonable following distance. Expect to move
slightly slower at night.
When you want to leave the freeway, move
to the proper
lane well in advance.
If you miss your exit, do not,
under any circumstances, stop and back up. Drive
on to
the next exit.
The exit ramp can be curved, sometimes quite sharply.
4-22
ProCarManuals.com
Page 271 of 444

Making Turns
NOTICE:
Making very sharp turns while trailering could
cause the trailer to come in contact with the vehicle. Your vehicle could
be damaged. Avoid
making very sharp turns while trailering.
When you’re turning with a trailer, make wider turns
than normal. Do this
so your trailer won’t strike soft
shoulders, curbs, road signs, trees or other objects.
Avoid jerky or sudden maneuvers. Signal well
in advance.
Turn Signals When Towing a Trailer
When you tow a trailer, your vehicle has to have
extra wiring.
The arrows on your instrument panel will flash
whenever
you signal a turn or lane change. Properly
hooked up, the trailer lamps will also flash, telling other
drivers you’re about to turn, change lanes or stop. When
towing a trailer, the arrows on your instrument
panel will flash for turns even if the bulbs on the trailer
are burned
out. Thus, you may think drivers behind you
are seeing your signal when they are not. It’s important
to check occasionally to be sure the trailer bulbs are
still working.
Driving On Grades
Reduce speed and shift to a lower gear before you start
down a long or steep downgrade.
If you don’t shift
down, you might have to use your brakes
so much that
they would get hot and no longer work well.
On a long uphill grade, shift down and reduce your
speed to around
45 mph (70 km/h) to reduce the
possibility of engine and transaxle overheating.
If
you are towing a trailer that weighs more than
1,000 lbs. (450 kg), you may prefer to drive in
THIRD
(3) instead of AUTOMATIC OVERDRIVE (D)
(or, as you need to, a lower gear). This will minimize
heat build-up and extend the life of your transaxle.
4-39
ProCarManuals.com
Page 276 of 444
Hazard Warning Flashers
Your hazard warning flashers let you warn others. They
also let police know you have a problem. Your front and
rear turn signal lamps will flash on and off. Your
hazard warning
flashers button is on top of
the steering column. Press
the button in to turn on
your flashers.
Your ha,,,, warning flashers work no matter what
position your key
is in, and even if the key isn’t in.
To turn off the flashers, push the button down and it will
pop back up by itself.
When the hazard warning flashers are on, your turn
signals won’t work.
Other Warning Devices
If you carry reflective triangles, you can set one up at
the side
of the road about 300 feet (100 m) behind
your vehicle.
5-2
ProCarManuals.com
Page 341 of 444
Jump Starting
For jump starting instructions, see “Jump Starting” in
the Index.
Bulb Replacement
Halogen Bulbs
I A CAUTWN:
Halogen bulbs have pressurized gas inside and
can burst if you drop or scratch the bulb. You or
others could be injured. Be sure to read and
follow the instructions on the bulb package.
Headlamps
I NOTICE:
When replacing the headlamp bulb, do not leave
the bulb out for any length
of time. This could
cause nitrogen gas to escape from the lamp. To
minimize nitrogen gas from escaping within the
headlamp, the headlamp must be placed
on a flat
surface with the lens facing down when removing
the bulb.
1. Open the hood.
2. Remove the front parkinghurn signal lamp assembly.
See “Front Parking/Turn Signal
Lamps” later in
this section.
6-31
ProCarManuals.com
Page 344 of 444
9. Align the pins on the bottom of the headlamp
assembly with the holes in the lamp support bracket
while placing the holes in the assembly over the
bolts where the wing nuts attach.
10. Replace and tighten the wing nuts.
11. Replace the parkinghrn signal lamp assembly by
lining up the tabs
at the back of the assembly with
the
holes in the fender.
12. Tighten the bolt connecting the parkinghurn
signal lamp assembly. Be sure the tab from the
parking/turn signal lamp assembly is inboard of the
tab from the headlamp assembly.
Front ParkingTurn Signal Lamps
1. Open the hood.
2. Remove the thumb screw attaching the parking/turn
signal lamp assembly to the headlamp assembly.
3. Pull the parkinghrn signal lamp assembly away
from the body.
4. Unscrew the bulb socket from the lamp assembly by
pressing the tab while turning
it to the left.
6-34
ProCarManuals.com
Page 345 of 444
5. Replace the bulb by pulling the old one out and
gently pushing the new one into the lamp socket.
6. Line up the tabs on the sockets with the gaps in the
socket holes and screw the bulb socket back into the
lamp housing until a click is heard (the tab popping
back out).
7. To replace the lamp assembly, line up and insert the
tabs on the back of the assembly with the slots in
the fender. Engage the lower clip on the front of the
lamp assembly, keeping the upper tab on the
parking/turn signal lamp assembly inboard
of the
headlamp bracket tab.
8. To align the parking/tum signal lamp assembly with the
headlamp assembly,
lift up the pxking/turn signal lamp
assembly until the upper edge is contacting the fender.
9. Fasten the parkinghrn signal lamp assembly to the
headlamp assembly with the thumb screw removed
in Step
1.
6-35
ProCarManuals.com