1998 OLDSMOBILE SILHOUETTE hood open
[x] Cancel search: hood openPage 321 of 444
Before closing the hood, be sure all the filler caps are on
properly. Then lift the hood
to relieve pressure on the
hood prop. Remove the hood prop from the slot in the
hood and return the prop to its retainer. Then just let the
hood down and close it firmly.
Underhood Lamp (If Equipped)
Your underhood lamp will go on when you open
the hood.
Engine Oil
LEVEL
If the low oil level light on
the instrument panel comes
on, it means you need to
check your engine oil level
right away.
For more information, see
“Low Oil Level Light” in the
Index. You should check your engine oil level regularly;
this is an added reminder.
It’s a good idea to check your engine oil every time you
get fuel. In order to get an accurate reading, the oil must
be warm and
the vehicle must be on level ground. The
engine
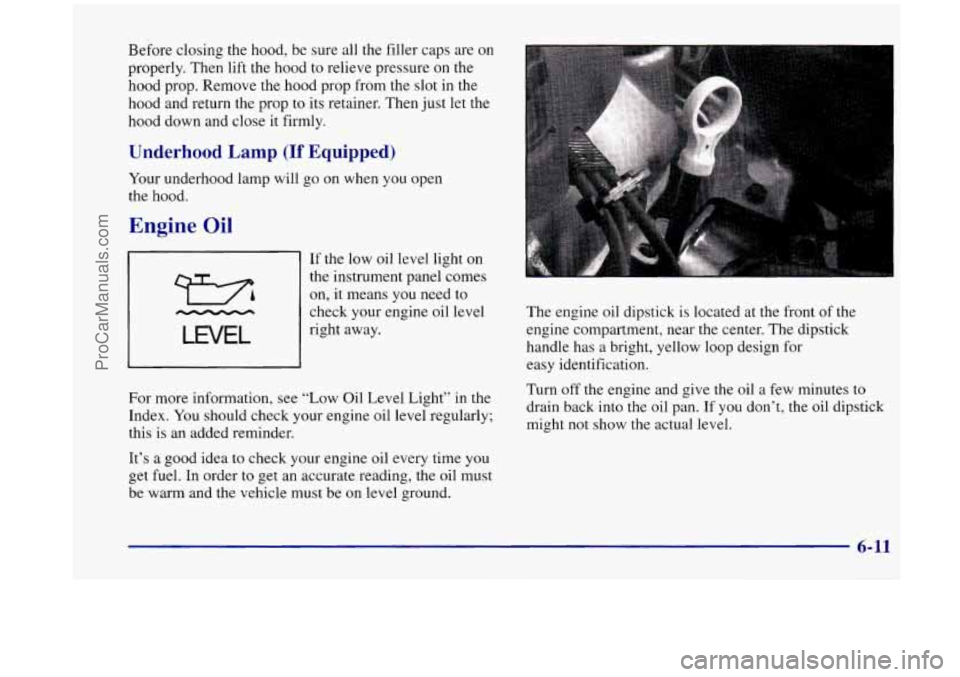
oil dipstick is located at the front of the
engine compartment, near the center. The dipstick
handle has
a bright, yellow loop design for
easy identification.
Turn off the engine and give the oil a few minutes to
drain back into the oil pan. If you don’t, the oil dipstick
might not show the actual level.
6-11
ProCarManuals.com
Page 341 of 444
Jump Starting
For jump starting instructions, see “Jump Starting” in
the Index.
Bulb Replacement
Halogen Bulbs
I A CAUTWN:
Halogen bulbs have pressurized gas inside and
can burst if you drop or scratch the bulb. You or
others could be injured. Be sure to read and
follow the instructions on the bulb package.
Headlamps
I NOTICE:
When replacing the headlamp bulb, do not leave
the bulb out for any length
of time. This could
cause nitrogen gas to escape from the lamp. To
minimize nitrogen gas from escaping within the
headlamp, the headlamp must be placed
on a flat
surface with the lens facing down when removing
the bulb.
1. Open the hood.
2. Remove the front parkinghurn signal lamp assembly.
See “Front Parking/Turn Signal
Lamps” later in
this section.
6-31
ProCarManuals.com
Page 344 of 444

9. Align the pins on the bottom of the headlamp
assembly with the holes in the lamp support bracket
while placing the holes in the assembly over the
bolts where the wing nuts attach.
10. Replace and tighten the wing nuts.
11. Replace the parkinghrn signal lamp assembly by
lining up the tabs
at the back of the assembly with
the
holes in the fender.
12. Tighten the bolt connecting the parkinghurn
signal lamp assembly. Be sure the tab from the
parking/turn signal lamp assembly is inboard of the
tab from the headlamp assembly.
Front ParkingTurn Signal Lamps
1. Open the hood.
2. Remove the thumb screw attaching the parking/turn
signal lamp assembly to the headlamp assembly.
3. Pull the parkinghrn signal lamp assembly away
from the body.
4. Unscrew the bulb socket from the lamp assembly by
pressing the tab while turning
it to the left.
6-34
ProCarManuals.com
Page 346 of 444
Front Sidemarker
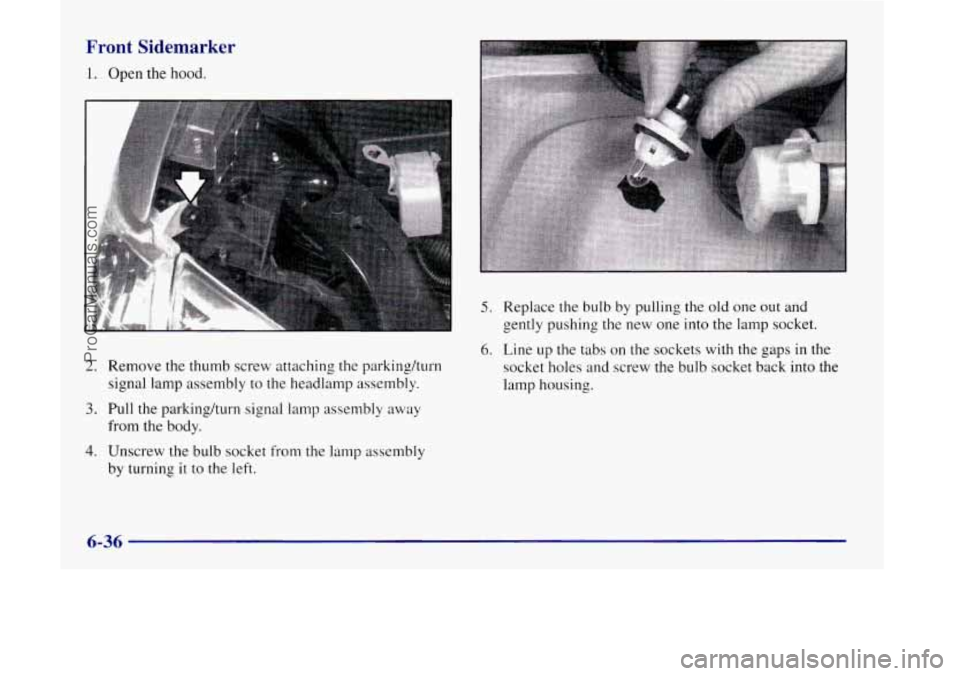
1. Open the hood.
2. Remove the thumb screw attaching the parkingkurn signal lamp assembly to
the headlamp assembly.
3. Pull the parkinghrn signal lamp assembly away
from the body.
4. Unscrew the bulb socket from the lamp assembly
by turning
it to the left.
5. Replace the bulb by pulling the old one out and
gently pushing 'the new one
into the lamp socket.
6. Line up the tabs on the sockets with the gaps in the
socket holes and screw the bulb socket back into the
lamp housing.
6-36
ProCarManuals.com
Page 367 of 444
Fuses and Circuit Breakers
The wiring circuits in your vehicle are protected from
short circuits by a combination of fuses, circuit breakers
and fusible thermal links.
Look at the silver-colored band inside the fuse. If the
band is broken or melted, replace the fuse. Be sure you
replace a bad fuse with a new one
of the identical size
and rating.
If you ever have a problem on the road and don’t have a
spare fuse, you can borrow one that has the same
amperage
or use one of the spare fuses in the underhood
fuse and relay center. Just pick some feature of your
vehicle that
you can get along without -- like the radio
or cigarette lighter -- and use its fuse, if it is the right
amperage. Replace it as soon as you can.
There are two fuse blocks in your vehicle: the
instrument panel fuse block and
the underhood fuse and
relay center.
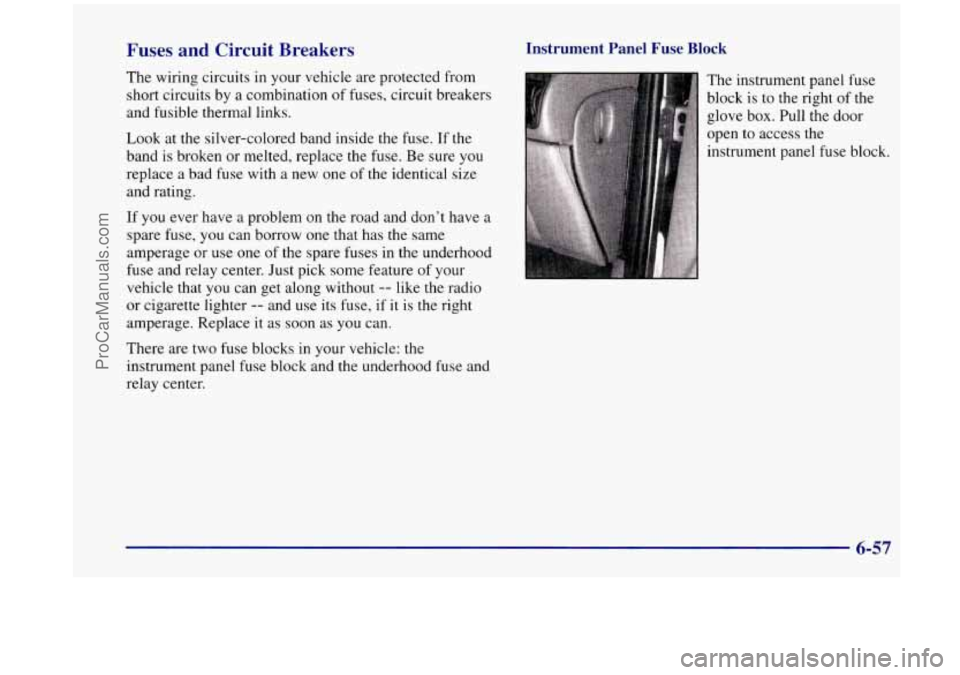
Instrument Panel Fuse Block
The instrument panel fuse
block is to the right of the
glove
box. Pull the door
open to access the
instrument panel fuse block.
ProCarManuals.com
Page 406 of 444
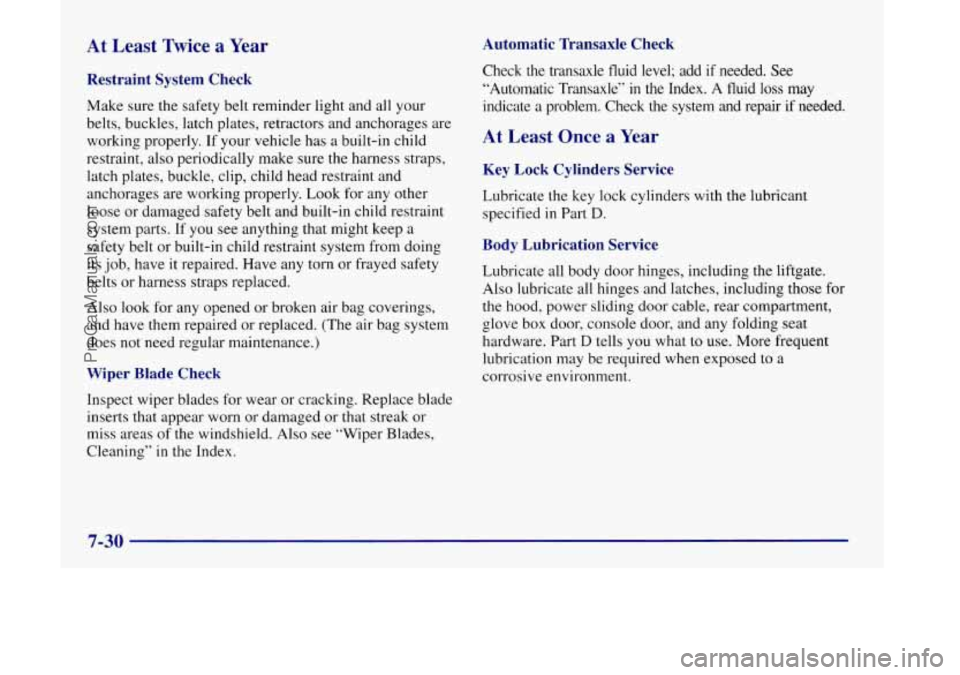
At Least Twice a Year Automatic Transaxle Check
Restraint System Check
Make sure the safety belt reminder light and all your
belts, buckles, latch plates, retractors and anchorages are
working properly. If your vehicle has a built-in child
restraint, also periodically make sure the harness straps,
latch plates, buckle, clip, child head restraint and
anchorages are working properly. Look for any other
loose or damaged safety belt and built-in child restraint
system parts. If you see anything that might keep a
safety belt or built-in child restraint system from doing
its
job, have it repaired. Have any torn or frayed safety
belts or harness straps replaced.
Also look for any opened
or broken air bag coverings,
and have them repaired
or replaced. (The air bag system
does not need regular maintenance.)
Wiper Blade Check
Inspect wiper blades for wear or cracking. Replace blade
inserts that appear worn or damaged or that streak or
miss areas
of the windshield. Also see “Wiper Blades,
Cleaning”
in the Index. Check the transaxle fluid level; add
if needed. See
“Automatic Transaxle”
in the Index. A fluid loss may
indicate a problem. Check the system and repair if needed.
At Least Once a Year
Key Lock Cylinders Service
Lubricate the key lock cylinders with the lubricant
specified in Part
D.
Body Lubrication Service
Lubricate all body door hinges, including the liftgate.
Also lubricate all hinges and latches, including those for
the hood, power sliding
door cable, rear compartment,
glove box door, console door, and any folding seat
hardware. Part
D tells you what to use. More frequent
lubrication may be required when exposed to a
corrosive environment.
7-30
ProCarManuals.com
Page 431 of 444
Fuel .......................................... 6-3
Filling Your Tank
.............................. 6-5
In Foreign Countries
........................... 6-5
Fuses and Circuit Breakers
....................... 6-57
Gage
....................................... 2-98
Gages Engine Coolant Temperature
.................... 2-92
Fuel
....................................... 2-98
Speedometer
................................. 2-85
Tachometer
.................................. 2-86
Garage Door Opener Compartment
................. 2-67
Gear Positions. Automatic Transaxle
................ 2-30
GloveBox
.................................... 2-65
Gross Axle Weight Rating ........................ 4-31
Gross Vehicle Weight Rating
...................... 4-30
Guide en Francais
11
GAWR ....................................... 4-31
.. .................................
GVWR ....................................... 4-30
Halogen Bulbs
................................ 6-31
Hazard Warning Flashers
.......................... 5-2
Head Restraints ................................. 1-6
Headlamps
.................................... 2-59
Bulb Replacement
............................ 6-3 1
On Reminder ................................ 2-59
Wiring
..................................... 6-56
Hearing Impaired. Customer Assistance
.............. 8-4
Heating
........................................ 3-4
High-Beam Headlamps
.......................... 2-53
Highway Hypnosis
.............................. 4-24
High/Low Beam Changer ...................... 2-53 Hill
and Mountain Roads
......................... 4-24
Hitches. Trailer
................................. 4-36
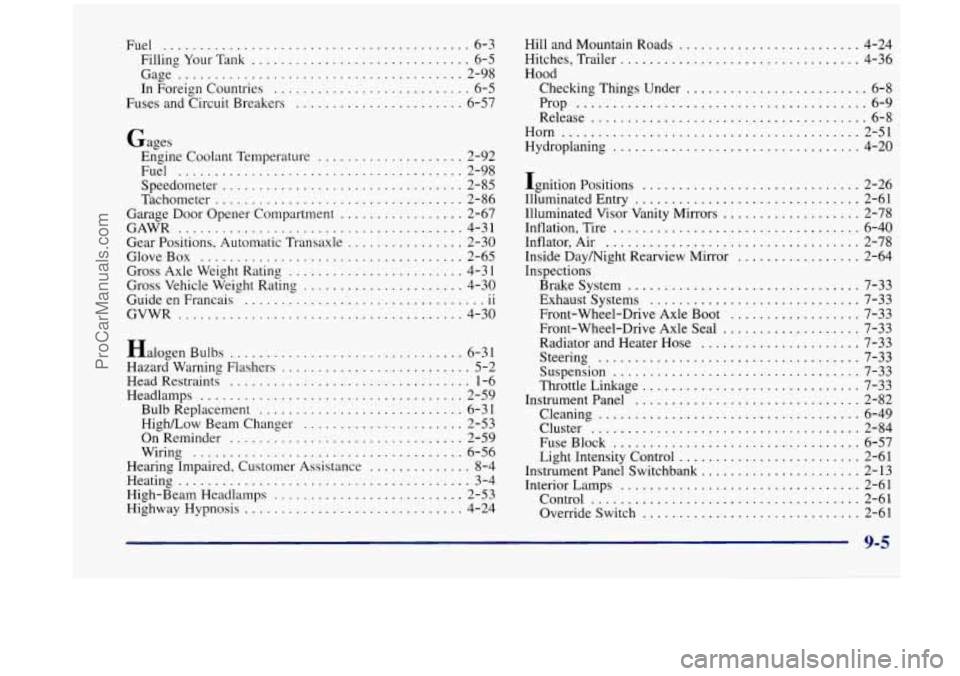
Hood Checking Things Under
......................... 6-8
Prop
........................................ 6-9
Release
...................................... 6-8
Horn
......................................... 2-51
Hydroplaning
.................................. 4-20
Ignition Positions
.............................. 2-26
Illuminated Entry
............................... 2-61
Illuminated Visor Vanity Mirrors
................... 2-78
Inflation. Tire
.................................. 6-40
Inflator. Air
................................... 2-78
Inside Daymight Rearview Mirror
................. 2-64
Inspections Brakesystem
................................ 7-33
Exhaust Systems
............................. 7-33
Front-Wheel-Drive Axle Boot
.................. 7-33
Front-Wheel-Drive Axle Seal
................... 7-33
Radiator and Heater Hose
...................... 7-33
Steering
.................................... 7-33
Suspension
.................................. 7-33
Throttle Linkage .............................. 7-33
Instrumentpanel
............................... 2-82
Cleaning
.................................... 6-49
Cluster
..................................... 2-84
FuseBlock
.................................. 6-57
Light Intensity Control
......................... 2-61
Instrument Panel
S witchbank ...................... 2-13
Interior Lamps
................................. 2-61
Control
..................................... 2-61
OverrideSwitch
.............................. 2-61
ProCarManuals.com