1998 NISSAN SENTRA ABS
[x] Cancel search: ABSPage 48 of 216

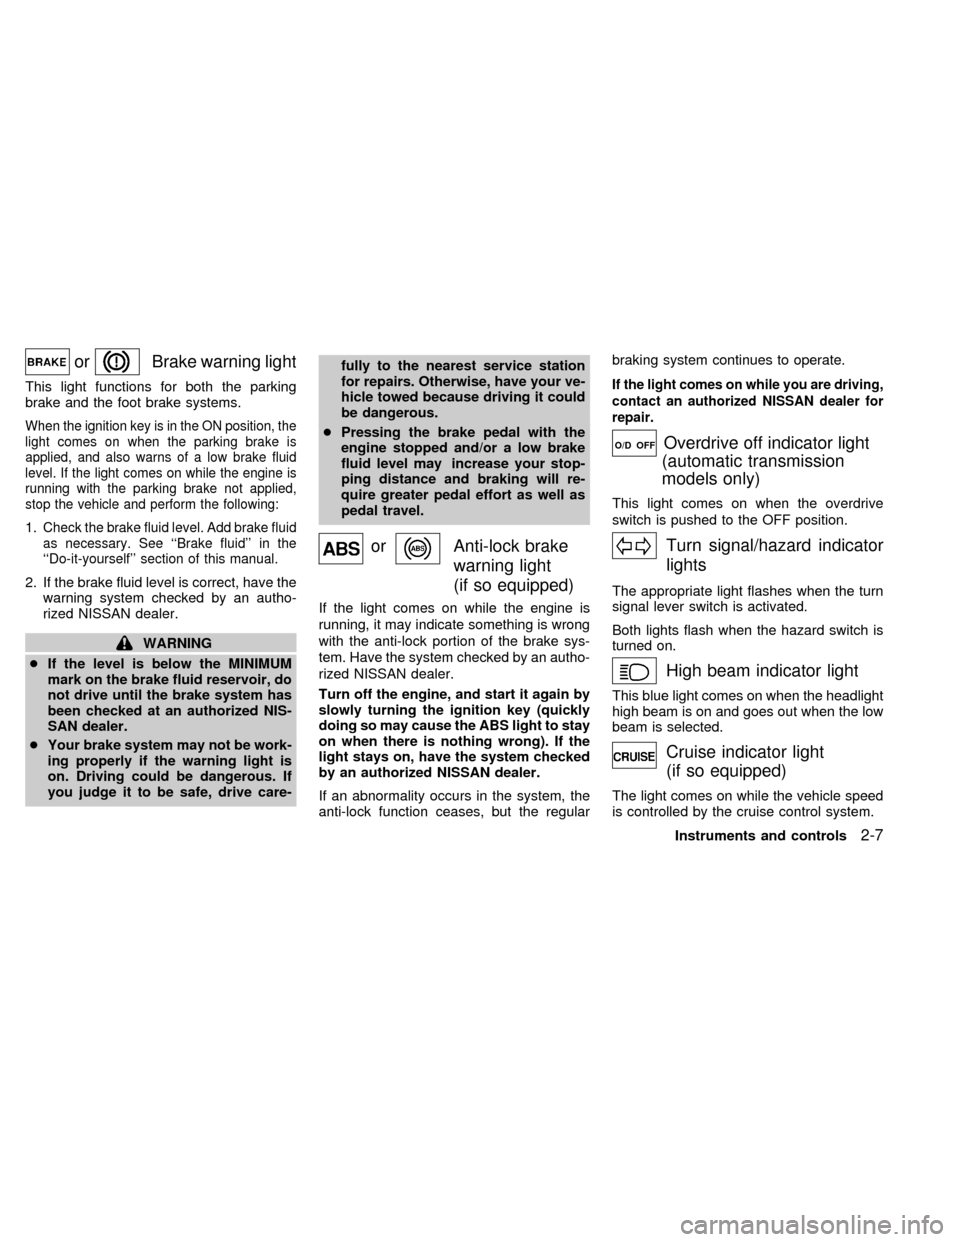
orBrake warning light
This light functions for both the parking
brake and the foot brake systems.
When the ignition key is in the ON position, the
light comes on when the parking brake is
applied, and also warns of a low brake fluid
level. If the light comes on while the engine is
running with the parking brake not applied,
stop the vehicle and perform the following:
1.Check the brake fluid level. Add brake fluid
as necessary. See ``Brake fluid'' in the
``Do-it-yourself'' section of this manual.
2. If the brake fluid level is correct, have the
warning system checked by an autho-
rized NISSAN dealer.
WARNING
cIf the level is below the MINIMUM
mark on the brake fluid reservoir, do
not drive until the brake system has
been checked at an authorized NIS-
SAN dealer.
cYour brake system may not be work-
ing properly if the warning light is
on. Driving could be dangerous. If
you judge it to be safe, drive care-fully to the nearest service station
for repairs. Otherwise, have your ve-
hicle towed because driving it could
be dangerous.
cPressing the brake pedal with the
engine stopped and/or a low brake
fluid level may increase your stop-
ping distance and braking will re-
quire greater pedal effort as well as
pedal travel.
orAnti-lock brake
warning light
(if so equipped)
If the light comes on while the engine is
running, it may indicate something is wrong
with the anti-lock portion of the brake sys-
tem. Have the system checked by an autho-
rized NISSAN dealer.
Turn off the engine, and start it again by
slowly turning the ignition key (quickly
doing so may cause the ABS light to stay
on when there is nothing wrong). If the
light stays on, have the system checked
by an authorized NISSAN dealer.
If an abnormality occurs in the system, the
anti-lock function ceases, but the regularbraking system continues to operate.
If the light comes on while you are driving,
contact an authorized NISSAN dealer for
repair.
O/D OFFOverdrive off indicator light
(automatic transmission
models only)
This light comes on when the overdrive
switch is pushed to the OFF position.
Turn signal/hazard indicator
lights
The appropriate light flashes when the turn
signal lever switch is activated.
Both lights flash when the hazard switch is
turned on.
High beam indicator light
This blue light comes on when the headlight
high beam is on and goes out when the low
beam is selected.
Cruise indicator light
(if so equipped)
The light comes on while the vehicle speed
is controlled by the cruise control system.
Instruments and controls
2-7
ZX
Page 106 of 216

5 Starting and driving
Precautions when starting and driving ...................5-2
Exhaust gas (carbon monoxide) ............................5-2
Three way catalyst .................................................5-2
Avoiding collision and rollover................................5-3
Drinking alcohol/drugs and driving .........................5-3
Ignition switch .........................................................5-4
Manual transmission ..............................................5-4
Automatic transmission ..........................................5-4
Before starting the engine ......................................5-5
Driving with automatic transmission
(if so equipped) ......................................................5-6
Overdrive switch .....................................................5-8Driving with manual transmission ..........................5-9
Starting the engine ...............................................5-11
Parking brake operation .......................................5-11
Cruise control (if so equipped) .............................5-12
Break-in schedule ................................................5-14
Increasing fuel economy ......................................5-14
Parking/parking on hills ........................................5-15
Power steering system .........................................5-16
Brake system........................................................5-17
Anti-lock brake system (ABS) (if so equipped) ....5-17
Cold weather driving ............................................5-19
ZX
Page 122 of 216

The brake system has two separate hy-
draulic circuits. If one circuit develops a
problem, you will still have braking at
two wheels.
Vacuum assisted brakes
The brake booster aids braking by using
engine vacuum. If the engine stops, you can
stop the vehicle by depressing the brake
pedal. However, greater foot pressure on
the brake pedal will be required to stop the
vehicle and stopping distance will be longer.
Wet brakes
When the vehicle is washed or driven
through water, the brakes may get wet. As a
result, your braking distance will be longer
and the vehicle may pull to one side during
braking.
To dry the brakes, drive the vehicle at a safe
speed while lightly pressing the brake pedal
to heat-up the brakes. Do this until the
brakes return to normal. Avoid driving the
vehicle at high speeds until the brakes
function correctly.
Using the brakes
Avoid resting your foot on the brake pedal
while driving. This overheats the brakes,increases wear on the brake linings and
pads, and reduces gas mileage.
To help save the brakes and to prevent the
brakes from overheating, reduce speed and
downshift to a lower gear before going down
a slope or long grade. Overheated brakes
may reduce braking performance and could
result in loss of vehicle control.
WARNING
cWhile driving on a slippery surface,
be careful when braking, accelerat-
ing or downshifting. Abrupt braking
or accelerating could cause the
wheels to skid and result in an acci-
dent.
cIf the engine is not running or is
turned off while driving, the power
assist for the brakes will not work.
Braking will be harder.
The anti-lock brake system controls the
brakes at each wheel so the wheels do not
lock when braking abruptly or when braking
on slippery surfaces. The system detects the
rotation speed at each wheel and varies the
brake fluid pressure to prevent each wheel
from locking and sliding. By preventing wheel
lockup, the system helps the driver maintain
steering control and helps to minimize swerv-
ing and spinning on slippery surfaces.
Using the System
Depress the brake pedal and hold it down.
WARNING
Do not pump the brake pedal. Doing so
may result in increased stopping dis-
tances.
Normal operation
The anti-lock brake system does not oper-
ate at speeds below 3 to 6 MPH (5 to 10
km/h). The speeds vary according to road
conditions. When the anti-lock system
senses that one or more wheels are close to
locking up, the actuator (under the hood)
rapidly applies and releases hydraulic pres-
sure (like pumping the brakes very quickly).
BRAKE SYSTEM ANTI-LOCK BRAKE SYSTEM
(ABS) (if so equipped)
Starting and driving5-17
ZX
Page 123 of 216

While the actuator is working, you may feel
a pulsation in the brake pedal and hear a
noise or vibration from the actuator under
the hood. This is normal and indicates that
the anti-lock system is working properly.
However, the pulsation may indicate that
road conditions are hazardous and extra
care is required while driving.
Self-test feature
The anti-lock brake system is sophisticated,
with electronic sensors, electric pumps, and
hydraulic solenoids controlled by a com-
puter. The computer has a built-in diagnos-
tic feature that tests the system each time
you start the engine and move the vehicle at
a low speed in forward or reverse. When the
self-test occurs, you may hear a ``clunk''
noise and/or feel a pulsation in the brake
pedal. This is normal and is not an indica-
tion of any malfunction. If the computer
senses any malfunction, it switches the anti-
lock brake system OFF and turns on the
ABS brake warning light in the dashboard.
The brake system then operates normally,
but without anti-lock assistance.
If the light comes on during the self-test or
while driving, take the vehicle to an autho-
rized NISSAN dealer for repair.
WARNING
c
The anti-lock brake system is a so-
phisticated device, but it cannot pre-
vent accidents resulting from care-
less or dangerous driving tech-
niques. It can help maintain vehicle
control during braking on slippery
surfaces, but the stopping distance
on slippery surfaces will be longer
than on normal surfaces, even with
the anti-lock system. Stopping dis-
tances may also be longer on rough,
gravel or snow covered roads, or if
you are using tire chains. Always
maintain a safe distance from the ve-
hicle in front of you. Ultimately, the
responsibility for safety of self and
others rests in the hands of the driver.
cTire type and condition may also
affect braking effectiveness.
cWhen replacing tires, install the
specified size of tires on all four
wheels.c
When installing a spare tire, make
sure it is the proper size and type as
specified on the tire placard. For tire
placard location information, refer to
``Tire placard'' in the Owner's Manual
index.
cRefer to ``Wheels and tires'' in the
``Do-it-yourself'' section of this
manual.
5-18Starting and driving
ZX
Page 205 of 216

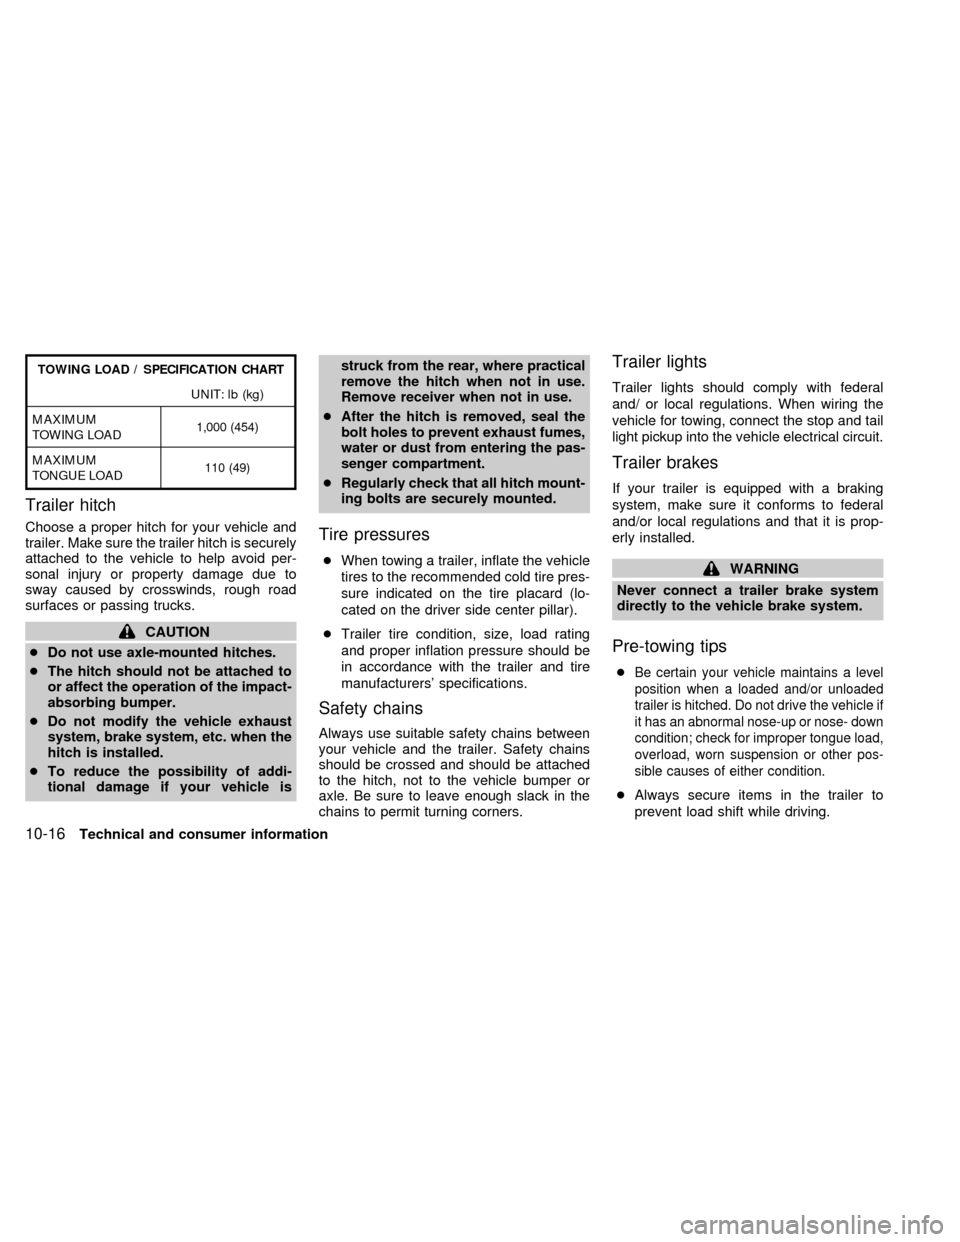
TOWING LOAD / SPECIFICATION CHART
UNIT: lb (kg)
MAXIMUM
TOWING LOAD1,000 (454)
MAXIMUM
TONGUE LOAD110 (49)
Trailer hitch
Choose a proper hitch for your vehicle and
trailer. Make sure the trailer hitch is securely
attached to the vehicle to help avoid per-
sonal injury or property damage due to
sway caused by crosswinds, rough road
surfaces or passing trucks.
CAUTION
cDo not use axle-mounted hitches.
cThe hitch should not be attached to
or affect the operation of the impact-
absorbing bumper.
cDo not modify the vehicle exhaust
system, brake system, etc. when the
hitch is installed.
cTo reduce the possibility of addi-
tional damage if your vehicle isstruck from the rear, where practical
remove the hitch when not in use.
Remove receiver when not in use.
cAfter the hitch is removed, seal the
bolt holes to prevent exhaust fumes,
water or dust from entering the pas-
senger compartment.
cRegularly check that all hitch mount-
ing bolts are securely mounted.
Tire pressures
cWhen towing a trailer, inflate the vehicle
tires to the recommended cold tire pres-
sure indicated on the tire placard (lo-
cated on the driver side center pillar).
cTrailer tire condition, size, load rating
and proper inflation pressure should be
in accordance with the trailer and tire
manufacturers' specifications.
Safety chains
Always use suitable safety chains between
your vehicle and the trailer. Safety chains
should be crossed and should be attached
to the hitch, not to the vehicle bumper or
axle. Be sure to leave enough slack in the
chains to permit turning corners.
Trailer lights
Trailer lights should comply with federal
and/ or local regulations. When wiring the
vehicle for towing, connect the stop and tail
light pickup into the vehicle electrical circuit.
Trailer brakes
If your trailer is equipped with a braking
system, make sure it conforms to federal
and/or local regulations and that it is prop-
erly installed.
WARNING
Never connect a trailer brake system
directly to the vehicle brake system.
Pre-towing tips
cBe certain your vehicle maintains a level
position when a loaded and/or unloaded
trailer is hitched. Do not drive the vehicle if
it has an abnormal nose-up or nose- down
condition; check for improper tongue load,
overload, worn suspension or other pos-
sible causes of either condition.
cAlways secure items in the trailer to
prevent load shift while driving.
10-16Technical and consumer information
ZX
Page 210 of 216

11 Index
A
Air bag (See supplemental restraint
system) ........................................................ 1-5
Air bag warning light .......................... 1-11, 2-6
Air cleaner housing filter ............................ 8-19
Air conditioner
Air conditioner operation ........................ 4-5
Air conditioner specification label ....... 10-12
Air conditioner system refrigerant and
lubrication recommendations ................ 10-7
Heater and air conditioner controls ........ 4-3
Servicing air conditioner ......................... 4-9
Air flow charts .............................................. 4-6
Alarm system (See theft warning) ............... 2-9
Anchor point locations ............................... 1-30
Anti-lock brake system (ABS).................... 5-17
Anti-lock brake warning light ....................... 2-7
Ashtray (See cigarette lighter and
ashtray) ...................................................... 2-15
Audio system
AM-FM radio with cassette player ........ 4-10
AM-FM radio with cassette player and
compact disc player.............................. 4-20
AM-FM radio with compact disc (CD)
player .................................................... 4-15Automatic
Automatic power window switch .......... 2-18
Automatic transmission fluid (ATF) ...... 8-11
Driving with automatic transmission ....... 5-6
B
Battery........................................................ 8-15
Battery
Charge warning light .............................. 2-5
Before starting the engine ........................... 5-5
Belts (See drive belts) ............................... 8-17
Brake
Anti-lock brake system (ABS) .............. 5-17
Brake booster ....................................... 8-22
Brake fluid............................................. 8-14
Brake light (See stop light) ................... 8-26
Brake pedal .......................................... 8-21
Brake system ........................................ 5-17
Brake warning light ................................. 2-7
Brake wear indicators ................... 2-8, 8-22
Parking brake check ............................. 8-21
Parking brake operation ....................... 5-11
Break-in schedule ...................................... 5-14
Bulb check/instrument panel ....................... 2-5C
Capacities and recommended fuel/
lubricants.................................................... 10-2
Cargo (See vehicle loading
information) .............................................. 10-13
Cassette player (See audio system) ......... 4-10
CB radio or car phone ............................... 4-26
Check engine indicator light
(See malfunction indicator light) .................. 2-8
Child restraints ................................. 1-15, 1-21
Child safety rear door lock .......................... 3-8
Cigarette lighter (accessory) and
ashtray ....................................................... 2-15
Cleaning exterior and interior ...................... 7-2
Clutch
Clutch pedal.......................................... 8-23
Cold weather driving .................................. 5-19
Controls
Heater and air conditioner controls ........ 4-3
Coolant
Capacities and recommended fuel/
lubricants .............................................. 10-2
Changing engine coolant........................ 8-6
Checking engine coolant level ............... 8-5
Engine coolant temperature gauge ........ 2-3
ZX