Page 3 of 188
OFF
P102030405060
70
80
90
100
120206080
40100
120
160 140
180MPHkm/h110HF
E1
2FILL ON
LEFT<
CHECK
TRAC
SERVICE
ENGINE
SOON
PANEL
DIMLO
F
S
OFF
MIST
VOL
PUSH ON
AM
SRS
RESUME
SET ACCEL
COAST
OFF
ONNEXT
MODEVOL
TEMP FAN
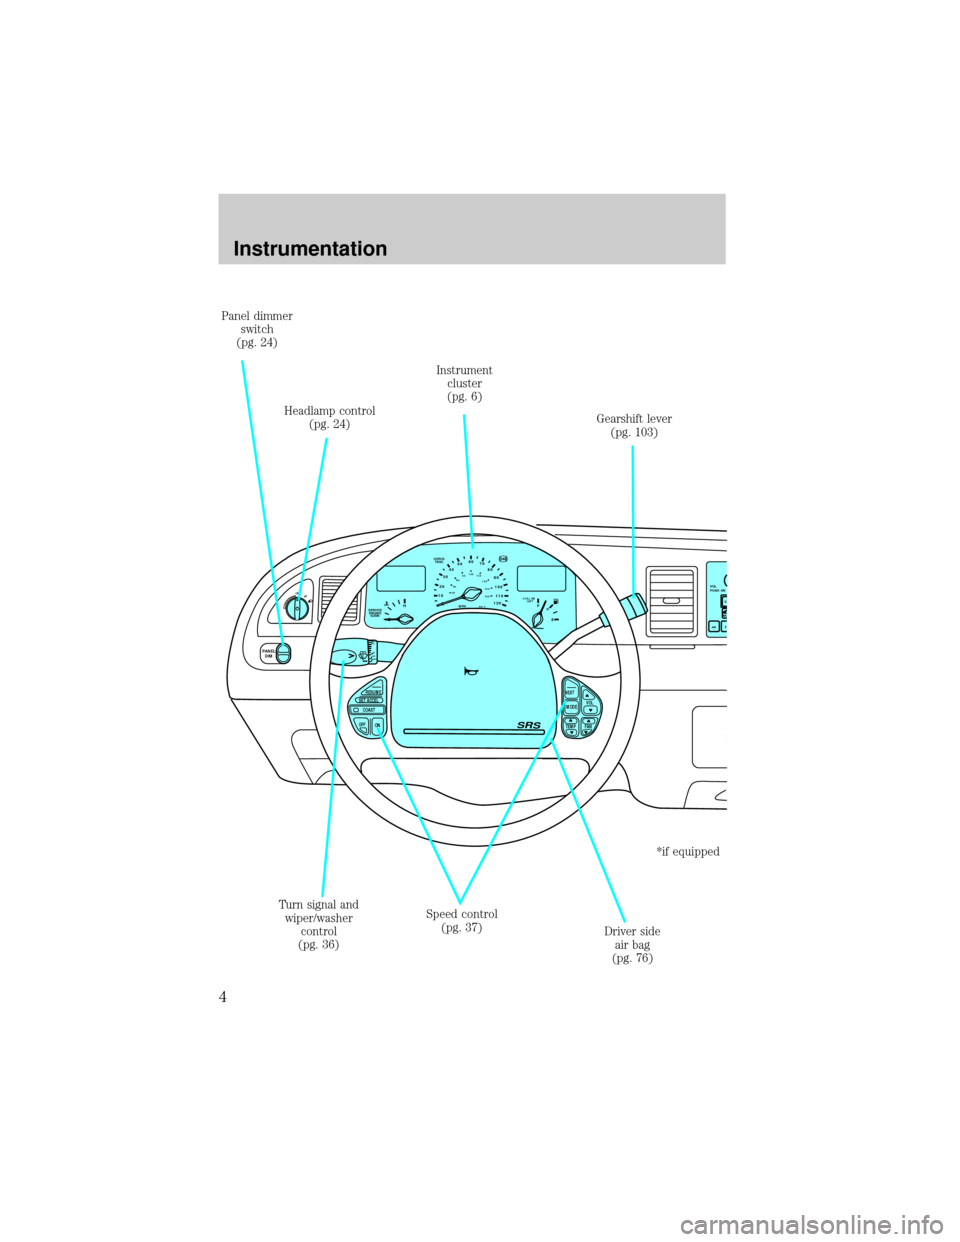
Headlamp control
(pg. 24)
Speed control
(pg. 37)Gearshift lever
(pg. 103)
Driver side
air bag
(pg. 76) Turn signal and
wiper/washer
control
(pg. 36)Instrument
cluster
(pg. 6) Panel dimmer
switch
(pg. 24)
*if equipped
Instrumentation
4
Page 27 of 188
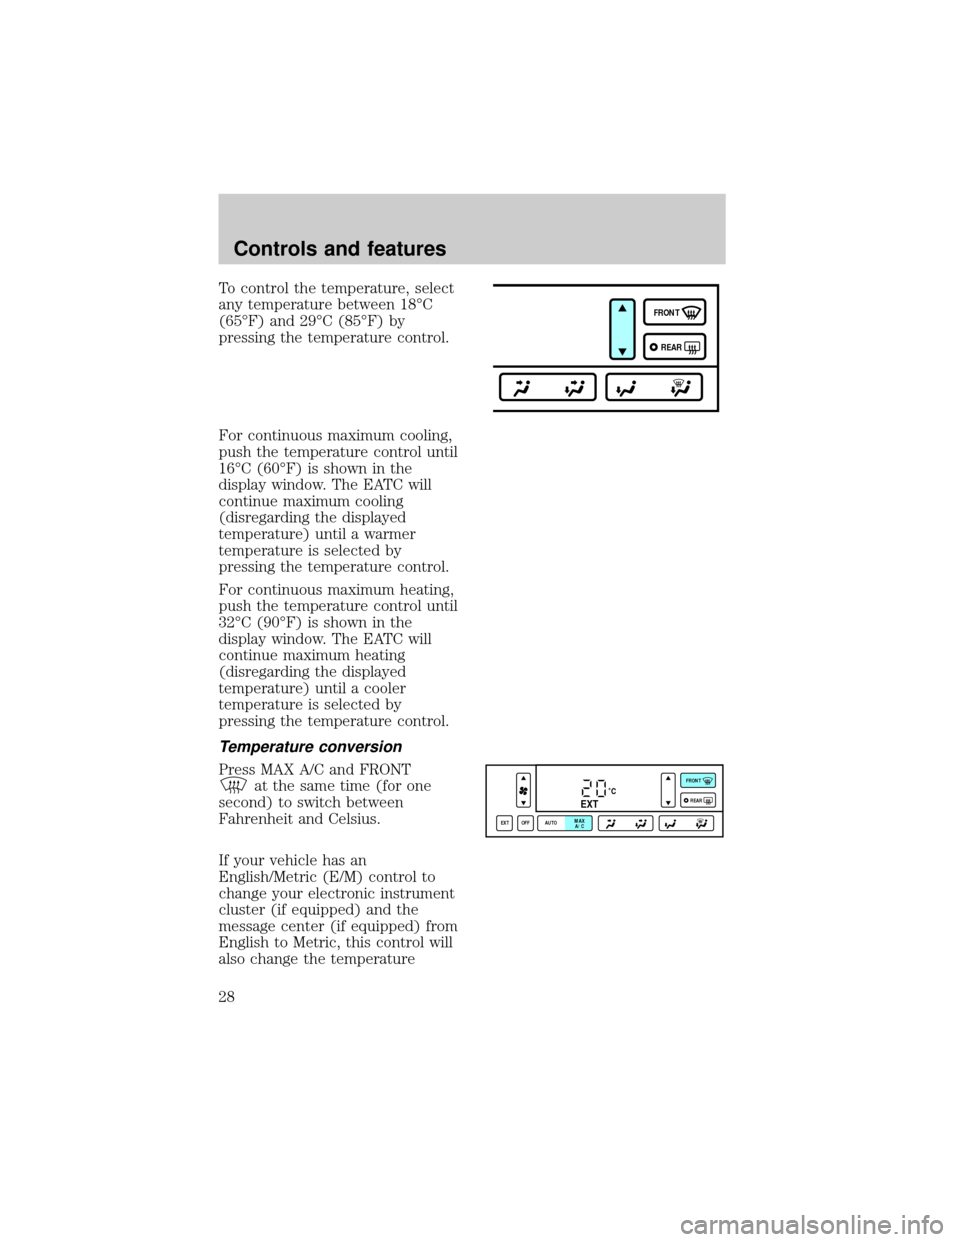
To control the temperature, select
any temperature between 18ÉC
(65ÉF) and 29ÉC (85ÉF) by
pressing the temperature control.
For continuous maximum cooling,
push the temperature control until
16ÉC (60ÉF) is shown in the
display window. The EATC will
continue maximum cooling
(disregarding the displayed
temperature) until a warmer
temperature is selected by
pressing the temperature control.
For continuous maximum heating,
push the temperature control until
32ÉC (90ÉF) is shown in the
display window. The EATC will
continue maximum heating
(disregarding the displayed
temperature) until a cooler
temperature is selected by
pressing the temperature control.
Temperature conversion
Press MAX A/C and FRONT
at the same time (for one
second) to switch between
Fahrenheit and Celsius.
If your vehicle has an
English/Metric (E/M) control to
change your electronic instrument
cluster (if equipped) and the
message center (if equipped) from
English to Metric, this control will
also change the temperature
FRONT
REAR
˚CEXT
EXT OFF AUTOMAX
A/CFRONT
REAR
Controls and features
28
Page 74 of 188

belt extension only if the safety
belt is too short for you when fully
extended. Do not use extensions
to change the fit of the shoulder
belt across the torso.
Safety belt warning light and
indicator chime
The seat belt warning light
illuminates in the instrument
cluster and a chime sounds to
remind the occupants to fasten
their safety belts.
Safety belt maintenance
Check the safety belt systems
periodically to make sure they
work properly and are not
damaged. Check the safety belts to
make sure there are no nicks,
wears or cuts. All safety belt
assemblies, including retractors,
buckles, front seat belt buckle
assemblies (slide bar)(if
equipped), shoulder belt height
adjusters (if equipped), child
safety seat tether bracket
assemblies (if equipped), and
attaching hardware, should be
inspected after a collision. Ford
recommends that all safety belt
assemblies used in vehicles
involved in a collision be replaced.
However, if the collision was minor
and a qualified technician finds
that the belts do not show damage
and continue to operate properly,
they do not need to be replaced.
Safety belt assemblies not in use
during a collision should also be
inspected and replaced if either
Seating and safety restraints
75
Page 79 of 188
If the air bag is inflated,
the air bag will not
function again and must be
replaced immediately.Ifthe
air bag is not replaced, the
unrepaired area will increase the
risk of injury in a collision.
The SRS consists of:
²driver and passenger air bag
modules (which include the
inflators and air bags),
²one or more impact and safing
sensors,
²a readiness light and tone
²and the electrical wiring which
connects the components.
The diagnostic module monitors its
own internal circuits and the
supplemental air bag electrical
system warning (including the
impact sensors), the system wiring,
the air bag system readiness light,
the air bag back up power and the
air bag ignitors.
Determining if the system is
operational
The SRS uses a readiness light in
the instrument cluster or a tone to
indicate the condition of the
system. Refer to theAir bag
readinesssection in the
Instrumentationchapter. Routine
maintenance of the air bag is not
required.
Seating and safety restraints
80
Page 96 of 188
shudder while braking, felt mainly
in the steering wheel, the vehicle
most likely needs service.
The ABS operates by detecting the
onset of wheel lock up during
brake applications and
compensating for this tendency.
The front wheels are prevented
from locking even when the brakes
are firmly applied. The
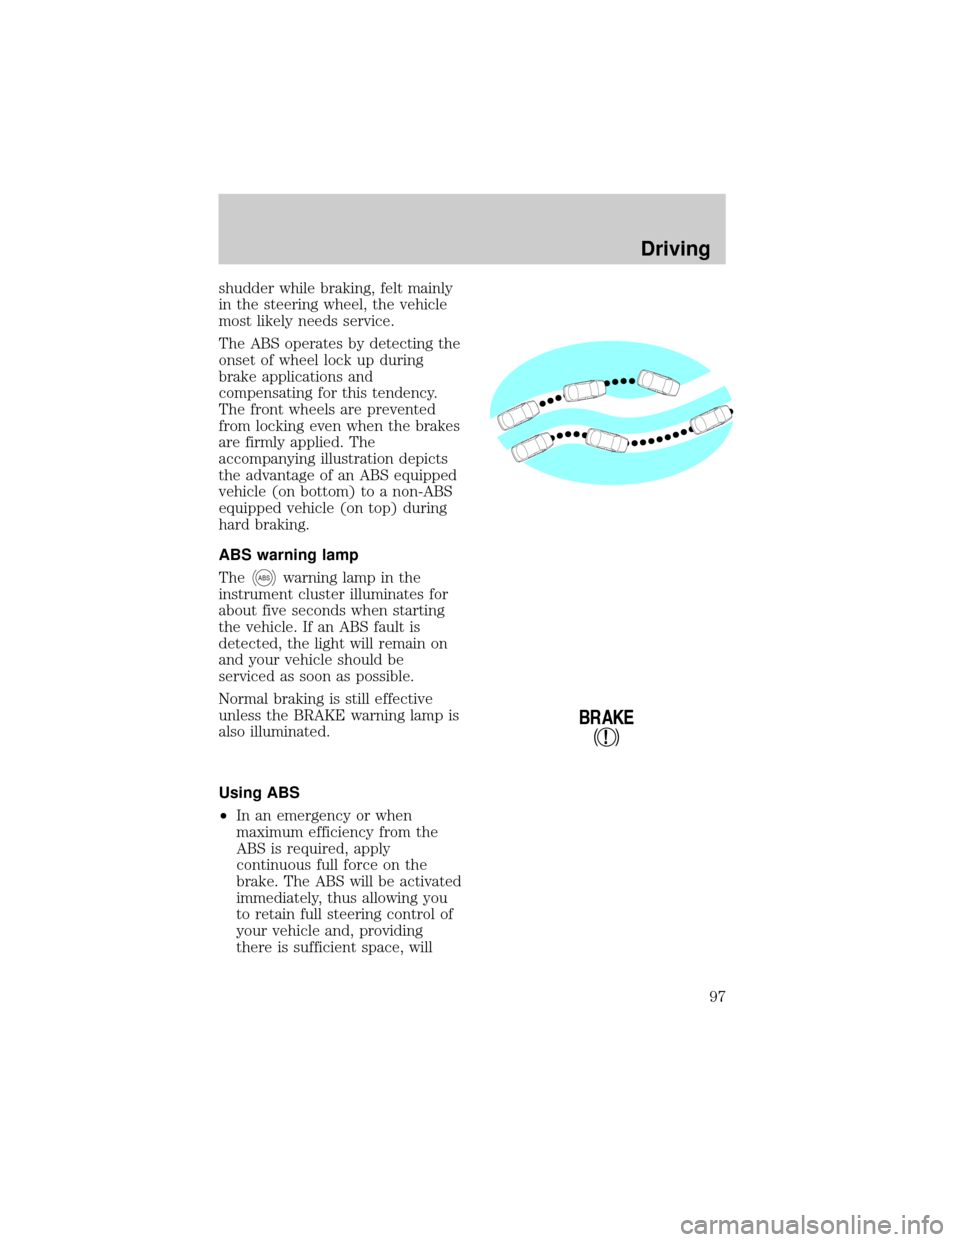
accompanying illustration depicts
the advantage of an ABS equipped
vehicle (on bottom) to a non-ABS
equipped vehicle (on top) during
hard braking.
ABS warning lamp
The
ABSwarning lamp in the
instrument cluster illuminates for
about five seconds when starting
the vehicle. If an ABS fault is
detected, the light will remain on
and your vehicle should be
serviced as soon as possible.
Normal braking is still effective
unless the BRAKE warning lamp is
also illuminated.
Using ABS
²In an emergency or when
maximum efficiency from the
ABS is required, apply
continuous full force on the
brake. The ABS will be activated
immediately, thus allowing you
to retain full steering control of
your vehicle and, providing
there is sufficient space, will
!
BRAKE
Driving
97
Page 97 of 188
enable you to avoid obstacles
and bring the vehicle to a
controlled stop.
²We recommend that you
familiarize yourself with this
braking technique. However,
avoid taking any unnecessary
risks.
Parking brake with auto-release
Apply the parking brake whenever
the vehicle is parked.
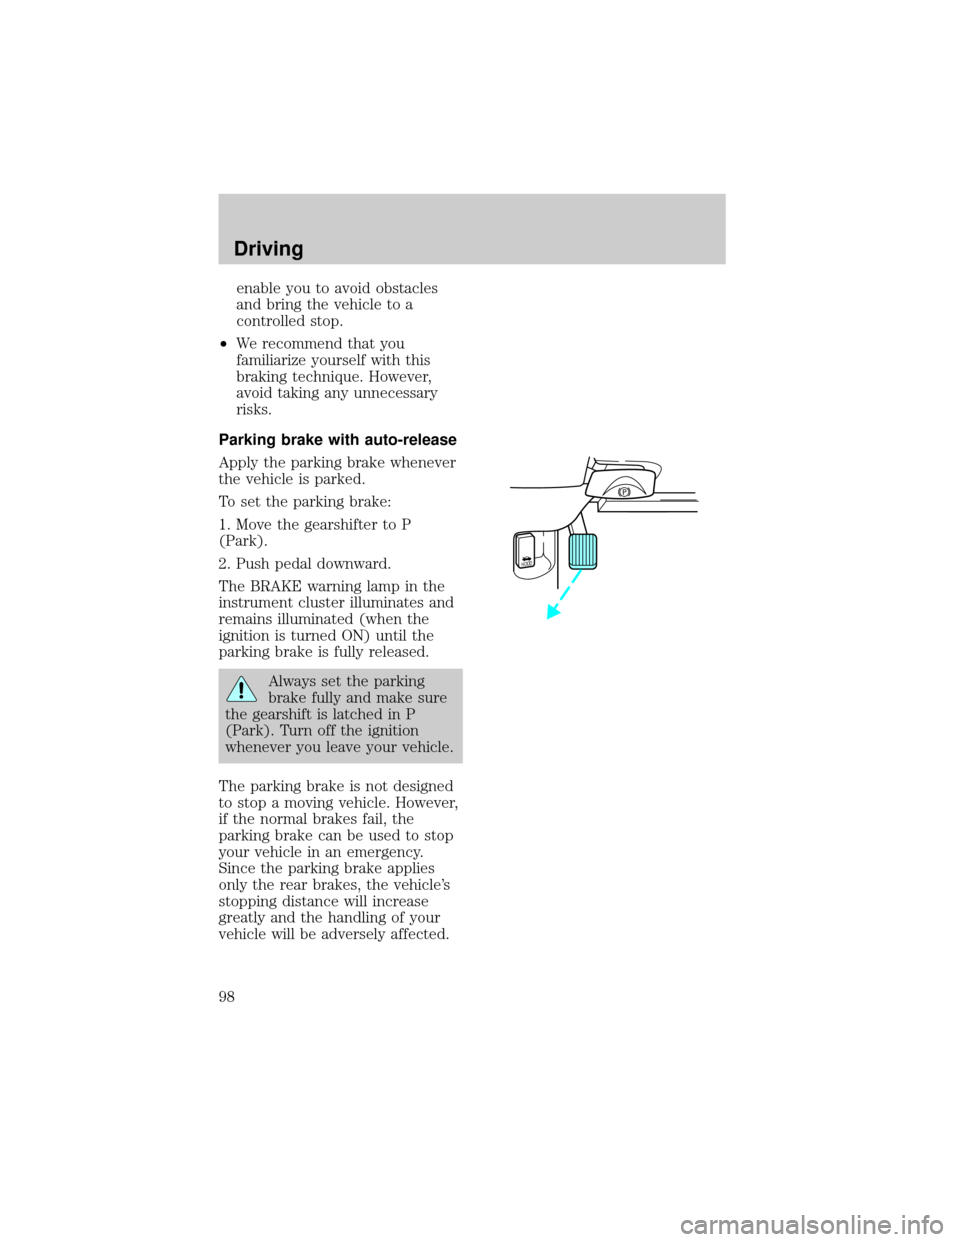
To set the parking brake:
1. Move the gearshifter to P
(Park).
2. Push pedal downward.
The BRAKE warning lamp in the
instrument cluster illuminates and
remains illuminated (when the
ignition is turned ON) until the
parking brake is fully released.
Always set the parking
brake fully and make sure
the gearshift is latched in P
(Park). Turn off the ignition
whenever you leave your vehicle.
The parking brake is not designed
to stop a moving vehicle. However,
if the normal brakes fail, the
parking brake can be used to stop
your vehicle in an emergency.
Since the parking brake applies
only the rear brakes, the vehicle's
stopping distance will increase
greatly and the handling of your
vehicle will be adversely affected.
HOOD
Driving
98
Page 104 of 188
Hold the brake pedal down
while you move the
gearshift lever from position to
position. If you do not hold the
brake pedal down, your vehicle
may move unexpectedly and
injure someone.
P (Park)
Always come to a complete stop
before shifting into P (Park). Make
sure the gearshift is securely
latched in P (Park).
R (Reverse)
With the gearshift in R (Reverse),
the vehicle will move backward.
Always come to a complete stop
before shifting into and out of R
(Reverse).
N (Neutral)
With the gearshift in N (Neutral),
the vehicle can be started and is
free to roll. Hold the brake pedal
down while in this gear.
(Overdrive)
The normal driving position for the
best fuel economy. Transmission
operates in gears one through four.
(Overdrive) can be deactivated
by pressing the transmission
control switch on the end of the
gearshift lever.
The transmission control indicator
light (TCIL) will illuminate in the
instrument cluster.
O/D
ON/OFF
Driving
105
Page 105 of 188
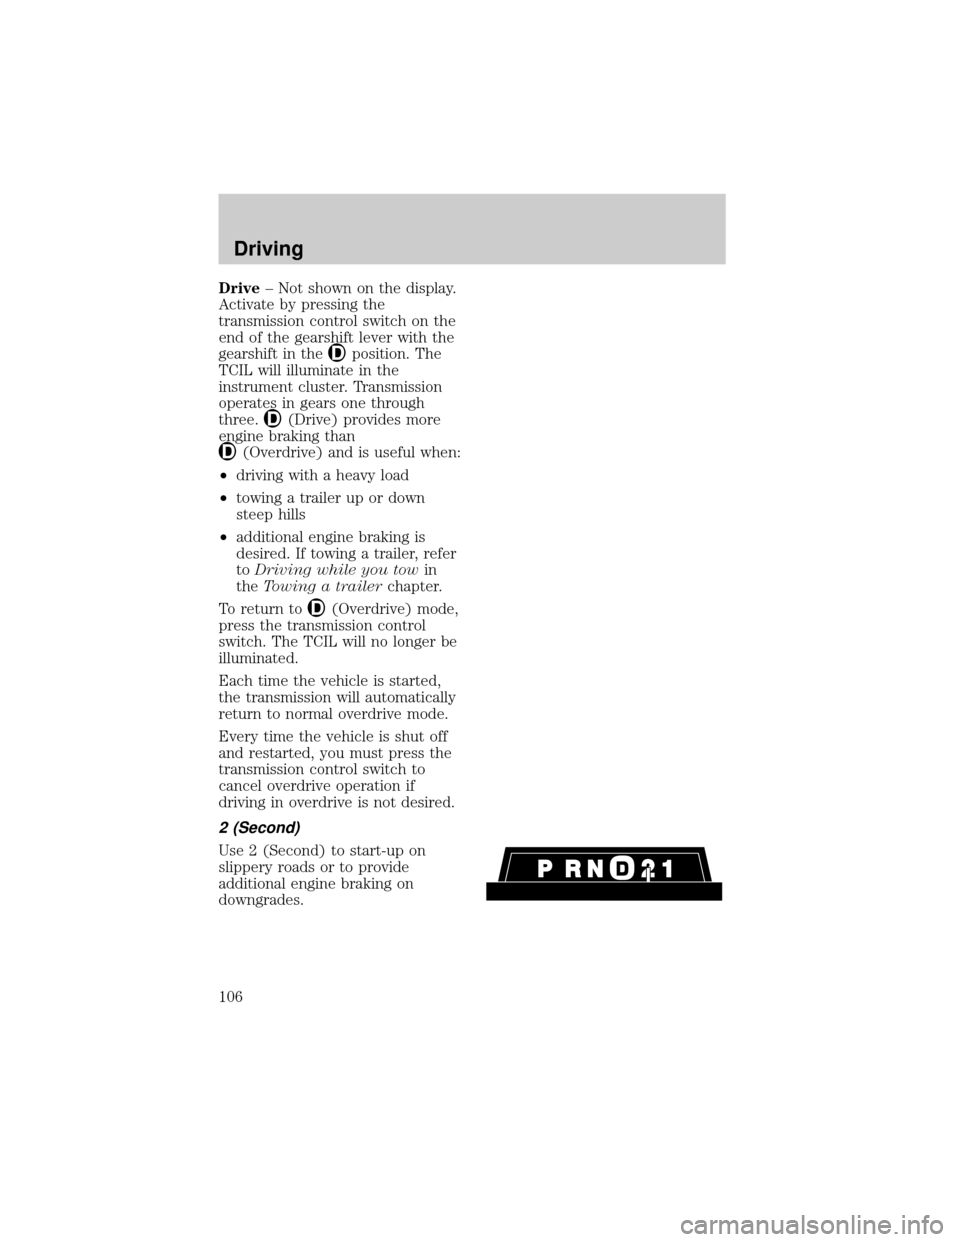
Drive± Not shown on the display.
Activate by pressing the
transmission control switch on the
end of the gearshift lever with the
gearshift in the
position. The
TCIL will illuminate in the
instrument cluster. Transmission
operates in gears one through
three.
(Drive) provides more
engine braking than
(Overdrive) and is useful when:
²driving with a heavy load
²towing a trailer up or down
steep hills
²additional engine braking is
desired. If towing a trailer, refer
toDriving while you towin
theTowing a trailerchapter.
To return to
(Overdrive) mode,
press the transmission control
switch. The TCIL will no longer be
illuminated.
Each time the vehicle is started,
the transmission will automatically
return to normal overdrive mode.
Every time the vehicle is shut off
and restarted, you must press the
transmission control switch to
cancel overdrive operation if
driving in overdrive is not desired.
2 (Second)
Use 2 (Second) to start-up on
slippery roads or to provide
additional engine braking on
downgrades.
Driving
106