Page 9 of 176

Engine oil pressure
Illuminates when the oil pressure
falls below the normal range. Stop
the vehicle as soon as safely
possible and switch off the engine
immediately. Check the oil level and
add oil if needed. Refer toEngine oilin theMaintenance and Care
chapter.
This lamp also illuminates when the ignition is turned to ON and the
engine is off.
Traction ControlYoff light
Illuminates when the Traction
Controlysystem has been disabled
(by the driver or as a result of a
system failure). For more
information, refer to theDriving
chapter.
Safety belt warning chime
Chimes to remind you to fasten your safety belts.
For information on the safety belt warning chime, refer to theSeating
and safety restraintschapter.
Supplemental restraint system (SRS) warning chime
For information on the SRS warning chime, refer to theSeating and
safety restraintschapter.
Key-in-ignition warning chime
Sounds when the key is left in the ignition in the OFF/LOCK or ACC
position and either front door is opened.
Headlamps on warning chime
Sounds when the headlamps or parking lamps are on, the ignition is off
(and the key is not in the ignition) and either front door is opened.
Turn signal chime
Sounds when the turn signal lever has been activated to signal a turn.
T/ C
OFF
Instrumentation
9
Page 14 of 176

Door Ajar Cannot be reset
Driver's Door Ajar
Check Engine Temp Warning returns after 10 minutes
Transmission Overheat
Check Transmission
Low Oil Level
Check Charging System
Low Fuel Level
Low Engine Coolant
Low Tire Pressure (if equipped)
Gear Display Data ERR Warning reappears after key is
turned from OFF to ON
Brake Lamp Out
Check Traction Control
Check Ride Control
Trunk Ajar
Check Steering Assist
Low Washer Fluid
Air Leveling Disabled
Tail Lamp Out
Check FRT Turn Lamps
Turn on Headlamps
Warning messages that have been reset are divided into two categories:
²They will reappear on the display ten minutes from the reset.
²They will not reappear until an ignition OFF-ON cycle has been
completed. This acts as a reminder that these warning conditions still
exist within the vehicle.
TRIP
Press this control to display the first
of two trip odometers. Press it again
to display the second trip odometer.
To reset the displayed trip
odometer, press the RESET control.
TRIP
RESET
Instrumentation
14
Page 57 of 176

5. Release the switch, then slowly press it down again. Press the switch
repeatedly until the correct zone setting for your geographic location is
displayed on the upper right corner of the mirror.
6. To exit the zone setting mode, release pressure from the switch for
greater than two seconds.
Compass calibration adjustment
Perform this adjustment in an open area free from steel structures and
high voltage lines.
For optimum calibration, turn off all electrical accessories (heater/air
conditioning, wipers, etc.) and make sure all vehicle doors are shut.
1. Start the vehicle.
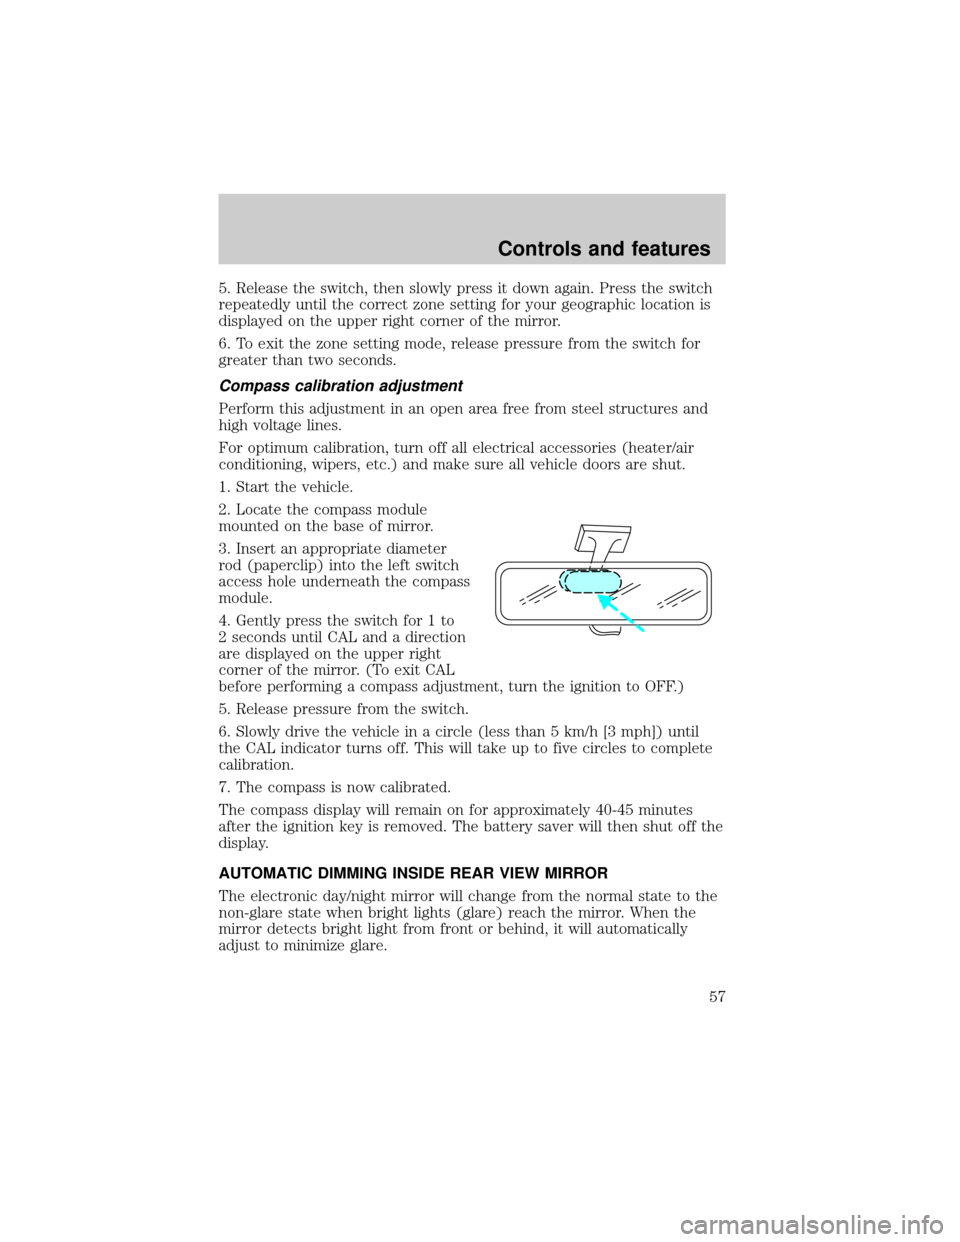
2. Locate the compass module
mounted on the base of mirror.
3. Insert an appropriate diameter
rod (paperclip) into the left switch
access hole underneath the compass
module.
4. Gently press the switch for 1 to
2 seconds until CAL and a direction
are displayed on the upper right
corner of the mirror. (To exit CAL
before performing a compass adjustment, turn the ignition to OFF.)
5. Release pressure from the switch.
6. Slowly drive the vehicle in a circle (less than 5 km/h [3 mph]) until
the CAL indicator turns off. This will take up to five circles to complete
calibration.
7. The compass is now calibrated.
The compass display will remain on for approximately 40-45 minutes
after the ignition key is removed. The battery saver will then shut off the
display.
AUTOMATIC DIMMING INSIDE REAR VIEW MIRROR
The electronic day/night mirror will change from the normal state to the
non-glare state when bright lights (glare) reach the mirror. When the
mirror detects bright light from front or behind, it will automatically
adjust to minimize glare.
Controls and features
57
Page 103 of 176

1 (First)
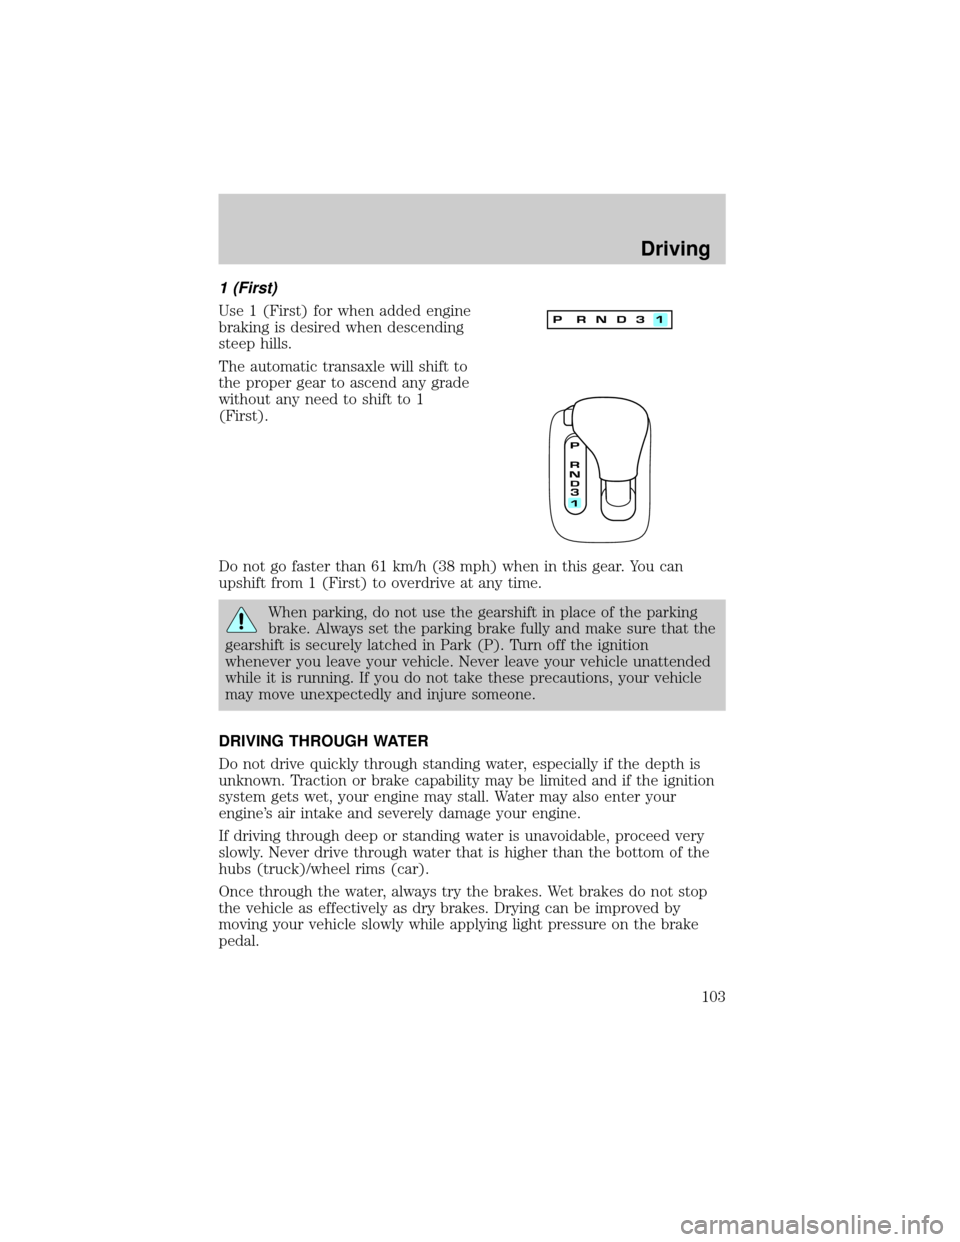
Use 1 (First) for when added engine
braking is desired when descending
steep hills.
The automatic transaxle will shift to
the proper gear to ascend any grade
without any need to shift to 1
(First).
Do not go faster than 61 km/h (38 mph) when in this gear. You can
upshift from 1 (First) to overdrive at any time.
When parking, do not use the gearshift in place of the parking
brake. Always set the parking brake fully and make sure that the
gearshift is securely latched in Park (P). Turn off the ignition
whenever you leave your vehicle. Never leave your vehicle unattended
while it is running. If you do not take these precautions, your vehicle
may move unexpectedly and injure someone.
DRIVING THROUGH WATER
Do not drive quickly through standing water, especially if the depth is
unknown. Traction or brake capability may be limited and if the ignition
system gets wet, your engine may stall. Water may also enter your
engine's air intake and severely damage your engine.
If driving through deep or standing water is unavoidable, proceed very
slowly. Never drive through water that is higher than the bottom of the
hubs (truck)/wheel rims (car).
Once through the water, always try the brakes. Wet brakes do not stop
the vehicle as effectively as dry brakes. Drying can be improved by
moving your vehicle slowly while applying light pressure on the brake
pedal.
Driving
103
Page 115 of 176
Fuse/Relay Location Fuse Amp Rating Description
26 10A Virtual Image
Instrument Cluster,
EATC Module
27 - NOT USED
28 10A Shift Lock Actuator,
Vehicle Dynamic
Module, Virtual Image
Instrument Cluster,
Rear Window Defrost,
Heated Seat Switch
Assembly, Low Tire
Pressure Module
29 10A Radio
30 10A Heated Mirrors
31 15A Lighting Control
Module (LCM): FCU,
Electronic Day/Night
Mirror, RH and LH
Courtesy Lamp, Door
Courtesy Lamps, RH
and LH Map Lamps,
RR and LR Reading
Lamps, RH and LH
Visor Lamps, Storage
Bin Lamps, Trunk Lid
Lamp, Glove Box
Lamp, Light Sensor
Amplifier
32 15A Speed Control DEAC.
Switch, Brake On/Off
(BOO) Switch
33 - NOT USED
Roadside emergencies
115
Page 116 of 176
Fuse/Relay Location Fuse Amp Rating Description
34 15A Console Shift
Illumination, A/C
Clutch Cycling
Pressure Switch, A/C
Clutch Relay (DTR)
Sensor, Intake
Manifold Runner
Control, Backup
Lamps
35 - NOT USED
36 - NOT USED
37 30A Subwoofer Amplifier,
Radio
38 10A Analog Clock, CD
Player, Mobile
Telephone Transceiver,
RESCU
39 10A Power Door Locks,
Power Seats, Power
Mirrors, Keyless Entry,
LF Seat Module, LF
Door Module
40 10A Cornering Lamps
41 20A Door Locks
Roadside emergencies
116
Page 121 of 176

10. Remove the jack and fully
tighten the lug nuts in the order
shown.
11. Put flat tire, jack and lug wrench
away.
12. Turn on the air suspension
switch.
Anti-theft lug nuts (if equipped)
If your vehicle is equipped with this
feature, one of the lug nuts on each
wheel must be removed and
replaced with a special key. The key
and registration card are attached to
the lug wrench and stored with the spare tire. If you lose the key, send
the registration card to the manufacturer (not the dealer) to get a
replacement key. If the lug wrench/lug nut key assembly is lost, see your
nearest Ford or Lincoln/Mercury dealer who has access to the master set
of keys.Do not use an impact wrench with the anti-theft key.
Removing the anti-theft lug nut
1. Insert the key over the locking lug nut. Make sure you hold the key
square to the lug nut. If you hold the key at an angle, you could damage
the key and the lug nut.
2. Place the lug nut wrench over the lug nut key and apply pressure on
the key with the wrench.
3. Turn the wrench in a counterclockwise direction to remove the lug
nut.
Reinstalling the anti-theft lug nut
1. Insert the key over the locking lug nut.
2. Place the lug nut wrench over the lug nut key and apply pressure on
the key with the wrench.
3. Install the lug nut.
1
4 3
52
Roadside emergencies
121
Page 133 of 176

2. When the engine is cool, wrap a thick cloth around the cap. Slowly
turn cap counterclockwise.
3. Step back while the pressure releases.
4. When you are sure that all the pressure has been released, turn it
counterclockwise and remove it.
Use Ford Premium Cooling System Fluid E2FZ-19549±AA (in Canada,
Motorcraft CXC-8±B) or an equivalent premium engine coolant that
meets Ford specification ESE-M97B44±A. Ford Premium Engine Coolant
is an optimized formula that will protect all metals and rubber elastomers
used in Ford cooling systems for four years or 80,000 km (50,000 miles).
Do not use alcohol or methanol antifreeze or any engine coolants mixed
with alcohol or methanol antifreeze. Do not use supplemental coolant
additives in your vehicle. These additives may harm your engine cooling
system. The use of an improper coolant may void your warranty of your
vehicle's engine cooling system.
Recycled engine coolant
Ford Motor Company recommends that Ford and Lincoln-Mercury
dealers use recycled engine coolant produced by Ford-approved
processes. Not all coolant recycling processes produce coolant which
meets Ford specification ESE-M97B44±A, and use of such coolant may
harm engine and cooling system components.
Always dispose of used automotive fluids in a responsible manner.
Follow your community's regulations and standards for recycling and
disposing of automotive fluids.
Coolant refill capacity
To find out how much fluid your vehicle's cooling system can hold, refer
toRefill capacitiesin theCapacities and specificationschapter.
Have your dealer check the engine cooling system for leaks if you have
to add more than a liter (quart) of engine coolant per month.
Severe winter climate
If you drive in extremely cold climates (less than ±36ÉC [±34ÉF]), it may
be necessary to increase the coolant concentration above 50%. Refer to
the chart on the coolant container to ensure the coolant concentration in
your vehicle is such that the coolant will not freeze at the temperature
level in which you drive during winter months. Never increase the engine
Maintenance and care
133