1998 GMC SIERRA heating
[x] Cancel search: heatingPage 143 of 452
’ NOTICE:
Holding a cigarette lighter in with your hand
while
it is heating can make it overload,
~ damaging the lighter and the heating element.
Just push the lighter all the way in and let go.
When it’s done,
it will pop back by itself.
Accessory Power Outlets
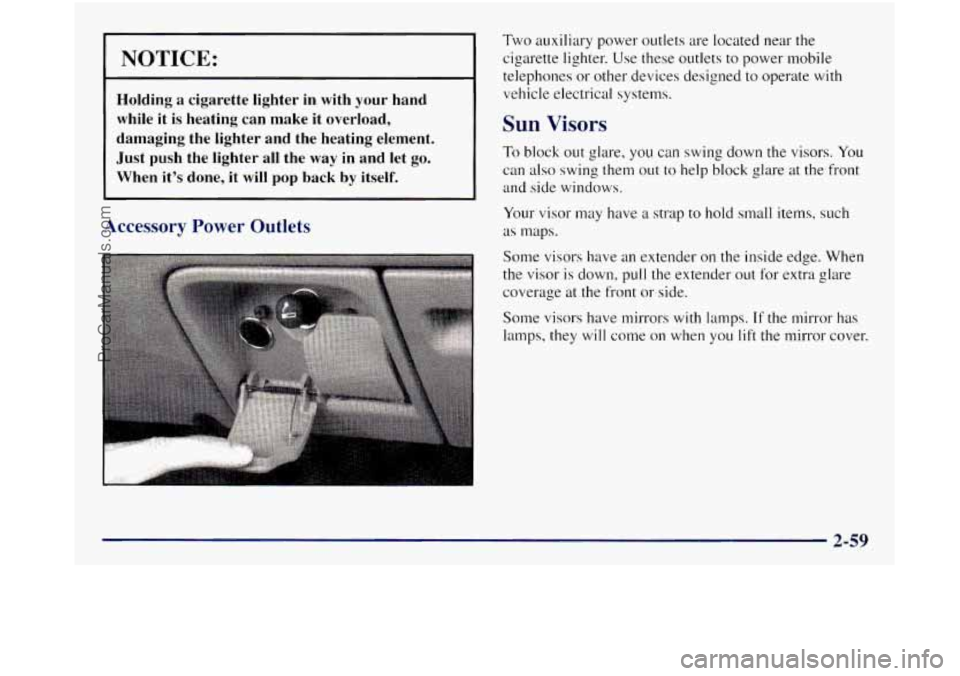
Two auxiliary power outlets are located near the
cigarette lighter. Use these outlets to power mobile
telephones or other devices designed to operate
with
vehicle electrical systems.
Sun Visors
To block out glare, you can swing down the visors. You
can also swing them
out to help block glare at the front
and side windows.
Your visor may have a strap
to hold small items, such
as maps.
Some visors have an extender on the inside edge. When
the visor is down, pull
the extender out for extra glare
coverage at the front
or side.
Some visors have mirrors with lamps.
If the mirror has
lamps, they will come on when
you lift the mirror cover.
2-59
ProCarManuals.com
Page 153 of 452
If the light stays on, or comes on when you’re driving,
your vehicle needs service.
If the regular brake system
warning light isn’t on, you still have brakes, but you
don’t have anti-lock brakes.
If the regular brake system
warning light is also on, you don’t have anti-lock brakes
and there‘s a problem
with your regular brakes. See
“Brake System Warning Light” earlier
in this section.
The anti-lock brake system warning light should come
on briefly when you turn the ignition key to RUN. If the
light doesn‘t come on then. have it fixed
so it will be
ready to warn you
if there is a problem.
Engine Coolant Temperature Gage
1
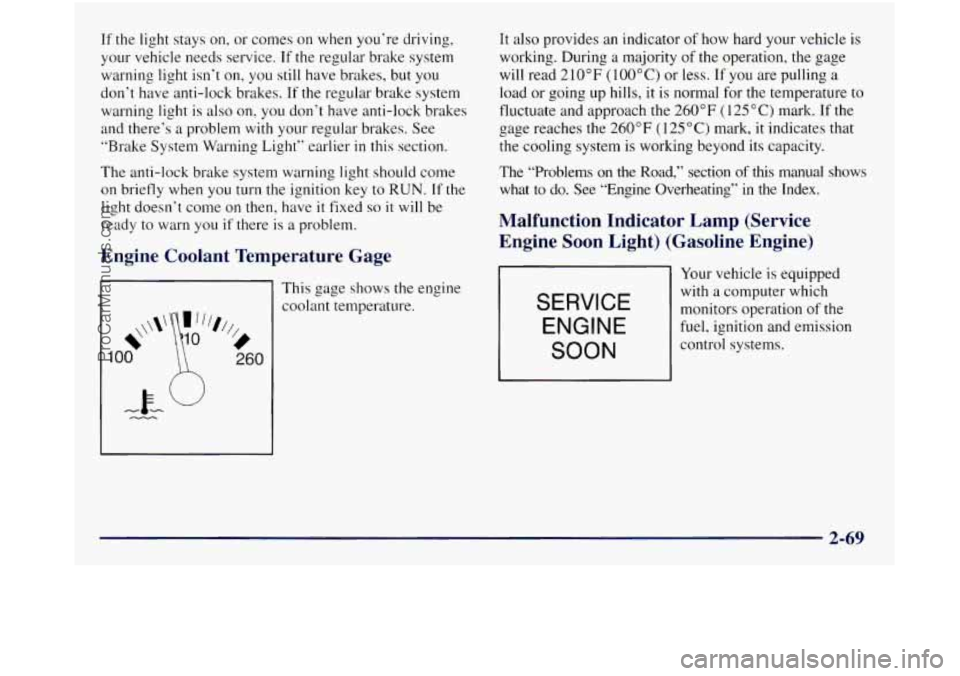
This gage shows the engine
coolant temperature.
It also provides an indicator of how hard your vehicle is
working. During a majority of the operation, the gage
will read
210°F (100°C) or less. If you are pulling a
load or going up hills, it is normal for the temperature to
fluctuate and approach the
260°F (1 25 “C) mark. If the
gage reaches the
260°F (125°C) mark, it indicates that
the cooling system is working beyond its capacity.
The “Problems on
the Road,” section of this manual shows
what
to do. See “Engine Overheating” in the Index.
Malfunction Indicator Lamp (Service
Engine
Soon Light) (Gasoline Engine)
SERVICE
ENGINE
SOON
Your vehicle is equipped
with a computer which
monitors operation
of the
fuel, ignition and emission
control systems.
2-69
ProCarManuals.com
Page 161 of 452

Section 3 Comfort Controls and Audio Systems
In this section, you’ll find out how to operate the comfort control and audio systems offered with your vehicle. Be
sure to read about the particular systems supplied with your vehicle.
3-2 3
-4
3-5
3-5
3-6
3-6 3
-7
3-7
3-7
3-8
3-9
3-12 Comfort
Controls
Air Conditioning
Heating
Ventilation System
Defogging and Defrosting Rear Window Defogger
(If Equipped)
Audio Systems Setting the Clock
AM-FM Stereo Radio
Playing the Radio
AM-FM Stereo with Cassette
Tape Player
(If Equipped)
AM-FM Stereo with Cassette Tape and
Automatic
Tone Control (If Equipped) 3-
15
3- 16
3-20
3-2
1
3-23
3-24
3-25
3-26
3-26
3-26 CD
Adapter
Kit
AM-FM Stereo with Compact Disc Player and
Automatic Tone Control
(If Equipped)
Remote Compact Disc Player (If Equipped)
Theft-Deterrent Feature
Understanding Radio Reception
Tips About Your Audio System
Care of Your Cassette Tape Player
Care
of Your Compact Discs
Care of Your Compact Disc Player
Fixed Mast Antenna
3-1
ProCarManuals.com
Page 162 of 452
Comfort Controls
Heater Control System
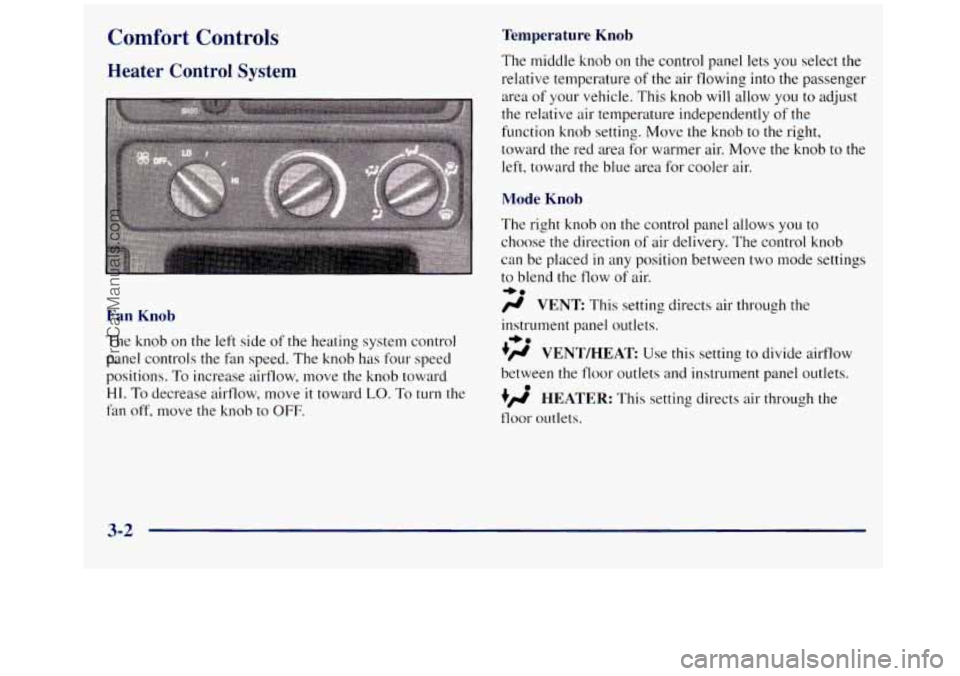
Fan Knob
The knob on the left side of the heating system control
panel controls the fan speed. The knob has four speed
positions.
To increase airflow, move the knob toward
HI. To decrease airflow, move it toward LO. To turn the
fan off, move the knob to OFF.
Temperature Knob
The middle knob on the control panel lets you select the
relative temperature
of the air flowing into the passenger
area of your vehicle. This knob will allow you to adjust
the relative air temperature independently
of the
function knob setting. Move the knob to the right,
toward the red area for warmer air. Move the knob
to the
left, toward the blue area for cooler air.
Mode Knob
The right knob on the control panel allows you to
choose the direction
of air delivery. The control knob
can be placed
in any position between two mode settings
to blend the flow of air.
/r VENT This setting directs air through the
-bo
instrument panel outlets.
.)rr VENT/HEAT Use this setting to divide ailflow
between the floor outlets and instrument panel outlets.
+/r HEATER: This setting directs air through the
floor outlets.
+e
0
3-2
ProCarManuals.com
Page 163 of 452
w.
+’ DEFOG: This setting directs air to the heater
outlets and toward the windshield.
DEFROST: This setting directs air toward
the windshield.
Heater and Air Conditioning Control
System
(If Equipped)
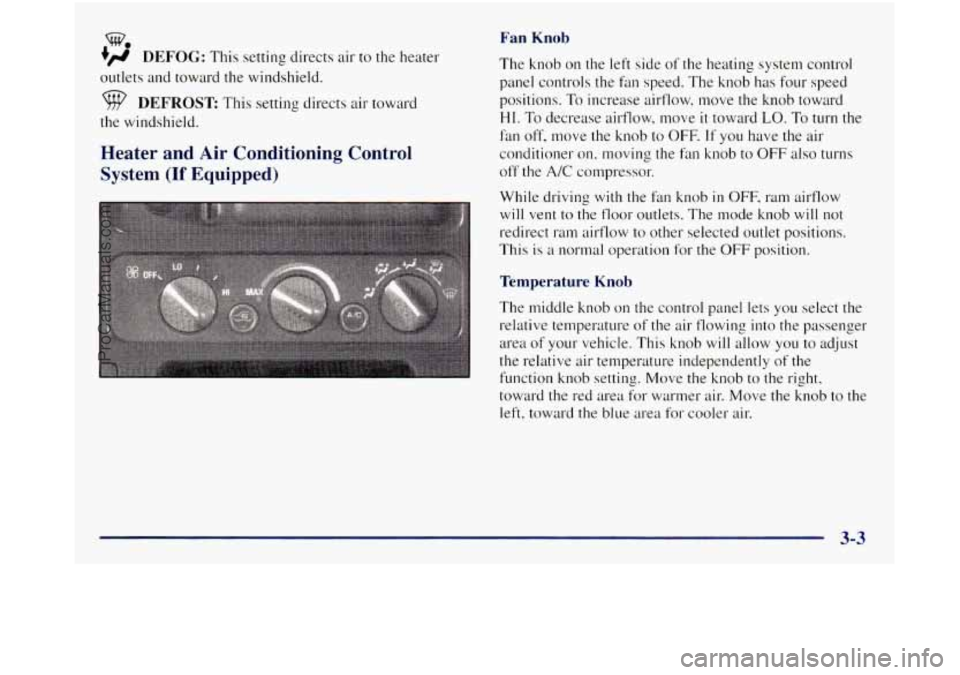
Fan Knob
The knob on the left side of the heating system control
panel controls the fan speed. The knob has four speed
positions. To increase airflow. move the knob toward
HI. To decrease airflow, move it toward LO. To turn the
fan
off, move the knob to OFF. If you have the air
conditioner
on. moving the fan knob to OFF also turns
off the
A/C compressor.
While driving
with the fan knob in OFF, ram airtlow
will vent to the
floor outlets. The mode knob will not
redirect ram airflow to other selected outlet positions.
This is
a normal operation for the OFF position.
Temperature Knob
The middle knob on the control panel lets you select the
relative temperature of the air flowing into the passenger
area of your vehicle. This knob will allow you to adjust
the relative air temperature independently
of the
function knob setting. Move the
knob to the right,
toward the red area for warmer
air. Move the knob to the
left, toward the blue area for cooler air.
3-3
ProCarManuals.com
Page 165 of 452
Heating
The heater works best if you keep your windows closed
while using it. On cold days, use the
HEATER or
VENTMEAT setting with the temperature knob in the
red area.
If you use the engine coolant heater before starting your
engine in cold weather,
20” F (-8 O C) or lower, your
heating system will produce warmer air faster, to heat
the passenger compartment
in cold weather.
The use of an engine coolant heater also reduces the
time it takes for the engine to reach normal operating
temperature, and shortens the time it takes the heater to
reach full output. For more information, see “Engine
Coolant Heater” in the Index.
Ventilation System
For mild outside temperatures when little heating or
cooling is needed,
use VENT to direct outside air
through your vehicle. Air will flow through the
instrument panel outlets.
Your vehicle’s ventilation system supplies outside
air to
the inside of your vehicle when
it is moving. With the side
windows closed,
air will flow into the front air inlet grilles,
through the vehicle, and out the
air exhaust valves. Outside air
will also enter the vehicle when the heater or
the air conditioning fan is running, unless you have the
recirculation button pushed in. For more information on
the recirculation button, see “Air Conditioning’’ earlier
in this section.
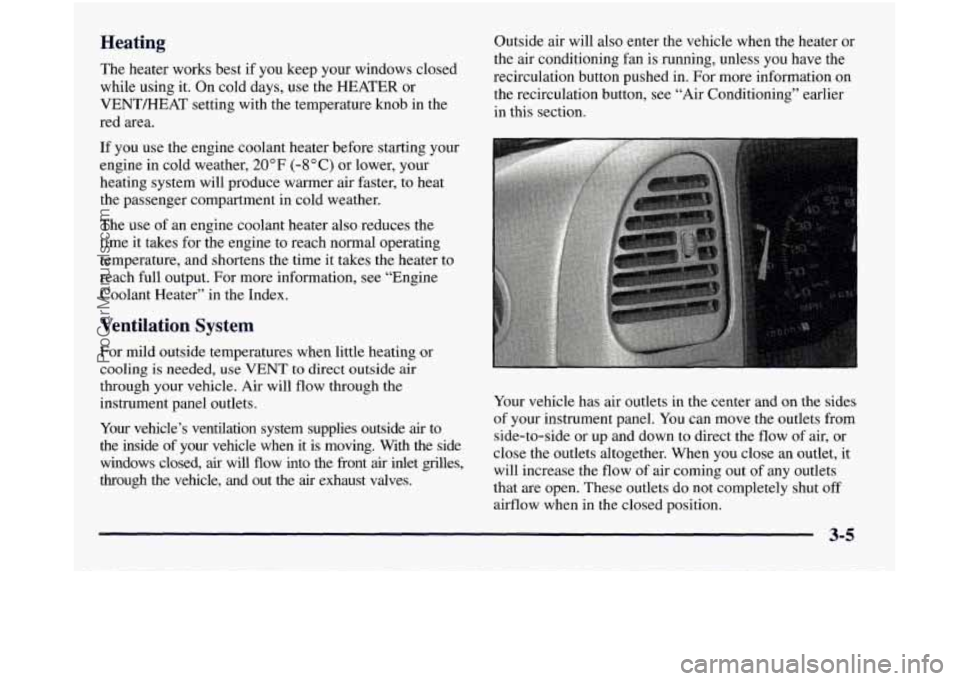
Your vehicle has air outlets in the center and
on the sides
of your instrument panel. You can move the outlets from
side-to-side or up and down to direct the flow of air, or
close the outlets altogether. When you close an outlet,
it
will increase the flow of air coming out of any outlets
that are open. These outlets do not completely shut off
airflow when in the closed position.
ProCarManuals.com
Page 166 of 452
Ventilation Tips
0
0
0
0
Keep the hood and front air inlet free of ice, snow or
any other obstruction (such
as leaves). The heater
and defroster will work far better, reducing the
chance
of fogging the inside of your windows.
When you enter a vehicle
in cold weather, turn the
blower fan to
HI for a few moments before driving.
This helps clear the intake ducts of snow and
moisture, and reduces the chance of fogging the
inside of your windows.
Keep
the air path under the front seats clear of
objects. This helps air
to circulate throughout
your vehicle.
The use of hood air deflectors may adversely
affect
the performance of the heating and air
conditioning system.
Defogging and Defrosting
On cool, humid days, use DEFOG to keep the
windshield and side windows clear. Use
DEFROST to
remove fog
or ice from the windshield in extremely
humid or cold conditions. Use DEFROST with the
temperature knob toward the red area and the fan control
toward
HI.
Rear Window Defogger (If Equipped)
If you see lines running across the rear window, you
have
a rear window defogger. The lines warm the glass.
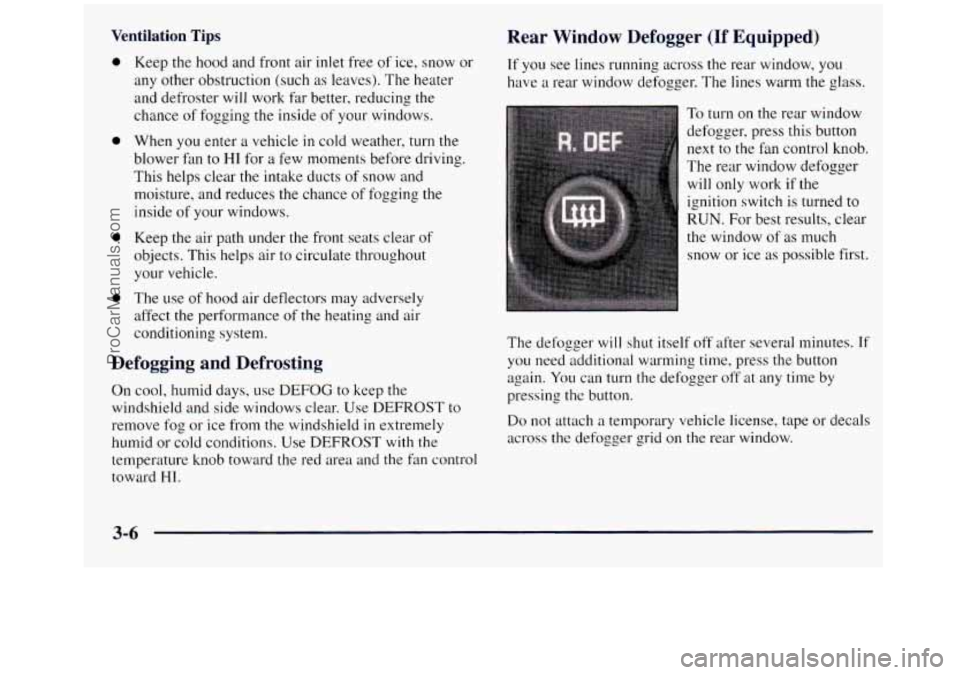
To turn on the rear window
defogger, press this button
next to the fan control knob.
The rear window defogger will only work if the
ignition switch is turned to
RUN. For best results, clear
the window of as much
snow or ice
as possible first.
The defogger
will shut itself off after several minutes. If
you need additional warming time, press the button
again.
You can turn the defogger off at any time by
pressing the button.
Do not attach a temporary vehicle license, tape or decals
across the defogger grid on the rear window.
ProCarManuals.com
Page 246 of 452
Driving On Grades
Reduce speed and shift to a lower gear before you start
down a long or steep downgrade. If
you don’t shift
down,
you might have to use your brakes so much that
they would
get hot and no longer work well.
On a long uphill grade, shift down and reduce your
speed
to around 45 mph (70 kdh) to reduce the
possibility
of engine and transmission overheating.
If you have an automatic transmission, you can tow in
AUTOMATIC OVERDRIVE
(@). You may want to
shift the transmission
to THIRD (3) or, if necessary, a
lower gear selection
if the transmission shifts too often
(e.g., under heavy loads and/or hilly conditions).
If
you have a manual transmission and you are towing a
trailer, it’s better not to
use FIFTH (5) gear. Just drive in
FOURTH
(4) gear (or, as you need to, a lower gear).
When towing at high altitude
on steep uphill grades,
consider the following: Engine coolant
will boil at a
lower temperature than at normal altitudes. If you turn
your engine off immediately after towing
at high altitude
on steep uphill grades, your vehicle may show signs
similar to engine overheating. To avoid this, let the
engine run while parked (preferably on level ground) with
the automatic transmission in
PARK (P) (or the
manual transmission out of gear and the parking brake
applied) for a few minutes before turning the engine
off.
If you do get the overheat warning, see “Engine
Overheating’’ in
the Index.
Parking on Hills
You really should not park your vehicle, with a trailer
attached, on a
hill. If something goes wrong, your rig
could start to move. People can be injured, and both
your vehicle and the trailer can be damaged.
But
if you ever have to park your rig on a hill, here’s
how to do it:
1.
2.
3.
4.
Apply your regular brakes, but don’t shift into
PARK
(P) yet for an automatic transmission, or into
gear for a manual transmission.
Have someone place chocks under the trailer wheels.
When the wheel chocks are
in place, release the
regular brakes until the chocks absorb the load.
Reapply the regular brakes. Then apply your parking brake and
shift into PARK (P) for an automatic
transmission, or REVERSE (R)
for a manual
transmission.
4-58
ProCarManuals.com