Page 139 of 192

Never remove the coolant reservoir cap
while the engine is running or hot.
If you must remove the coolant reservoir cap, follow
these steps to avoid personal injury:
1. Before you remove the cap, turn the engine off
and let it cool.
2. When the engine is cool, wrap a thick cloth
around the cap. Slowly turn cap counterclockwise
until pressure begins to release.
3. Step back while the pressure releases.
4. When you are sure that all the pressure has been
released, use the cloth to turn it counterclockwise
and remove the cap.
Change your engine coolant according to the
appropriate schedule listed in the ªService Guideº.
Before adding engine coolant, check the color of the
coolant in your vehicle.
For vehicles with green coolant,use Ford
Premium Cooling System Fluid E2FZ-19549±AA (in
Canada, Motorcraft CXC-8±B) or an equivalent
premium engine coolant that meets Ford
specification ESE-M97B44±A.
Do not add orange coolant or recycled coolant
to your vehicle originally equipped with
conventional green coolant .
For vehicles with orange coolant,use Ford
Extended Life Engine Coolant F6AZ-19544±AA or a
DEX-COOLtequivalent that meets Ford
specification WSS-M97B44±D.
Do not add conventional green coolant or
recycled coolant to your vehicle originally
equipped with orange coolant.
Do not use alcohol or methanol antifreeze or any
engine coolants mixed with alcohol or methanol
antifreeze. Do not use supplemental coolant
Maintenance and care
139
Page 141 of 192
increase the engine coolant concentration above
60%. Leave a 50/50 mixture of engine coolant and
water in your vehicle year-round in non-extreme
climates.
CHECKING AND ADDING POWER STEERING
FLUID
Check the power
steering fluid. Refer to
the ªService Guideº for
the service interval
schedules. If adding
fluid is necessary, use
only MERCONtAT F.
1. Start the engine and let it run until it reaches
normal operating temperature (the engine coolant
temperature gauge indicator will be near the center
of the normal area between H and C).
2. While the engine idles, turn the steering wheel
left and right several times.
3. Turn the engine off.
Perform steps 4 and 5 following the procedure for
your engine.
3.0L Vulcan engine
4. Check the fluid level
on the dipstick. It
should be between the
arrows in the FULL
HOT range. Do not add
fluid if the level is
within this range.
FULL HOT
Maintenance and care
141
Page 142 of 192

5. If the fluid is low, add fluid in small amounts,
continuously checking the level until it reaches the
FULL HOT range. Be sure to put the dipstick back
in the reservoir.
3.0L Duratec engine and 3.4L SHO engine
4. Check the fluid level
in the reservoir. It
should be between the
MIN and MAX lines. Do
not add fluid if the
level is within this
range.
5. If the fluid is low, add fluid in small amounts,
continuously checking the level until it reaches the
range between the MIN and MAX lines. Be sure to
put the cap back on the reservoir.
TRANSMISSION FLUID
Checking automatic transmission fluid
Refer to your ªService Guideº for scheduled intervals
for fluid checks and changes. Your transaxle does
not consume fluid. However, the fluid level should
be checked if the transaxle is not working properly,
i.e., if the transaxle slips or shifts slowly or if you
notice some sign of fluid leakage.
Automatic transmission fluid expands when
warmed. To obtain an accurate fluid check,
drive the vehicle until it is warmed up
(approximately 30 km [20 miles]). If your
vehicle has been operated for an extended
period at high speeds, in city traffic during hot
weather or pulling a trailer, the vehicle should
be turned off for about 30 minutes to allow
fluid to cool before checking.
1. Drive the vehicle 30 km (20 miles) or until it
reaches normal operating temperature.
MINMAX
Maintenance and care
142
Page 144 of 192

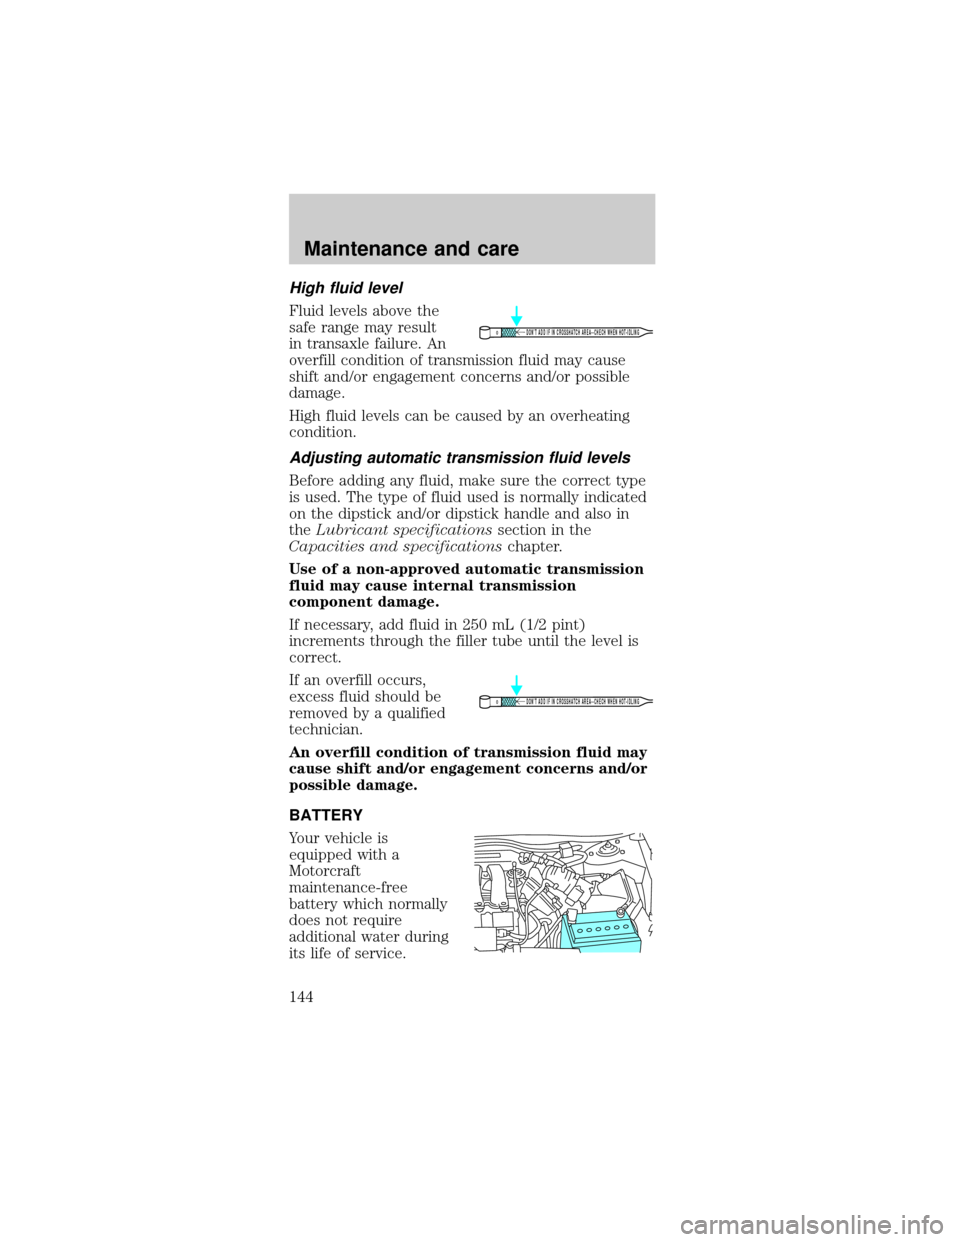
High fluid level
Fluid levels above the
safe range may result
in transaxle failure. An
overfill condition of transmission fluid may cause
shift and/or engagement concerns and/or possible
damage.
High fluid levels can be caused by an overheating
condition.
Adjusting automatic transmission fluid levels
Before adding any fluid, make sure the correct type
is used. The type of fluid used is normally indicated
on the dipstick and/or dipstick handle and also in
theLubricant specificationssection in the
Capacities and specificationschapter.
Use of a non-approved automatic transmission
fluid may cause internal transmission
component damage.
If necessary, add fluid in 250 mL (1/2 pint)
increments through the filler tube until the level is
correct.
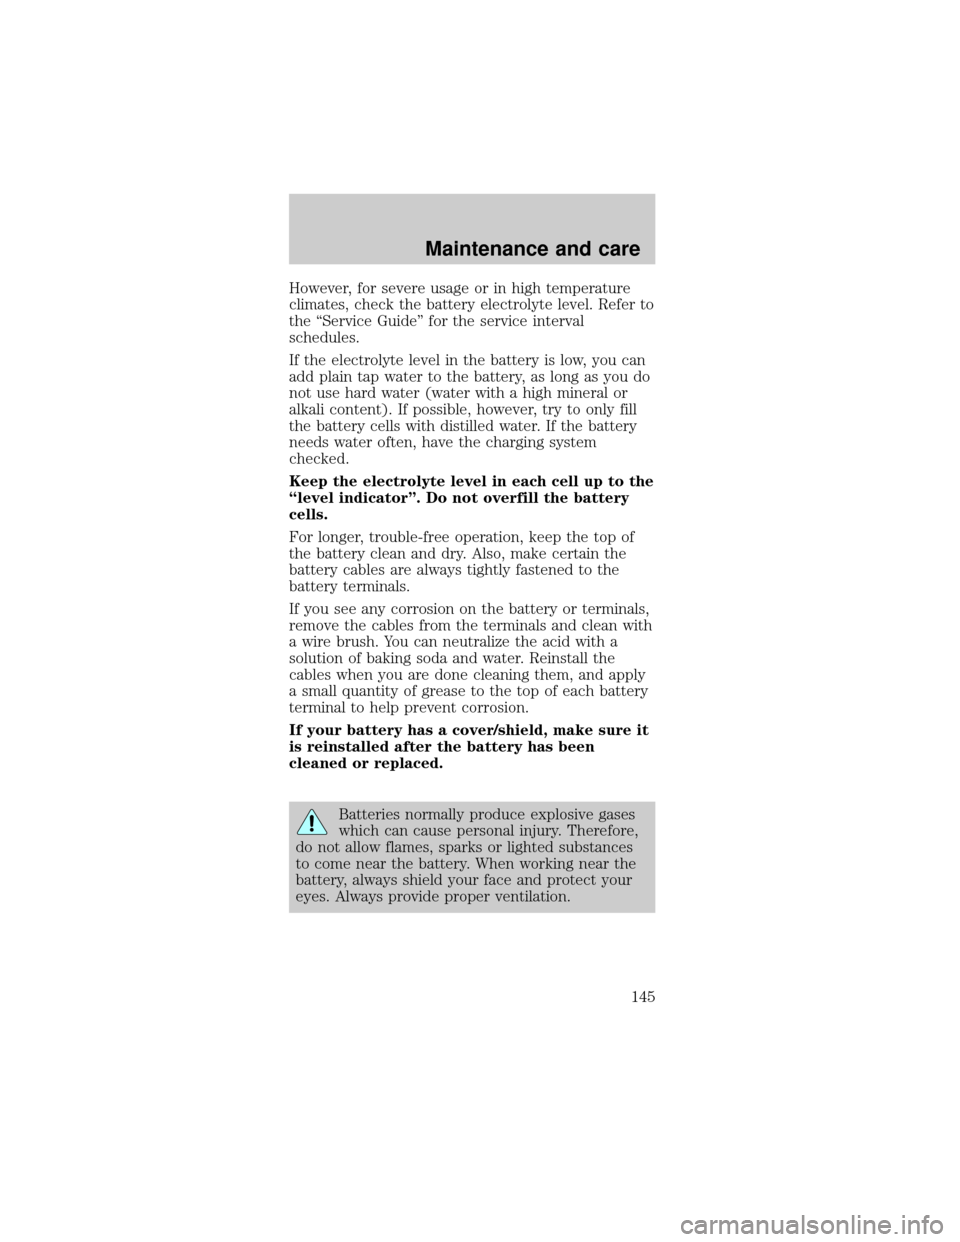
If an overfill occurs,
excess fluid should be
removed by a qualified
technician.
An overfill condition of transmission fluid may
cause shift and/or engagement concerns and/or
possible damage.
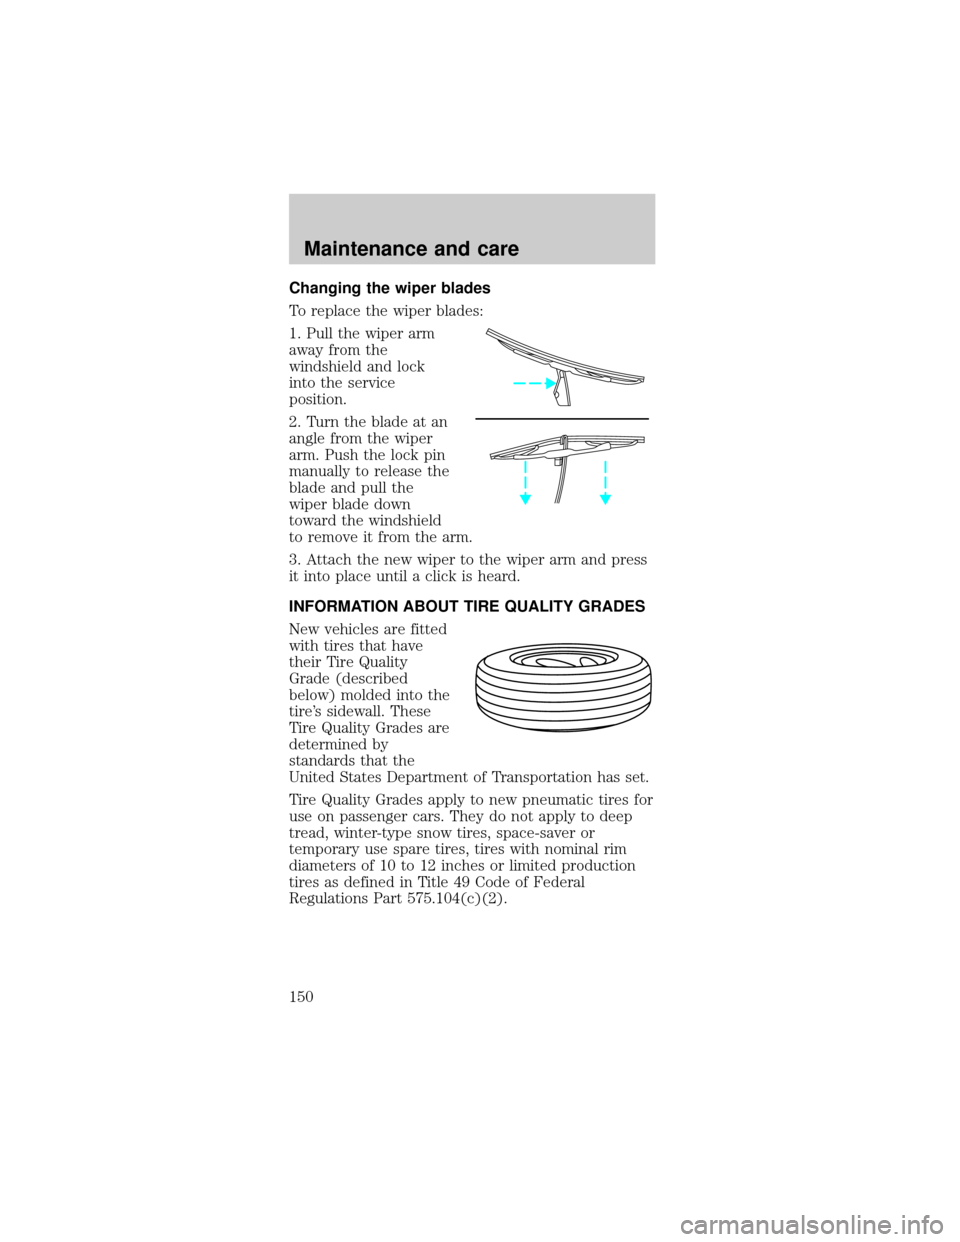
BATTERY
Your vehicle is
equipped with a
Motorcraft
maintenance-free
battery which normally
does not require
additional water during
its life of service.
DON’T ADD IF IN CROSSHATCH AREA--CHECH WHEN HOT-IDLING
DON’T ADD IF IN CROSSHATCH AREA--CHECH WHEN HOT-IDLING
Maintenance and care
144
Page 145 of 192

However, for severe usage or in high temperature
climates, check the battery electrolyte level. Refer to
the ªService Guideº for the service interval
schedules.
If the electrolyte level in the battery is low, you can
add plain tap water to the battery, as long as you do
not use hard water (water with a high mineral or
alkali content). If possible, however, try to only fill
the battery cells with distilled water. If the battery
needs water often, have the charging system
checked.
Keep the electrolyte level in each cell up to the
ªlevel indicatorº. Do not overfill the battery
cells.
For longer, trouble-free operation, keep the top of
the battery clean and dry. Also, make certain the
battery cables are always tightly fastened to the
battery terminals.
If you see any corrosion on the battery or terminals,
remove the cables from the terminals and clean with
a wire brush. You can neutralize the acid with a
solution of baking soda and water. Reinstall the
cables when you are done cleaning them, and apply
a small quantity of grease to the top of each battery
terminal to help prevent corrosion.
If your battery has a cover/shield, make sure it
is reinstalled after the battery has been
cleaned or replaced.
Batteries normally produce explosive gases
which can cause personal injury. Therefore,
do not allow flames, sparks or lighted substances
to come near the battery. When working near the
battery, always shield your face and protect your
eyes. Always provide proper ventilation.
Maintenance and care
145
Page 150 of 192

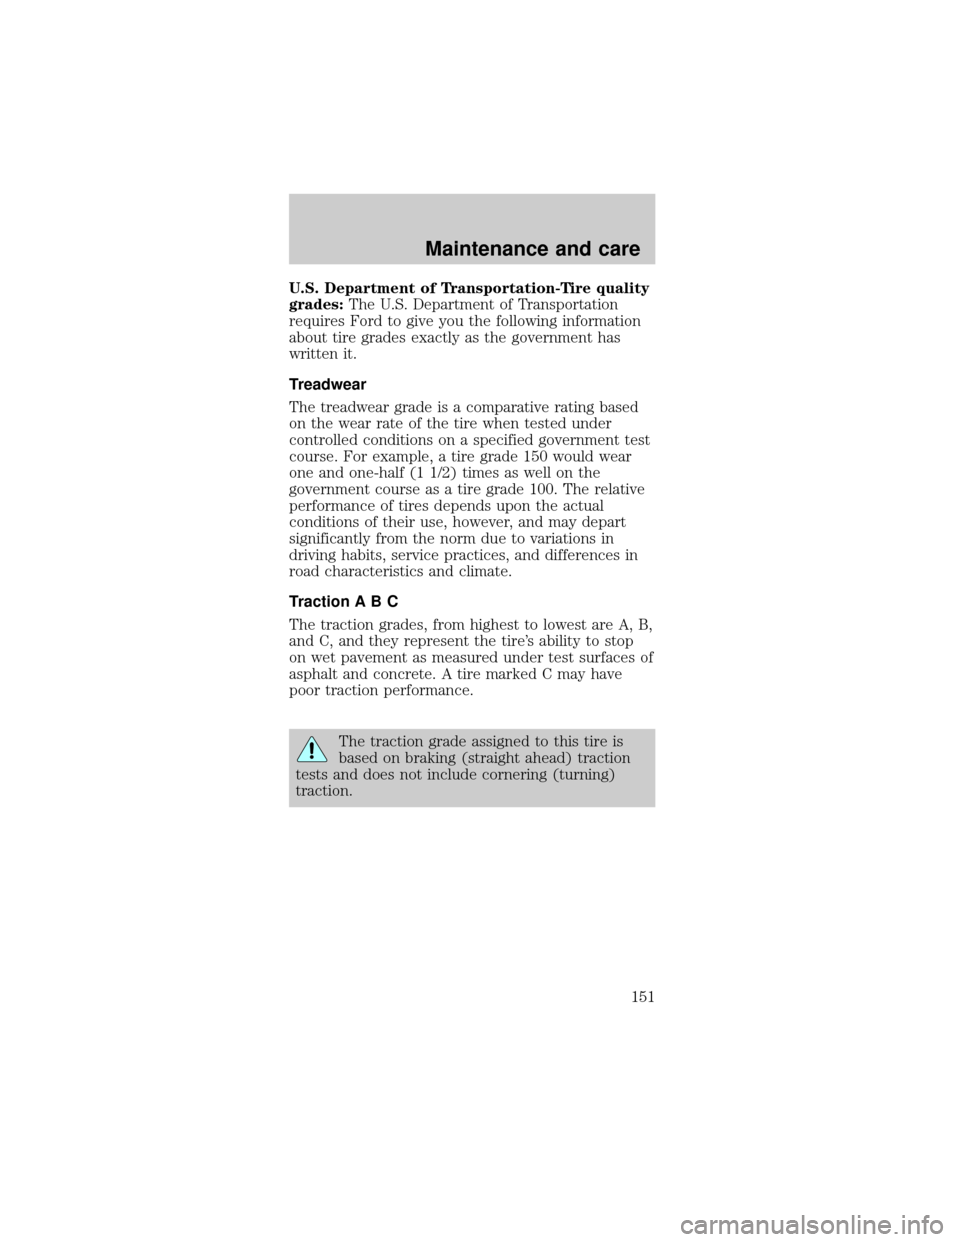
Changing the wiper blades
To replace the wiper blades:
1. Pull the wiper arm
away from the
windshield and lock
into the service
position.
2. Turn the blade at an
angle from the wiper
arm. Push the lock pin
manually to release the
blade and pull the
wiper blade down
toward the windshield
to remove it from the arm.
3. Attach the new wiper to the wiper arm and press
it into place until a click is heard.
INFORMATION ABOUT TIRE QUALITY GRADES
New vehicles are fitted
with tires that have
their Tire Quality
Grade (described
below) molded into the
tire's sidewall. These
Tire Quality Grades are
determined by
standards that the
United States Department of Transportation has set.
Tire Quality Grades apply to new pneumatic tires for
use on passenger cars. They do not apply to deep
tread, winter-type snow tires, space-saver or
temporary use spare tires, tires with nominal rim
diameters of 10 to 12 inches or limited production
tires as defined in Title 49 Code of Federal
Regulations Part 575.104(c)(2).
Maintenance and care
150
Page 151 of 192

U.S. Department of Transportation-Tire quality
grades:The U.S. Department of Transportation
requires Ford to give you the following information
about tire grades exactly as the government has
written it.
Treadwear
The treadwear grade is a comparative rating based
on the wear rate of the tire when tested under
controlled conditions on a specified government test
course. For example, a tire grade 150 would wear
one and one-half (1 1/2) times as well on the
government course as a tire grade 100. The relative
performance of tires depends upon the actual
conditions of their use, however, and may depart
significantly from the norm due to variations in
driving habits, service practices, and differences in
road characteristics and climate.
Traction A B C
The traction grades, from highest to lowest are A, B,
and C, and they represent the tire's ability to stop
on wet pavement as measured under test surfaces of
asphalt and concrete. A tire marked C may have
poor traction performance.
The traction grade assigned to this tire is
based on braking (straight ahead) traction
tests and does not include cornering (turning)
traction.
Maintenance and care
151
Page 153 of 192
Improperly inflated tires can affect vehicle
handling and can fail suddenly, possibly
resulting in loss of vehicle control.
Tire rotation
Because your vehicle's tires perform different jobs,
they often wear differently. To make sure your tires
wear evenly and last longer, rotate them as indicated
in the ªService Guide.º If you notice that the tires
wear unevenly, have them checked.
²Four tire rotation
Replacing the tires
Replace the tires when
the wear band is
visible through the tire
treads.
Failure to follow these precautions may
adversely affect the handling of the vehicle
and make it easier for the driver to lose control
and roll over.
Maintenance and care
153