Page 11 of 192
Check coolant
Illuminates when the
coolant level in the
coolant reservoir is low
and more needs to be
added. This lamp will also illuminate when the
ignition is turned to ON and the engine is off. For
more information on adding engine coolant, refer to
Engine coolantin theMaintenance and care
chapter.
Safety belt warning chime
Chimes to remind you to fasten your safety belts.
For information on the safety belt warning chime,
refer to theSeating and safety restraintschapter.
Supplemental restraint system (SRS) warning
chime
For information on the SRS warning chime, refer to
theSeating and safety restraintschapter.
Key-in-ignition warning chime
Sounds when the key is left in the ignition in the
OFF/LOCK or ACC position and the driver's door is
opened.
Headlamps on warning chime
Sounds when the headlamps or parking lamps are
on, the ignition is off (and the key is not in the
ignition) and the driver's door is opened.
Instrumentation
11
Page 70 of 192

Safety belt extension assembly
If the safety belt assembly is too short, even when
fully extended, 20 cm (8 inches) can be added to
the safety belt assembly by adding a safety belt
extension assembly (part number 611C22). Safety
belt extension assemblies can be obtained from your
dealer at no cost.
Use only extensions manufactured by the same
supplier as the safety belt. Manufacturer
identification is located at the end of the webbing on
the label. Also, use the safety belt extension only if
the safety belt is too short for you when fully
extended. Do not use extensions to change the fit of
the shoulder belt across the torso.
Safety belt warning light and indicator chime
The seat belt warning light illuminates in the
instrument cluster and a chime sounds to remind
the occupants to fasten their safety belts.
Conditions of operation
If... Then...
The driver's safety belt
is not buckled before
the ignition switch is
turned to the ON
position...The safety belt warning
light illuminates for one
to two minutes and the
warning chime sounds
for four to eight
seconds.
The driver's safety belt
is buckled while the
indicator light is
illuminated and the
warning chime is
sounding...The safety belt warning
light and warning chime
turn off.
The driver's safety belt
is buckled before the
ignition switch is turned
to the ON position...The safety belt warning
light will turn on for
three seconds and then
turn off. The indicator
chime will remain off.
Seating and safety restraints
70
Page 103 of 192

²Trailer Weight Range: Specified weight range
that the trailer must fall within that ranges from
zero to the maximum trailer weight rating.
Remember to figure in the tongue load of your
loaded trailer when figuring the total weight.
Do not exceed the GVWR or the GAWR
specified on the Safety Compliance
Certification Label.
Do not use replacement tires with lower load
carrying capacities than the originals because they
may lower the vehicle's GVWR and GAWR
limitations. Replacement tires with a higher limit
than the originals do not increase the GVWR and
GAWR limitations.
The Certification Label, found on the inside pillar of
the driver's door, lists several important vehicle
weight rating limitations. Before adding any
additional equipment, refer to these limitations. If
you are adding weight to the front of your vehicle,
(potentially including weight added to the cab), the
weight added should not exceed the Front Axle
Reserve Capacity (FARC). Additional frontal weight
may be added to the front axle reserve capacity
provided you limit your payload in other ways (i.e.
restrict the number of passengers or amount of
cargo carried).
You may add equipment throughout your vehicle if
the total weight added is equal to or less than the
Total Axle Reserve Capacity (TARC) weight. You
should NEVER exceed the Total Axle Reserve
Capacity.
Always ensure that the weight of passengers, cargo
and equipment being carried is within the weight
limitations that have been established for your
vehicle including both Gross Vehicle Weight and
Front and Rear Gross Axle Weight Rating limits.
Under no circumstance should these limitations be
exceeded. Exceeding any vehicle weight rating
Driving
103
Page 132 of 192
²If the oil level is
below the MIN mark,
add enough oil to
raise the level within
the MINÐMAX
range.
²Oil levels above the MAX mark may cause engine
damage. Some oil must be removed from the
engine by a service technician.
7. Put the indicator back in and ensure it is fully
seated.
Adding engine oil
1. Check the engine oil. For instructions, refer to
Checking the engine oilin this chapter.
2. If the engine oil level is not within the normal
range, add only certified engine oil of the
recommended viscosity. Remove the engine oil filler
cap and use a funnel to pour the engine oil into the
opening.
3. Recheck the engine oil level. Make sure the oil
level is not above the F in FULL mark on the
dipstick.
Maintenance and care
132
Page 133 of 192
Engine oil and filter recommendations
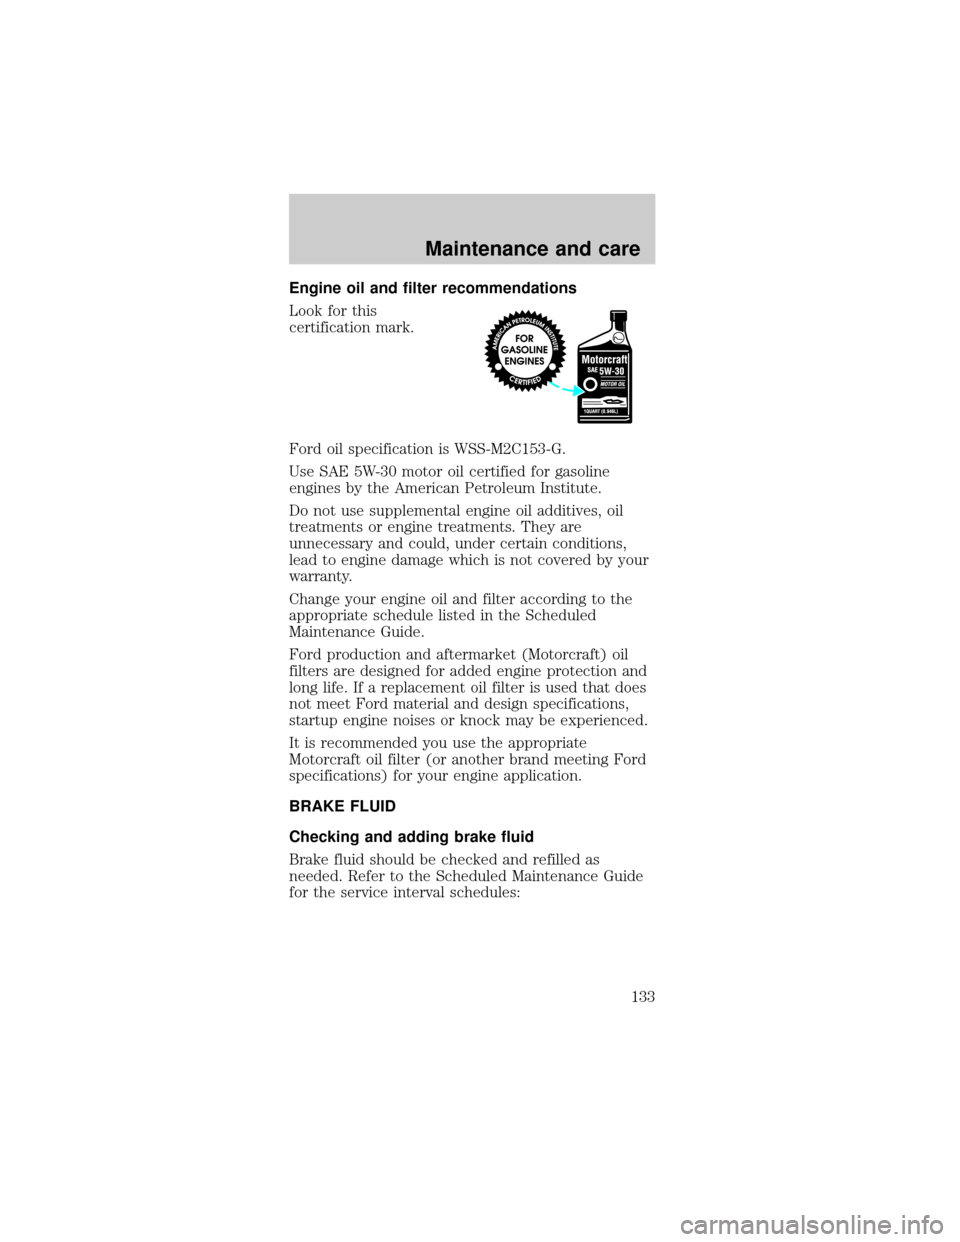
Look for this
certification mark.
Ford oil specification is WSS-M2C153-G.
Use SAE 5W-30 motor oil certified for gasoline
engines by the American Petroleum Institute.
Do not use supplemental engine oil additives, oil
treatments or engine treatments. They are
unnecessary and could, under certain conditions,
lead to engine damage which is not covered by your
warranty.
Change your engine oil and filter according to the
appropriate schedule listed in the Scheduled
Maintenance Guide.
Ford production and aftermarket (Motorcraft) oil
filters are designed for added engine protection and
long life. If a replacement oil filter is used that does
not meet Ford material and design specifications,
startup engine noises or knock may be experienced.
It is recommended you use the appropriate
Motorcraft oil filter (or another brand meeting Ford
specifications) for your engine application.
BRAKE FLUID
Checking and adding brake fluid
Brake fluid should be checked and refilled as
needed. Refer to the Scheduled Maintenance Guide
for the service interval schedules:
Maintenance and care
133
Page 136 of 192
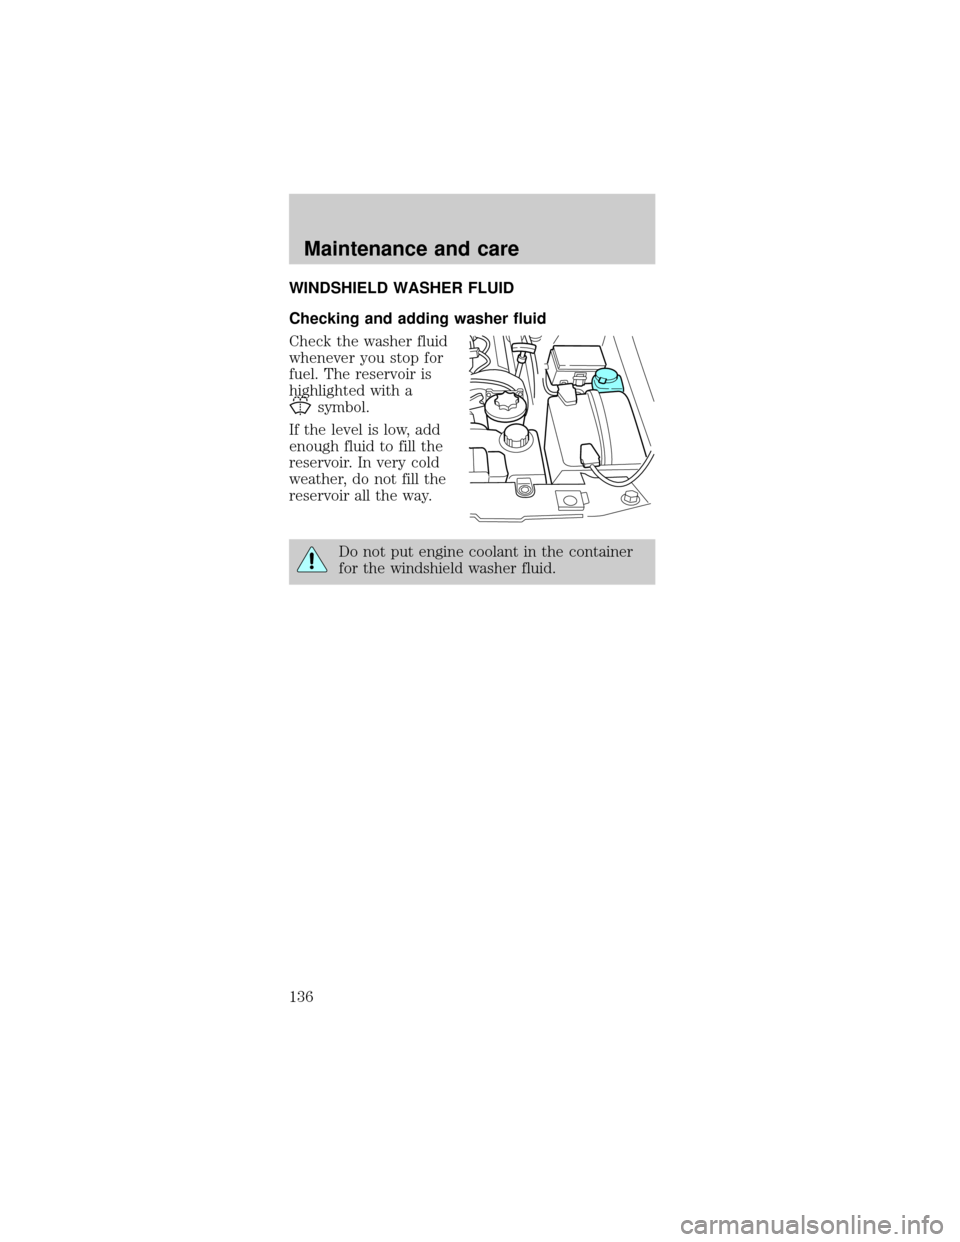
WINDSHIELD WASHER FLUID
Checking and adding washer fluid
Check the washer fluid
whenever you stop for
fuel. The reservoir is
highlighted with a
symbol.
If the level is low, add
enough fluid to fill the
reservoir. In very cold
weather, do not fill the
reservoir all the way.
Do not put engine coolant in the container
for the windshield washer fluid.
Maintenance and care
136
Page 137 of 192
ENGINE COOLANT
²3.8L OHV V6 engine
²4.6L V8 engine
Check the level of the engine coolant in the
reservoir. Refer to the Scheduled Maintenance Guide
for service interval schedules. Be sure to read and
understandPrecautions when servicing your
vehiclein this chapter.
If the engine coolant has not been checked at the
recommended interval, the engine coolant reservoir
may become empty. If this occurs, add engine
coolant to the coolant reservoir. For more
information on engine coolant maintenance, refer to
Adding engine coolantin this chapter.
Automotive fluids are not interchangeable; do not
use engine coolant, antifreeze or windshield washer
fluid outside of its specified function and vehicle
location.
Maintenance and care
137
Page 138 of 192

Adding engine coolant
Do not put engine coolant in the container
for the windshield washer fluid.
Do not mix conventional green coolant, orange
coolant or recycled coolants together in your
vehicle. Use only the type of coolant that your
vehicle was originally equipped with. If you are
unsure which type of coolant your vehicle
requires, contact your local dealer.
If sprayed on the windshield, engine coolant could
make it difficult to see through the windshield.
When the engine is cool, add a 50/50 mixture of
engine coolant and water to the engine coolant
reservoirÐDO NOT ADD DIRECTLY TO THE
RADIATOR. Add straight water only in an emergency,
but you should replace it with a 50/50 mixture of
coolant and distilled water as soon as possible.
Check the coolant level in the coolant reservoir the
next few times you drive the vehicle. If necessary, add
enough of a 50/50 mixture of coolant and water to
bring the liquid level to the fill line on the reservoir.
Never remove the coolant reservoir cap
while the engine is running or hot.
If you must remove the coolant reservoir cap, follow
these steps to avoid personal injury:
1. Before you remove the cap, turn the engine off
and let it cool.
2. When the engine is cool, wrap a thick cloth
around the cap. Slowly turn cap counterclockwise
until pressure begins to release.
3. Step back while the pressure releases.
4. When you are sure that all the pressure has been
released, use the cloth to turn it counterclockwise
and remove the cap.
Maintenance and care
138