Page 18 of 210
Fuel economy
Press once to display your vehicle's
average fuel economy in
kilometers/liters (miles/gallons).
Press again to display the fuel
economy that your vehicle is getting
at that particular time. Your vehicle
must be moving in order for this
display to function properly.
Reset
Press the reset control to reset the
current feature being displayed.
Warnings, distance driven, average
fuel economy, fuel used and
personalized oil reset percentage are
the only features that respond to
reset.
ENGLISH/
METRICRANGESTATUS
ECONRESETSYSTEM
CHECKOIL
CHANGE
RESET
FUEL
ENGLISH/
METRICRANGESTATUS
ECONRESETSYSTEM
CHECKOIL
CHANGE
RESET
FUEL
Instrumentation
18
Page 19 of 210

System check
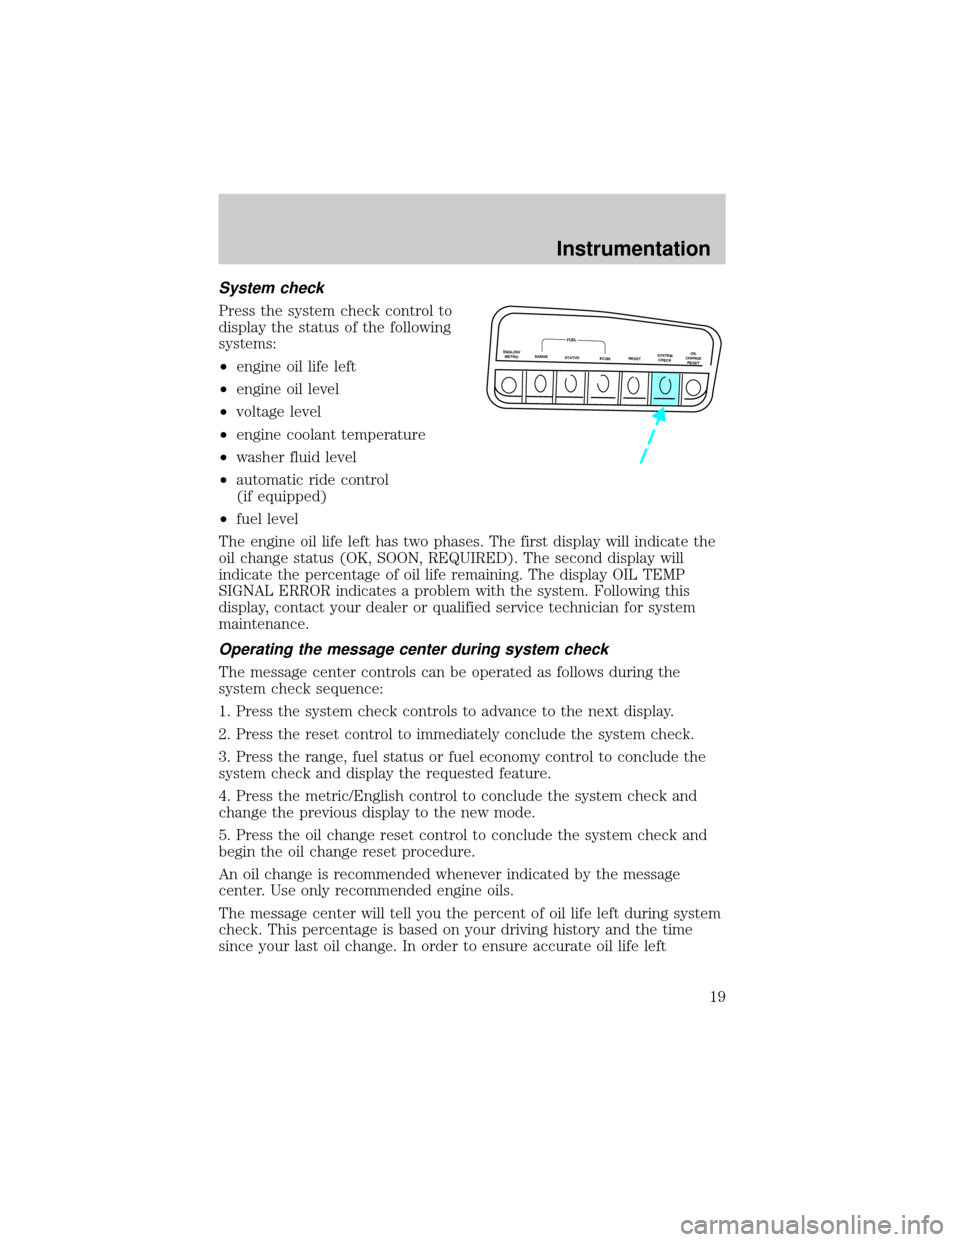
Press the system check control to
display the status of the following
systems:
²engine oil life left
²engine oil level
²voltage level
²engine coolant temperature
²washer fluid level
²automatic ride control
(if equipped)
²fuel level
The engine oil life left has two phases. The first display will indicate the
oil change status (OK, SOON, REQUIRED). The second display will
indicate the percentage of oil life remaining. The display OIL TEMP
SIGNAL ERROR indicates a problem with the system. Following this
display, contact your dealer or qualified service technician for system
maintenance.
Operating the message center during system check
The message center controls can be operated as follows during the
system check sequence:
1. Press the system check controls to advance to the next display.
2. Press the reset control to immediately conclude the system check.
3. Press the range, fuel status or fuel economy control to conclude the
system check and display the requested feature.
4. Press the metric/English control to conclude the system check and
change the previous display to the new mode.
5. Press the oil change reset control to conclude the system check and
begin the oil change reset procedure.
An oil change is recommended whenever indicated by the message
center. Use only recommended engine oils.
The message center will tell you the percent of oil life left during system
check. This percentage is based on your driving history and the time
since your last oil change. In order to ensure accurate oil life left
ENGLISH/
METRICRANGESTATUS
ECONRESETSYSTEM
CHECKOIL
CHANGE
RESET
FUEL
Instrumentation
19
Page 20 of 210

indications, you should only perform the following procedure after you
have the oil changed.
Oil change reset
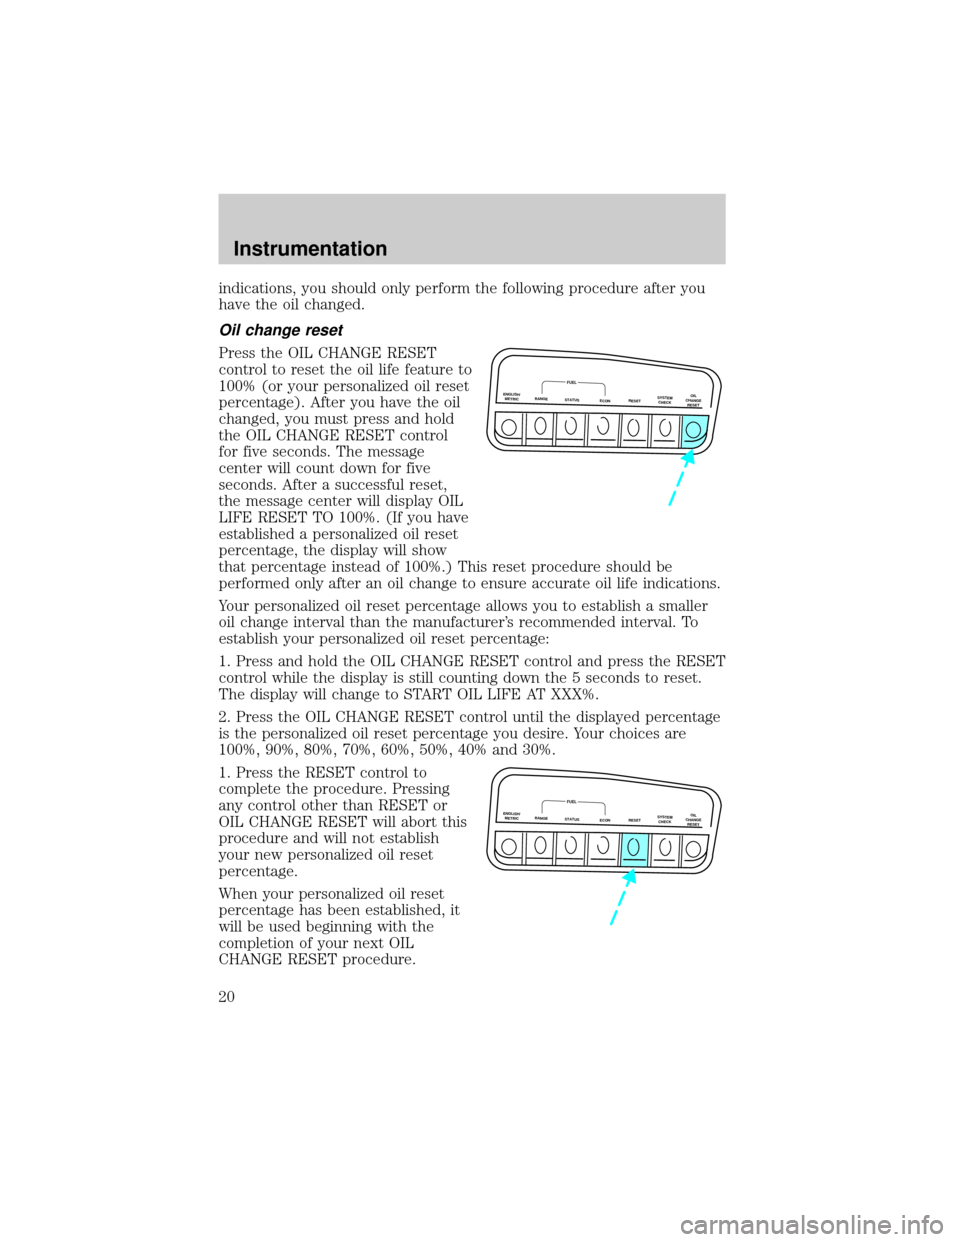
Press the OIL CHANGE RESET
control to reset the oil life feature to
100% (or your personalized oil reset
percentage). After you have the oil
changed, you must press and hold
the OIL CHANGE RESET control
for five seconds. The message
center will count down for five
seconds. After a successful reset,
the message center will display OIL
LIFE RESET TO 100%. (If you have
established a personalized oil reset
percentage, the display will show
that percentage instead of 100%.) This reset procedure should be
performed only after an oil change to ensure accurate oil life indications.
Your personalized oil reset percentage allows you to establish a smaller
oil change interval than the manufacturer's recommended interval. To
establish your personalized oil reset percentage:
1. Press and hold the OIL CHANGE RESET control and press the RESET
control while the display is still counting down the 5 seconds to reset.
The display will change to START OIL LIFE AT XXX%.
2. Press the OIL CHANGE RESET control until the displayed percentage
is the personalized oil reset percentage you desire. Your choices are
100%, 90%, 80%, 70%, 60%, 50%, 40% and 30%.
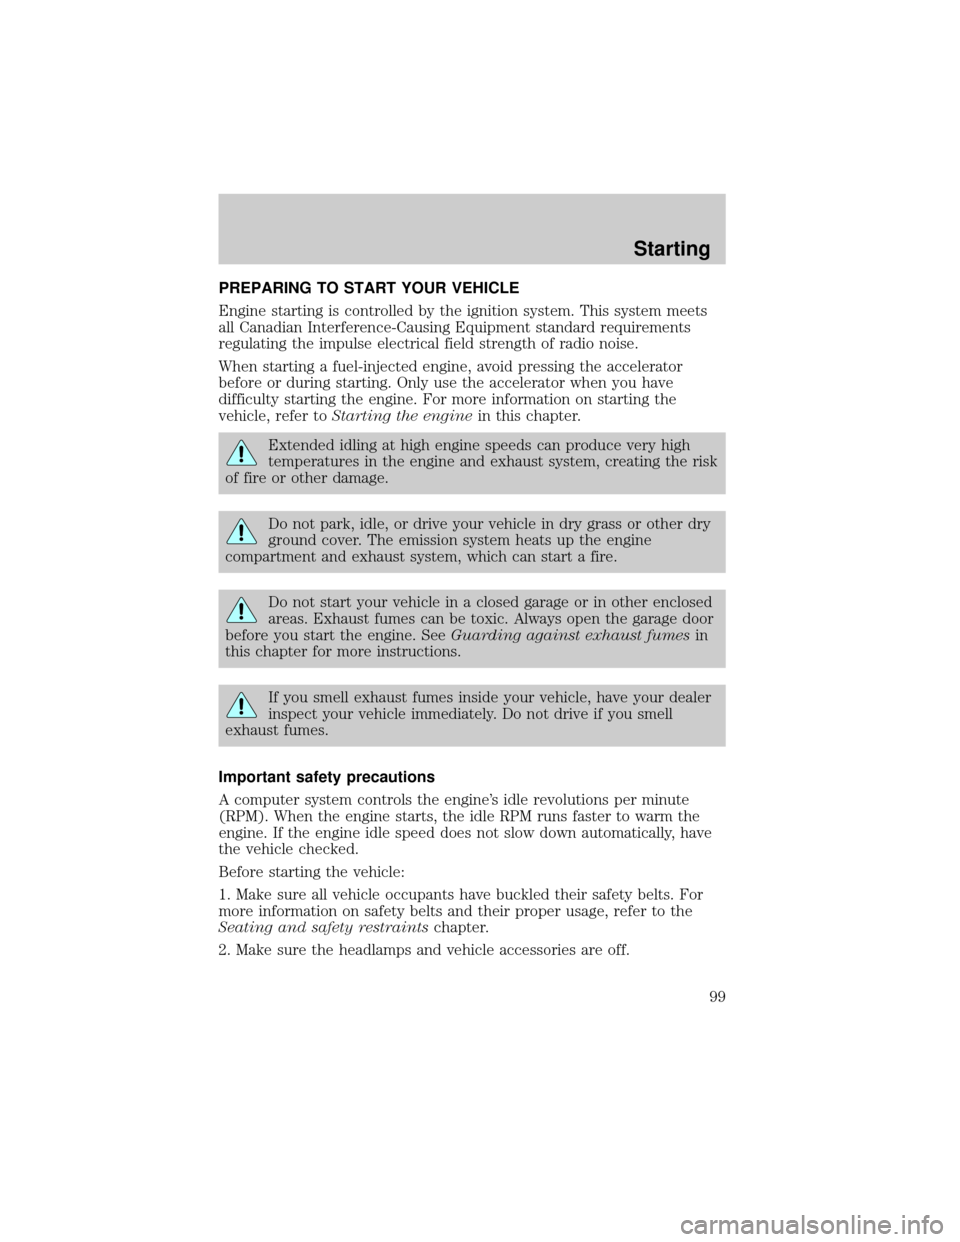
1. Press the RESET control to
complete the procedure. Pressing
any control other than RESET or
OIL CHANGE RESET will abort this
procedure and will not establish
your new personalized oil reset
percentage.
When your personalized oil reset
percentage has been established, it
will be used beginning with the
completion of your next OIL
CHANGE RESET procedure.
ENGLISH/
METRICRANGESTATUS
ECONRESETSYSTEM
CHECKOIL
CHANGE
RESET
FUEL
ENGLISH/
METRICRANGESTATUS
ECONRESETSYSTEM
CHECKOIL
CHANGE
RESET
FUEL
Instrumentation
20
Page 99 of 210

PREPARING TO START YOUR VEHICLE
Engine starting is controlled by the ignition system. This system meets
all Canadian Interference-Causing Equipment standard requirements
regulating the impulse electrical field strength of radio noise.
When starting a fuel-injected engine, avoid pressing the accelerator
before or during starting. Only use the accelerator when you have
difficulty starting the engine. For more information on starting the
vehicle, refer toStarting the enginein this chapter.
Extended idling at high engine speeds can produce very high
temperatures in the engine and exhaust system, creating the risk
of fire or other damage.
Do not park, idle, or drive your vehicle in dry grass or other dry
ground cover. The emission system heats up the engine
compartment and exhaust system, which can start a fire.
Do not start your vehicle in a closed garage or in other enclosed
areas. Exhaust fumes can be toxic. Always open the garage door
before you start the engine. SeeGuarding against exhaust fumesin
this chapter for more instructions.
If you smell exhaust fumes inside your vehicle, have your dealer
inspect your vehicle immediately. Do not drive if you smell
exhaust fumes.
Important safety precautions
A computer system controls the engine's idle revolutions per minute
(RPM). When the engine starts, the idle RPM runs faster to warm the
engine. If the engine idle speed does not slow down automatically, have
the vehicle checked.
Before starting the vehicle:
1. Make sure all vehicle occupants have buckled their safety belts. For
more information on safety belts and their proper usage, refer to the
Seating and safety restraintschapter.
2. Make sure the headlamps and vehicle accessories are off.
Starting
99
Page 101 of 210
3. Turn the key to 4 (ON) without
turning the key to 5 (START).
Make sure the corresponding lights illuminate briefly. If a light fails to
illuminate, have the vehicle serviced.
²If the driver's safety belt is fastened, the light (
) will not
illuminate.
1
2
34
5
C
012345
6
RPMx1000ABS
CHECK
ENGINE
DOOR
AJAR
EFH
H
H
PRN D 2 1THEFT
SPEED
CONT
4WD
4WD
LOW
O/D
OFFL
L
10MPH 205060
70
304080
90
km/h
0 0 0
10 100
1
20
1
0 0 0 0 0 0406080100
120
140
160
180
20
DOOR
AJAR
CHECK
GAGE
!BRAKE
Starting
101
Page 106 of 210
Always set the parking brake fully and make sure that the
gearshift is securely latched in P (Park) (automatic
transmission) or in 1 (First) (manual transmission).
The parking brake is not designed to stop a moving vehicle. However, if
the normal brakes fail, the parking brake can be used to stop your
vehicle in an emergency. Since the parking brake applies only the rear
brakes, the vehicle's stopping distance will be adversely affected.
Pull the release lever to release the
brake. Driving with the parking
brake on will cause the brakes to
wear out quickly and reduce fuel
economy.
AIR SUSPENSION SYSTEM (IF EQUIPPED)
The air suspension system is designed to improve ride, handling and
general vehicle performance during:
²certain road conditions
²steering maneuvers
²braking
²accelerations
This system maintains the vehicle height at a constant level by
automatically adding air or releasing air from the springs to offset
changes in vehicle loads.
Driving
106
Page 109 of 210

N (Neutral)
With the gearshift in N (Neutral),
the vehicle can be started and is
free to roll. Hold the brake pedal
down while in this gear.
(Overdrive)
The normal driving position for the
best fuel economy. Transmission
operates in gears one through four.
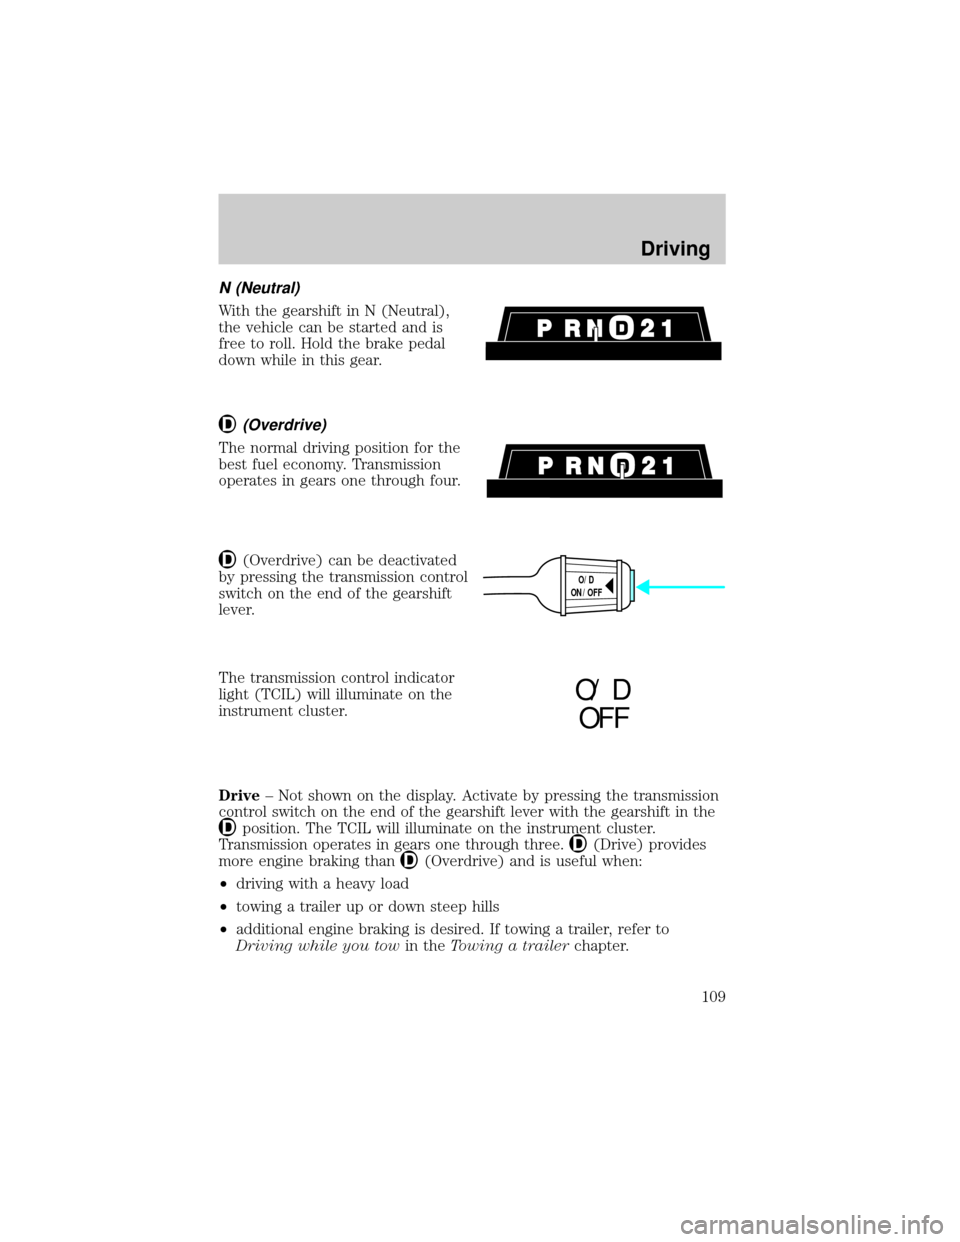
(Overdrive) can be deactivated
by pressing the transmission control
switch on the end of the gearshift
lever.
The transmission control indicator
light (TCIL) will illuminate on the
instrument cluster.
Drive± Not shown on the display. Activate by pressing the transmission
control switch on the end of the gearshift lever with the gearshift in the
position. The TCIL will illuminate on the instrument cluster.
Transmission operates in gears one through three.
(Drive) provides
more engine braking than
(Overdrive) and is useful when:
²driving with a heavy load
²towing a trailer up or down steep hills
²additional engine braking is desired. If towing a trailer, refer to
Driving while you towin theTowing a trailerchapter.
O/D
ON/OFF
O/ D
OFF
Driving
109
Page 111 of 210
P (Park)
Always come to a complete stop
before shifting into or out of P
(Park). Make sure the gearshift is
securely latched in P (Park).
R (Reverse)
With the gearshift in R (Reverse),
the vehicle will move backward.
Always come to a complete stop
before shifting into and out of R
(Reverse).
N (Neutral)
With the gearshift in N (Neutral),
the vehicle can be started and is
free to roll. Hold the brake pedal
down while in this gear.
(Overdrive)
The normal driving position for the
best fuel economy. Transmission
operates in gears one through five.
(Overdrive) can be deactivated
by pressing the transmission control
switch on the end of the gearshift
lever.
O/D
ON/OFF
Driving
111