Page 2 of 191

ICONS
Indicates a warning. Read the
following section onWarningsfor
a full explanation.
Indicates vehicle information
related to recycling and other
environmental concerns will follow.
Correct vehicle usage and the
authorized disposal of waste
cleaning and lubrication materials
are significant steps towards
protecting the environment.
WARNINGS
Warnings provide information
which may reduce the risk of
personal injury and prevent
possible damage to others, your
vehicle and its equipment.
BREAKING-IN YOUR VEHICLE
There are no particular breaking-in
rules for your vehicle. During the
first 1 600 km (1 000 miles) of
driving, vary speeds frequently.
This is necessary to give the
moving parts a chance to break in.
If possible, you should avoid full
use of the brakes for the first
1 600 km (1 000 miles).
INFORMATION ABOUT THIS
GUIDE
The information found in this
guide was in effect at the time of
printing. Ford may change the
contents without notice and
without incurring obligation.
Introduction
2
Page 8 of 191

position to check the bulb. If it
comes on after the engine is
started, one of the engine's
emission control systems may be
malfunctioning. The light may
illuminate without a driveability
concern being noted. The vehicle
will usually be drivable and will not
require towing.
What you should do if the
Service Engine Soon light
illuminates
Light turns on solid:
This means that the OBD II system
has detected a malfunction.
Temporary malfunctions may cause
yourService Engine Soonlight to
illuminate. Examples are:
1. The vehicle has run out of fuel.
(The engine may misfire or run
poorly.)
2. Poor fuel quality or water in the
fuel.
3. The fuel cap may not have been
properly installed and securely
tightened.
These temporary malfunctions can
be corrected by filling the fuel tank
with good quality fuel and/or
properly installing and securely
tightening the gas cap. After three
driving cycles without these or any
other temporary malfunctions
present, theService Engine Soon
light should turn off. (A driving
cycle consists of a cold engine
startup followed by mixed
city/highway driving.) No
Instrumentation
8
Page 27 of 191
The Daytime Running
Light (DRL) system will
not illuminate the tail lamps and
parking lamps. Turn on your
headlamps at dusk. Failure to do
so may result in a collision.
High beams
Push forward to activate.
Flash to pass
Pull toward you to activate and
release to deactivate.
TURN SIGNAL CONTROL
²Push down to activate the left
turn signal.
²Push up to activate the right
turn signal.
OFF
OFF
OFF
Controls and features
27
Page 34 of 191
WINDSHIELD WIPER AND
WASHER
²For intermittent wiping, move
the control down one position
and rotate the wiper switch to
the desired position.
²For low speed wiping, move the
control down two positions.
²For high speed wiping, move the
control down three positions.
²For mist wiping, move the
control up one position.
²To spray the washer fluid, pull
the wiper control toward you.
MIST
OFF
INT
1
2
F
S
PULL
INT
MIST
OFF
INT
1
2
F
S
PULL
INT
MIST
OFF
INT
1
2
F
S
PULL
INT
Controls and features
34
Page 39 of 191
FUEL PUMP SHUT-OFF SWITCH
Refer to theRoadside
emergencieschapter for
instructions on how to operate the
fuel pump shut-off switch.
CARGO COVER (IF EQUIPPED)
Your vehicle may be equipped with
a cargo area shade that covers the
luggage compartment of your
vehicle.
To install the shade:
1. Fasten the cover into the
mounting brackets (make sure the
cover is right side up).
2. Pull the end of the shade toward
you and hook the sides into the
notches in the rear trim panels.
To prevent the possibility
of injuries, the fasteners
for the cargo area cover must be
properly attached to the
mounting clips on the rear trim
panels.
Do not place any objects
on the cargo area cover.
They may obstruct your vision or
strike occupants of the vehicle in
the case of a sudden stop or
collision.
REMOTE ENTRY SYSTEM
Your vehicle may have an all-door
remote entry system or a driver's
door only remote entry system.
Controls and features
39
Page 42 of 191

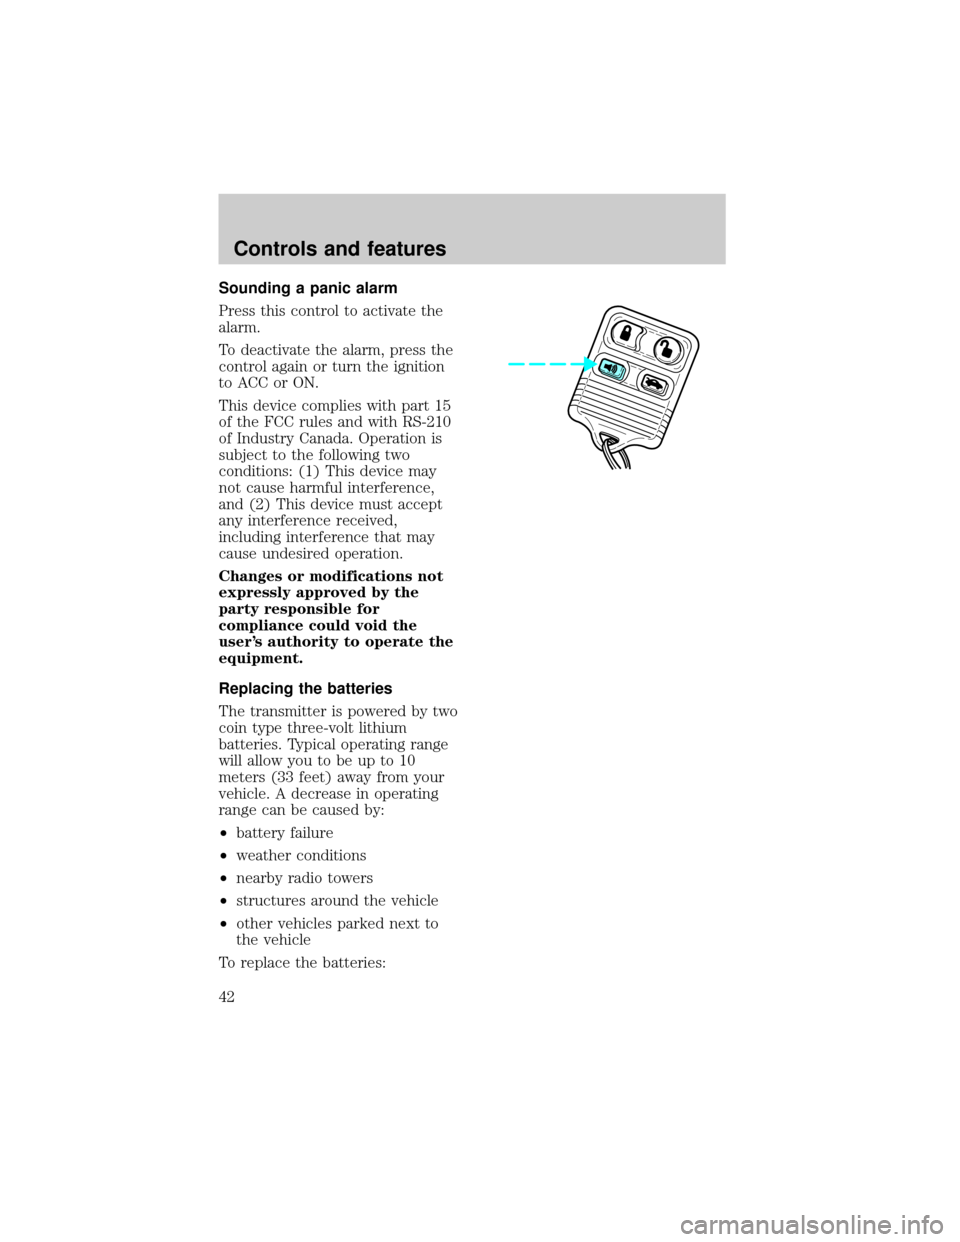
Sounding a panic alarm
Press this control to activate the
alarm.
To deactivate the alarm, press the
control again or turn the ignition
to ACC or ON.
This device complies with part 15
of the FCC rules and with RS-210
of Industry Canada. Operation is
subject to the following two
conditions: (1) This device may
not cause harmful interference,
and (2) This device must accept
any interference received,
including interference that may
cause undesired operation.
Changes or modifications not
expressly approved by the
party responsible for
compliance could void the
user's authority to operate the
equipment.
Replacing the batteries
The transmitter is powered by two
coin type three-volt lithium
batteries. Typical operating range
will allow you to be up to 10
meters (33 feet) away from your
vehicle. A decrease in operating
range can be caused by:
²battery failure
²weather conditions
²nearby radio towers
²structures around the vehicle
²other vehicles parked next to
the vehicle
To replace the batteries:
Controls and features
42
Page 50 of 191
Folding rear seats (if equipped)
Folding down the rear seats
If your vehicle is equipped with a
built-in child seat, the seatback
cannot be folded down unless the
built-in child seat is fully stowed.
SeeBuilt-in child seatsin this
chapter for more information.
To fold the seatback down:
²Press the latch control
downward or pull up on strap
and
²Push the seatback down.
Returning the seat to the
upright position
Check to see that the seat
and seatback is latched
securely in position. Keep floor
area free of objects that would
prevent proper seat engagement.
Never attempt to adjust the seat
while the vehicle is in motion.
To return the seat to the
upright/normal seating position:
²Rotate seat upward and latch.
The full rear bench seat is shown.
The split-folding rear seat (if
equipped) operates in a similar
manner.
Seating and safety restraints
50
Page 69 of 191
5. To put the retractor in the
automatic locking mode, grasp the
shoulder portion of the belt and
pull downward until all of the belt
is extracted and a click is heard.
6. Allow the belt to retract. The
belt will click as it retracts to
indicate it is in the automatic
locking mode.
7. Pull the lap belt portion across
the child seat toward the buckle
and pull up on the shoulder belt
while pushing down with your
knee on the child seat.
8. Allow the safety belt to retract
to remove any slack in the belt.
9. Before placing the child in the
seat, forcibly tilt the seat forward
and back to make sure the seat is
securely held in place.
10. Try to pull the belt out of the
retractor to make sure the
retractor is in the automatic
locking mode (you should not be
Seating and safety restraints
69