Page 20 of 191
ducts. It can be used to clear ice
or fog from the windshield.
Operating tips
²In humid weather, select
before driving. This will
help to prevent your windshield
from fogging. After a few
minutes, select any desired
position.
²To prevent humidity buildup
inside the vehicle, don't drive
with the climate control system
in the OFF position.
²Don't put objects under the
front seat that will interfere with
the airflow to the back seats.
²Remove any snow, ice or leaves
from the air intake area (at the
bottom of the windshield under
the hood).
²When placing objects on top of
your instrument panel, be
careful to not place them over
the defroster outlets. These
objects can block airflow and
reduce your ability to see
through your windshield. Also,
avoid placing small objects on
top of your instrument panel.
These objects can fall down into
the defroster outlets and block
airflow and possibly damage
your climate control system.
Controls and features
20
Page 24 of 191

²-Distributes outside air
through the windshield defroster
ducts. It can be used to clear ice
or fog from the windshield. If
the temperature is about 10ÉC
(50ÉF) or higher, the air
conditioner will automatically
dehumidify the air to prevent
fogging.
Operating tips
²In humid weather, select
before driving. This will
prevent your windshield from
fogging. After a few minutes,
select any desired position.
²To prevent humidity buildup
inside the vehicle, don't drive
with the climate control system
in the OFF position.
²Don't put objects under the
front seat that will interfere with
the airflow to the back seats.
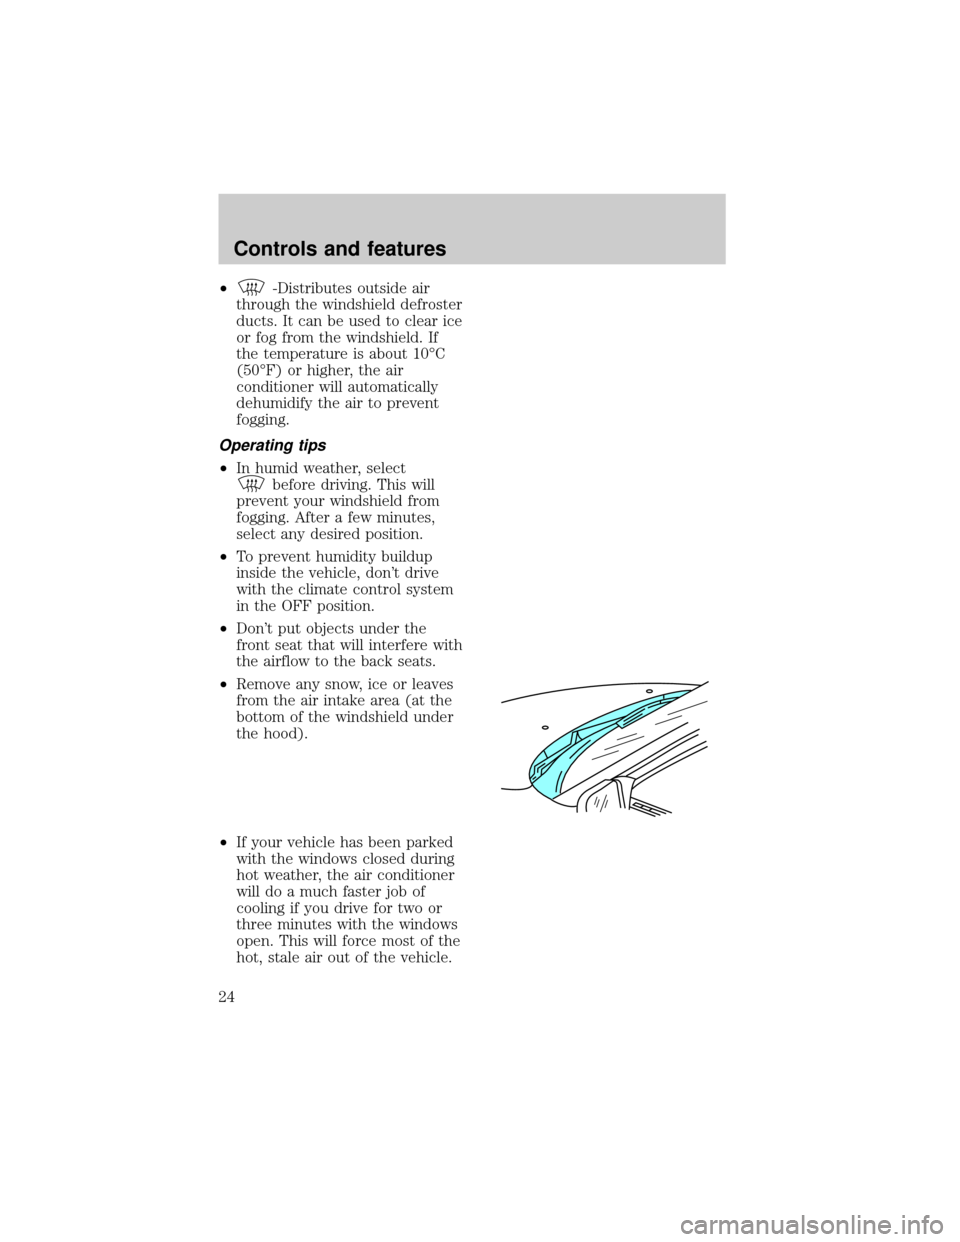
²Remove any snow, ice or leaves
from the air intake area (at the
bottom of the windshield under
the hood).
²If your vehicle has been parked
with the windows closed during
hot weather, the air conditioner
will do a much faster job of
cooling if you drive for two or
three minutes with the windows
open. This will force most of the
hot, stale air out of the vehicle.
Controls and features
24
Page 53 of 191
2. To unfasten, push the red
release button and remove the
tongue from the buckle.
The front and rear outboard safety
restraints in the vehicle are
combination lap and shoulder
belts. The front and rear seat
passenger outboard safety belts
have two types of locking modes
described below:
Automatic locking mode
In this mode, the shoulder belt is
automatically pre-locked. The belt
will still retract to remove any
slack in the shoulder belt.
The automatic locking mode is not
available on the driver safety belt.
When to use the automatic
locking mode
²When a tight lap/shoulder fit is
desired.
²Anytimea child safety seat is
installed in the vehicle. Refer to
Safety Restraints for Children
orSafety Seats for Children
later in this chapter.
Seating and safety restraints
53
Page 79 of 191
3. Slide the shoulder belts off the
child's shoulders and remove the
child.
To stow the built-in child seat
Return the child seat cushion to
the upright position, then press
firmly in the center and top of the
child seat.
Inspecting the built-in child seat
after a collision
Inspect all built-in child restraints,
including seats, buckles, retractors,
seat latches. Interlocks and
attaching hardware should be
inspected by a qualified technician
after any collision. If the child seat
was in use during a collision, Ford
recommends replacing it. Built-in
child restraints not in use during a
collision should be inspected and
replaced if either damage or
improper operation is noted.
Seating and safety restraints
79