1998 FORD CROWN VICTORIA bulb
[x] Cancel search: bulbPage 7 of 160
Check engine
Your vehicle is equipped with a
computer that monitors the engine's
emission control system. This
system is commonly known as the
On Board Diagnostics System (OBD
II). This OBD II system protects the environment by ensuring that your
vehicle continues to meet government emission standards. The OBD II
system also assists the service technician in properly servicing your
vehicle.
TheCheck Engineindicator light illuminates when the ignition is first
turned to the ON position to check the bulb. If it comes on after the
engine is started, one of the engine's emission control systems may be
malfunctioning. The light may illuminate without a driveability concern
being noted. The vehicle will usually be drivable and will not require
towing.
What you should do if the check engine light illuminates
Light turns on solid:
This means that the OBD II system has detected a malfunction.
Temporary malfunctions may cause yourCheck Enginelight to
illuminate. Examples are:
1. The vehicle has run out of fuel. (The engine may misfire or run
poorly.)
2. Poor fuel quality or water in the fuel.
3. The fuel cap may not have been properly installed and securely
tightened.
These temporary malfunctions can be corrected by filling the fuel tank
with good quality fuel and/or properly installing and securely tightening
the gas cap. After three driving cycles without these or any other
temporary malfunctions present, theCheck Enginelight should turn off.
(A driving cycle consists of a cold engine startup followed by mixed
city/highway driving.) No additional vehicle service is required.
If theCheck Enginelight remains on, have your vehicle serviced at the
first available opportunity.
CHECK
ENGINE
Instrumentation
7
Page 9 of 160
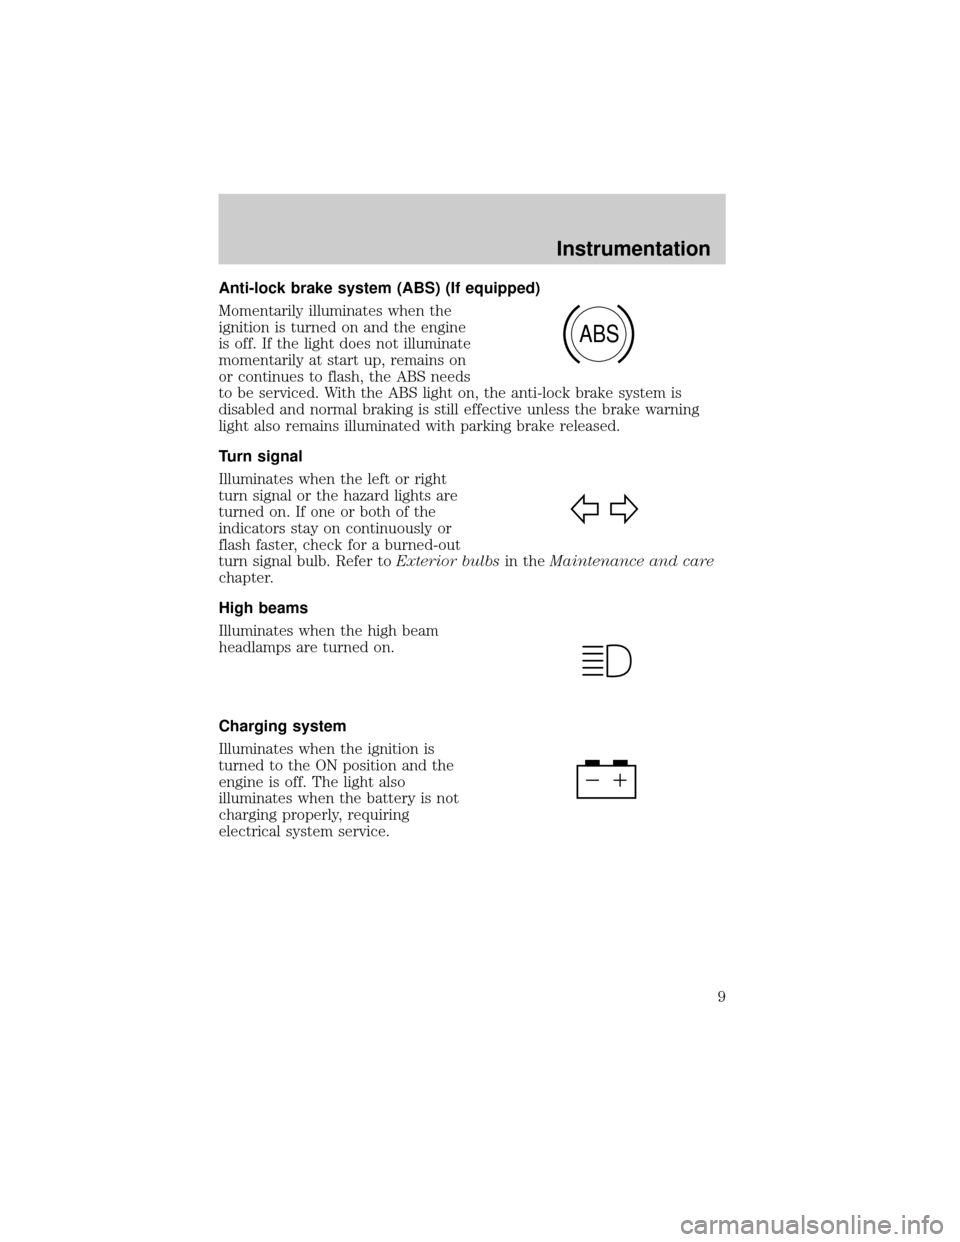
Anti-lock brake system (ABS) (If equipped)
Momentarily illuminates when the
ignition is turned on and the engine
is off. If the light does not illuminate
momentarily at start up, remains on
or continues to flash, the ABS needs
to be serviced. With the ABS light on, the anti-lock brake system is
disabled and normal braking is still effective unless the brake warning
light also remains illuminated with parking brake released.
Turn signal
Illuminates when the left or right
turn signal or the hazard lights are
turned on. If one or both of the
indicators stay on continuously or
flash faster, check for a burned-out
turn signal bulb. Refer toExterior bulbsin theMaintenance and care
chapter.
High beams
Illuminates when the high beam
headlamps are turned on.
Charging system
Illuminates when the ignition is
turned to the ON position and the
engine is off. The light also
illuminates when the battery is not
charging properly, requiring
electrical system service.
ABS
Instrumentation
9
Page 34 of 160
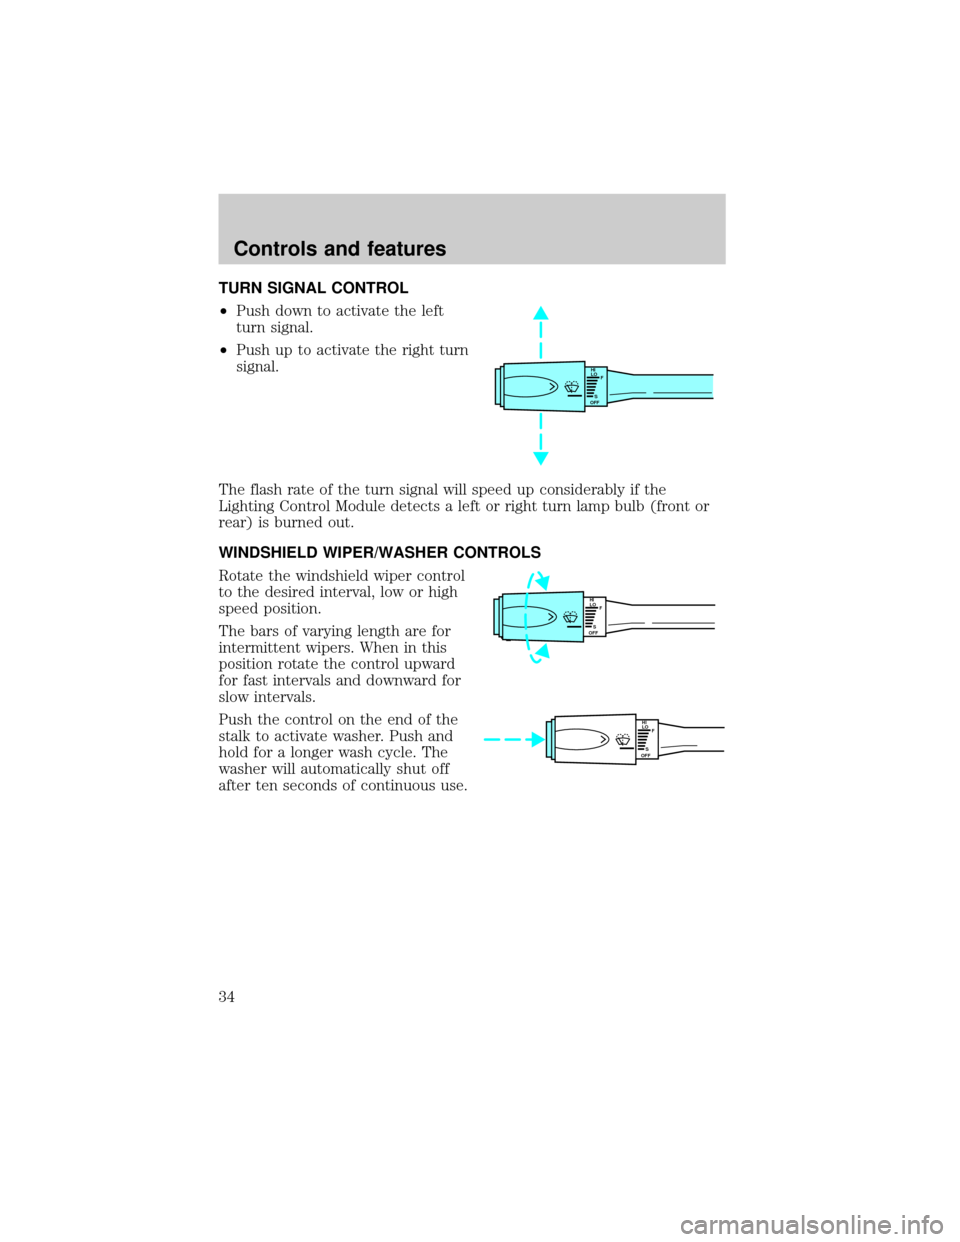
TURN SIGNAL CONTROL
²Push down to activate the left
turn signal.
²Push up to activate the right turn
signal.
The flash rate of the turn signal will speed up considerably if the
Lighting Control Module detects a left or right turn lamp bulb (front or
rear) is burned out.
WINDSHIELD WIPER/WASHER CONTROLS
Rotate the windshield wiper control
to the desired interval, low or high
speed position.
The bars of varying length are for
intermittent wipers. When in this
position rotate the control upward
for fast intervals and downward for
slow intervals.
Push the control on the end of the
stalk to activate washer. Push and
hold for a longer wash cycle. The
washer will automatically shut off
after ten seconds of continuous use.
HI
LO
F
S
OFF
HI
LO
F
S
OFF
HI
LO
F
S
OFF
Controls and features
34
Page 136 of 160
If the vehicle's powertrain system or its battery has just been serviced,
the OBD-II system is reset to a ªnot ready for I/M testº condition. To
ready the OBD-II system for I/M testing, a minimum of 30 minutes of city
and highway driving is necessary as described below:
²First, at least 10 minutes of driving on an expressway or highway.
²Next, at least 20 minutes driving in stop-and-go, city-type traffic with
at least four idle periods.
Allow the vehicle to sit for at least eight hours without starting the
engine. Then, start the engine and complete the above driving cycle. The
engine must warm up to its normal operating temperature. Once started,
do not turn off the engine until the above driving cycle is complete.
EXTERIOR BULBS
Replacing exterior bulbs
Check the operation of the following lamps frequently:
²Headlamps
²Tail lamps
²Brakelamps
²High-mount brakelamp
²Turn signals
²Backup lamps
²License plate lamp
Do not remove lamp bulbs unless they will be replaced immediately. If a
bulb is removed for an extended period of time, contaminants may enter
the lamp housings and affect performance.
Replacing headlamp bulbs
Handle a halogen headlamp bulb carefully and keep out of
children's reach. Grasp the bulb only by its plastic base and do
not touch the glass. The oil from your hand could cause the bulb to
break the next time the headlamps are operated.
To remove the headlamp bulb:
1. Make sure headlamp switch is in OFF position, then open the hood.
Maintenance and care
136
Page 137 of 160
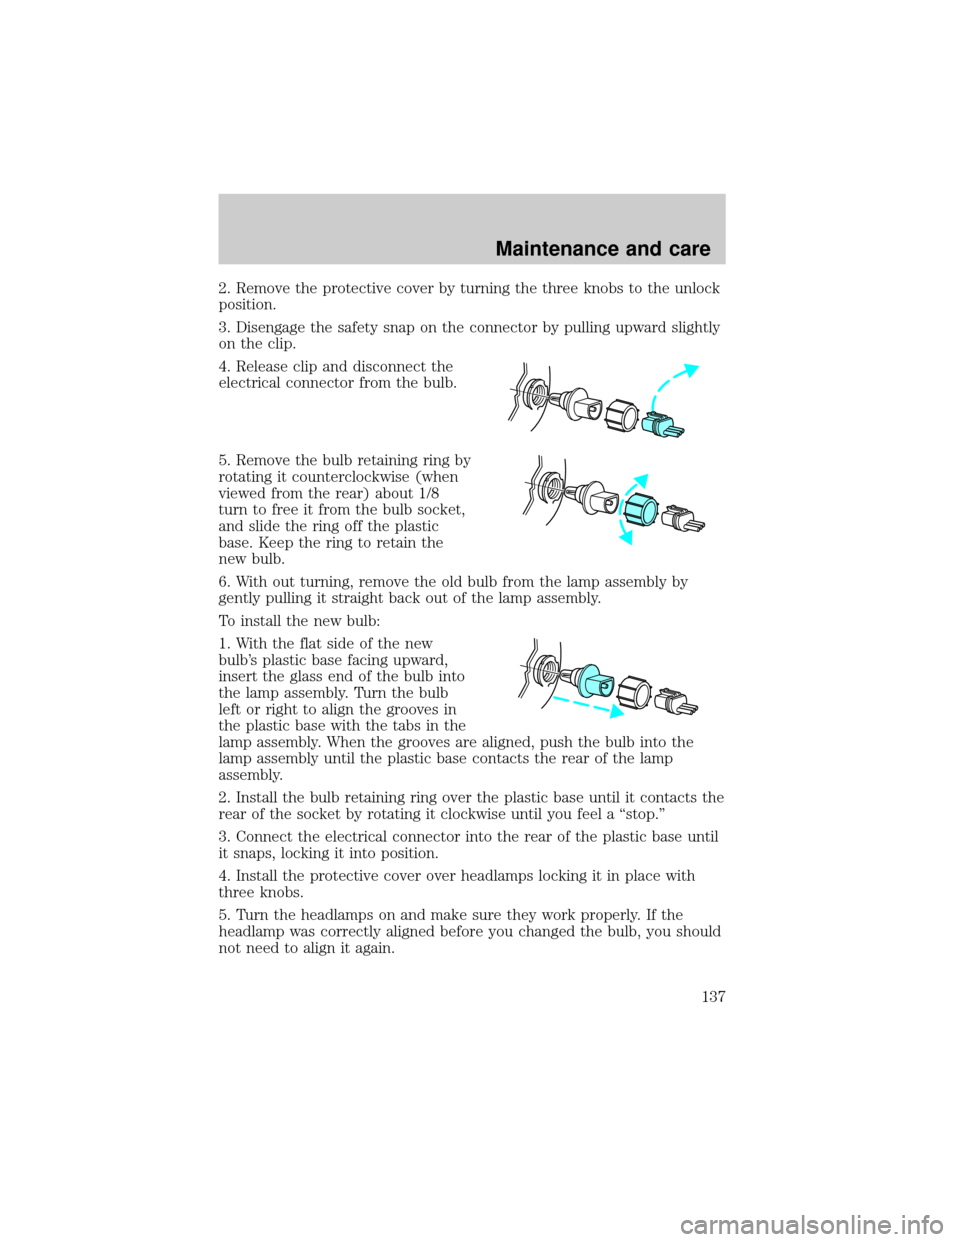
2. Remove the protective cover by turning the three knobs to the unlock
position.
3. Disengage the safety snap on the connector by pulling upward slightly
on the clip.
4. Release clip and disconnect the
electrical connector from the bulb.
5. Remove the bulb retaining ring by
rotating it counterclockwise (when
viewed from the rear) about 1/8
turn to free it from the bulb socket,
and slide the ring off the plastic
base. Keep the ring to retain the
new bulb.
6. With out turning, remove the old bulb from the lamp assembly by
gently pulling it straight back out of the lamp assembly.
To install the new bulb:
1. With the flat side of the new
bulb's plastic base facing upward,
insert the glass end of the bulb into
the lamp assembly. Turn the bulb
left or right to align the grooves in
the plastic base with the tabs in the
lamp assembly. When the grooves are aligned, push the bulb into the
lamp assembly until the plastic base contacts the rear of the lamp
assembly.
2. Install the bulb retaining ring over the plastic base until it contacts the
rear of the socket by rotating it clockwise until you feel a ªstop.º
3. Connect the electrical connector into the rear of the plastic base until
it snaps, locking it into position.
4. Install the protective cover over headlamps locking it in place with
three knobs.
5. Turn the headlamps on and make sure they work properly. If the
headlamp was correctly aligned before you changed the bulb, you should
not need to align it again.
Maintenance and care
137
Page 138 of 160
Replacing front parking lamp/turn signal bulbs
1. Make sure headlamp switch is in OFF position, then open the hood.
2. Remove the protective cover by turning the three knobs to the unlock
position.
3. Disengage the safety snap on the connector by pulling upward slightly
on the clip.
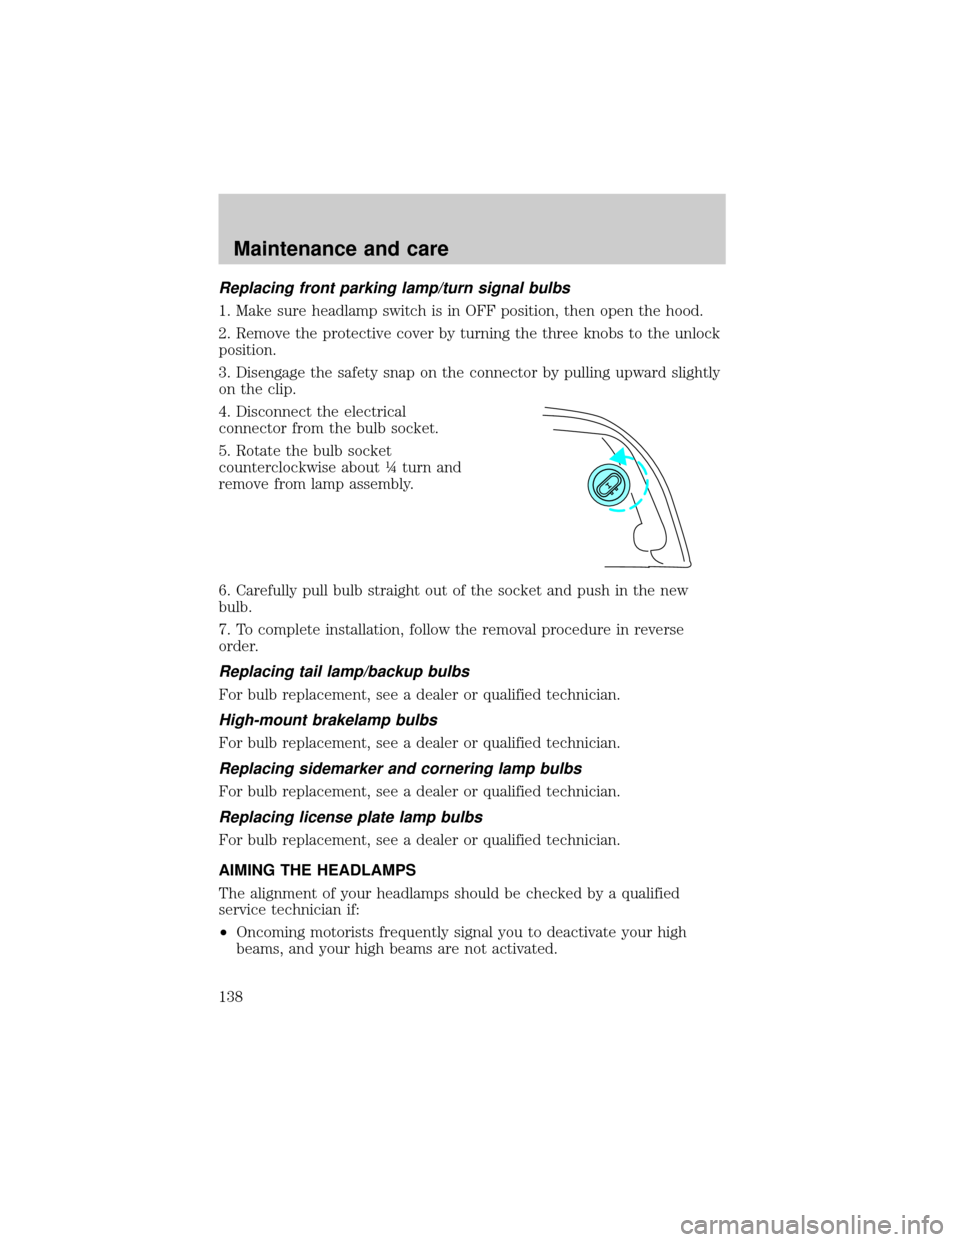
4. Disconnect the electrical
connector from the bulb socket.
5. Rotate the bulb socket
counterclockwise about ò turn and
remove from lamp assembly.
6. Carefully pull bulb straight out of the socket and push in the new
bulb.
7. To complete installation, follow the removal procedure in reverse
order.
Replacing tail lamp/backup bulbs
For bulb replacement, see a dealer or qualified technician.
High-mount brakelamp bulbs
For bulb replacement, see a dealer or qualified technician.
Replacing sidemarker and cornering lamp bulbs
For bulb replacement, see a dealer or qualified technician.
Replacing license plate lamp bulbs
For bulb replacement, see a dealer or qualified technician.
AIMING THE HEADLAMPS
The alignment of your headlamps should be checked by a qualified
service technician if:
²Oncoming motorists frequently signal you to deactivate your high
beams, and your high beams are not activated.
Maintenance and care
138
Page 139 of 160
²The headlamps do not seem to provide enough light for clear night
vision.
²The headlamp beams are pointed substantially away from a slightly
down and to the right position.
REPLACING THE INTERIOR BULBS
Check the operation of the following interior bulbs frequently:
²interior overhead lamp
²map lamp
Using the right bulbs
Function Trade Number
Headlamp 9007
Park lamp and turn lamp (front) 3457 NAK
Side marker (front) 194 NA
Cornering lamp (front) 3156K
Tail, stop, turn (rear) 3157 K
Side marker (rear) 194
Backup lamp 3156K
License plate lamp 168
High-mount brakelamp 912
Luggage compartment lamp 212-2
Dome lamp 906
Rear reading lamp 211-2
Map lamp 168
Illuminated visor mirror 168
Dual floorwell lamp 906
Glove compartment 168
To replace all instrument panel lights - see your dealer.
Maintenance and care
139
Page 152 of 160

Aiming headlamps ....................138
Air bag supplemental restraint
system ..........................................68
and child safety seats ..............69
description ................................68
disposal ......................................72
indicator light ...........................71
passenger air bag .....................70
Air conditioning
manual heating and air
conditioning system ............25,26
Air suspension
description ................................87
Anti-lock brake system
(ABS)description
Battery .......................................124
voltage gauge ............................16
Brake fluid
checking and adding ..............114
Brakes ..........................................83
anti-lock .....................................83
anti-lock brake system (ABS)
warning light .............................84
fluid, checking and adding ....114
traction control .........................85
Brake-shift interlock ...................88
Break-in period .............................2
Bulbs, replacing ........................136
headlamps ...............................136
specifications ..........................139
Changing a tire .........................101
Child safety seats ........................73
Childproof locks ..........................48
Chime
headlamps on ............................12
Cleaning your vehicle ...............140
engine compartment .......141,142
exterior ....................................143
headlamps ...............................142
plastic parts ............................142
washing ....................................140
waxing .....................................140wheels ......................................141
windows ..................................144
wiper blades ............................142
Climate control system
automatic temperature
control ...................27,28,29,30,32
Clock ............................................33
Compass, electronic ....................43
calibration .................................45
set zone adjustment .................44
Coolant (see Engine coolant)
temperature gauge ...................15
Defrost
rear window ..............................24
Emission control system ..........134
Engine
service points ..........................111
Engine block heater ...................81
Engine coolant
checking and adding ..............116
disposal ....................................117
refill capacities ........................118
Engine oil ...........................112,113
changing oil and oil filter .......114
checking and adding .......112,113
Exhaust fumes ............................82
Floor mats ...................................48
Fuel
calculating fuel economy .......134
improving fuel economy ..........94
octane rating ...........................133
quality ......................................133
running out of fuel .................134
safety information relating to
automotive fuels .....................131
Fuel pump shut-off switch .........95
Fuse panels
instrument panel ......................97
power distribution box .............99
Fuses .......................................96,97
Gauges, Mechanical ....................12
fuel gauge ..................................12
Index
152