Page 35 of 160
POSITIONS OF THE IGNITION
1. ACCESSORY, allows the electrical
accessories such as the radio to
operate while the engine is not
running.
2. LOCK, locks the steering wheel,
automatic transmission gearshift
lever and allows key removal.
3. OFF, shuts off the engine and all
accessories without locking the
steering wheel.
4. ON, all electrical circuits operational. Warning lights illuminated. Key
position when driving.
5. START, cranks the engine. Release the key as soon as the engine
starts.
TILT STEERING
Pull the tilt steering control toward
you to move the steering wheel up
or down. Hold the control while
adjusting the wheel to the desired
position, then release the control.
Never adjust the steering wheel when the vehicle is moving.
3
1
2
5
4
Controls and features
35
Page 88 of 160
TRANSMISSION OPERATION
Brake-shift interlock
This vehicle is equipped with a brake-shift interlock feature that prevents
the gearshift from being moved from P (Park) unless the brake pedal is
depressed.
If you cannot move the gearshift out of P (Park) with the brake pedal
depressed:
1. Apply the parking brake, turn ignition key to LOCK, then remove the
key.
2. Insert the key and turn it to OFF. Apply the brake pedal and shift to N
(Neutral).
3. Start the vehicle.
If it is necessary to use the above procedure to move the gearshift, it is
possible that a fuse has blown and the vehicle's brakelamps may not be
operating properly. Refer toFuses and relaysin theRoadside
emergencieschapter.
Do not drive your vehicle until you verify that the brakelamps
are working.
If your vehicle gets stuck in mud or snow it may be rocked out by
shifting from forward and reverse gears, stopping between shifts, in a
steady pattern. Press lightly on the accelerator in each gear.
Do not rock the vehicle for more than a few minutes. The
transmission and tires may be damaged or the engine may
overheat.
Always set the parking brake fully and make sure the gearshift is
latched in P (Park). Turn off the ignition whenever you leave
your vehicle.
Driving with a 4±speed automatic transmission
Understanding gearshift positions
Pull the gearshift lever towards you and downward to move the
automatic gearshift.
Driving
88
Page 90 of 160
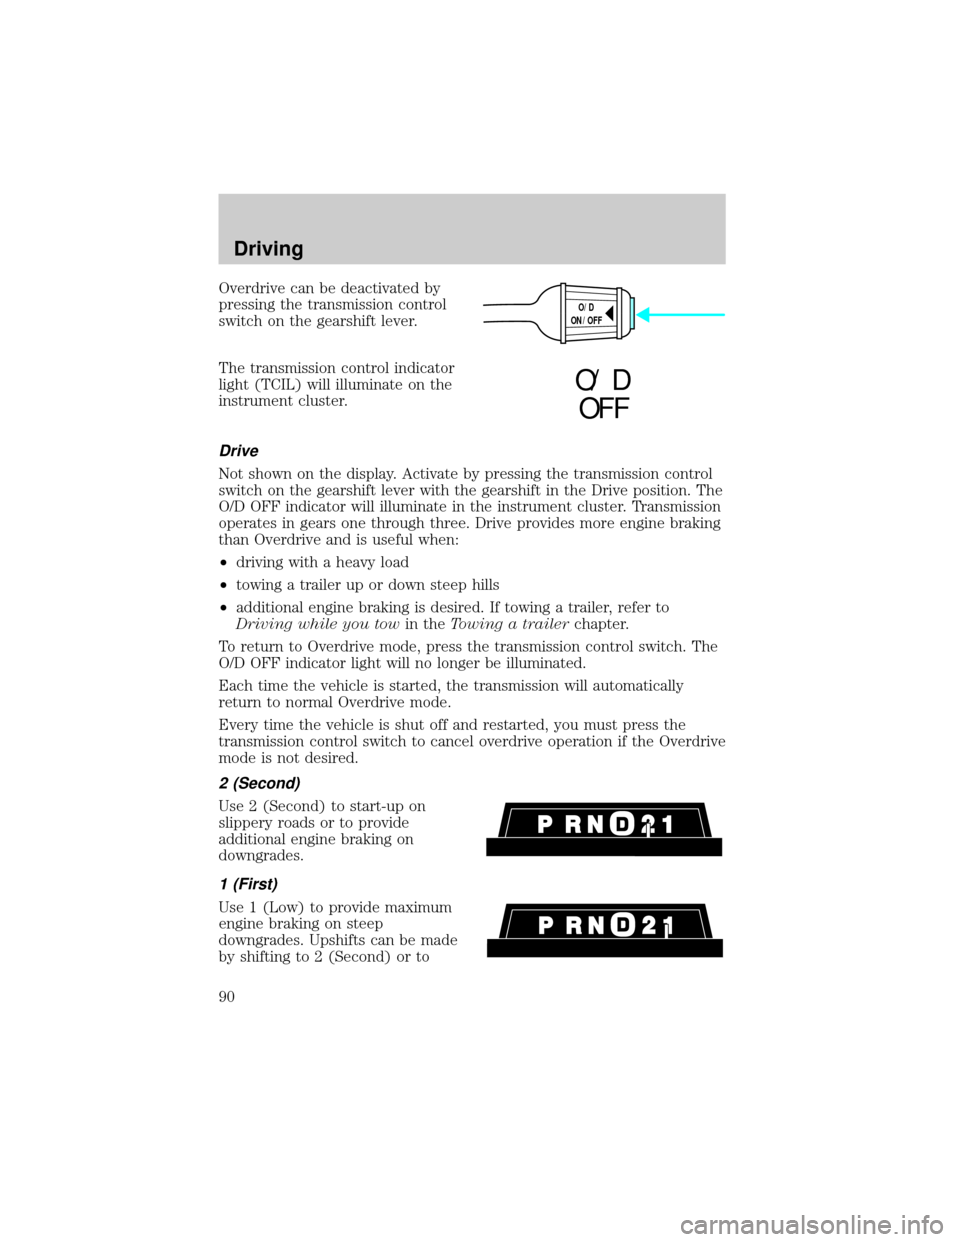
Overdrive can be deactivated by
pressing the transmission control
switch on the gearshift lever.
The transmission control indicator
light (TCIL) will illuminate on the
instrument cluster.
Drive
Not shown on the display. Activate by pressing the transmission control
switch on the gearshift lever with the gearshift in the Drive position. The
O/D OFF indicator will illuminate in the instrument cluster. Transmission
operates in gears one through three. Drive provides more engine braking
than Overdrive and is useful when:
²driving with a heavy load
²towing a trailer up or down steep hills
²additional engine braking is desired. If towing a trailer, refer to
Driving while you towin theTowing a trailerchapter.
To return to Overdrive mode, press the transmission control switch. The
O/D OFF indicator light will no longer be illuminated.
Each time the vehicle is started, the transmission will automatically
return to normal Overdrive mode.
Every time the vehicle is shut off and restarted, you must press the
transmission control switch to cancel overdrive operation if the Overdrive
mode is not desired.
2 (Second)
Use 2 (Second) to start-up on
slippery roads or to provide
additional engine braking on
downgrades.
1 (First)
Use 1 (Low) to provide maximum
engine braking on steep
downgrades. Upshifts can be made
by shifting to 2 (Second) or to
O/D
ON/OFF
O/ D
OFF
Driving
90
Page 92 of 160
The amount of weight your loaded trailer should be no more than 907 kg
(2 000 lbs.).
Do not exceed the GVWR or the GAWR specified on the Safety
Compliance Certification Label.
Towing trailers beyond the maximum recommended gross trailer
weight could result in engine damage, transmission/axle damage,
structural damage, loss of control, and personal injury.
Preparing to tow
Use the proper equipment for towing a trailer, and make sure it is
properly attached to your vehicle. See your dealer or a reliable trailer
dealer if you require assistance.
Hitches
Do not use hitches that clamp onto the vehicle bumper. Use a load
carrying hitch. You must distribute the load in your trailer so that 10 ±
15% of the total weight of the trailer is on the tongue.
Safety chains
Always connect the trailer's safety chains to the vehicle. To connect the
trailer's safety chains, cross the chains under the trailer tongue and allow
slack for turning corners.
If you use a rental trailer, follow the instructions that the rental agency
gives to you.
Trailer brakes
Electric brakes and manual, automatic or surge-type brakes are safe if
installed properly and adjusted to the manufacturer's specifications. The
trailer brakes must meet local and Federal regulations.
Do not connect a trailer's hydraulic brake system directly to your
vehicle's brake system. Your vehicle may not have enough
braking power and your chances of having a collision greatly increase.
The braking system of the tow vehicle is rated for operation at the
GVWR not GCWR.
Driving
92
Page 99 of 160
Fuse/Relay
LocationFuse Amp
RatingDescription
8 15A Lighting Control Module, Power Mirrors,
PATS Module, Keyless Entry, Clock
Memory, Electronic Automatic Temperature
Control (EATC), Power Windows, Police
Spot Light, SecuriLock
9 30A Blower Motor, A/C-Heater Mode Switch
10 10A Air Bag Module
11 5A Radio
12 18A CB Lighting Control Module, Flash-to-Pass,
Main Light Switch
13 15A Warning Lamps, Analog Cluster Gauges and
Indicators, Electronic Automatic
Transmission, Lighting Control Module
14 20A CB Window/Door Lock Control, Driver's Door
Module, One Touch Down
15 10A Anti-Lock Brakes, Instrument Cluster,
Transmission Control Switch
16 20A Cigar Lighter
17 10A Rear Defrost
18 10A Air Bag Module
Power distribution box
The power distribution box is located in the engine compartment. The
power distribution box contains high-current fuses that protect your
vehicle's main electrical systems from overloads.
Always disconnect the battery before servicing high current
fuses.
Always replace the cover to the Power Distribution Box before
reconnecting the battery or refilling fluid reservoirs.
Roadside emergencies
99
Page 111 of 160
IDENTIFYING COMPONENTS IN THE ENGINE COMPARTMENT
4.6L SOHC V8 engine
1. Brake fluid reservoir
2. Engine oil dipstick
3. Engine oil filler cap
4. Windshield washer fluid reservoir
5. Air filter assembly
6. Power steering fluid reservoir
7. Engine coolant reservoir
8. Battery
9. Automatic transmission fluid dipstick
912
3
6578
4
Maintenance and care
111
Page 122 of 160
TRANSMISSION FLUID
Checking and adding automatic transmission fluid
Follow the scheduled service intervals outlined in the ªService Guide.º
Before adding any fluid, make sure the correct type is used. The type of
fluid used is normally indicated on the dipstick and/or dipstick handle
and also in theLubricant specificationssection in theCapacities and
specificationschapter.
An overfill condition of transmission fluid may cause shift and/or
engagement concerns and/or possible damage.
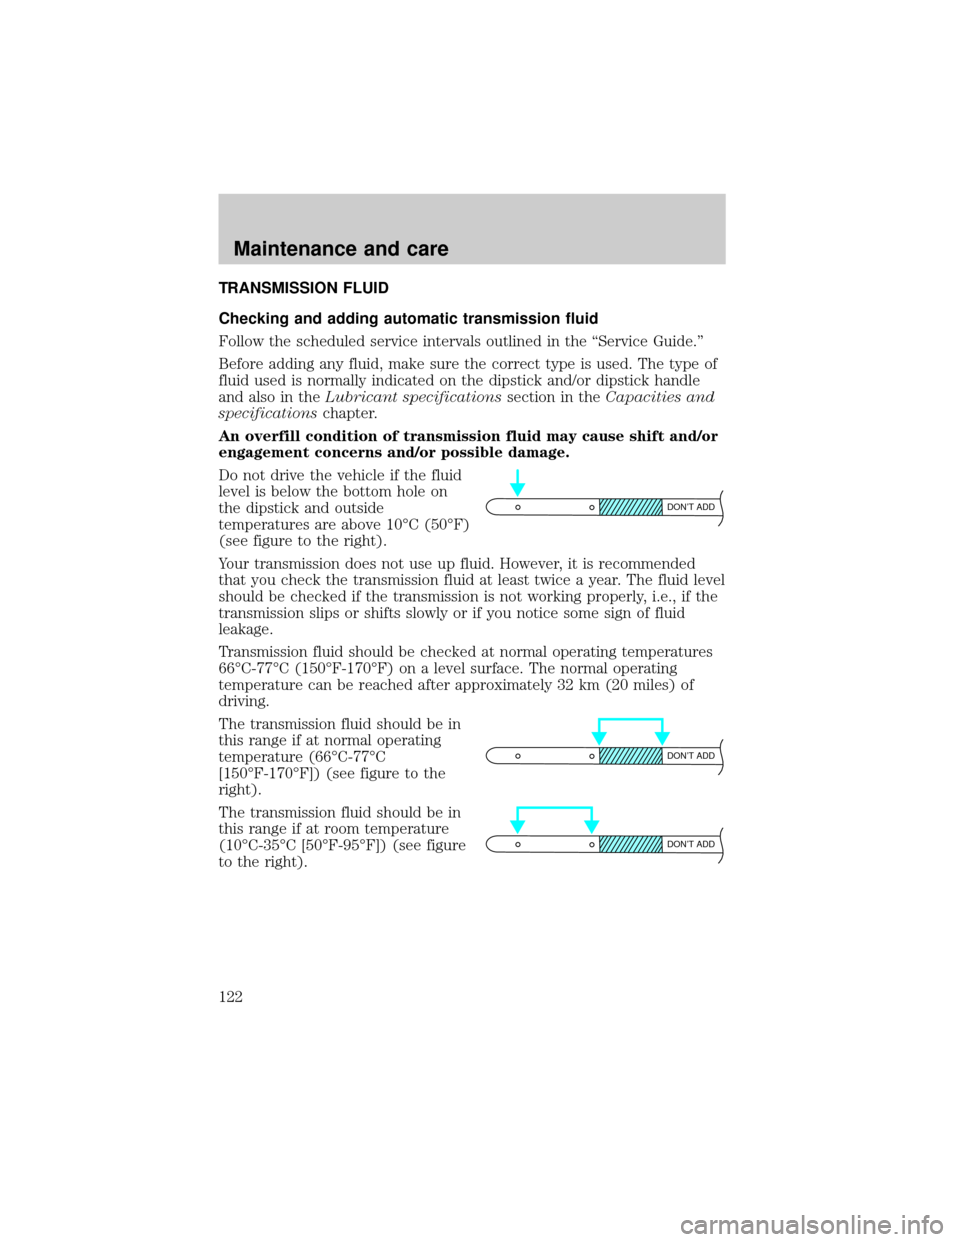
Do not drive the vehicle if the fluid
level is below the bottom hole on
the dipstick and outside
temperatures are above 10ÉC (50ÉF)
(see figure to the right).
Your transmission does not use up fluid. However, it is recommended
that you check the transmission fluid at least twice a year. The fluid level
should be checked if the transmission is not working properly, i.e., if the
transmission slips or shifts slowly or if you notice some sign of fluid
leakage.
Transmission fluid should be checked at normal operating temperatures
66ÉC-77ÉC (150ÉF-170ÉF) on a level surface. The normal operating
temperature can be reached after approximately 32 km (20 miles) of
driving.
The transmission fluid should be in
this range if at normal operating
temperature (66ÉC-77ÉC
[150ÉF-170ÉF]) (see figure to the
right).
The transmission fluid should be in
this range if at room temperature
(10ÉC-35ÉC [50ÉF-95ÉF]) (see figure
to the right).
DON’T ADD
DON’T ADD
DON’T ADD
Maintenance and care
122
Page 147 of 160
LUBRICANT SPECIFICATIONS
Item Ford part name Ford part
numberFord
specification
Brake fluid High Performance
DOT 3 Motor
Vehicle Brake FluidC6AZ-19542-AB ESA-M6C25-A
and DOT 3
Door
weatherstripsSilicone Lubricant C0AZ-19553-AA
and
D7AZ-19553-AAESR-M13P4-A
Engine
coolantFord Premium
Engine Coolant
(green in color)E2FZ-19549-AA ESE-M97B44-A
Ford Extended Life
Engine Coolant
(orange in color)F6AZ-19544-AA WSS-M97B44-D
or DEX-COOLt
equivalent
Engine oil Motorcraft 5W30
Super Premium
Motor OilXO-5W30-QSP WSS-M2C153-G
with API
Certification
Mark
Hinges,
latches,
striker
plates, fuel
filler door
hinge and
seat tracksMulti-Purpose
GreaseDOAZ-19584-AA
or
F5AZ-19G209-AAESB-M1C93-B or
ESR-M1C159-A
Lock
cylindersPenetrating
LubricantE8AZ-19501-B none
Power
steering fluidMotorcraft
MERCONtAT FXT-2-QDX MERCONt
Automatic
transmission
(4R70W)Motorcraft
MERCONtVATFXT-5-QM
MERCONtV
Capacities and specifications
147