Page 6 of 160
WARNING LIGHTS AND CHIMES
Standard instrument cluster
Optional instrument cluster
Low fuel
Illuminates when the fuel tank has
approximately eight liters (two
gallons) remaining. The lamp will
also illuminate when the ignition key
is turned to ON and the engine is
off.
E
LOW
FUELCHECK
ENGINEAIR
SUSPOD
OFF
BRAKEAIR
BAG
TEMP OIL VOLTS FUEL
MPH km/h10 203040506070
80
90
10 0
11 0
12 020 406080100
120
140
160
180
200
H H
L C F H
L
< FUEL FILL DOOR TRAC
CNTL
0000000
0
0 0 0
+ –
F
E
/2 1
N
O
R
M
H
C
LT R
GAL
TO
EMPTY
km/h
MPH
km SCHECK
ENGINE
AIR
BAGSPEED CONTROL
P R N D 2 1
CHECK
TRUNK AJAR LTR/100 kmAIR SUSPENSION
OVERDRIVE OFFDOOR
AJAR
LOW
WASHER
FLUID
DIST TO
EMPTY
TRIP
AAVG
ECON
TRIP
BINST
ECON
AVG
SPEED
km
MILES
/GAL
LOW
FUEL
Instrumentation
6
Page 10 of 160

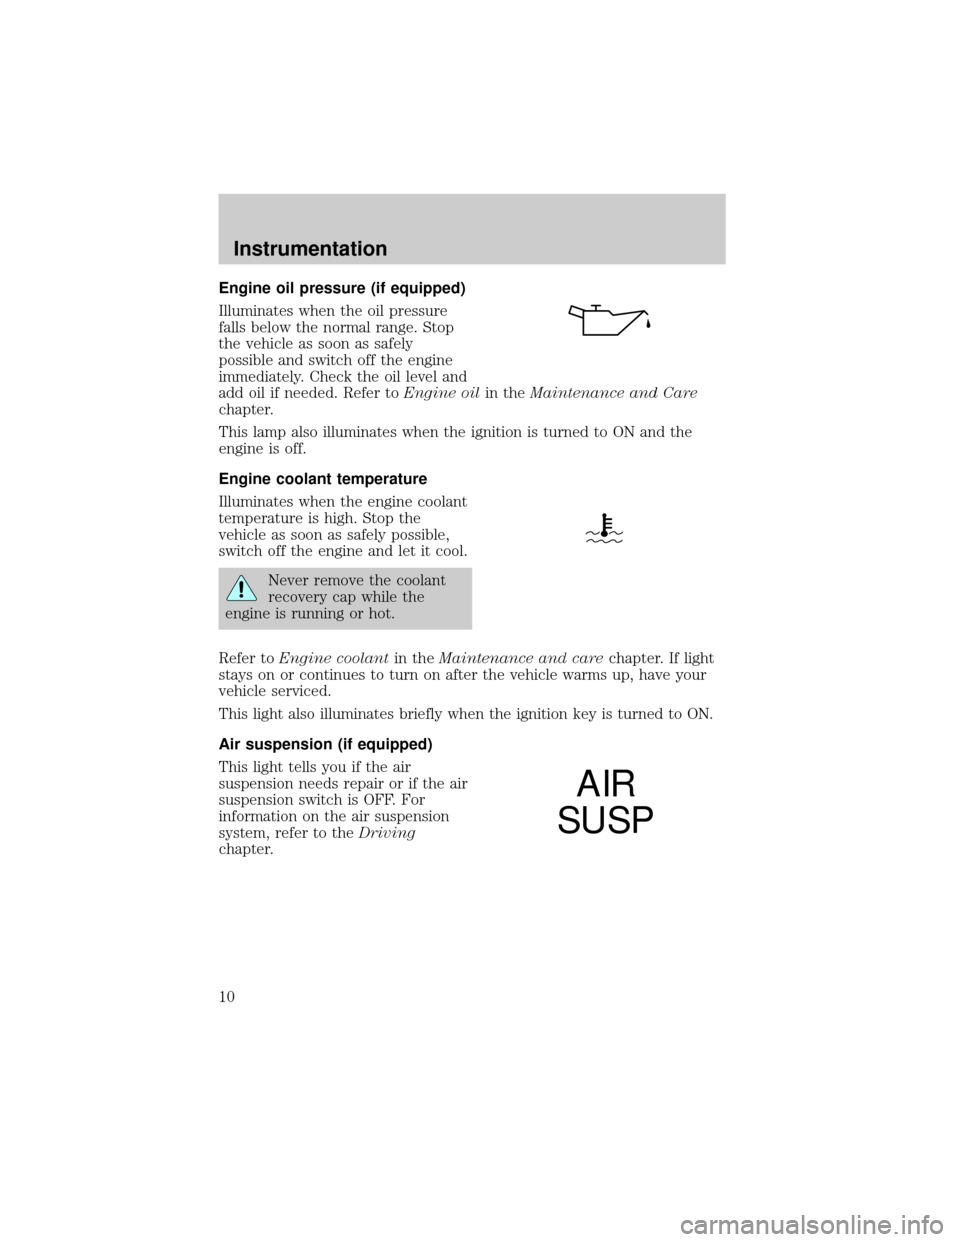
Engine oil pressure (if equipped)
Illuminates when the oil pressure
falls below the normal range. Stop
the vehicle as soon as safely
possible and switch off the engine
immediately. Check the oil level and
add oil if needed. Refer toEngine oilin theMaintenance and Care
chapter.
This lamp also illuminates when the ignition is turned to ON and the
engine is off.
Engine coolant temperature
Illuminates when the engine coolant
temperature is high. Stop the
vehicle as soon as safely possible,
switch off the engine and let it cool.
Never remove the coolant
recovery cap while the
engine is running or hot.
Refer toEngine coolantin theMaintenance and carechapter. If light
stays on or continues to turn on after the vehicle warms up, have your
vehicle serviced.
This light also illuminates briefly when the ignition key is turned to ON.
Air suspension (if equipped)
This light tells you if the air
suspension needs repair or if the air
suspension switch is OFF. For
information on the air suspension
system, refer to theDriving
chapter.
AIR
SUSP
Instrumentation
10
Page 11 of 160

O/D off
Illuminates when the transmission
control switch has been pushed.
When the light is on, the
transmission does not shift into
overdrive. If the light does not come
on when the transmission control switch is depressed or if the light
flashes when you are driving, have your vehicle serviced.
Traction ControlYactive (if equipped)
Flashes when the Traction Controly
system begins applying and
releasing the brakes and adjusting
the engine characteristics to limit a
wheelspin condition. It will be lit for
a minimum of four seconds or for
the duration of the Traction
Controlyevent.
If the Traction Controlyindicator
comes on or stays lit, either:
²the Traction Controlysystem needs service, or
²the customer has disabled the system using the traction control
switch.
For more information, refer to theDrivingchapter.
Safety belt warning chime
Chimes to remind you to fasten your safety belts.
For information on the safety belt warning chime, refer to theSeating
and safety restraintschapter.
Supplemental restraint system (SRS) warning chime
For information on the SRS warning chime, refer to theSeating and
safety restraintschapter.
Key-in-ignition warning chime
Sounds when the key is left in the ignition in the OFF/LOCK or ACC
position and either front door is opened.
O/D
OFF
TRAC
CNTL
Instrumentation
11
Page 12 of 160

Headlamps on warning chime
Sounds when the headlamps or parking lamps are on, the ignition is off
(and the key is not in the ignition) and either front door is opened.
Turn signal chime
Sounds when the turn signal lever has been activated to signal a turn.
GAUGES
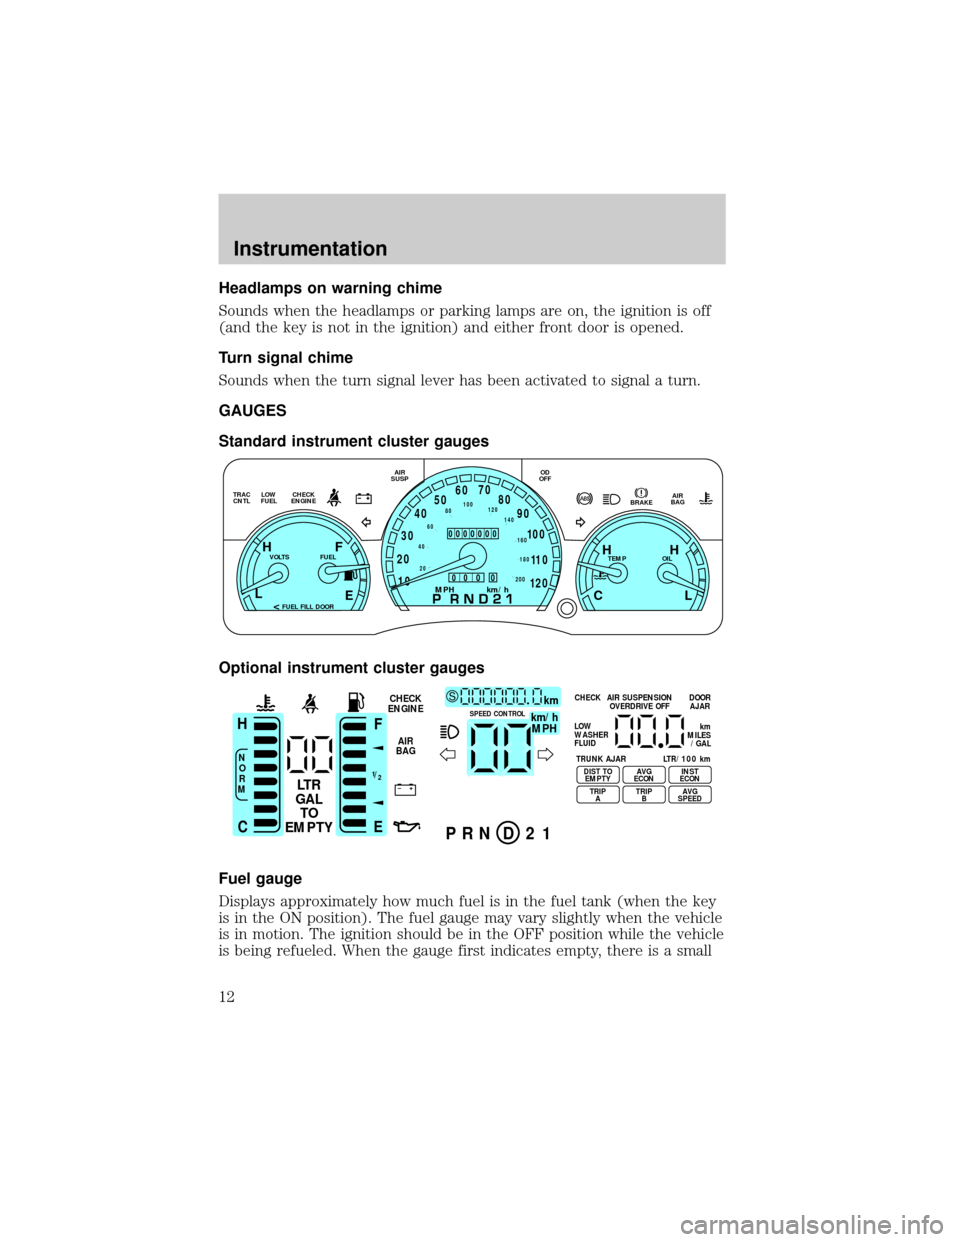
Standard instrument cluster gauges
Optional instrument cluster gauges
Fuel gauge
Displays approximately how much fuel is in the fuel tank (when the key
is in the ON position). The fuel gauge may vary slightly when the vehicle
is in motion. The ignition should be in the OFF position while the vehicle
is being refueled. When the gauge first indicates empty, there is a small
E
LOW
FUEL TRAC
CNTLCHECK
ENGINEAIR
SUSPOD
OFF
BRAKEAIR
BAG
TEMP OIL VOLTS FUEL
MPH km/h10 203040506070
80
90
10 0
11 0
12 020 406080100
120
140
160
180
200
H H
L C F H
L
< FUEL FILL DOOR
0000000
0
0 0 0
+ –
F
E
/2 1
N
O
R
M
H
C
LT R
GAL
TO
EMPTY
km/h
MPH
km SCHECK
ENGINE
AIR
BAGSPEED CONTROL
P R N D 2 1
CHECK
TRUNK AJAR LTR/100 kmAIR SUSPENSION
OVERDRIVE OFFDOOR
AJAR
LOW
WASHER
FLUID
DIST TO
EMPTY
TRIP
AAVG
ECON
TRIP
BINST
ECON
AVG
SPEED
km
MILES
/GAL
Instrumentation
12
Page 35 of 160
POSITIONS OF THE IGNITION
1. ACCESSORY, allows the electrical
accessories such as the radio to
operate while the engine is not
running.
2. LOCK, locks the steering wheel,
automatic transmission gearshift
lever and allows key removal.
3. OFF, shuts off the engine and all
accessories without locking the
steering wheel.
4. ON, all electrical circuits operational. Warning lights illuminated. Key
position when driving.
5. START, cranks the engine. Release the key as soon as the engine
starts.
TILT STEERING
Pull the tilt steering control toward
you to move the steering wheel up
or down. Hold the control while
adjusting the wheel to the desired
position, then release the control.
Never adjust the steering wheel when the vehicle is moving.
3
1
2
5
4
Controls and features
35
Page 48 of 160
CHILDPROOF DOOR LOCKS
When these locks are set, the rear
doors cannot be opened from the
inside. The rear doors can be
opened from the outside when the
doors are unlocked.
The childproof locks are located on
rear edge of each rear door and
must be set separately for each
door. Setting the lock for one door
will not automatically set the lock
for both doors.
Move lock control up to engage the
lock. Move control down to
disengage childproof locks.
POSITIVE RETENTION FLOOR MAT
Position the floor mat so that the
eyelet is over the pointed end of the
retention post and rotate forward to
lock in. Make sure that the mat does
not interfere with the operation of
the accelerator or the brake pedal.
To remove the floor mat, reverse the
installation procedure.
REMOTE ENTRY SYSTEM (IF EQUIPPED)
The remote entry system allows you to lock or unlock all vehicle doors
without a key.
The remote entry features only operate with the ignition in the OFF
position.
Controls and features
48
Page 49 of 160

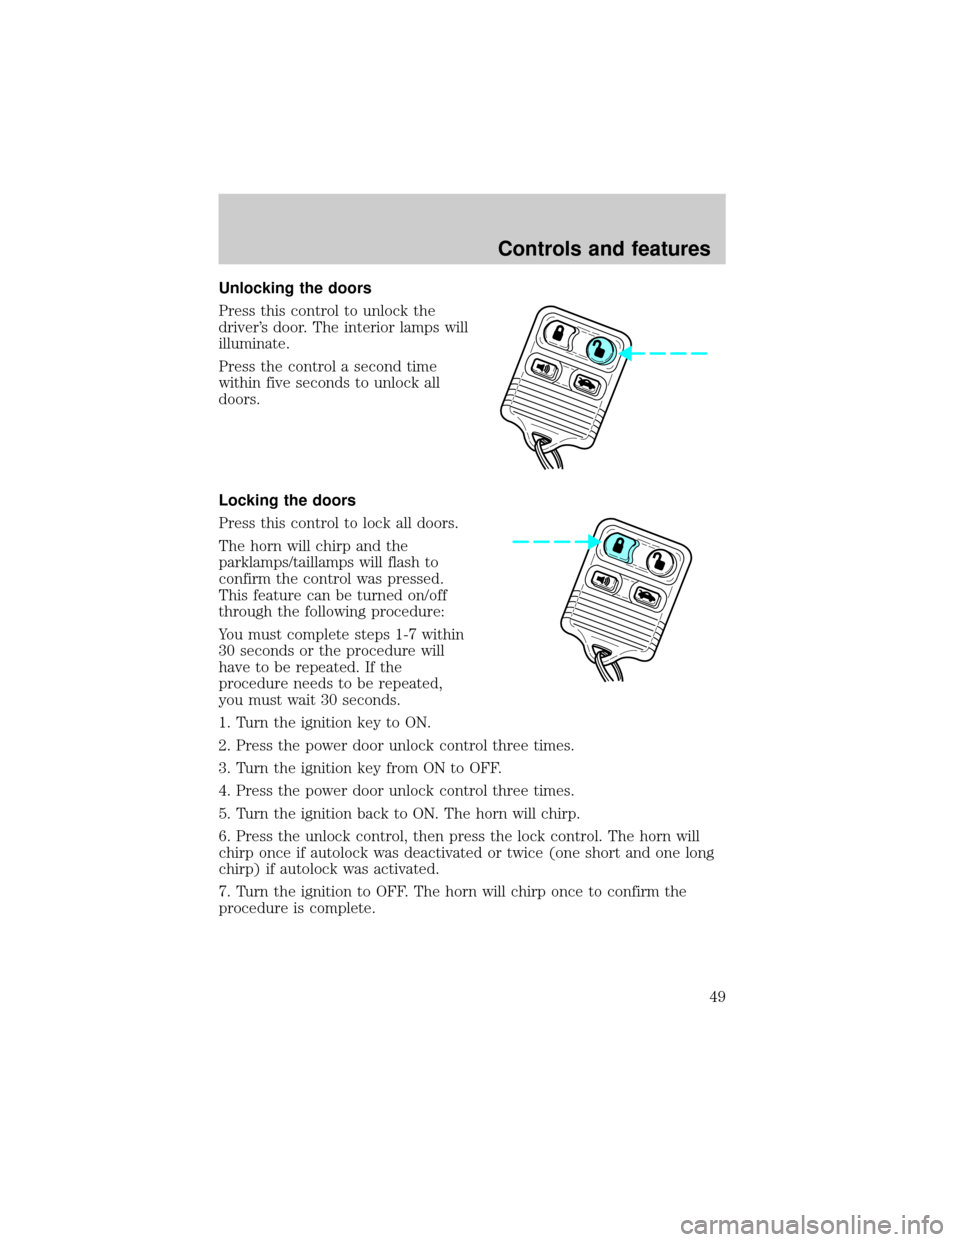
Unlocking the doors
Press this control to unlock the
driver's door. The interior lamps will
illuminate.
Press the control a second time
within five seconds to unlock all
doors.
Locking the doors
Press this control to lock all doors.
The horn will chirp and the
parklamps/taillamps will flash to
confirm the control was pressed.
This feature can be turned on/off
through the following procedure:
You must complete steps 1-7 within
30 seconds or the procedure will
have to be repeated. If the
procedure needs to be repeated,
you must wait 30 seconds.
1. Turn the ignition key to ON.
2. Press the power door unlock control three times.
3. Turn the ignition key from ON to OFF.
4. Press the power door unlock control three times.
5. Turn the ignition back to ON. The horn will chirp.
6. Press the unlock control, then press the lock control. The horn will
chirp once if autolock was deactivated or twice (one short and one long
chirp) if autolock was activated.
7. Turn the ignition to OFF. The horn will chirp once to confirm the
procedure is complete.
Controls and features
49
Page 50 of 160

Autolock
This feature automatically locks all doors when:
²all vehicle doors are closed
²the ignition is in the ON position
²you shift into or through R (Reverse)
²the brake pedal is released.
Relock
The autolock feature repeats when:
²any door is opened and closed
²the brake pedal is released.
Deactivating/activating the autolock feature
Before following the procedure, make sure that the ignition is OFF and
all vehicle doors are closed.
Automatic door locks can be turned on/off with the keyless entry keypad
through the following porcedure:
You must complete steps 1-5 within 30 seconds or the procedure will
have to be repeated. If the procedure needs to be repeated, you must
wait 30 seconds.
1. Enter the keyless entry keypad factory code.
2. Within 5 seconds, press and hold control 7/8.
3. Within 5 seconds (while holding down control 7/8), press and release
control 3/4.
4. Release control 7/8.
The door will lock/unlock to confirm the horn chirp feature has been
disabled. Once disabled, the feature can be enabled by repeating the
same sequence.
Controls and features
50