1998 CHEVROLET PRIZM ignition
[x] Cancel search: ignitionPage 132 of 364
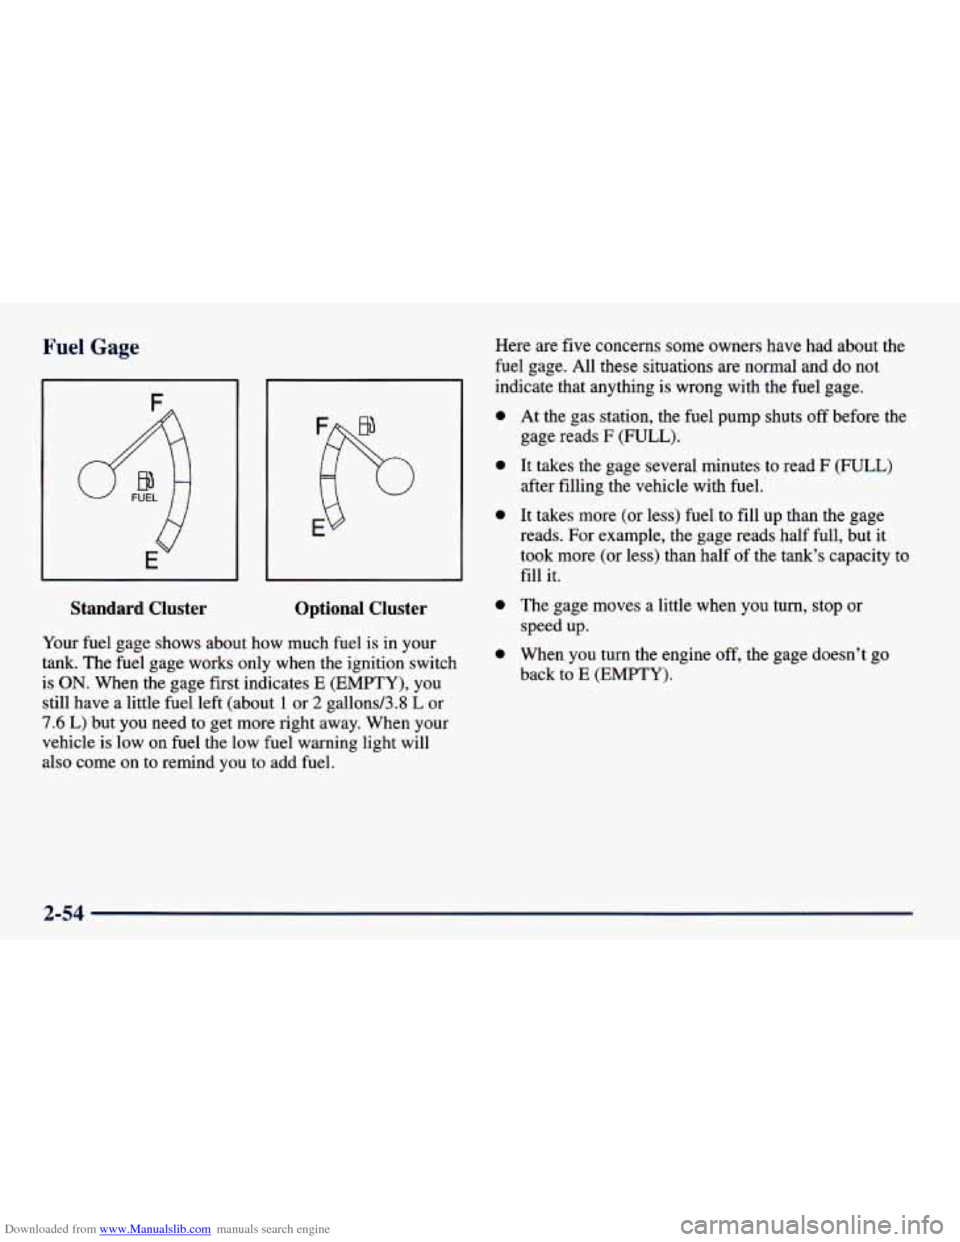
Downloaded from www.Manualslib.com manuals search engine Fuel Gage
q
E
Standard Cluster Optional Cluster
Your fuel gage shows about how much fuel is in your
tank. The fuel gage works only when the ignition switch
is
ON. When the gage first indicates E (EMPTY), you
still have a little fuel left (about
1 or 2 gallons/3.8 L or
7.6
L) but you need to get more right away. When your
vehicle is low on fuel the low fuel warning light will
also come on to remind you to add fuel. Here are
five concerns some owners
have had about the
fuel gage. All these situations are normal and do not
indicate that anything
is wrong with the fuel gage.
0
0
0
0
0
At the gas station, the fuel pump shuts off before the
gage reads F (FULL).
It takes the gage several minutes to read F (FULL)
after filling the vehicle with fuel.
It takes more (or less) fuel to fill up than the gage
reads. For example, the gage reads half full, but it
took more (or less) than half of the tank’s capacity to
fill it.
The gage moves a little when you turn, stop or
speed up.
When you turn the engine off, the gage doesn’t go
back to
E (EMPTY).
2-54
Page 140 of 364
Downloaded from www.Manualslib.com manuals search engine NOTICE:
Don't use a razor blade or something else sharp
on the inside
of the rear window. If you do, you
could cut or damage the warming grid, and the repairs wouldn't be covered by your warranty.
Audio Systems
Your Delco Electronics audio system has been designed
to operate easily and give years of listening pleasure.
You
will get the most enjoyment out of it if you
acquaint yourself with it first. Find out what your Delco
Electronics system can
do and how to operate all its
controls, to be sure you're getting the most out of the
advanced engineering that went into it.
Setting the Clock
Press and hold RECALL (TIME SET) to set the correct
hour. At the same time, press and hold the
TUNE left
arrow (H) until the correct hour appears.
Press and hold RECALL
(TIME SET) to set the correct
minute. At the same time, press and hold the
TUNE
right arrow (M) until the correct minute appears.
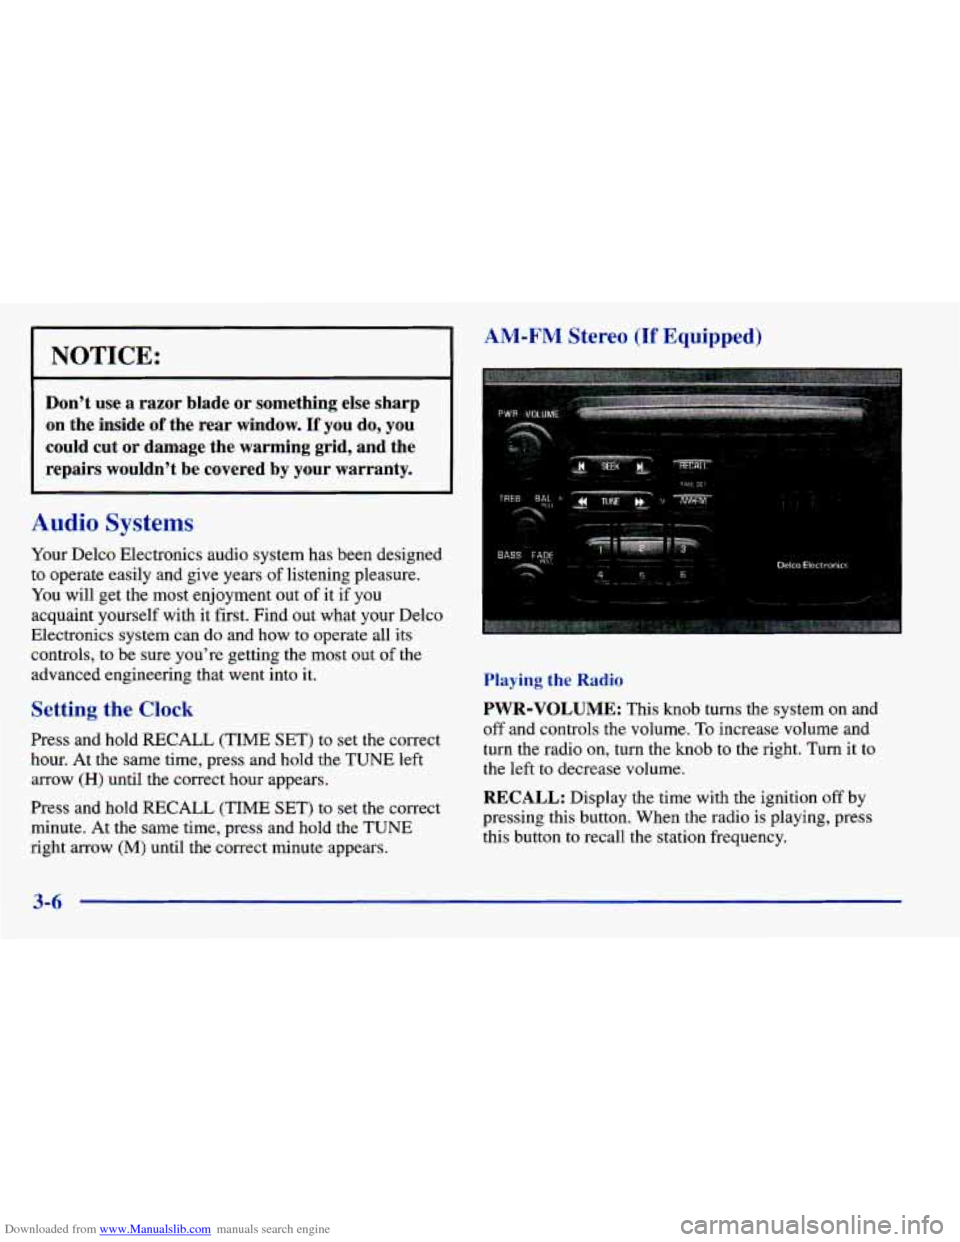
AM-FM Stereo (If Equipped)
.. l.,-..._l *c ""'.'--- - ..- ........ ;,. .
. ., ........ ..........___..... .. .. .............................. belco Electronics 4 5 6 .,-. .. ........ ... .x ... " .............. ~ ..... 1. ... .......... .~ ..-" ................... ...... 1 ...... I
Playing the Radio
PWR-VOLUME: This knob turns the system on and
off and controls the volume. To increase volume and
turn the radio on, turn the knob to the right. Turn it to
the left to decrease volume.
RECALL: Display the time with the ignition off by
pressing this button. When the radio
is playing, press
this button to recall the station frequency.
3-6
Page 142 of 364
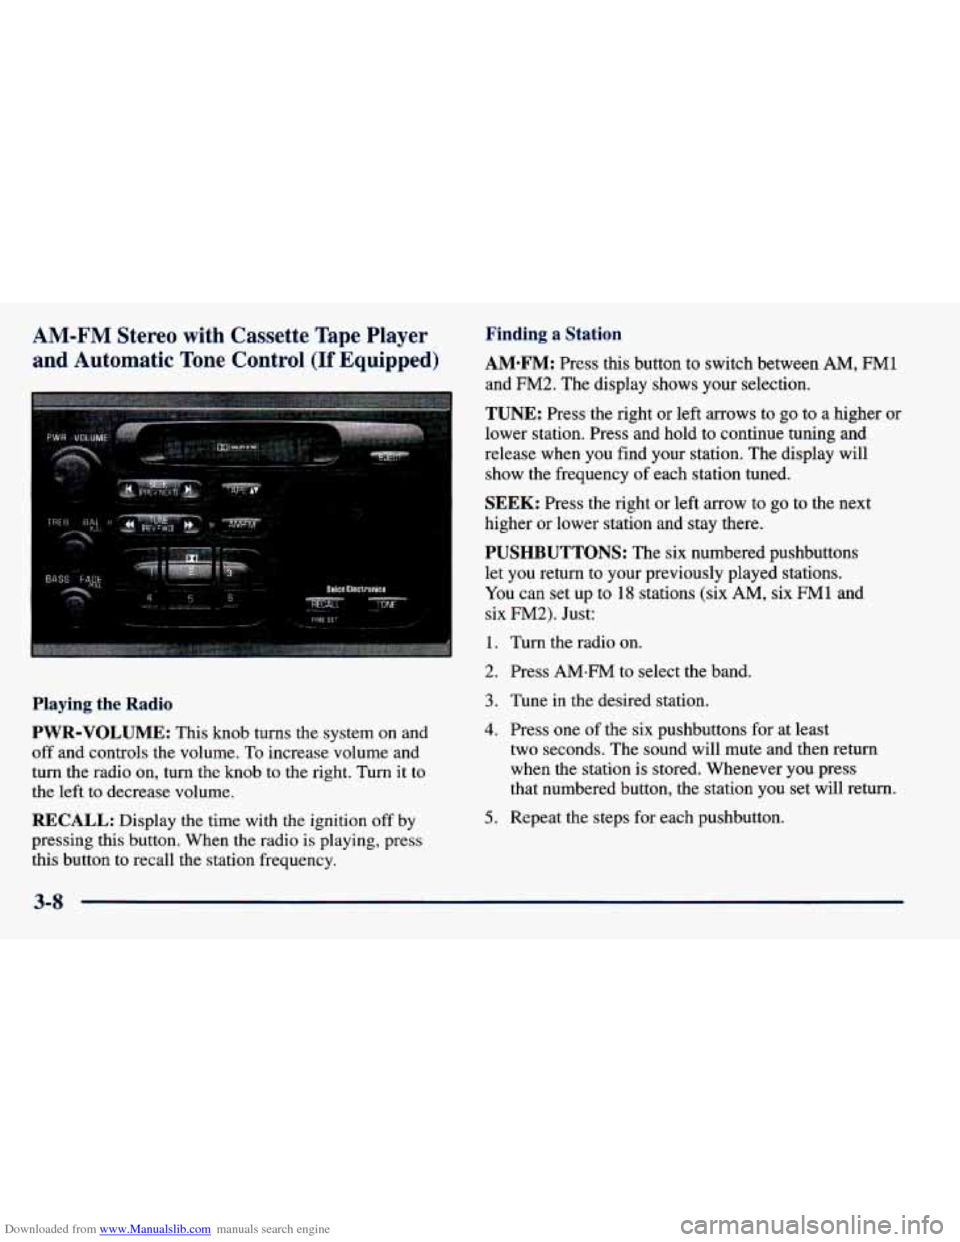
Downloaded from www.Manualslib.com manuals search engine AM-FM Stereo with Cassette Tape Player
and Automatic Tone Control (If Equipped)
I .................... I
I..:. '. I
Ir
Playing the Radio
PWR-VOLUME:
This knob turns the system on and
off and controls the volume. To increase volume and
turn the radio on,
turn the knob to the right. Turn it to
the left to decrease volume.
RECALL: Display the time with the ignition off by
pressing this button. When the radio is playing, press
this button to recall the station frequency.
Finding a Station
AM-FM: Press this button to switch between AM, FM1
and FM2. The display shows your selection.
TUNE: Press the right or left arrows to go to a higher or
lower station. Press and hold to continue tuning and
release when you find your station. The display will
show the frequency
of each station tuned.
SEEK: Press the right or left arrow to go to the next
higher or lower station and stay there.
PUSHBUTTONS: The six numbered pushbuttons
let you return to your previously played stations.
You can set up to 18 stations (six AM, six FM1 and
six
FM2). Just:
1. Turn the radio on.
2. Press AMeFM to select the band.
3. Tune in the desired station.
4. Press one of the six pushbuttons for at
least
two seconds. The sound will mute and then return
when the station is stored. Whenever you press
that numbered button, the station you set will return.
5. Repeat the steps for each pushbutton.
Page 143 of 364
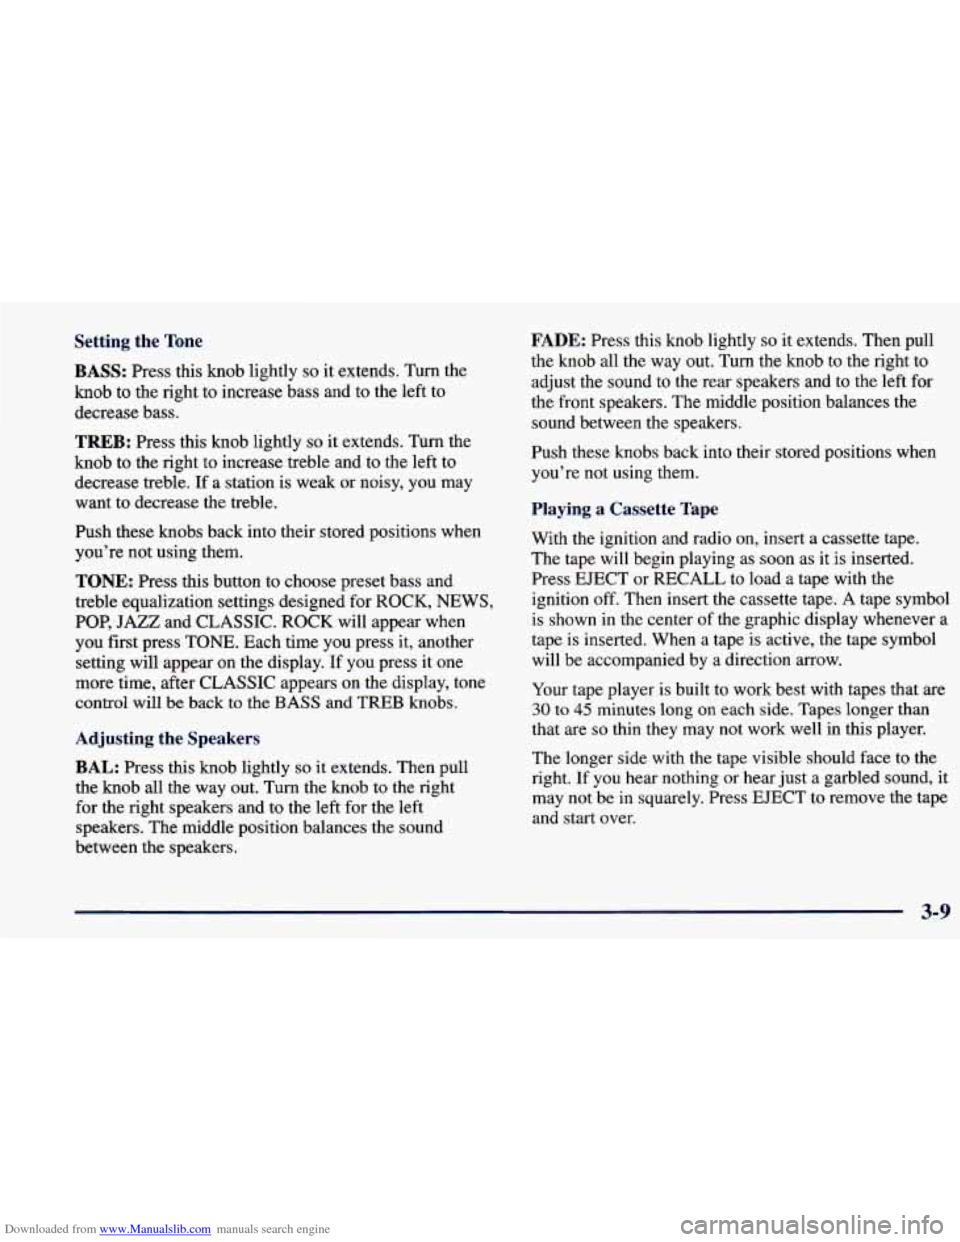
Downloaded from www.Manualslib.com manuals search engine Setting the Tone
BASS: Press this knob lightly so it extends. Turn the
knob to the right to increase bass and to the left to
decrease bass.
TREB: Press this knob lightly so it extends. Turn the
knob to the right to increase treble and to the left to
decrease treble. If a station is weak or noisy, you may
want to decrease the treble.
Push these knobs back into their stored positions when
you’re not using them.
TONE: Press this button to choose preset bass and
treble equalization settings designed for ROCK,
NEWS,
POP, JAZZ and CLASSIC. ROCK will appear when
you first press TONE. Each time you press it, another
setting will appear on the display. If you press it one
more time, after CLASSIC appears on the display, tone
control will be back to the BASS and TREB knobs.
Adjusting the Speakers
BAL:
Press this knob lightly so it extends. Then pull
the knob all the way out. Turn the knob to the right
for the right speakers and to the left for the left
speakers. The middle position balances the sound
between the speakers.
FADE: Press this knob lightly so it extends. Then pull
the knob all the way out. Turn the knob to the right to
adjust the sound
to the rear speakers and to the left for
the front speakers. The middle position balances the
sound between the speakers.
Push these knobs back into their stored positions when
you’re not using them.
Playing a Cassette Tape
With the ignition and radio on, insert a cassette tape.
The tape will begin playing as soon as it is inserted.
Press EJECT
or RECALL to load a tape with the
ignition off. Then insert the cassette tape.
A tape symbol
is shown in the center of the graphic display whenever a
tape
is inserted. When a tape is active, the tape symbol
will be accompanied
by a direction arrow.
Your tape player is built to work best with tapes that are
30 to 45 minutes long on each side. Tapes longer than
that are
so thin they may not work well in this player.
The longer side with the tape visible should face to the
right. If you hear nothing
or hear just a garbled sound, it
may not be
in squarely. Press EJECT to remove the tape
and start over.
Page 145 of 364
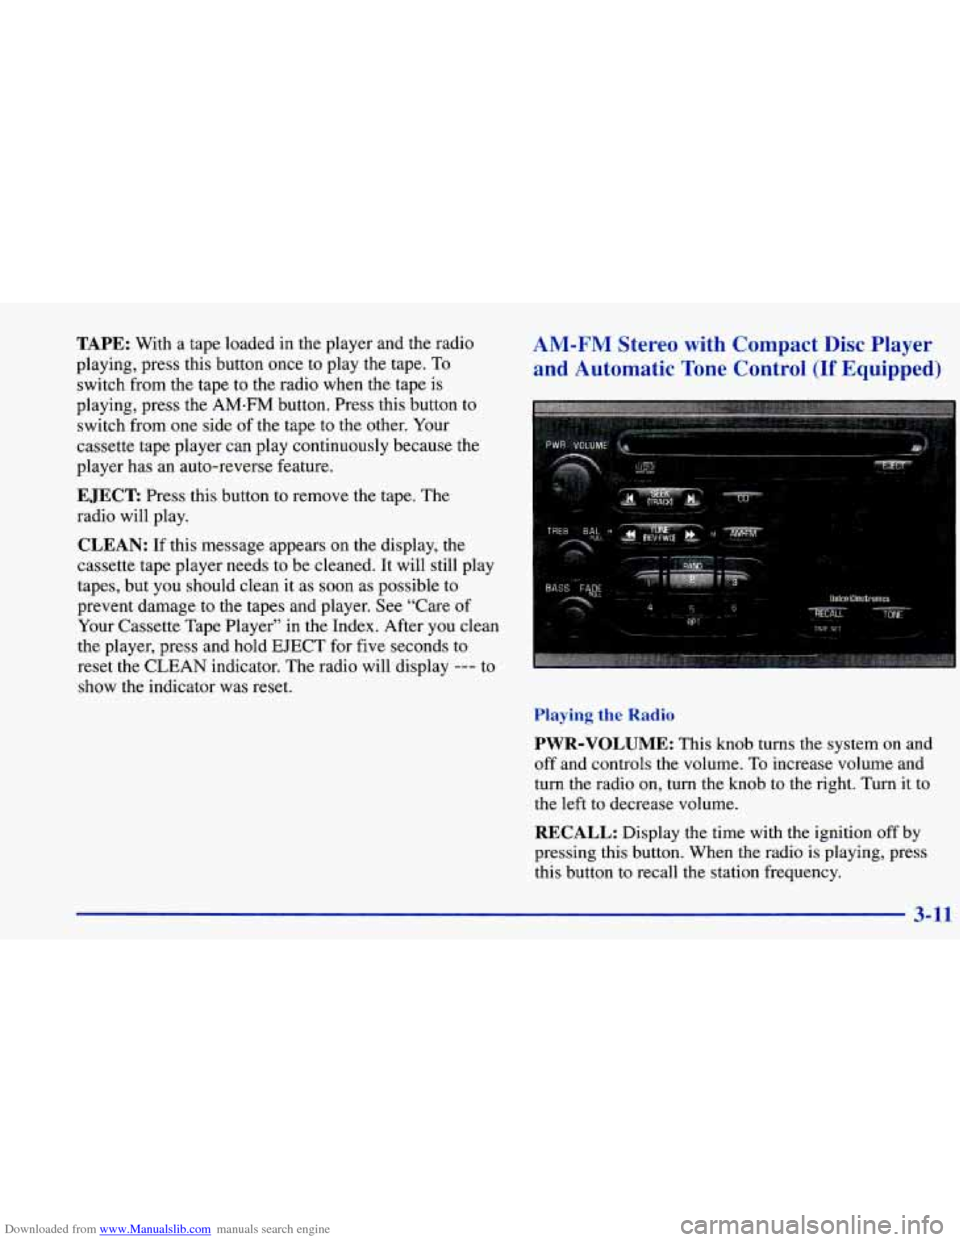
Downloaded from www.Manualslib.com manuals search engine TAPE: With a tape loaded in the player and the radio
playing, press this button once to play the tape. To
switch from the tape to the radio when the tape is
playing, press the AM-FM button. Press this button to
switch
from one side of the tape to the other. Your
cassette tape player can play continuously because the
player has
an auto-reverse feature.
EJECT Press this button to remove the tape. The
radio will play.
CLEAN: If this message appears on the display, the
cassette tape player needs to be cleaned. It will still play
tapes, but you should clean it as soon as possible to
prevent damage to the tapes and player. See "Care of
Your Cassette Tape Player" in the Index. After you clean
the player, press and hold EJECT for five seconds to
reset the CLEAN indicator. The radio will display
--- to
show the indicator was reset.
AM-FM Stereo with Compact Disc Player
and Automatic Tone Control
(If Equipped)
. . ... .. . Ef9ctmnics
.: .. ..., ~ ..... . ., ...,,.. sir?c"' =T%r
Playing the Radio
PWR-VOLUME: This knob turns the system on and
off and controls the volume.
To increase volume and
turn the radio on, turn the knob to the right. Turn it to
the left to decrease volume.
RECALL: Display the time with the ignition off by
pressing this button. When the radio
is playing, press
this button to recall the station frequency.
3-11
Page 150 of 364
Downloaded from www.Manualslib.com manuals search engine When using a scrubbing action, non-abrasive cleaning
cassette, it is normal for the cassette to eject because
your unit is equipped with a cut tape detection feature
and
a cleaning cassette may appear as a broken tape. To
prevent the cleaning cassette from being ejected, use the
following steps.
1. Turn the ignition to RUN or ACCESSORY.
2. Turn the radio off.
3. Press and hold the TAPE button for five seconds.
The tape symbol
on the display will flash for
two seconds.
4. Insert the scrubbing action cleaning cassette.
5. Eject the cleaning cassette after the manufacturer’s
recommended cleaning time.
When the cleaning cassette has been ejected, the cut
tape detection feature is active again. You may
also choose a non-scrubbing action, wet-type
cleaner which uses
a cassette with a fabric belt to clean
the tape head. This type of cleaning cassette will not
eject on its own.
A non-scrubbing action cleaner may
not clean as thoroughly as the scrubbing type cleaner.
The
use of a non-scrubbing action, dry-type cleaning
cassette is not recommended.
After you clean the player, press and hold
EJECT for
five seconds to reset the CLEAN indicator.
The radio
will display
--- to show the indicator was reset.
Cassettes are subject to wear and the sound quality
may degrade over time. Always make sure the cassette
tape is in good condition before you have your tape
player serviced.
3-16
Page 175 of 364

Downloaded from www.Manualslib.com manuals search engine If you drive regularly in steep country, or if you’re
planning to visit there, here are some tips that can make
your trips safer and more enjoyable.
a
0
Keep 96ur ‘vehicle in good shape. Check all fluid
levels and also the brakes, tires, cooling system
and transaxle. These parts can work hard on
mountain roads.
Know how to go down hills. The most important
thing
to know is this: let your engine do some of the
slowing down. Shift to a lower gear when you go
down a steep or long hill.
A CAUTION:
If you don’t shift down, your brakes could get
so hot that they wouldn’t work well. You would
then have poor braking or even none going
down a hill. You could crash. Shift down
to let
your engine assist your brakes on
a steep
downhill slope.
dl, CAUTION:
Coasting downhill in NEUTRAL (N) or with
the ignition
off is dangerous. Your brakes will
have to do all the work
of slowing down. They
could get
so hot that they wouldn’t work well.
You would then have poor braking or even none
going down a hill. You could crash. Always have
your engine running and your vehicle in gear
when you go downhill.
I
0 Know how to go uphill. You may want to shift down
to a lower gear. The lower gears help cool your engine
and transaxle, and
you can climb the hill better.
0 Stay in your own lane when driving on two-lane
roads
in hills or mountains. Don’t swing wide or cut
across the center of the road. Drive at speeds that let
you stay in your own lane.
0 As you go over the top of a hill, be alert. There could be
something in your lane, like a stalled car or an accident.
You may see highway signs on mountains that warn of
special problems. Examples are long grades, passing or
no-passing zones,
a falling rocks area or winding
roads. Be alert to these
and take appropriate action.
4-23
Page 194 of 364
Downloaded from www.Manualslib.com manuals search engine 2. Get the vehicles close enough so the jumper cables
can reach, but be sure the vehicles aren’t touching
each other.
If they are, it could cause a ground
connection you don’t want.
You wouldn’t be able
to start your vehicle, and the bad grounding could
damage the electrical systems.
unnecessary accessories plugged into the cigarette lighter. Turn
off all lamps that aren’t needed as well
as radios. This will avoid sparks and help save both
batteries. In addition, it could save your radio!
3. Turn off the ignition on both vehicles. Unplug
NOTICE:
If you leave your radio on, it could be badly
damaged. The repairs wouldn’t be covered
by
your warranty.
4. Open the hoods and locate the batteries. Find
the positive
(+) and negative (-) terminals on
each battery.
I A CAUTION:
I-
An electric fan can start up even when the engine
is not running and can injure you. Keep hands, clothing and tools away from any underhood
electric fan.
5-4