Page 136 of 386

Downloaded from www.Manualslib.com manuals search engine Section 3 Comfort Controls and Audio Systems
In this section, you’ll find out how to operate the comfort control and audio systems offered with your vehicle. Be
sure to read about the particular systems supplied with your vehicle.
3-2
3-2
3-3
3-4
3-5
3-6
3-6
3-6
3-7
3-7
3-7
3-7 Comfort Controls
Heater Controls
Heater/Air Conditioning Controls
Rear Heater (Without Air Conditioning)
Rear Air Conditioning and Rear Heater
Air Conditioning
Heating Ventilation Tips
Audio Systems
Setting the Clock for Systems without
Automatic Tone Control
Setting the Clock for Systems with
Automatic Tone Control
AM-FM Stereo 3-9
3-11
3- 16
3-20
3-2
1
3-23
3-24
3-25
3-26
3-26 3-27 AM-FM
Stereo with Cassette Tape Player
(If Equipped)
AM-FM Stereo with Cassette Tape and
Automatic Tone Control (If Equipped)
AM-FM Stereo with Compact Disc Player
and Automatic Tone Control (If Equipped)
Remote Compact Disc Player (If Equipped)
Theft-Deterrent Feature
(If Equipped)
Understanding Radio Reception
Tips About Your Audio System
Care
of Your Cassette Tape Player
Care of Your Compact Discs
Care
of Your Compact Disc Player
Power Antenna Mast Care
Page 142 of 386

Downloaded from www.Manualslib.com manuals search engine You can move the vents from side to side or up and
down to direct the flow
of air, or close the vents
altogether. When
you close a vent, it will increase the
flow of air coming out
of any vents that are open.
Audio Systems
Your Delco Electronics audio system has been designed
to operate easily and give years of listening pleasure.
You will get the most enjoyment out of it if
you acquaint
yourself with it first. Find out what your Delco
Electronics system can do and how to operate all its
controls, to be sure you’re getting
the most out of the
advanced engineering that went
into it.
Setting the Clock for Systems without
Automatic Tone Control
Press SET. Within five seconds, press and hold the
SEEK right arrow until the correct minute appears on
the display. Press and hold the SEEK left arrow until the
correct hour appears on the display.
Setting the Clock for Systems with
Automatic Tone Control
Press and hold HR until the correct hour appears on the
display. Press and hold
MN until the correct minute
appears
on the display. To display the clock with the ignition off, press RECALL
or
HRMN and the time
will be displayed for a few seconds. There
is an initial
two-second delay before the clock goes into
the
time-set mode.
AM-FM Stereo
Playing the Radio
VOLUME: This knob turns the system on and off and
controls the volume.
To increase volume and turn the
radio on, turn
the knob to the right. Turn it to the left to
decrease volume.
RECALL: Display the time with the ignition off by
pressing the recall knob. When the radio is playing,
press this knob
to recall the station frequency.
3-7
-.
Page 173 of 386

Downloaded from www.Manualslib.com manuals search engine Steering in Emergencies
There are times when steering can be more effective than
brakmg. For example, you come over a hill and find a
truck stopped in your lane, or a car suddenly pulls out
from nowhere, or a child darts out from between parked
cars and stops right in front
of you. You can avoid these
problems by braking
-- if you can stop in time. But
sometimes
you can’t; there isn’t room. That’s the time for
evasive action
-- steering around the problem.
Your vehicle can perform very well in emergencies like
these. First apply your brakes. (See “Braking in
Emergencies” earlier in this section.) It is better to
remove as much speed as you can from a possible
collision. Then steer around the problem,
to the left or
right depending on the space available. An
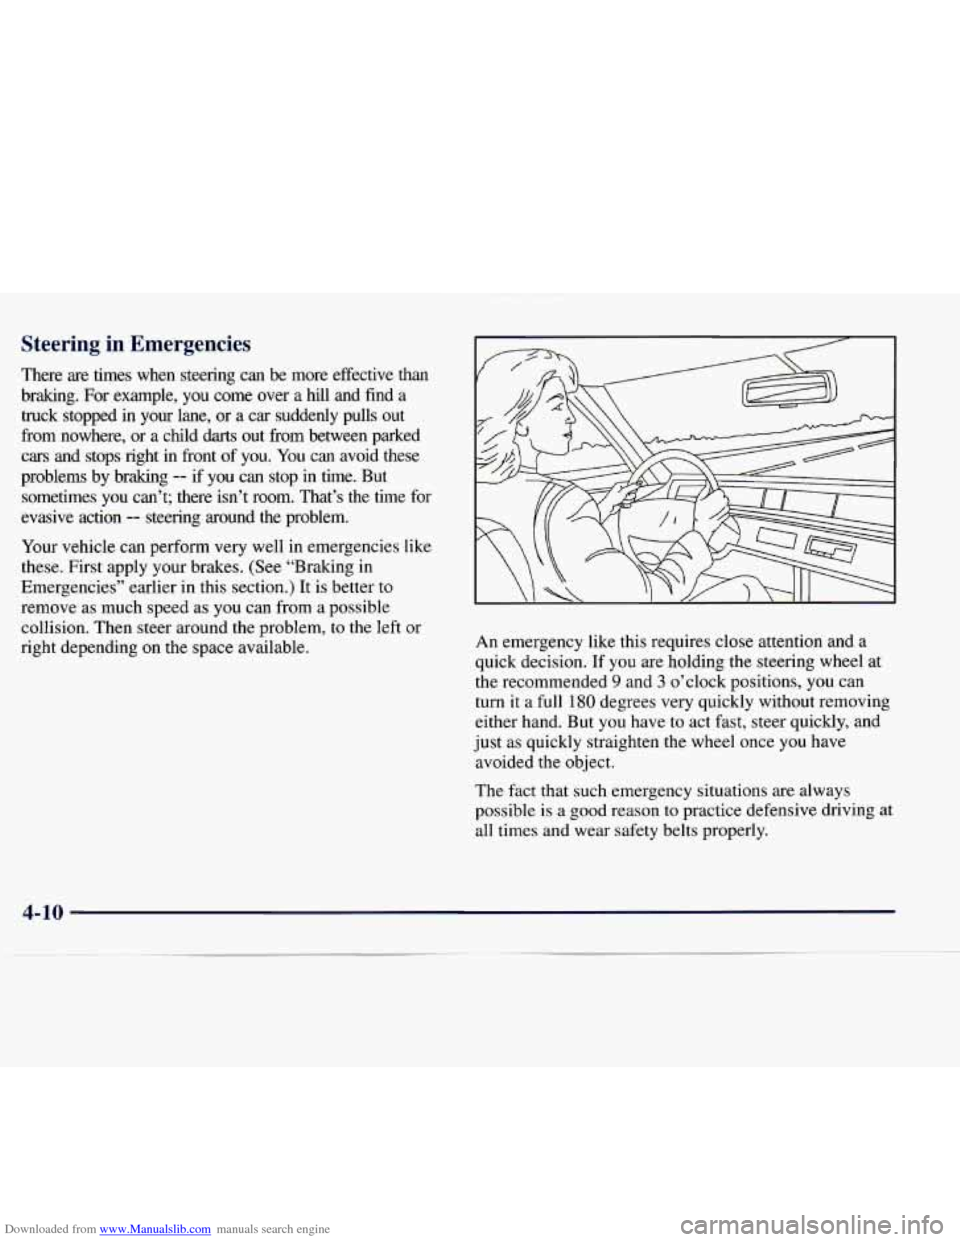
emergency like this requires
close attention and a
quick decision. If
you are holding the steering wheel at
the recommended
9 and 3 o’clock positions, you can
turn it a full
180 degrees very quickly without removing
either hand. But you have to act fast, steer quickly, and
just as quickly straighten the wheel once you have
avoided the object.
The fact that such emergency situations are always
possible
is a good reason to practice defensive driving at
all times and wear safety belts properly.
4-10
Page 219 of 386
Downloaded from www.Manualslib.com manuals search engine How to Add Coolant to the Radiator
1. You can remove the radiator pressure cap when the
cooling system, including the radiator pressure cap
and upper radiator hose, is no longer hot. Turn the
pressure cap slowly counterclockwise until it first
stops. (Don’t press down while turning the
pressure cap.)
If you hear a hiss, wait for that to stop. A hiss means
there is still some pressure left.
2. Then keep turning the pressure cap, but now push
down as you turn it. Remove the pressure cap.
5-18
Page 245 of 386
Downloaded from www.Manualslib.com manuals search engine While refueling your
vehicle, hang the cap by
the tether from the hook
on the filler door.
To remove the cap, turn it slowly to the left
(counterclockwise). The cap has a spring in it; if
you let
go of the cap too soon, it will spring back
to the right.
A CAUTION:
If you get gasoline on yourself and then
something ignites it, you could be badly burned.
Gasoline can spray out
on you if you open the
fuel filler cap too quickly. This spray can happen
if your tank is nearly full, and is more likely in
hot weather. Open the fuel filler cap slowly and
wait for any “hiss” noise to stop. Then unscrew
the cap all the way.
Be careful
not to spill gasoline. Clean gasoline from
painted surfaces as
soon as possible. See “Cleaning
the Outside
of Your Vehicle” in the Index.
Page 246 of 386

Downloaded from www.Manualslib.com manuals search engine When you put the cap back on, turn it to the right
(clockwise) until you hear a clicking sound. Make
sure
you fully install the cap. The diagnostic system
can determine if the fuel
cap has been left off or
improperly installed. This would allow
fuel to
evaporate into the atmosphere. See “Malfunction
Indicator Lamp” in the Index.
NOTICE:
If you need a new cap, be sure to get the right
type. Your dealer can get one for you.
If you get
the wrong type, it may not fit properly. This may
cause your malfunction indicator lamp to light and your fuel tank and emissions system may be
damaged. See “Malfunction Indicator Lamp” in
the Index.
Filling a Portable Fuel Container
/i CAUTIOlr:
Never fill a portable fuel container while it is in
your vehicle. Static electricity discharge from the
container can ignite the gasoline vapor.
You can
be badly burned and your vehicle damaged if this
occurs.
To help avoid injury to you and others:
Dispense gasoline only into approved
containers.
Do not fill a container while it is inside a
vehicle, in a vehicle’s trunk, pickup bed or
on any surface other than the ground.
inside of the
fill opening before operating
the nozzle. Contact should be maintained
until the filling is complete.
Bring the fill nozzle in contact with the
Don’t smoke while pumping gasoline.