Page 88 of 386

Downloaded from www.Manualslib.com manuals search engine New Vehicle 44Break-In”
NOTICE:
Your vehicle doesn’t need an elaborate
“break-in.” But it will perform better in the long
run
if you follow these guidelines:
Keep your speed at 55 mph (88 km/h) or
less for the first
500 miles (805 km).
Don’t drive at any one speed -- fast or
slow
-9 for the first 500 miles (805 km).
Don’t make full-throttle starts.
200 miles (322 km) or so. During this time
your new brake linings aren’t yet broken
in. Hard stops with new linings can mean
premature wear and earlier replacement.
Follow this breaking-in guideline every
time you get new brake linings.
See “Towing
a Trailer” in the Index for
more information.
Avoid making hard stops for the first
Don’t tow a trailer during break-in.
Ignition Positions
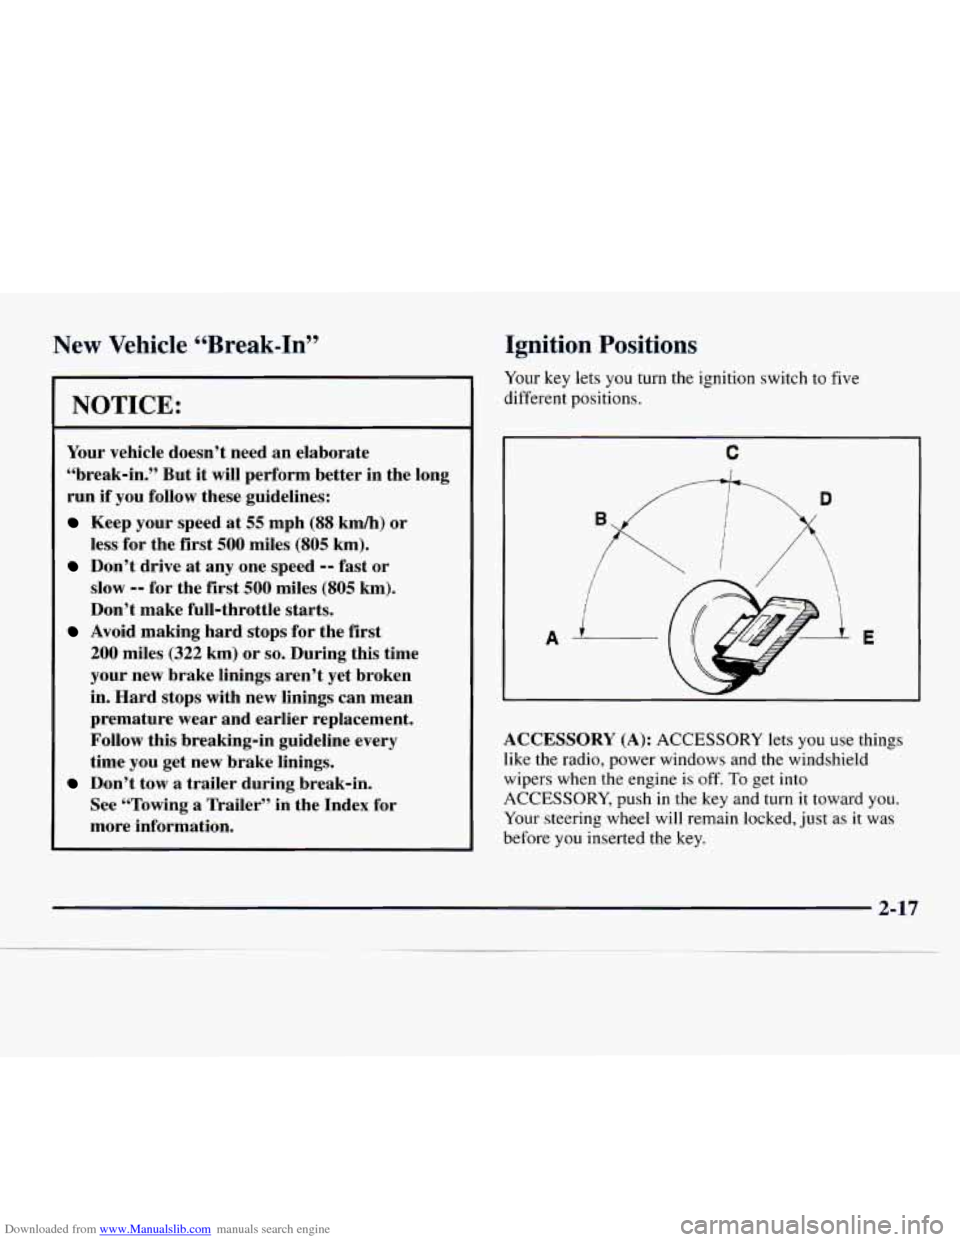
Your key lets you turn the ignition switch to five
different positions.
,------1---\D
C
A E
ACCESSORY (A): ACCESSORY lets you use things
like the radio, power windows and the windshield
wipers when the engine
is off. To get into
ACCESSORY, push in the key and turn it toward you.
Your steering wheel will remain locked, just
as it was
before you inserted
the key.
2-17
Page 91 of 386

Downloaded from www.Manualslib.com manuals search engine Engine Cool-nt Heater (If Equipped) To Use the Engine Coolant Heater
1. Turn off the engine. I
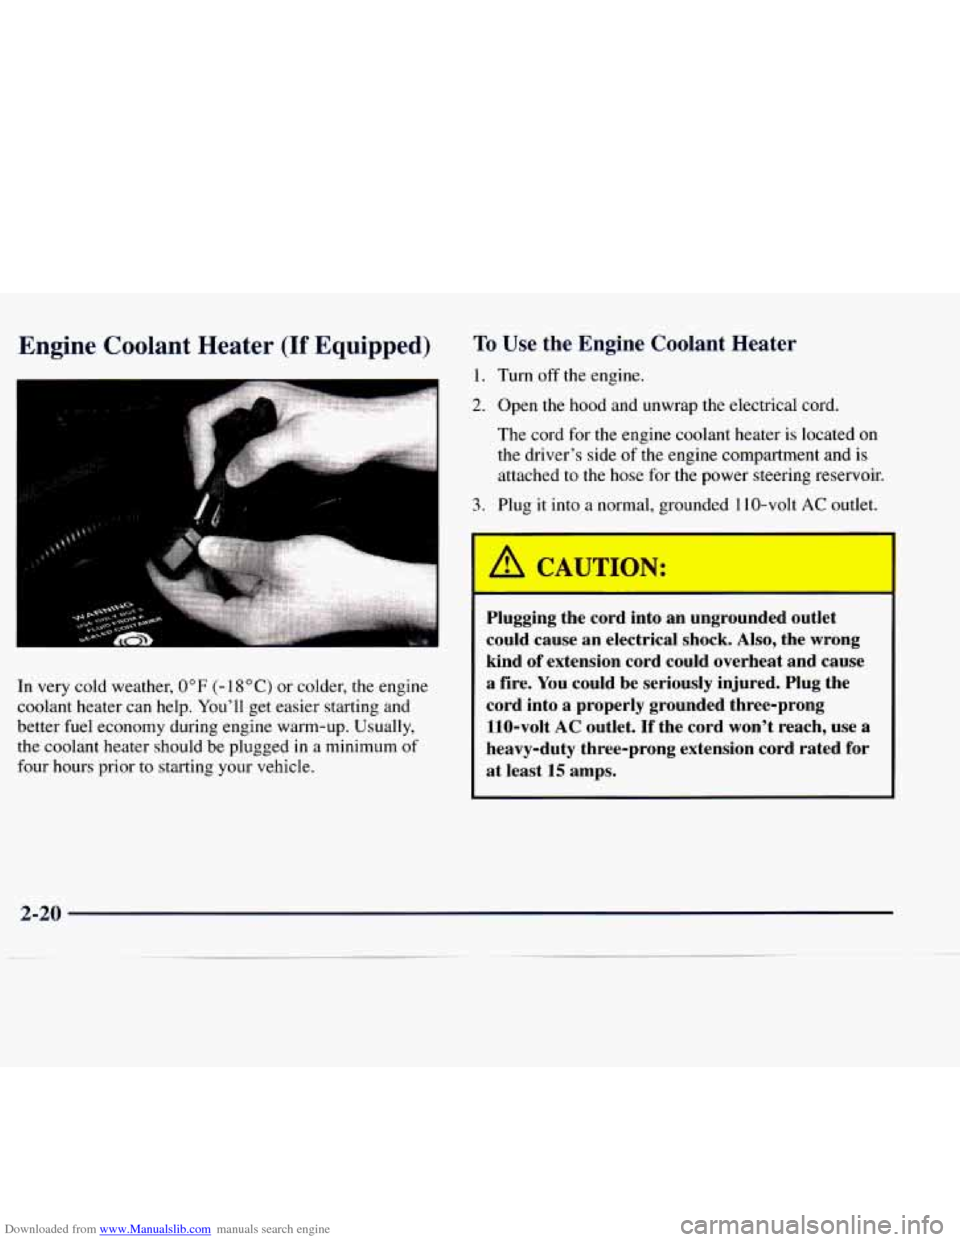
2. Open the hood and unwrap the electrical cord.
The cord for the engine coolant heater is located
on
the driver’s side of the engine compartment and is
attached
to the hose for the power steering reservoir.
In very cold weather,
0°F (- I 8OC) or colder, the engine
coolant heater can help. You’ll get easier starting and
better fuel economy during engine warm-up. Usually,
the coolant heater should be plugged in a minimum
of
four hours prior to starting your vehicle.
I
3. Plug it into a normal, grounded 1 IO-volt AC outlet.
1 A
CAUTION:
Plugging the cord into an ungrounded outlet
could cause an electrical
shock. Also, the wrong
kind
of extension cord could overheat and cause
a fire. You could be seriously injured. Plug the
cord into
a properly grounded three-prong
110-volt
AC outlet. If the cord won’t reach, use a
heavy-duty three-prong extension cord rated for
at least 15 amps.
2-20
Page 171 of 386

Downloaded from www.Manualslib.com manuals search engine The anti-lock system can change the brake pressure faster
than any driver could. The computer is programmed
to
make the most of available tire and road conditions.
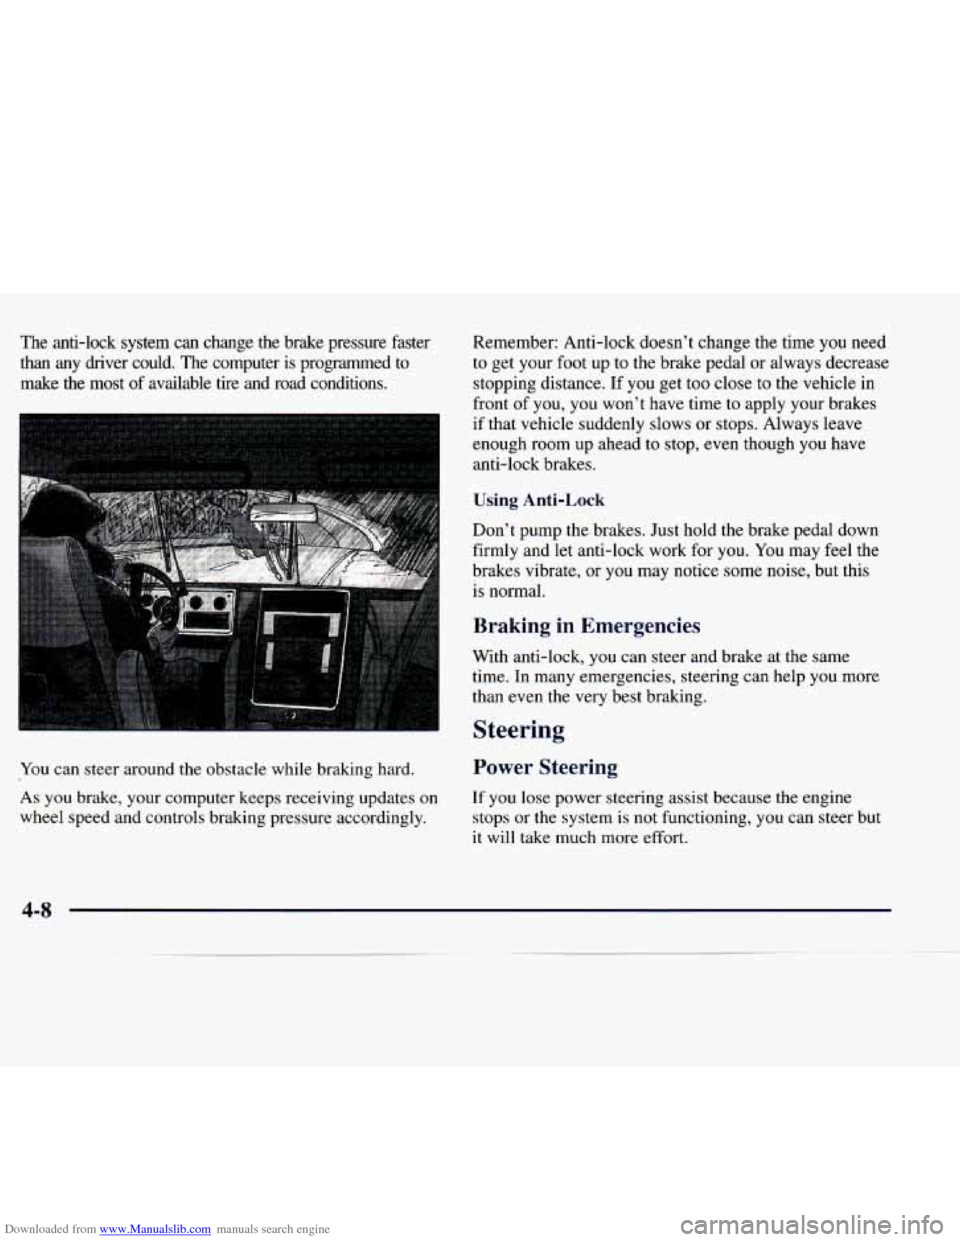
You can steer around the obstacle while braking hard.
As you brake, your computer keeps receiving updates on
wheel speed and controls braking pressure accordingly. Remember: Anti-lock doesn’t
change the time you need
to get your foot up to the brake pedal or always decrease
stopping distance. If you get too close to the vehicle
in
front of you, you won’t have time to apply your brakes
if that vehicle suddenly slows or stops. Always leave
enough room up ahead to stop, even though you have
anti-lock brakes.
Using Anti-Lock
Don’t pump the brakes. Just hold the brake pedal down
firmly and let anti-lock work for
you. You may feel the
brakes vibrate, or you may notice some noise, but this
is normal.
Braking in Emergencies
With anti-lock, you can steer and brake at the same
time. In many emergencies, steering can help you more
than even the very best braking.
Steering
Power Steering
If you lose power steering assist because the engine
stops or the system is not functioning,
you can steer but
it will take much more effort.
Page 240 of 386

Downloaded from www.Manualslib.com manuals search engine Section 6 Service and Appearance Care
Here you will find information about the care of your vehicle. This section begins with service and fuel information,
and then it shows how to check important fluid and lubricant levels. There is also technical information about your
vehicle, and a part devoted to its appearance care.
6- 2
6-3
6-5
6-5
6-7
6-
8
6-11
6- 12
6-
16
6- 17
6-2 1
6-2 1
6-24
6-25
6-25
6-26
6-27
6-3
1
Service
Fuel (Gasoline Engine)
Fuels in Foreign Countries (Gasoline Engines)
Filling Your Tank (Gasoline Engine)
Filling a Portable Fuel Container
Checking Things Under the
Hood
Noise Control System
Engine Oil (Gasoline Engine)
Air Cleaner (Gasoline Engines)
Automatic Transmission Fluid
Rear Axle
Engine Coolant
Radiator Pressure Cap
Thermostat
Power Steering Fluid
Windshield Washer Fluid
Brakes Battery 6-32
6-32
6-40
6-4
1
6-5 1
6-5 1 6-55
6-56
6-57
6-57
6-57
6-59
6-60
6-6
1
6-66
6-67
6- 69 Bulb Replacement
Halogen Bulbs
Windshield Wiper Blade Replacement
Tires Appearance Care
Cleaning the Inside of Your Vehicle
Cleaning the Outside
of Your Vehicle
Cleaning Aluminum Wheels (If Equipped)
Cleaning Tires
Sheet Metal Damage
Finish Damage Appearance Care Materials Chart
Vehicle Identification Number (VIN)
Electrical System
Replacement Bulbs Capacities and Specifications
Normal Maintenance Replacement Parts
Page 249 of 386
Downloaded from www.Manualslib.com manuals search engine When you lift the hood, you’ll see these items:
I
A. Battery
B. Coolant Recovery Tank
C. Engine Oil Dipstick
D. Engine Oil Fill
E. Transmission Dipstick
E Air Cleaner
G. Power Steering Reservoir
H. Brake Master Cylinder
I. Windshield Washer Fluid
6-10
Page 264 of 386

Downloaded from www.Manualslib.com manuals search engine Thermostat
Engine coolant temperature is controlled by a thermostat
in the engine cooling system. The thermostat stops the
flow
of coolant through the radiator until the coolant
reaches
a preset temperature.
When you replace your thermostat, an
AC@ thermostat
is recommended.
Power :ring !
When to Check Power Steering Fluid
It is not necessary to regularly check power steering
fluid unless you suspect there is a leak in the system or
you hear an unusual noise. A fluid loss in this system
could indicate a problem. Have the system inspected
and repaired.
How To Check Power Steering Fluid
When the engine compartment is cool, wipe the cap
and the top of the reservoir clean, then unscrew the
cap and wipe the dipstick with
a clean rag. Replace
the cap and completely tighten it.
Then remove the
cap again and look at the fluid level on the dipstick.
The level should be at the
FULL COLD mark. If
necessary, add only enough fluid to bring the level up
to the mark.
To prevent contamination of brake fluid, never check or
fill the power steering reservoir with the brake master
cylinder cover
off.
6-25
Page 303 of 386
Downloaded from www.Manualslib.com manuals search engine POSITION
15.
16.
17.
18.
19.
20.
21.
22.
23.
24. A.
NAME
DRL
TURN B/U RADIO-
1
BRAKE
RADIO-B
TRANS SECURITYISTRG
RR
DEFOG
Not Used
FW HVAC
PWR ACCY
CIRCUITS PROTECTED
DRL Relay
Front Turn, RR Turn, Back-up Lamps,
BTSI Solenoid
Radio (Ign, Accy), Upfitter Provision Relav
4WAL PCM, ABS, Cruise Control
Radio (Battery), Power Antenna
PRNDL, Automatic Transmission
EVO Steering, Passlock
Rear Window Defog
RR HVAC Controls, HIGH, MED, LOW Relays Power Door Lock, Six-Way Power Seat, Keyless Entry
Illumination Module
B. PWR WDO Power Windows
Fuse amperage levels are imprinted
on the fuse panel under the dash.
6-64
Page 353 of 386

Downloaded from www.Manualslib.com manuals search engine Part C: Periodic Main A !n: Ice
Inspections
Listed below are inspections and services which should
be performed at least twice a year (for instance, each
spring and fall).
You should let your dealer’s service
department or other qualified service center do these
jobs. Make sure any necessary repairs are completed
at once.
Proper procedures to perform these services may be
found in
a service manual. See “Service and Owner
Publications” in the Index.
Steering and Suspension Inspection
Inspect the front and rear suspension and steering
system for damaged, loose or missing parts, signs
of
wear or lack of lubrication. Inspect the power steering
lines and hoses for proper hook-up, binding, leaks,
cracks, chafing, etc.
Exhaust System Inspection
Inspect the complete exhaust system. Inspect the body
near the exhaust system.
Look for broken, damaged,
missing or out-of-position parts as well as open seams,
holes, loose connections or other conditions which
could cause a heat build-up in the floor pan or could
let exhaust fumes into the vehicle. See “Engine
Exhaust” in the Index.
Engine Cooling System Inspection
Inspect the hoses and have them replaced if they are
cracked, swollen or deteriorated. Inspect all pipes,
fittings and clamps; replace as needed. Clean the outside
of the radiator and air conditioning condenser. To help
ensure proper operation, a pressure test
of the cooling
system and pressure cap is recommended at least once
a year.
7-42