Page 105 of 378

Downloaded from www.Manualslib.com manuals search engine Interior Lamps
Instrument Panel Brightness Control
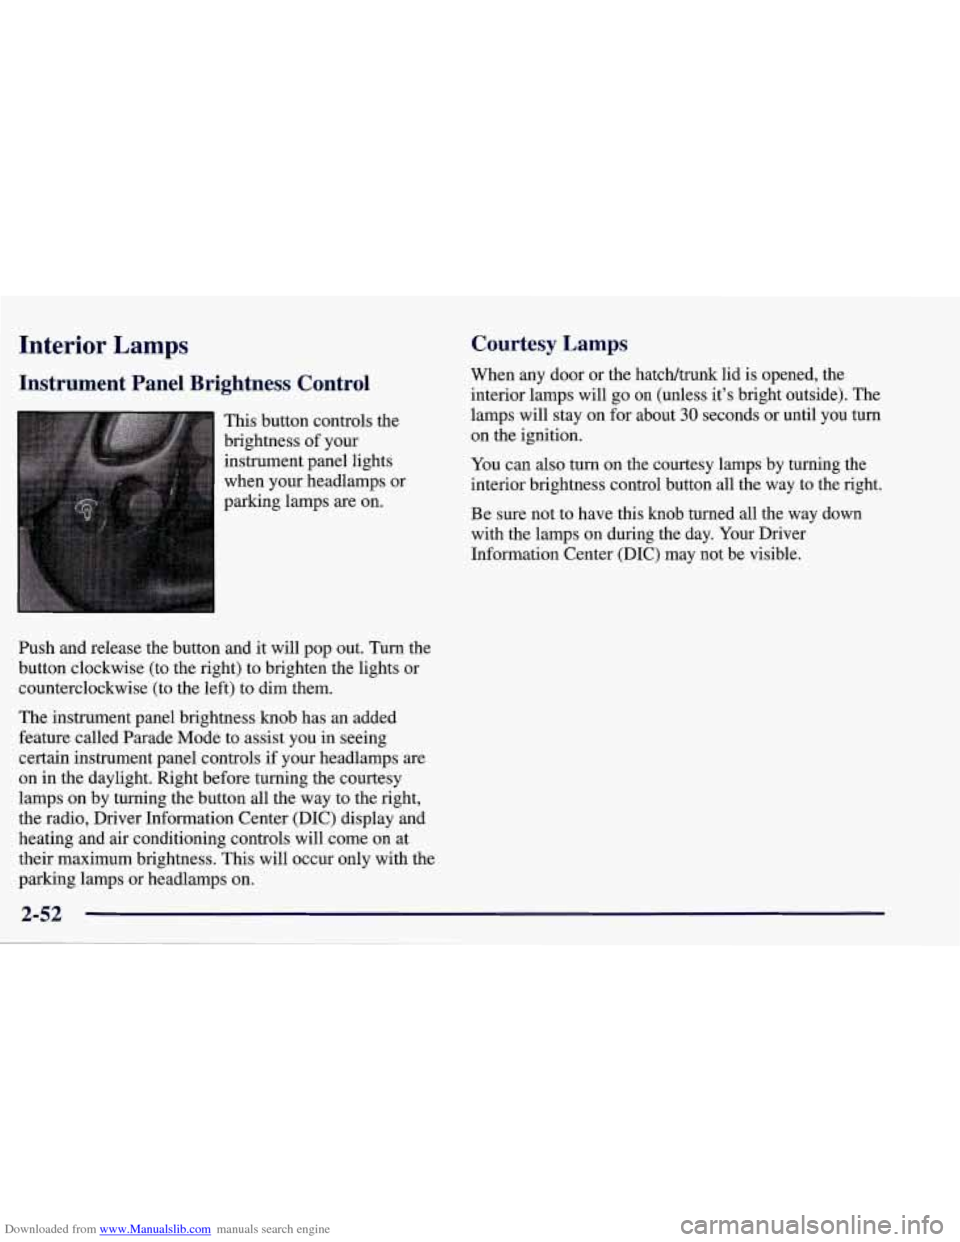
This button controls the
brightness of your
instrument panel lights
when your headlamps or
parking lamps
are on.
Ish and release the button and it will pop out. Turn the
button clockwise (to the right) to brighten the lights or
counterclockwise (to the left) to dim them.
The instrument panel brightness knob has an added
feature called Parade Mode to assist you in seeing
certain instrument panel controls if your headlamps
are
on in the daylight. Right before turning the courtesy
lamps on by turning the button all the way to the right,
the radio, Driver Information Center (DIC) display and
heating and air conditioning controls will come on at
their maximum brightness. This will occur only with the
parking lamps or headlamps on.
Courtesy Lamps
When any door or the hatch/trunk lid is opened, the
interior lamps will go
on (unless it’s bright outside). The
lamps will stay on for about
30 seconds or until you turn
on the ignition.
You can
also turn on the courtesy lamps by turning the
interior brightness control button all the way to the right.
Be sure not to have this knob turned all the way down
with the lamps on during the day. Your Driver
Information Center
(DIC) may not be visible.
2-52
Page 109 of 378
Downloaded from www.Manualslib.com manuals search engine Rear Storage
There are three rear storage compartments in the floor of
the rear hatch/trunk area.
To access the center storage compartment, pull up on the
two latches to release the carpet lid.
Remove the carpet lid. There are two other storage
compartments, one on each side
of the center
compartment. Each
of these compartments has one latch
which operates the same as the two on the center
carpet lid.
Page 123 of 378
Downloaded from www.Manualslib.com manuals search engine 3. Lift upward on the front edge (A) of the convertible
top
off of the windshield frame. Then lift upward
on the rear edge (B) of the convertible top to be
vertical
off the storage compartment lid (C). The
front edge
(A) and rear edge (B) should be straight
up and down.
4. Tilt the driver’s seatback forward and press the
storage compartment release button located on the
underside
of the storage compartment lid (C) behind
the driver’s seat. Then raise the storage compartment
lid
(C). While attempting to raise the lid, if the lid
does not release and
you hear three chimes, check to
make sure the trunk lid is closed. Also, the lid will
not release if the alarm is turned on or the trunk lid
is open.
After pressing the release button, the driver and
passenger door glass should retract to the
full-down position.
Page 128 of 378
Downloaded from www.Manualslib.com manuals search engine A. Turn Signal/Multifunction Lever
B. Driver Information Center (DIC)
C. Instrument Panel Cluster
D. Windshield Wipermasher Lever
E. DIC Buttons
E Hazard Warning Flasher Button
G. Center Air Vent
H. Audio System
I. Comfort Controls
J. Fog Lamp Button (Option)
K. Remote Hatch Release Button (Coupe) or Remote
Trunk Release Button (Convertible)
L. Ignition Switch
M. Shift Lever (Automatic Shown)
N. Traction Control System (TCS) Switch
0. Selective Real Time Damping (Option)
P. Instrument Panel Cupholder
Q. Remote Fuel Door Release Button
R. Ashtray
& Cigarette Lighter
S. Parking Brake
T. Glove Box
U. Instrument Panel Fuse Block
V. Power Accessory Outlet
2-75
Page 159 of 378
Downloaded from www.Manualslib.com manuals search engine Other Messages
Here are more messages that you can receive on your
Driver Information Center. To acknowledge a message
and read another message that may have come on at the
same time, press the RESET button.
0
0
0
0
0
0
0
0
BRAKE BEFORE SHIFT
(Automatic Transmissions Only)
CHANGE
OIL NOW
CHANGE OIL SOON
CRUISE DISENGAGED
CRUISE SET
- MPH (- ktn/h)
DOOR AJAR
ENGINE PROTECTION REDUCE ENGINE
RPM
HATCH AJAR (Coupe)
TRUNK AJAR (Convertible)
HIGH VOLTAGE
0 LOW BRAKE F‘LUID (See “Brake Fluid” in
the Index)
0 LOW COOLANT (See “Engine Overheating” in
0 LOW FUEL (fuel range is less than 50 miles (80 km))
the Index)
0 LOW VOLTAGE
LOW WASHER FLUID
0 PULL KEY - WAIT 10 SEC
RESERVE FUEL
UPSHIFTNOW
2-106
. ..
Page 160 of 378

Downloaded from www.Manualslib.com manuals search engine Section 3 Comfort Controls and Audio Systems
In this section, you’ll find out how to operate the comfort control and audio systems offered with your vehicle. Be
sure to read about the particular systems supplied with your vehicle.
3-2
3-2
3-4
3-9
3- 10
3-11 3-11
3- 12 3-12
3-12
3-17 Comfort Controls
Manual
Comfort Controls
Automatic Electronic Dual Climate Control
System (If Equipped)
Sensors
Air Conditioning
Heating
Defogging and Defrosting
Audio Systems Setting the Clock for
All Systems
AM-FM Stereo with Cassette Tape Player and
Automatic Tone Control
CD Adapter Kits
3- 17
3-2 1
3-25
3 -27
3-27
3-28
3-29
3-29
3-29
3-30 AM-FM Stereo with Compact Disc Player and
Automatic Tone Control
(If Equipped)
Trunk Mounted CD Changer Theft-Deterrent Feature
Understanding Radio Reception
Tips About Your Audio System
Care of Your Cassette Tape Player
Care of Your Compact Discs
Care
of Your Compact Disc Player
Power Mast Antenna (Option)
Integrated Windshield and Rear Window
Antennas (Option)
3-1
Page 180 of 378

Downloaded from www.Manualslib.com manuals search engine RECALL: Press this button to see which track is
playing. Press it again within five seconds to see how
long it has been playing (elapsed time). The track
number also appears when you change the volume or
when a new track starts to play.
AM-FM: Press this button to play the radio when a disc
is in the player. The letters
CD will go off the display.
CD AUX: Press this button to change to the disc
function when the radio is on.
A CD icon will appear on
the display when the disc is in the player, whether it is
active or not. If your system is equipped with a remote
playback device, pressing this button a second time will
allow the remote device to play.
EJECT Press this button to remove the disc. The radio
will play. The disc will start at the first track when you
reinsert it.
If you turn off the ignition or radio with a disc in the
player, it will stay in the player. When you turn on the
ignition or system, the disc will start playing where it
was stopped. If you press EJECT but don’t remove
the disc, the player will pull the disc back in to protect
it after about one minute. If you leave a compact disc
in the player while listening to the radio, it may
become warm.
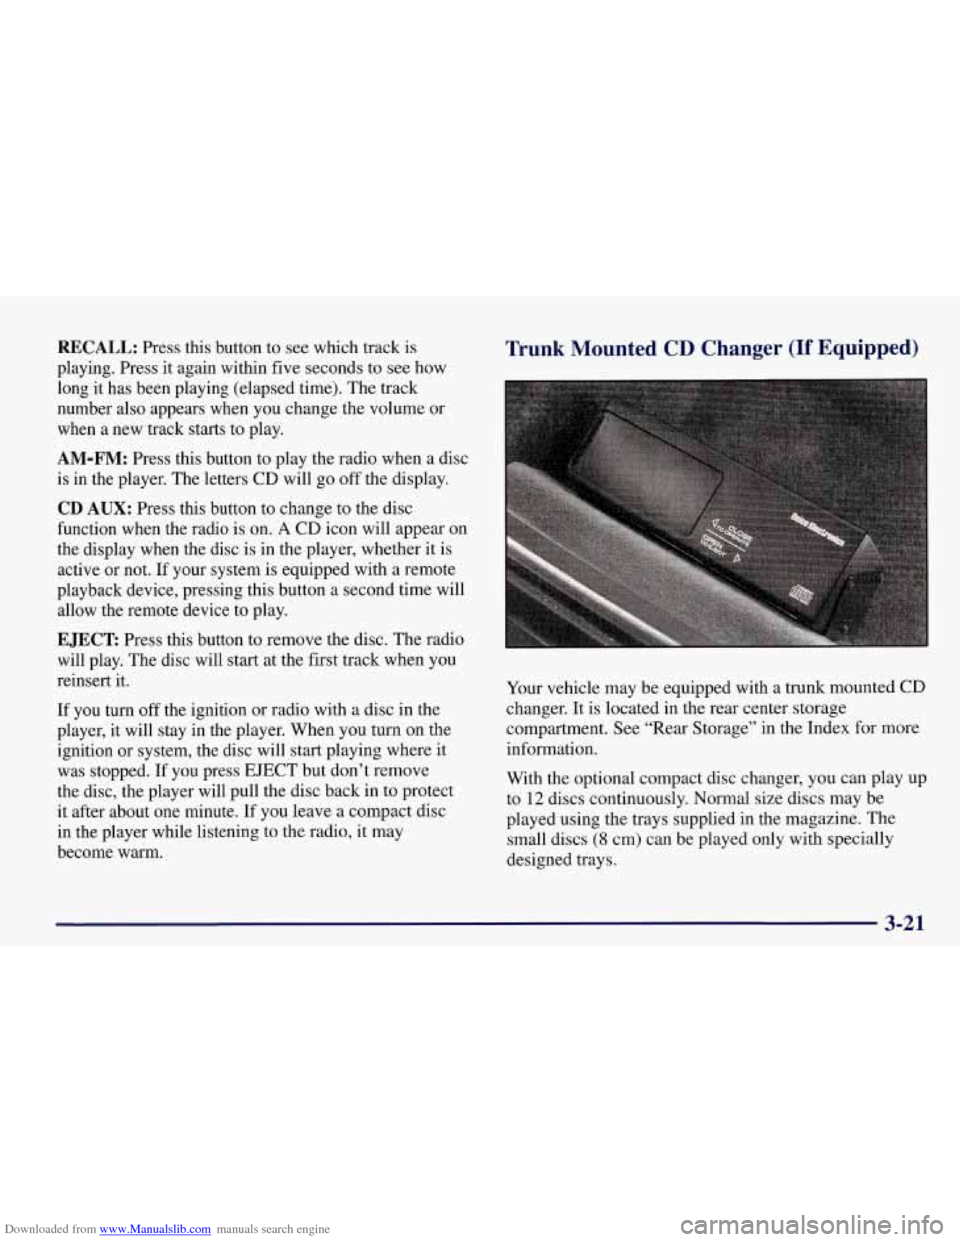
Trunk Mounted CD Changer (If Equipped)
Your vehicle may be equipped with a trunk mounted CD
changer. It is located in the rear center storage
compartment. See “Rear Storage” in the Index for more
information.
With the optional compact disc changer, you can play up
to
12 discs continuously. Normal size discs may be
played using the trays supplied in the magazine. The
small discs
(8 cm) can be played only with specially
designed trays.
3-21
Page 182 of 378

Downloaded from www.Manualslib.com manuals search engine Whenever a CD magazine with discs is loaded in the
changer, the CD symbol will appear on the radio display.
If the CD changer is checking the magazine for CDs, the
CD symbol will flash on the display until the changer is
ready to play. When
a CD begins playing, a disc and
track number will be displayed. The disc numbers are
listed on the front of the magazine.
If your vehicle is equipped with the AM-FM Stereo
with Cassette Tape Player and Automatic Tone Control, the following buttons are used for the trunk mounted
CD changer except the EJECT button for ejecting the
CD magazine.
PREV (1): Press this button or the SEEK left arrow to
go to the previous track if the current selection has been
playing for less than eight seconds. If the PREV button
is pressed and the current selection has been playing for
more than eight seconds, it will go to the beginning of
the current selection. If you hold or press this button
more than once, the player will continue moving back
through the disc. The sound will mute while seeking.
PROG (2): Press this button to select a disc. The disc
number and track number will be displayed.
NEXT (3): Press this button or the SEEK right arrow to
go to the next track.
If you hold the button or press it more
than once, the player will continue moving forward
through the disc. The sound will mute while seeking.
REV (4): Press and hold this button to reverse quickly
through a track selection. Release it to resume playing.
FWD (6): Press and hold this button to advance quickly
through a track selection. Release it to resume playing.
SEEK: Press the right arrow to seek to the next
selection
on the CD. Press the left arrow to search for
the previous selection on the CD. The sound will mute
while seeking.
P.SCAN: Press this button to hear the tracks in random,
rather than sequential, order.
RANDOM will appear on
the display. Press P.SCAN again to turn
off random play.
TAPE AUX: Press this button if you have a disc loaded
in the changer and the radio is turned on, to play a
compact disc. Press AM-FM to return to the radio when
a compact disc is playing. Press TAPE AUX to switch
between the tape and compact disc if both are loaded.
To eject the disc holder in the trunk mounted CD
changer, slide the CD changer door all the way open and
the disc holder will automatically eject.
If your vehicle is equipped with the AM-FM Stereo with
CD Player and Automatic Tone Control, the following
buttons are used for the trunk mounted CD changer
except the EJECT button for ejecting the CD magazine.
3-23