Page 261 of 378
Downloaded from www.Manualslib.com manuals search engine What to Do with Used Oil
Did you know that used engine oil contains certain
elements that may be unhealthy for your skin and could
even cause cancer? Don’t let used oil stay on your skin
for very long. Clean your skin and nails with soap and
water, or a good hand cleaner. Wash or throw away
clothing or rags containing used engine oil. (See the
manufacturer’s warnings about the use and disposal of
oil products.)
Used oil can be a real threat to the environment. If you
change your own oil, be sure to drain all free-flowing oil
from the filter before disposal. Don’t ever dispose of oil
by putting it in the trash, pouring
it on the ground, into
sewers, or into streams or bodies
of water. Instead,
recycle it by taking it
to a place that collects used oil. If
you have a problem properly disposing of your used oil,
ask your dealer, a service station or a local recycling
center for help.
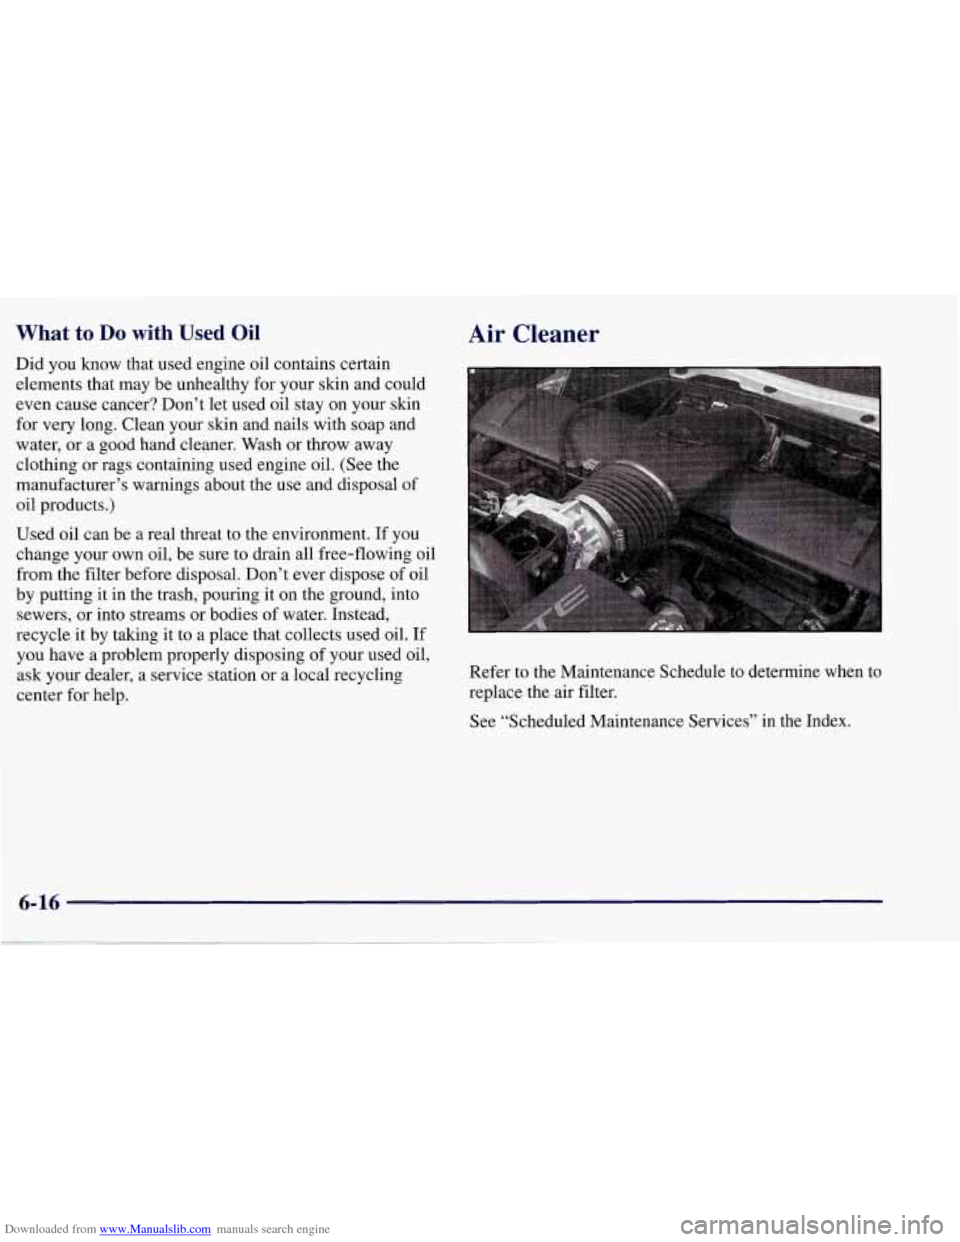
Air Cleaner
Refer to the Maintenance Schedule to determine when to
replace the
air filter.
See “Scheduled Maintenance Services” in the Index.
Page 264 of 378
Downloaded from www.Manualslib.com manuals search engine Change both the fluid and filter every 50,000 miles
(80 000 km) if the vehicle is mainly driven under one of
these conditions:
In heavy city traffic where the outside temperature
regularly reaches
90 OF (32 O C) or higher.
In hilly or mountainous terrain.
High performance operation.
If you do not use your vehicle under one of
these conditions. Change the fluid and filter every
100,000 miles (166 000 km).
See “Scheduled Maintenance Services” in the Index for
the proper service intervals for the transmission fluid
and filter.
Manual Transmission Fluid
When to Check
How to Check
Because this operation can be difficult, you may
choose to have this done at your Chevrolet dealership
Service Department.
If you do it yourself, be sure to follow all the
instructions here, or you could get a false reading.
NOTICE:
Too much or too little fluid can damage your
transmission. Too much can mean that some
of the fluid could come out and fall on hot exhaust system parts, starting a fire. Be sure
to
get an accurate reading if you check your
transmission fluid.
A good time to have it checked is when the engine oil
is changed. However, the fluid in your manual
transmission doesn’t require changing. Check the fluid level
only when your engine is off, the
vehicle
is parked on a level place and the transmission is
cool enough for you to rest your fingers on the
transmission case.
6-19
Page 265 of 378
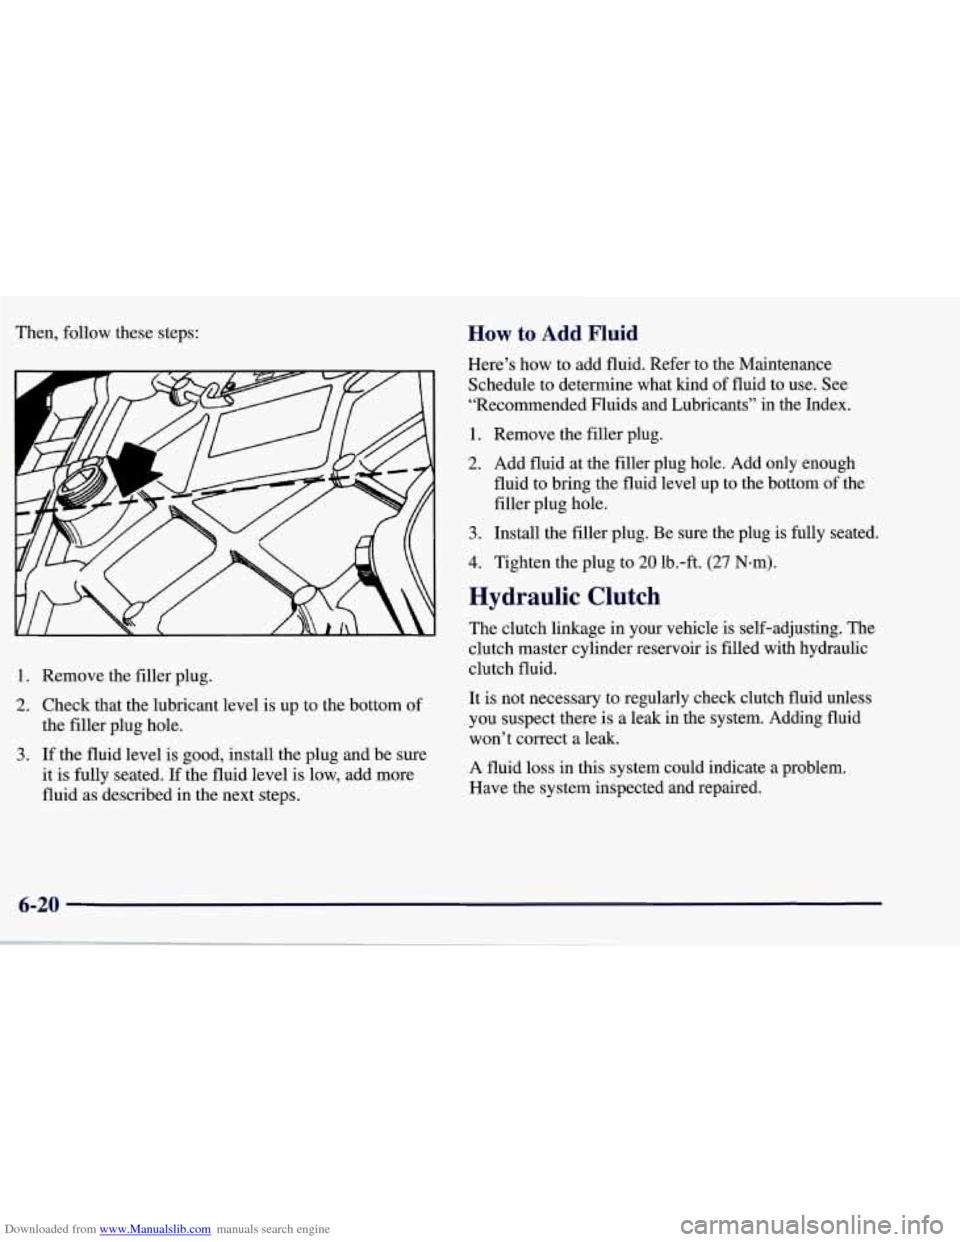
Downloaded from www.Manualslib.com manuals search engine Then, follow these steps:
4
1. Remove the filler plug.
2. Check that the lubricant level is up to the bottom of
the filler plug hole.
3. If the fluid level is good, install the plug and be sure
it is fully seated. If the fluid level is low, add more
fluid as described in the next steps.
How to Add Fluid
Here’s how to add fluid. Refer to the Maintenance
Schedule to determine what kind of fluid to use. See
“Recommended Fluids and Lubricants” in the Index.
1. Remove the filler plug.
2. Add fluid at the filler plug hole. Add only enough
fluid to bring the fluid level up to the bottom of the
filler plug hole.
3. Install the filler plug. Be sure the plug is fully seated.
4. Tighten the plug to 20 1b.-ft. (27 N-m).
Hydraulic Clutch
The clutch linkage in your vehicle is self-adjusting. The
clutch master cylinder reservoir is filled with hydraulic
clutch fluid.
It is not necessary to regularly check clutch fluid unless
you suspect there is a leak in the system. Adding fluid
won’t correct a leak.
A fluid loss in this system could indicate a problem.
Have the system inspected and repaired.
Page 266 of 378
Downloaded from www.Manualslib.com manuals search engine When to Check and What to Use
Refer to the Maintenance Schedule to determine how
often you should check the fluid level in your clutch
master cylinder reservoir and for the proper fluid. See
“Owner Checks and Services” and “Recommended
Fluids and Lubricants” in the Index.
How To Check and Add Fluid
The clutch master cylinder is on the driver’s side of the
engine compartment, near the fender.
To check the fluid, remove the cap and rubber seal. Fluid should be
added
if the fluid level is below the step
on the inside of the reservoir. There are additional
instructions on the reservoir cap.
Replace the rubber seal and cap.
Rear Axle
When to Check Lubricant
Refer to the Maintenance Schedule to determine how
often
to check the lubricant. See “Periodic Maintenance
Inspections” in the Index.
6-21
Page 274 of 378
Downloaded from www.Manualslib.com manuals search engine Brakes
Brake Fluid
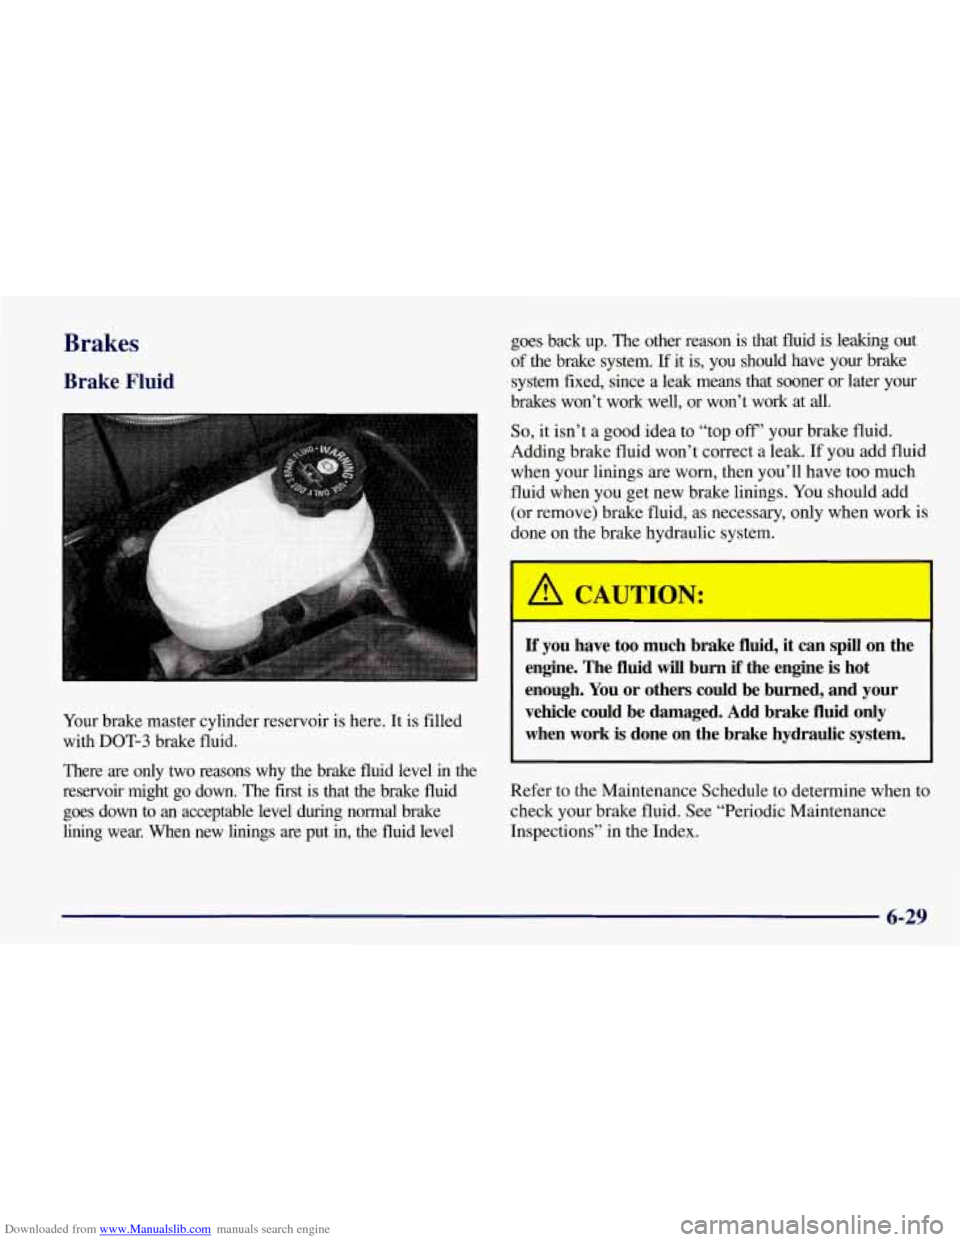
Your brake master cylinder reservoir is here. It is filled
with
DOT-3 brake fluid.
There are only two reasons why the brake fluid level
in the
reservoir might go down. The first is that
the brake fluid
goes down to an acceptable level during normal brake
lining wear. When new linings are put in, the fluid level goes back
up. The
other reason is that fluid is leaking out
of the brake system.
If it is, you should have your brake
system fixed, since a leak means that sooner or later your
brakes won’t work well, or won’t work at
all.
So, it isn’t a good idea to “top off’ your brake fluid.
Adding brake fluid won’t correct a leak. If you add fluid
when your linings are worn, then you’ll have too much
fluid when you get new brake linings.
You should add
(or remove) brake fluid, as necessary, only when work is
done on the brake hydraulic system.
If you have too much brake fluid, it can spill on the
engine. The fluid
will burn if the engine is hot
enough.
You or others could be burned, and your
vehicle could be damaged. Add brake fluid
only
when work is done on the brake hydraulic system.
Refer to the Maintenance Schedule to determine when to
check your brake fluid. See “Periodic Maintenance
Inspections” in the Index.
6-29
Page 276 of 378
Downloaded from www.Manualslib.com manuals search engine Brake Wear
Your vehicle has four-wheel disc brakes.
Disc brake pads have built-in wear indicators that make a
high-pitched warning sound when the brake pads
are worn
and new pads are needed. The sound may come and
go or
be heard
all the time your vehicle is moving (except when
you are pushing on the brake pedal firmly).
The brake wear warning sound means that soon
your brakes won’t work well. That could lead to
an accident. When you hear the brake wear warning sound, have your vehicle serviced.
I NOTICE:
Continuing to drive with worn-out brake pads
could result
in costly brake repair.
Some driving conditions or climates may cause a brake
squeal when the brakes are first applied or lightly
applied. This does not mean something
is wrong with
your brakes.
Brake linings should always be replaced as complete
axle sets.
See “Brake System Inspection” in Section
7 of this
manual under Part
C “Periodic Maintenance
Inspections.”
Brake Pedal Travel
See your dealer if the brake pedal does not return to
normal height, or if there is a rapid increase in pedal
travel.
This could be a sign of brake trouble.
Brake Adjustment
As you make brake stops, your disc brakes
automatically adjust for wear.
6-31
Page 304 of 378
Downloaded from www.Manualslib.com manuals search engine Finish Damage
Any stone chips, fractures or deep scratches in the finish
should be repaired right away.
Minor chips and scratches can be repaired with touch-up
materials available from your dealer or other service
outlets. Larger areas
of finish damage can be corrected
in your dealer’s body and paint shop.
Magnesium Wheel Finish
NOTICE:
Improper paint repair or refinishing can cause
corrosion damage to a magnesium wheel. See
your dealer if a magnesium wheel needs paint
repair or refinishing.
Underbody Maintenance
Chemicals used for ice and snow removal and dust control
can collect on the underbody.
If these are not removed,
accelerated corrosion (rust) can occur on the underbody
parts such
as fuel lines, frame, floor pan and exhaust
system even though they have corrosion protection.
At least every spring, flush these materials from the
underbody with plain water. Clean any areas where mud
and other debris can collect. Dirt packed in closed areas
of the frame should
be loosened before being flushed.
Your dealer or an underbody car washing system can do
this for you.
6-59
Page 320 of 378
Downloaded from www.Manualslib.com manuals search engine Section 7 Maintenance Schedule
This section covers the maintenance required for your Corvette. Your vehicle needs these services to retain its safety,
dependability and emission control performance.
7-2
7-2
7-3
7-4
7-5 Introduction
Your Vehicle
and the Environment
How This Section is Organized
Part
A: Scheduled Maintenance Services
Maintenance Schedule 7-11
7-15
7- 16 7-18
Part B: Owner Checks and Services
Part C: Periodic Maintenance Inspections
Part
D: Recommended Fluids and Lubricants
Part
E: Maintenance Record
7-1