1998 CHEVROLET CORVETTE display
[x] Cancel search: displayPage 100 of 378
Downloaded from www.Manualslib.com manuals search engine Cruise Control
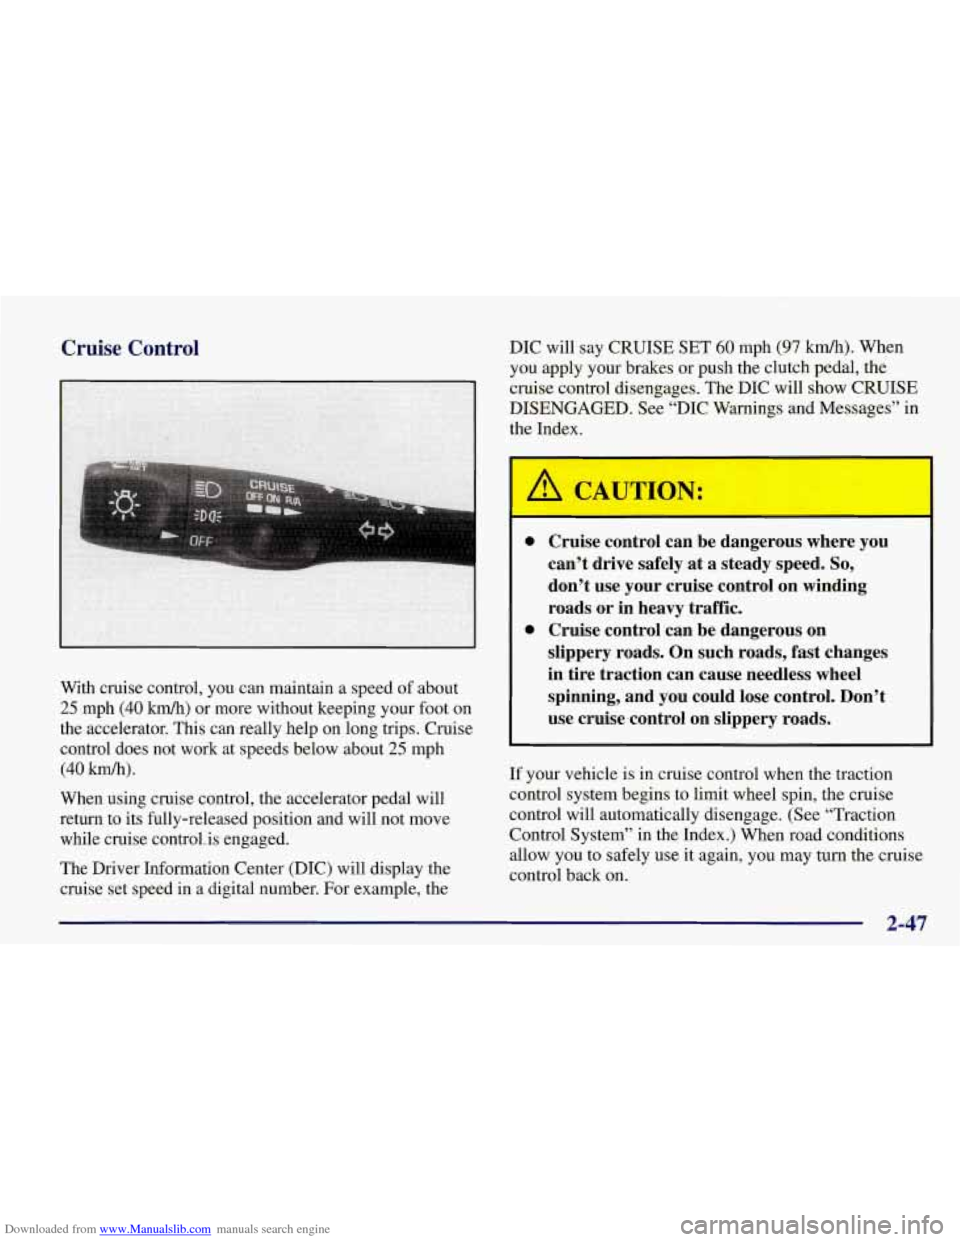
With cruise control, you can maintain a speed of about
25 mph (40 km/h) or more without keeping your foot on
the accelerator. This can really help on long trips. Cruise
control does not work at speeds below about
25 mph
(40 km/h).
When using cruise control, the accelerator pedal will
return to its fully-released position and will not move
while cruise control. is engaged.
The Driver Information Center (DIC) will display the
cruise set speed in
a digital number. For example, the DIC will
say CRUISE SET
60 mph (97 km/h). When
you apply your brakes or push the clutch pedal, the
cruise control disengages. The DIC will show CRUISE
DISENGAGED. See “DIC Warnings and Messages” in
the Index.
Cruise control can be dangerous where you
can’t drive safely
at a steady speed. So,
don’t use your cruise control on winding
roads or in heavy traffic.
Cruise control can be dangerous on
slippery roads. On such roads, fast changes
in tire traction can cause needless wheel
spinning, and you could lose control. Don’t
use cruise control on slippery roads.
If your vehicle is in cruise control when the traction
control system begins to limit wheel spin, the cruise
control will automatically disengage. (See “Traction
Control System” in the Index.) When road conditions
allow you to safely use it again, you may turn the cruise
control back
on.
2-47
Page 101 of 378
Downloaded from www.Manualslib.com manuals search engine Setting Cruise Control
A CAUTION:
If you leave your cruise control switch on when
you’re not using cruise, you might hit a button
and go into cruise when you don’t want to.
You
could be startled and even lose control. Keep the
cruise control switch
off until you want to use it.
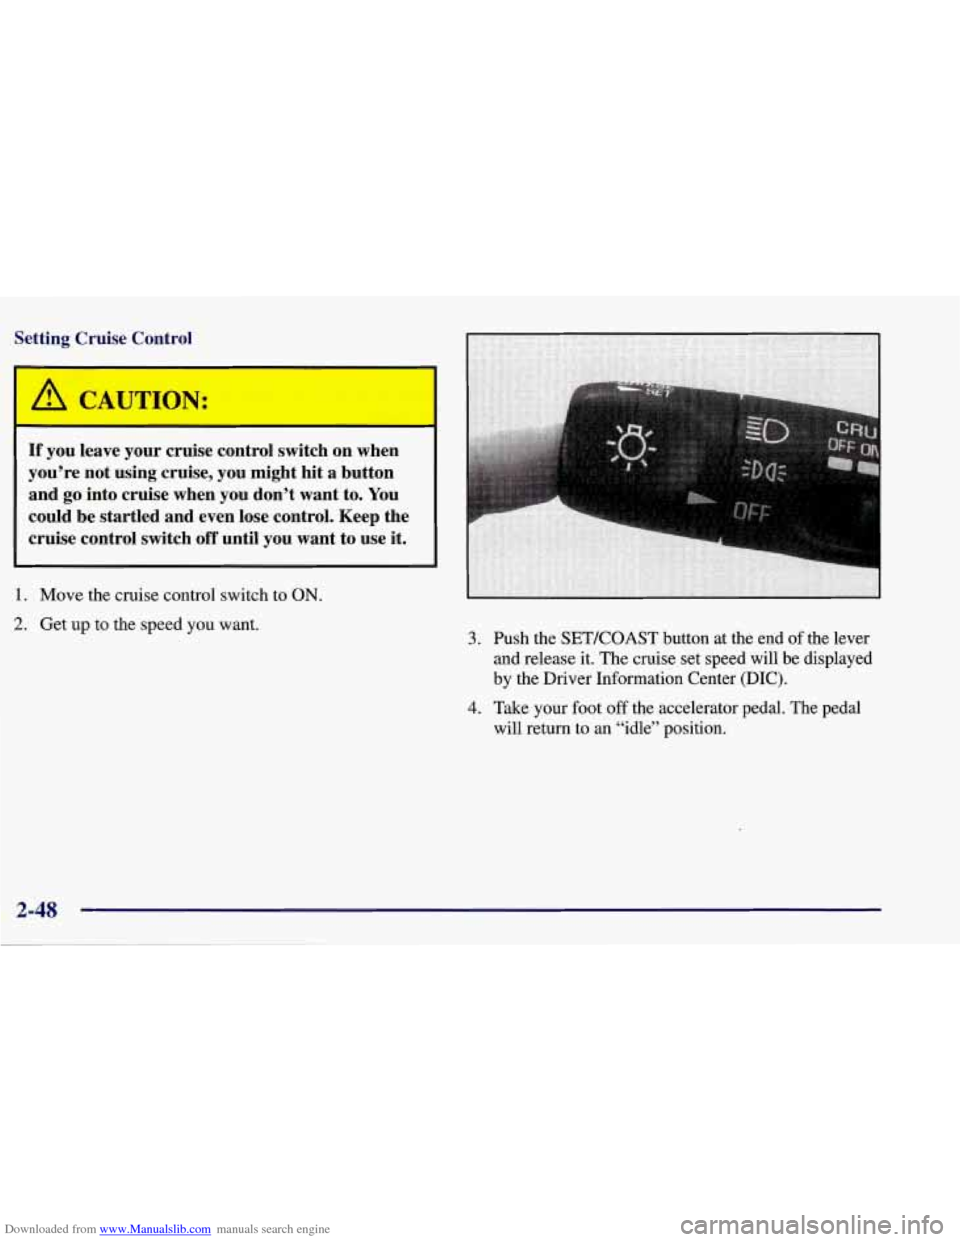
1. Move the cruise control switch to ON.
2. Get up to the speed you want.
3. Push the SETKOAST button at the end of the lever
and release it. The cruise set speed will be displayed
by the Driver Information Center
(DIC).
4. Take your foot off the accelerator pedal. The pedal
will return to an “idle” position.
Page 102 of 378
Downloaded from www.Manualslib.com manuals search engine Resuming a Set Speed
Suppose you set your cruise control at a desired speed
and then you apply the brake or clutch pedal. This, of
course, disengages the cruise control. But you don’t
need to reset it.
Once you’re going about
25 mph (40 km/h) or more,
you can move the cruise control switch to
R/A
(Resume/Accelerate) for about half a second. The
Driver Information Center (DIC) will display the cruise set speed.
You’ll go right back up to your chosen speed and
stay there.
Increasing Speed While Using Cruise Control
There are two ways to go to a higher speed:
1. Use the accelerator pedal to get to the higher speed.
The speed
will not begin to increase until sufficient
pedal travel is achieved. Push the button at the end
of
the lever, then release the button and the accelerator
pedal. You’ll now cruise at the higher speed.
The Driver Information Center (DIC) will display
the cruise set speed.
2. Move the cruise switch to R/A. Hold it there until
you get up to the speed you want, then release the
switch. To increase your speed in very small
amounts, move the switch to
R/A for less than half a
second, then release it. Each time you do this, your
vehicle will go about
1 mph (1.6 km/h) faster.
The DIC will display the cruise set speed.
Reducing Speed While Using Cruise Control
There are two ways to reduce your speed while using
cruise control:
Push in the button at the end of the lever until you
reach the lower speed you want, then release it.
The Driver Information Center (DIC) will display
the cruise set speed.
button for less than half a second. Each time you do
this, you’ll go
1 mph (1.6 km/h) slower.
The DIC will display the cruise set speed.
To slow down in very small amounts, push the
2-49
Page 103 of 378
Downloaded from www.Manualslib.com manuals search engine Passing Another Vehicle While Using Cruise Control
Use the accelerator pedal to increase your speed. When
you take your foot
off the pedal, your vehicle will slow
down to
the cruise control speed you set earlier.
Using Cruise Control on Hills
How well your cruise control will work on hills depends
upon your speed, load and the steepness of the hills.
When going downhill, you may have to brake or shift to
a lower gear to keep your speed down.
Of course,
applying the brake takes you out of cruise control. Many
drivers find this to be too much trouble and don’t use
cruise control on steep hills.
Getting Out of Cruise Control
There are two ways to turn off the cruise control:
0 Step lightly on the brake pedal or push the clutch
pedal,
if you have a manual transmission vehicle; or
0 Move the cruise switch to OFF.
The DIC will display the message “CRUISE
DISENGAGED.”
Erasing Speed Memory
When you turn off the cruise control or the ignition,
your cruise control set speed memory is erased.
Exterior Lamps
Daytime Running Lamps
Daytime Running Lamps (DRL) can make it easier for
others to see the front of your vehicle during the day.
DRL can be helpful in many different driving
conditions, but they can be especially helpful in the
short periods after dawn and before sunset.
The DRL system will make your front turn signal lamps
come on when:
0 the ignition is on,
the headlamp switch is off and
0 the parking brake is released.
When the DRL
are on, only your front turn signal lamps
will be on. The taillamps, sidemarker and other lamps
will not be
on.
Y’JV
Page 105 of 378
Downloaded from www.Manualslib.com manuals search engine Interior Lamps
Instrument Panel Brightness Control
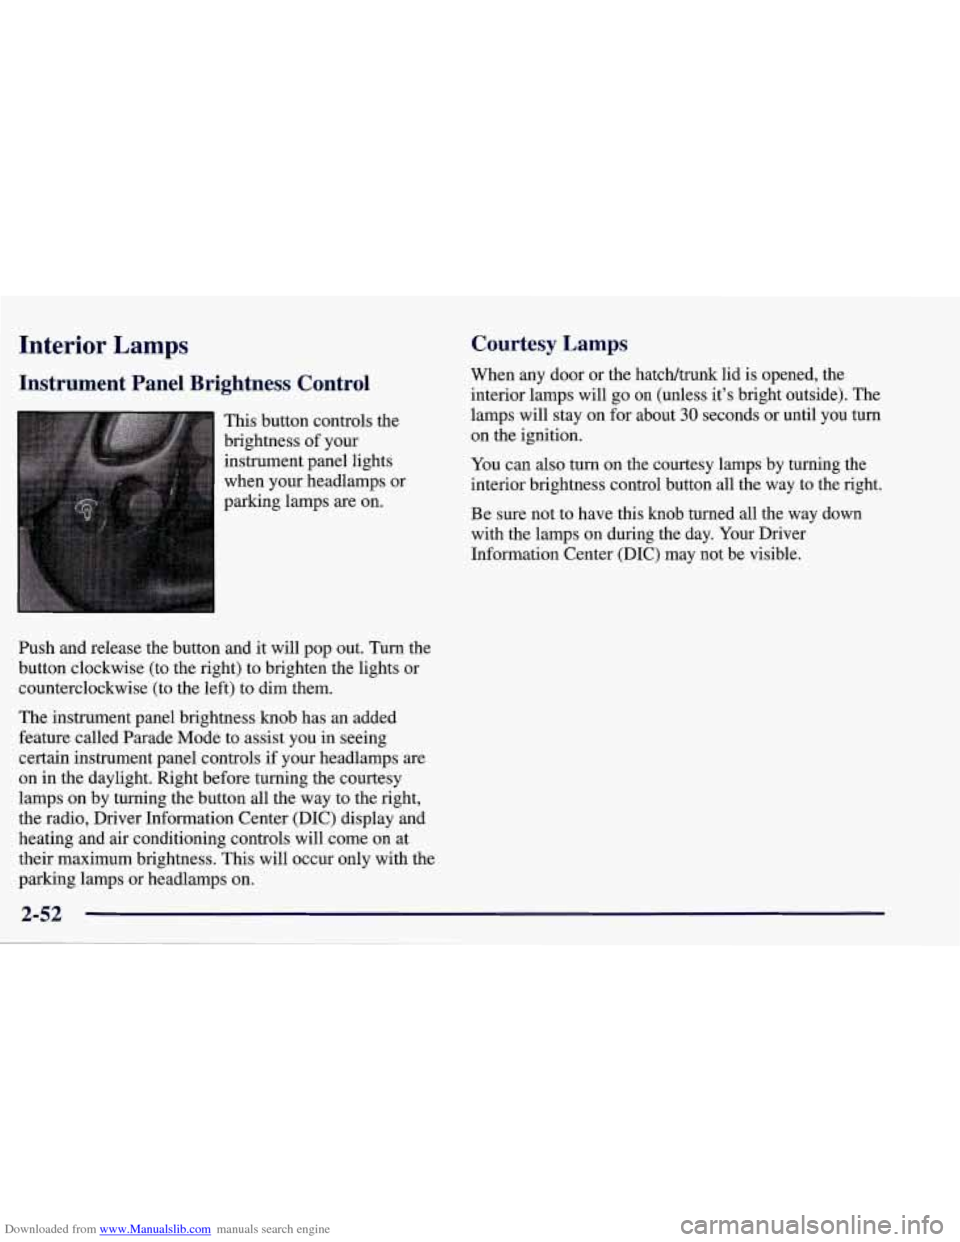
This button controls the
brightness of your
instrument panel lights
when your headlamps or
parking lamps
are on.
Ish and release the button and it will pop out. Turn the
button clockwise (to the right) to brighten the lights or
counterclockwise (to the left) to dim them.
The instrument panel brightness knob has an added
feature called Parade Mode to assist you in seeing
certain instrument panel controls if your headlamps
are
on in the daylight. Right before turning the courtesy
lamps on by turning the button all the way to the right,
the radio, Driver Information Center (DIC) display and
heating and air conditioning controls will come on at
their maximum brightness. This will occur only with the
parking lamps or headlamps on.
Courtesy Lamps
When any door or the hatch/trunk lid is opened, the
interior lamps will go
on (unless it’s bright outside). The
lamps will stay on for about
30 seconds or until you turn
on the ignition.
You can
also turn on the courtesy lamps by turning the
interior brightness control button all the way to the right.
Be sure not to have this knob turned all the way down
with the lamps on during the day. Your Driver
Information Center
(DIC) may not be visible.
2-52
Page 130 of 378
Downloaded from www.Manualslib.com manuals search engine Speedometer
Your speedometer lets you see your speed in either miles
per hour (mph)
or kilometers per hour (km/h).
You may note that there are not two separate scales for
mph and
km/h. When you press the EM
(EnglishNetric) button on the Driver Information
Center (DIC), the cluster will calculate the proper speed
and move the needle to the correct position. Either the
MPH or the km/h telltale will illuminate, depending on
which measurement you choose.
Tachometer
The tachometer displays the engine speed in thousands
of revolutions per minute (rpm).
Fuel will shut
off at about 6200 rpm.
If you continue to drive your vehicle at the fuel shut off
rpm, you could damage your engine. Be sure to operate
your vehicle below the fuel shut off rpm or reduce your
rpm quickly when the fuel shuts off.
Warning Lights, Gages and Messages
This part describes the warning lights and gages that
may be on your vehicle. The pictures will help you
locate them.
Warning lights and gages can signal that something is wrong before it becomes serious enough to cause an
expensive repair or replacement. Paying attention to
your warning lights and gages could also save you or
others from injury.
Warning lights come on when there may be
or is a
problem with one of your vehicle’s functions.
As you
will see in the details on the next few pages, some
warning lights come on briefly when you start the
engine just to let you know they’re working.
If you are
familiar with this section, you should not be alarmed
when this happens.
Gages can indicate when there may be or is a problem
with one
of your vehicle’s functions. Often gages and
warning lights work together to let you
know when
there’s a problem with your vehicle.
2-77
Page 137 of 378
Downloaded from www.Manualslib.com manuals search engine Engine Oil Pressure Gage
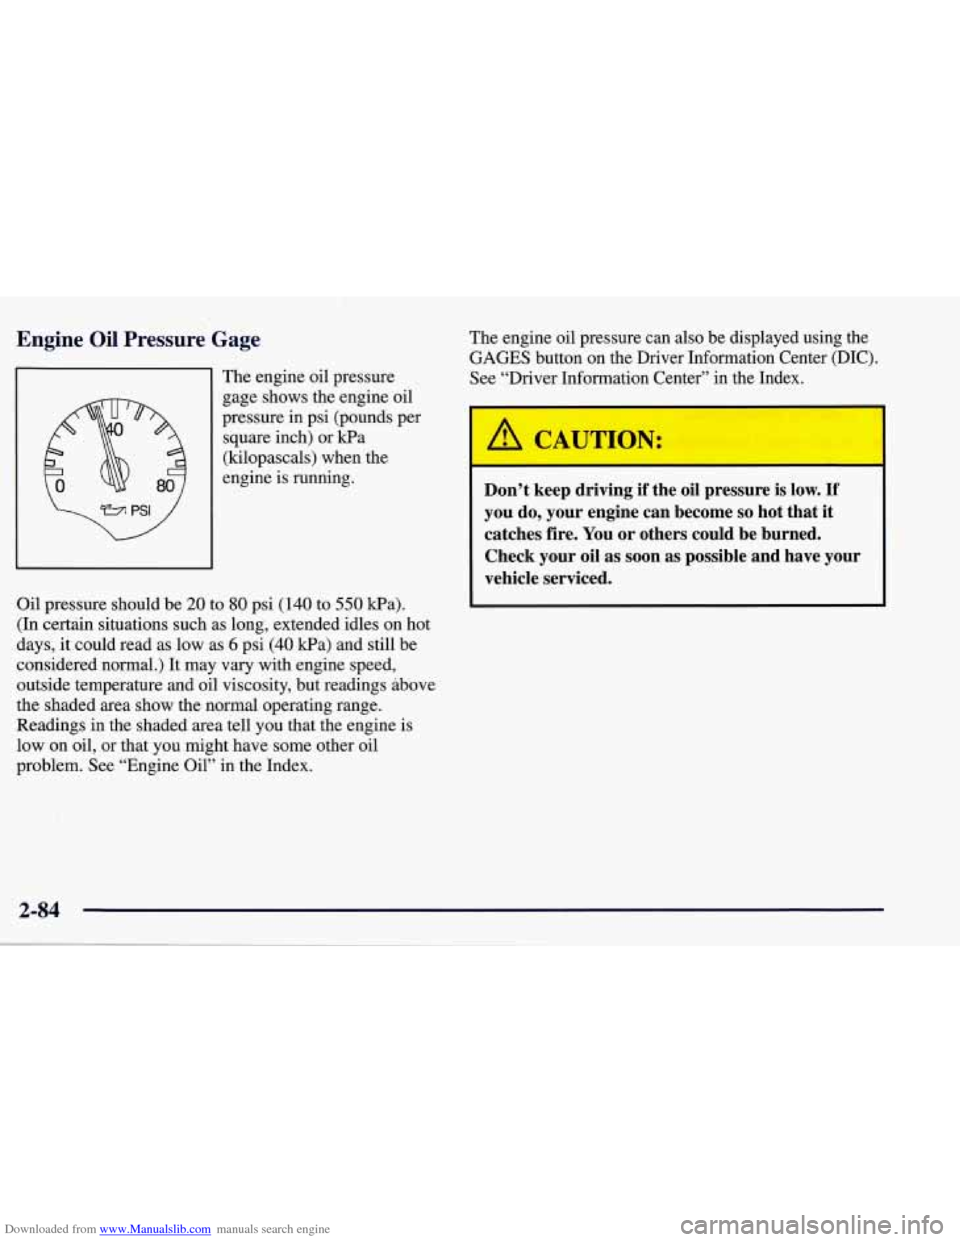
The engine oil pressure
gage shows the engine oil
pressure in psi (pounds per
square inch) or kPa
(kilopascals) when the
engine is running.
Oil pressure should be
20 to 80 psi (140 to 550 Wa).
(In certain situations such as long, extended idles on hot
days, it could read as low as
6 psi (40 kPa) and still be
considered normal.) It may vary with engine speed,
outside temperature and oil viscosity, but readings above
the shaded area show the normal operating range.
Readings in the shaded area tell you that the engine is
low on oil, or that you might have some other oil
problem. See “Engine Oil” in the Index. The
engine oil pressure can also be displayed using the
GAGES button on the Driver Information Center (DIC).
See “Driver Information Center” in the Index.
A CAUTION:
Don’t keep driving if the oil pressure is low. If
you do, your engine can become so hot that it
catches fire. You or others could be burned.
Check your oil as soon as possible and have your
vehicle serviced.
2-84
Page 139 of 378
Downloaded from www.Manualslib.com manuals search engine Fuel Gage
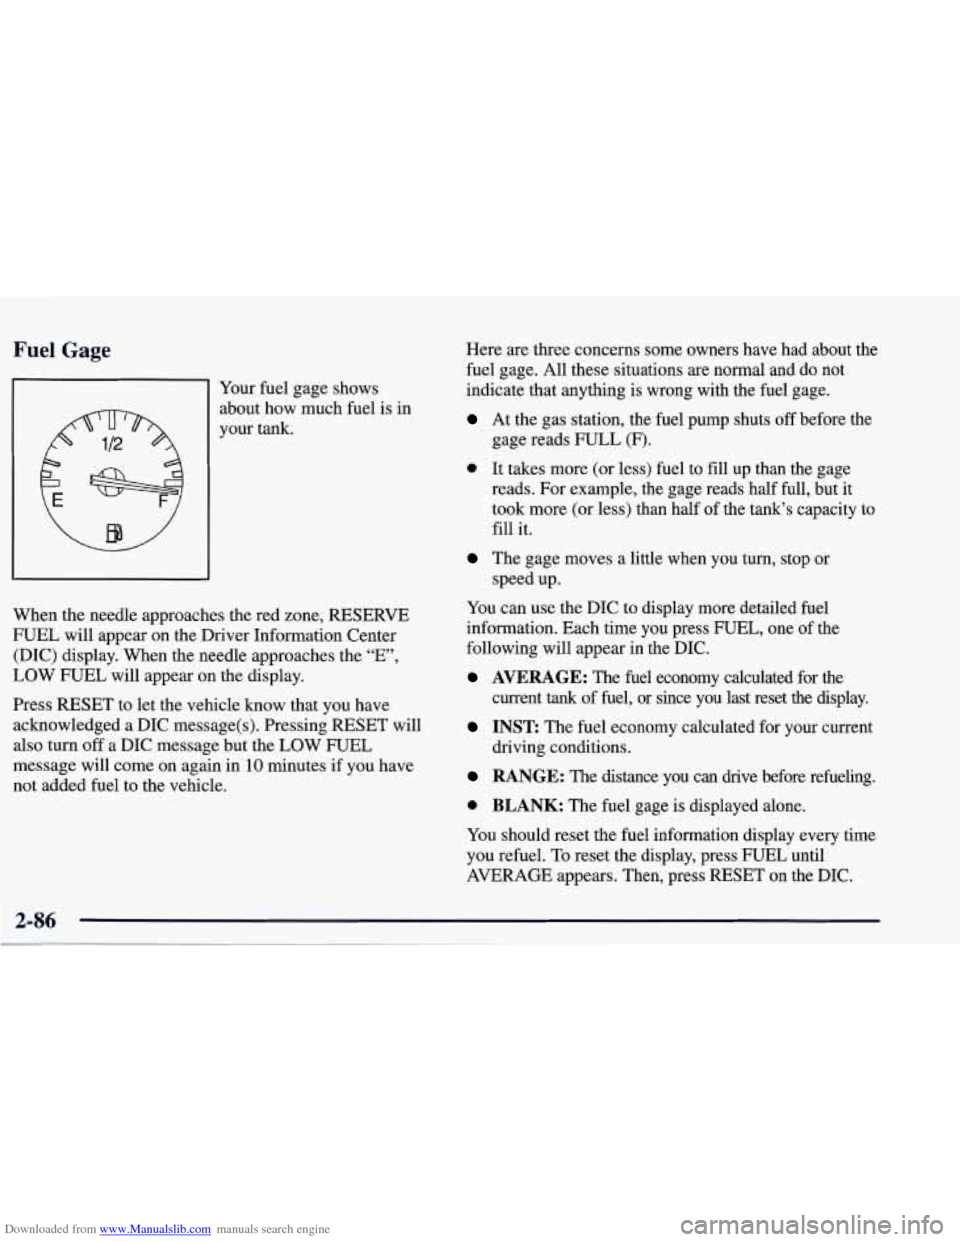
81 Your fuel gage shows
about how-much fuel is in
your tank.
,e red zon When the needle approaches th
e, RESERVE
FUEL will appear
on the Driver Information Center
(DIC) display. When the needle approaches the “E”,
LOW FUEL will appear on the display.
Press RESET to let the vehicle know that you have
acknowledged a DIC message(s). Pressing RESET will
also turn
off a DIC message but the LOW FUEL
message will come on again in’lO minutes if you have
not added fuel to the vehicle. Here are three concerns
some owners have had about the
fuel gage. All these situations are normal and do not
indicate that anything is wrong with the fuel gage.
At the gas station, the fuel pump shuts off before the
gage reads FULL (F).
0 It takes more (or less) fuel to fill up than the gage
reads. For example, the gage reads half full, but it
took more (or less) than half of the tank’s capacity to
fill it.
The gage moves a little when you turn, stop or
speed up.
You can use the DIC to display more detailed fuel
information. Each time you press FUEL, one of the
following will appear
in the DIC.
AVERAGE: The fuel economy calculated for the
current
tank of fuel, or since you last reset the display.
INST The fuel economy calculated for your current
driving conditions.
RANGE: The distance you can drive before refueling.
0 BLANK: The fuel gage is displayed alone.
You should reset the fuel information display every time
you refuel.
To reset the display, press FUEL until
AVERAGE appears. Then, press RESET on the DIC.
2-86