1998 CHEVROLET CAVALIER ECU
[x] Cancel search: ECUPage 82 of 400
Downloaded from www.Manualslib.com manuals search engine The rear doors of your vehicle cannot be opened from
the inside when this feature is in use. If you want to
open a rear door when the security lock is on:
1. Unlock the door from the inside.
2. Then open the door from the outside.
If you don’t cancel the security lock feature, adults or
older children who ride in the rear won’t be able to open
the rear door from the inside.
You should let adults and
older children know how to cancel the locks.
To cancel the rear door lock:
1. Unlock the door from the inside and open the door
from the outside.
2. Use a key to move the lock all the way down.
3. Do the same for the other rear door.
The rear door lock will now work normally.
Leaving Your Vehicle
If you are leaving the vehicle, open your door and
set the locks from the inside. Then
get out and close
the door.
Keyless Entry System (If Equipped)
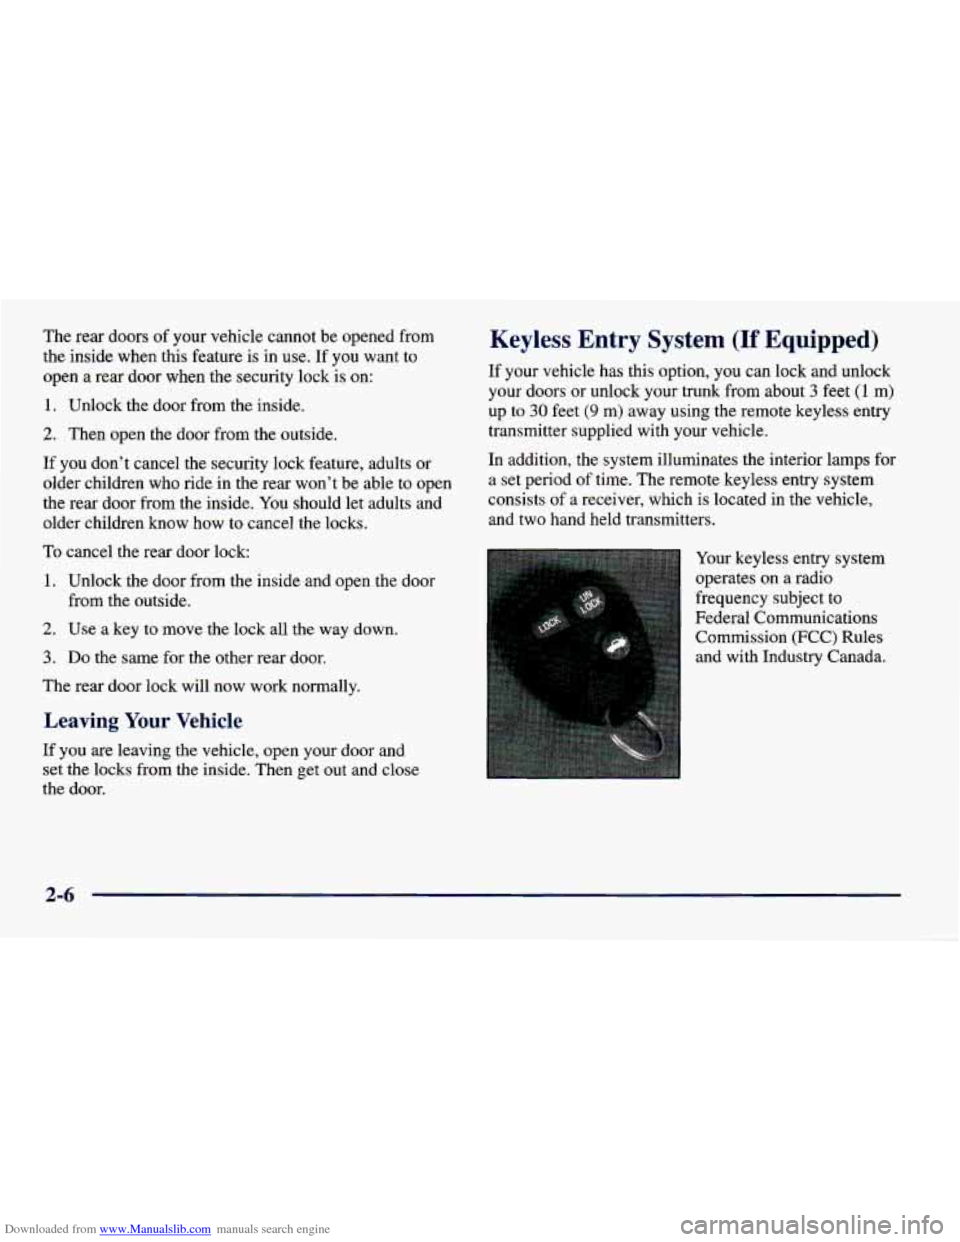
If your vehicle has this option, you can lock and unlock
your doors or unlock your trunk from about
3 feet (1 m>
up to 30 feet (9 m) away using the remote keyless entry
transmitter supplied with your vehicle.
In addition, the system illuminates the interior lamps for
a set period
of time. The remote keyless entry system
consists
of a receiver, which is located in the vehicle,
and two hand held transmitters.
Your keyless entry system
operates on a radio
frequency subject to
Federal Communications
Commission (FCC) Rules
and with Industry Canada.
2-6
Page 86 of 400
Downloaded from www.Manualslib.com manuals search engine 4. Put the two halves back together. Make sure the cover is on tightly,
so water won’t get in.
5. Check the operation of the transmitter with your
vehicle. If the transmitter does not work, try
synchronizing the transmitter with the receiver.
Synchronization
Your remote keyless entry system is equipped with a
security system that prevents anyone from recording and
playing back your signal. The transmitter does not send
the same signal twice to the receiver. The receiver will
not respond to
a signal that has been sent to it more
than once.
To resynchronize your transmitter and receiver, follow
these directions:
1. Stand close to your vehicle.
2. Press and hold the LOCK and UNLOCK buttons on
the transmitter at the same time.
3. Hold the buttons for at least five seconds. During
this time, the doors should lock and unlock once.
This confirms the resynchronization.
If the doors do
not lock and unlock, see your dealer for service.
Trunk
It can be dangerous to drive with the trunk lid
open because carbon monoxide
(CO) gas can
come into your vehicle. You can’t see or smell
CO.
It can cause unconsciousness and even death.
If you must drive with the trunk lid open or if
electrical wiring or other cable connections must
pass through the seal between the body and the
trunk lid:
Make sure all windows are shut.
0 Turn the fan on your heating or cooling
system to its highest speed with the setting
on any airflow selection except
MAX. That
will force outside
air into your vehicle. See
“Comfort Controls” in the Index.
0 If you have air outlets on or under the
instrument panel, open them all the way.
See “Engine Exhaust” in the Index.
2-10
Page 123 of 400
Downloaded from www.Manualslib.com manuals search engine Storage Compartments
Center Console Storage Area
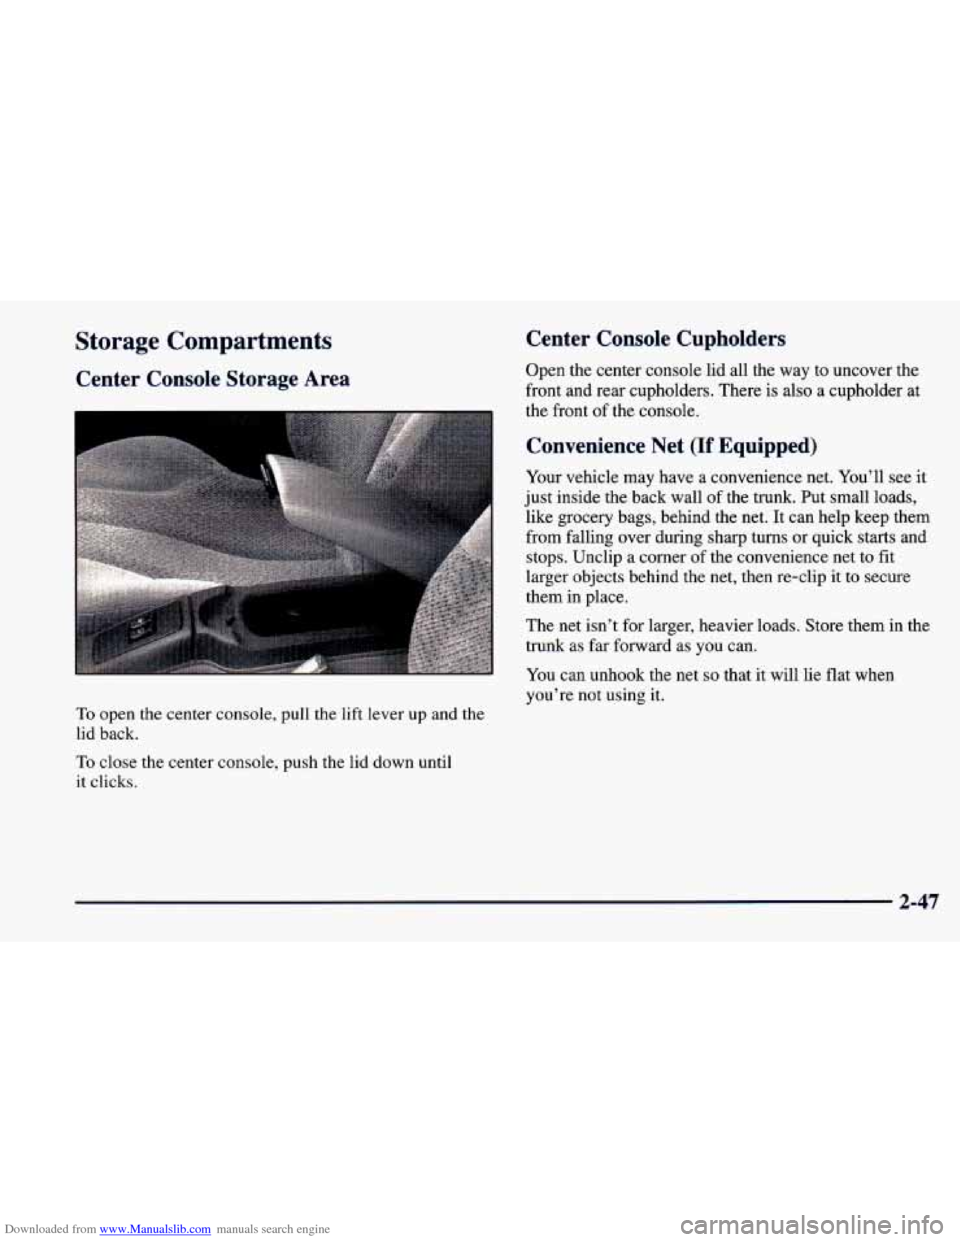
To open the center console, pull the lift lever up and the
lid back.
To close the center console, push the lid down until
it clicks.
Center Console Cupholders
Open the center console lid all the way to uncover the
front and rear cupholders. There is also a cupholder at
the front
of the console.
Convenience Net (If Equipped)
Your vehicle may have a convenience net. You’ll see it
just inside the back wall
of the trunk. Put small loads,
like grocery bags, behind the net. It can help keep them
from falling over during sharp turns or quick starts and
stops. Unclip a corner of the convenience net
to fit
larger objects behind the net, then re-clip it to secure
them in place.
The net isn’t for larger, heavier loads. Store them in the
trunk as far forward as you can.
You can unhook the net
so that it will lie flat when
you’re not using it.
2-47
Page 125 of 400
Downloaded from www.Manualslib.com manuals search engine Sunroof (If Equipped)
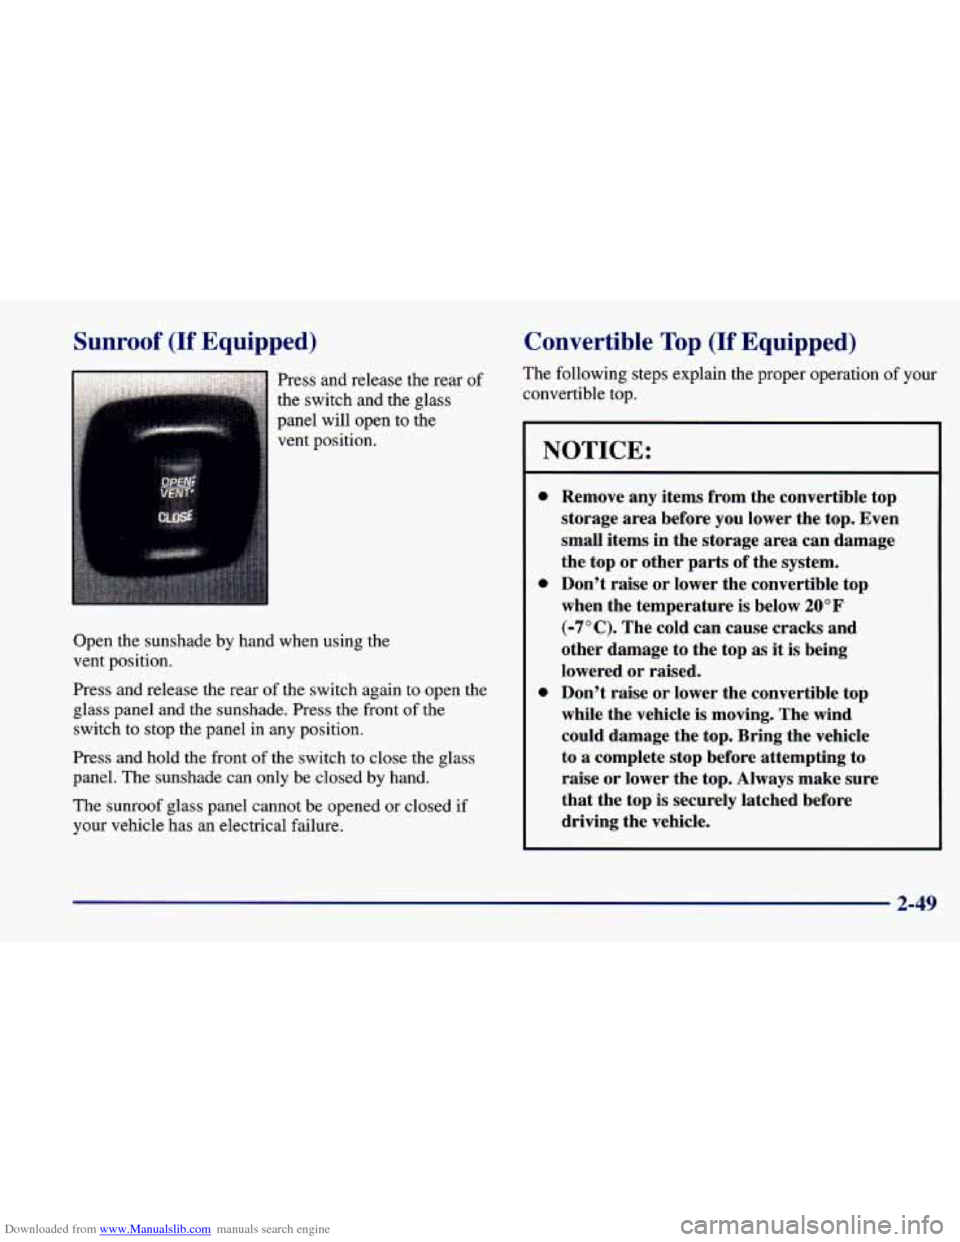
Press and release the rear of
the switch and the glass
panel will open to the
vent position.
Open the sunshade by hand when using the
vent position.
Press and release the rear
of the switch again to open the
glass panel and the sunshade. Press the front
of the
switch to stop the panel in any position.
Press and hold the front
of the switch to close the glass
panel. The sunshade can only be closed by hand.
The sunroof glass panel cannot be opened or closed if
your vehicle has an electrical failure.
Convertible Top (If Equipped)
The following steps explain the proper operation of your
convertible top.
NOTICE:
0
0
0
Remove any items from the convertible top
storage area before you lower the top. Even
small items in the storage area can damage
the top or other parts of the system.
Don’t raise or lower the convertible top
when the temperature is below
20°F
(-7°C). The cold can cause cracks and
other damage to the top
as it is being
lowered or raised.
Don’t raise or lower the convertible top
while the vehicle is moving. The wind
could damage the top. Bring the vehicle
to a complete stop before attempting to
raise or lower the top. Always make sure
that the top is securely latched before
driving the vehicle.
2-49
Page 132 of 400
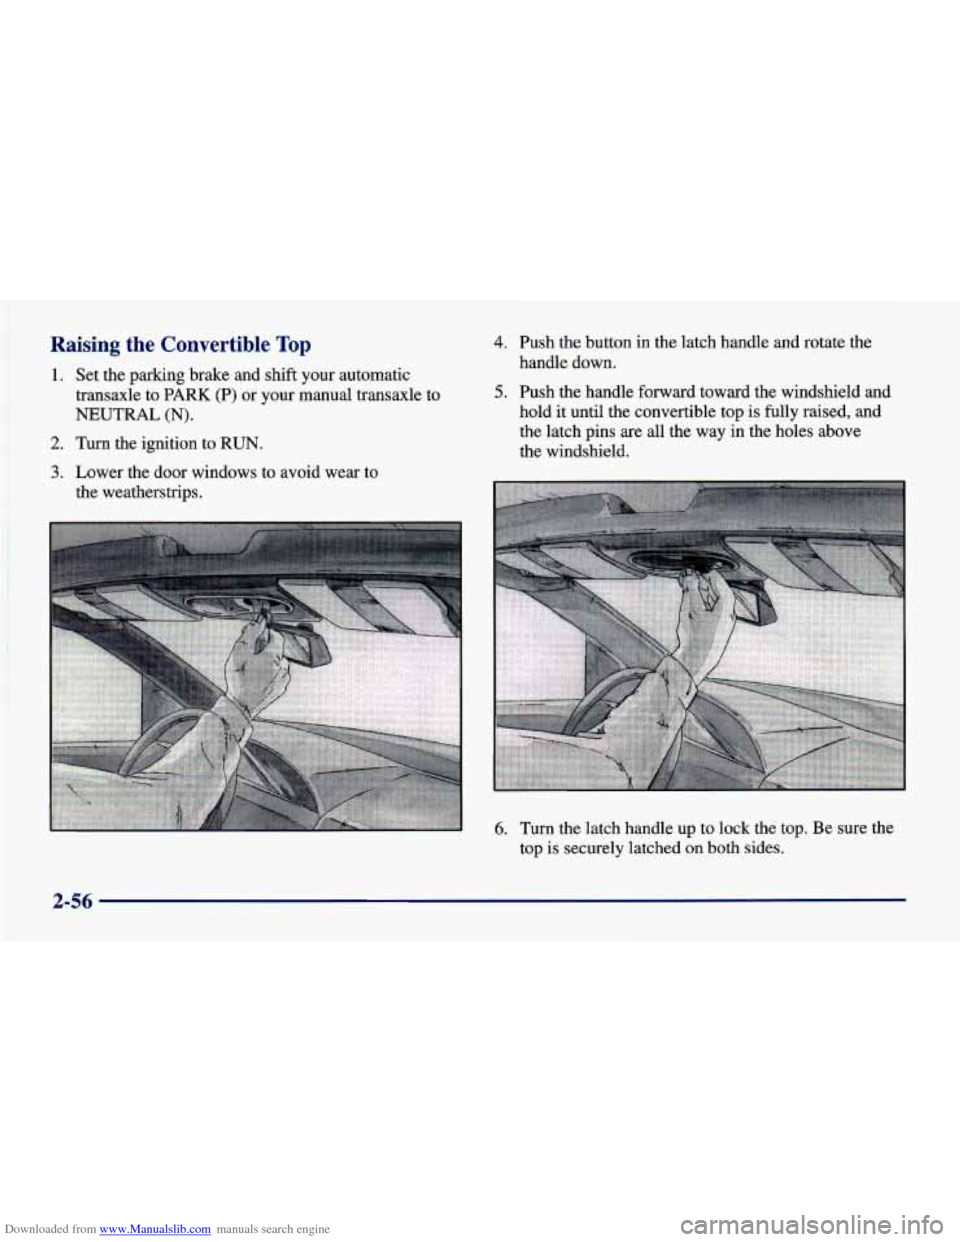
Downloaded from www.Manualslib.com manuals search engine Raising the Convertible Top
1. Set the parking brake and shift your automatic
transaxle to
PARK (P) or your manual transaxle to
NEUTRAL (N).
2. Turn the ignition to RUN.
3. Lower the door windows to avoid wear to
the weatherstrips.
4. Push the button in the latch handle and rotate the
handle down.
5. Push the handle forward toward the windshield and
hold it until the convertible top is fully raised, and
the latch pins
are all the way in the holes above
the windshield.
6. Turn the latch handle up to lock the top. Be sure the
top is securely latched
on both sides.
2-56
Page 135 of 400
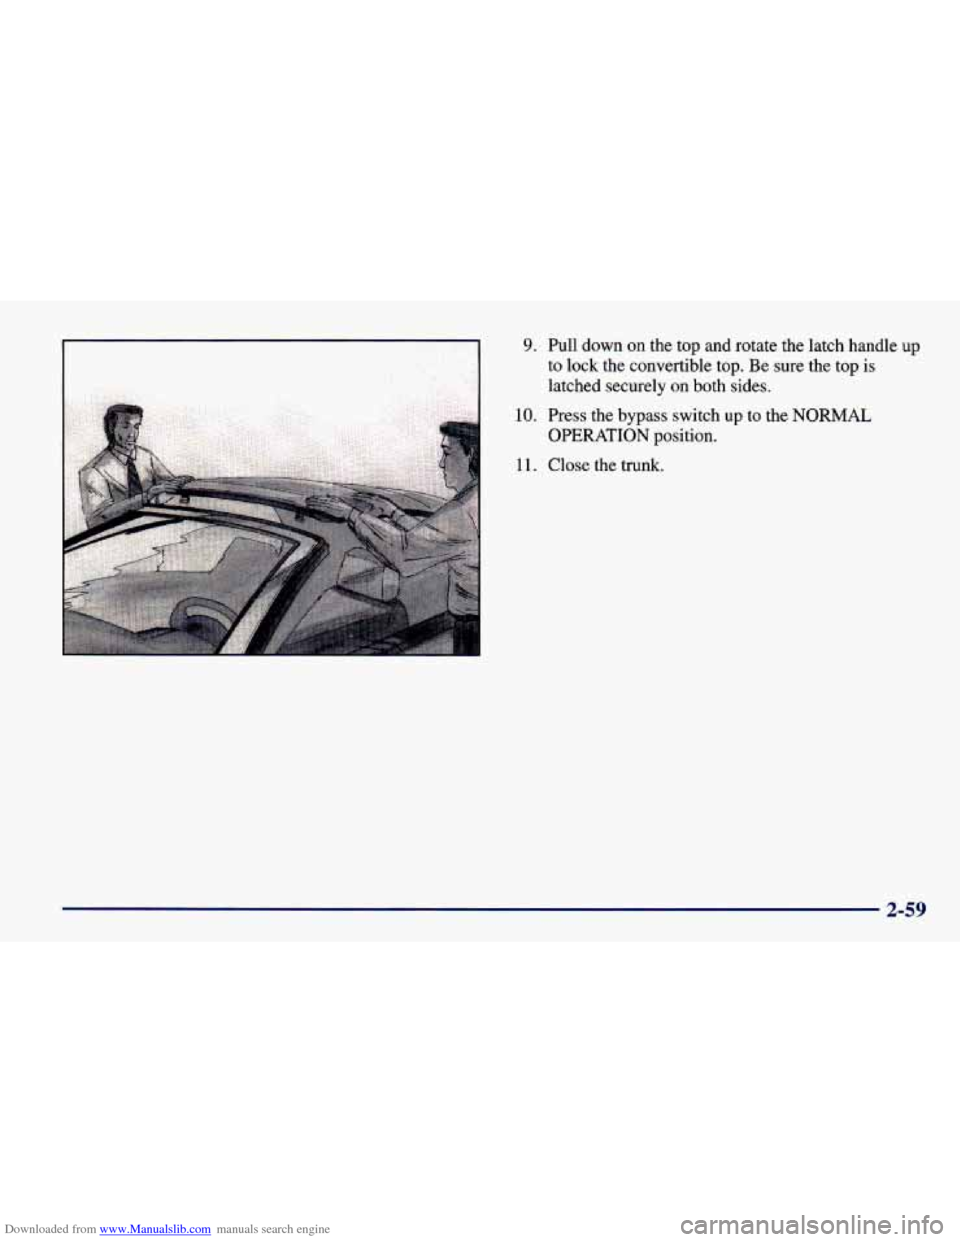
Downloaded from www.Manualslib.com manuals search engine 9. Pull down on the top and rotate the latch handle up
to lock the convertible top. Be sure the top is latched securely on both sides.
10. Press the bypass switch up to the NORMAL
11. Close the trunk.
OPERATION position.
2-59
Page 174 of 400
Downloaded from www.Manualslib.com manuals search engine Theft-Deterrent Feature (If Equipped)
THEFTLOCK' is designed to discourage theft of your
radio. It works by using a secret code to disable all radio
functions whenever battery power is removed.
The THEFTLOCK feature for the radio may be used
or
ignored. If ignored, the system plays normally and the
radio is not protected by the feature.
If THEFTLOCK is
activated, your radio will not operate
if stolen.
When THEFTLOCK
is activated, the radio will display
LOC to indicate a locked condition anytime battery
power has been interrupted.
If your battery loses power
for any reason, you must unlock the radio
with the secret
code before it will operate.
Activating the Theft-Deterrent Feature
The instructions which follow explain how to enter your
secret code to activate the THEFTLOCK system. It is
recommended that you read through all nine steps
before starting the procedure.
NOTE: If you allow more than 15 seconds to elapse
between any steps, the radio automatically reverts to time and you
must start the procedure over at Step 4.
1.
2.
3.
4.
5.
6.
7.
8.
9.
Write down any three or four-digit number from
000 to 1999 and keep it in a safe place separate from
the vehicle.
Turn the ignition to ACCESSORY
or RUN.
Turn the radio off.
Press the
1 and 4 buttons together. Hold them down
until --- shows on the display. Next you will use the
secret code number which you have written down.
Press
MN and 000 will appear on the display.
Press MN again to make the last two digits agree
with your code.
Press
HR to make the first one or two digits agree
with your code.
Press AM-FM after you have confirmed that the
code matches the secret code you have written down.
The display will show REP to let you know that you
need
to repeat Steps 5 through 7 to confirm your
secret code.
Press AM-FM and this time the display will show
SEC to let you know that your radio is secure. The
indicator
by the volume control will begin flashing
when the ignition
is turned off.
3-20
Page 175 of 400
Downloaded from www.Manualslib.com manuals search engine Unlocking the Theft-Deterrent Feature After a
Power
Loss
Enter your secret code as follows; pause no more than
15 seconds between steps:
1. LOC appears when the ignition is on.
2. Press MN and 000 will appear on the display.
3. Press MN again to make the last two digits agree
with your code.
with your code.
code matches the secret code you have written down.
The display will show
SEC, indicating the radio is
now operable and secure.
4. Press HR to make the first one or two digits agree
5. Press AM-FM after you have confirmed that the
If you enter the wrong code eight times,
INOP will
appear
on the display. You will have to wait an hour
with the ignition
on before you can try again. When you
try again, you will only have three chances to enter the
correct code before
INOP appears.
If you lose or forget your code, contact your dealer.
Disabling the Theft-Deterrent Feature
Enter your secret code as follows; pause no more than
15 seconds between steps:
1.
2.
3.
4.
5.
6.
7.
Turn the ignition to ACCESSORY or RUN.
Turn the radio off.
Press the 1 and 4 buttons together. Hold them down
until
SEC shows on the display.
Press
MN and 000 will appear on the display.
Press MN again to make the last two digits agree
with your code.
Press
HR to make the first one or two digits agree
with your code.
Press AM-FM after you have confirmed that the
code matches the secret code you have written down.
The display will show
---, indicating that the radio is
no longer secured.
If the code entered is incorrect, SEC will appear on the
display. The radio will remain secured until the correct
code
is entered.
When battery power is removed and later applied to a
secured radio, the radio won’t turn
on and LOC will
appear
on the display.
To unlock a secured radio, see “Unlocking the
Theft-Deterrent Feature After a Power
Loss’’ earlier
in this section.
3-21