1998 CHEVROLET CAVALIER radio
[x] Cancel search: radioPage 4 of 400
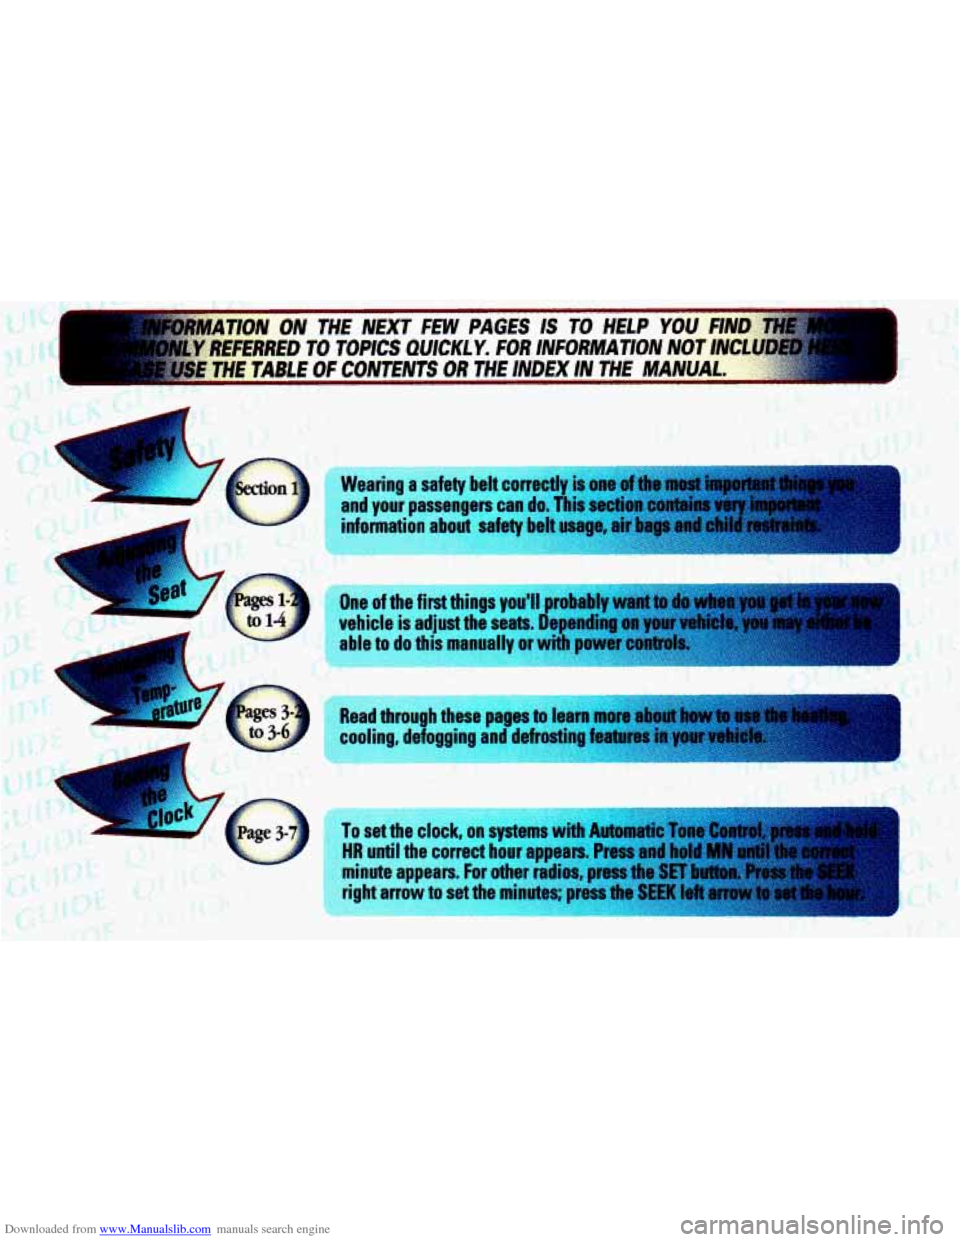
Downloaded from www.Manualslib.com manuals search engine Read through these pages to learn more abrnrt:k&
cooling, defogging and defrosting features .i'ryqir.* , , .- <.~ :;: ..
To set the clock, on systems with Automatic Tam C
HR until the correct hour appears. Press and hall
minute amears. For other radios, press tb
right an tn set the minutes; press the VII..m U8.U
Page 8 of 400
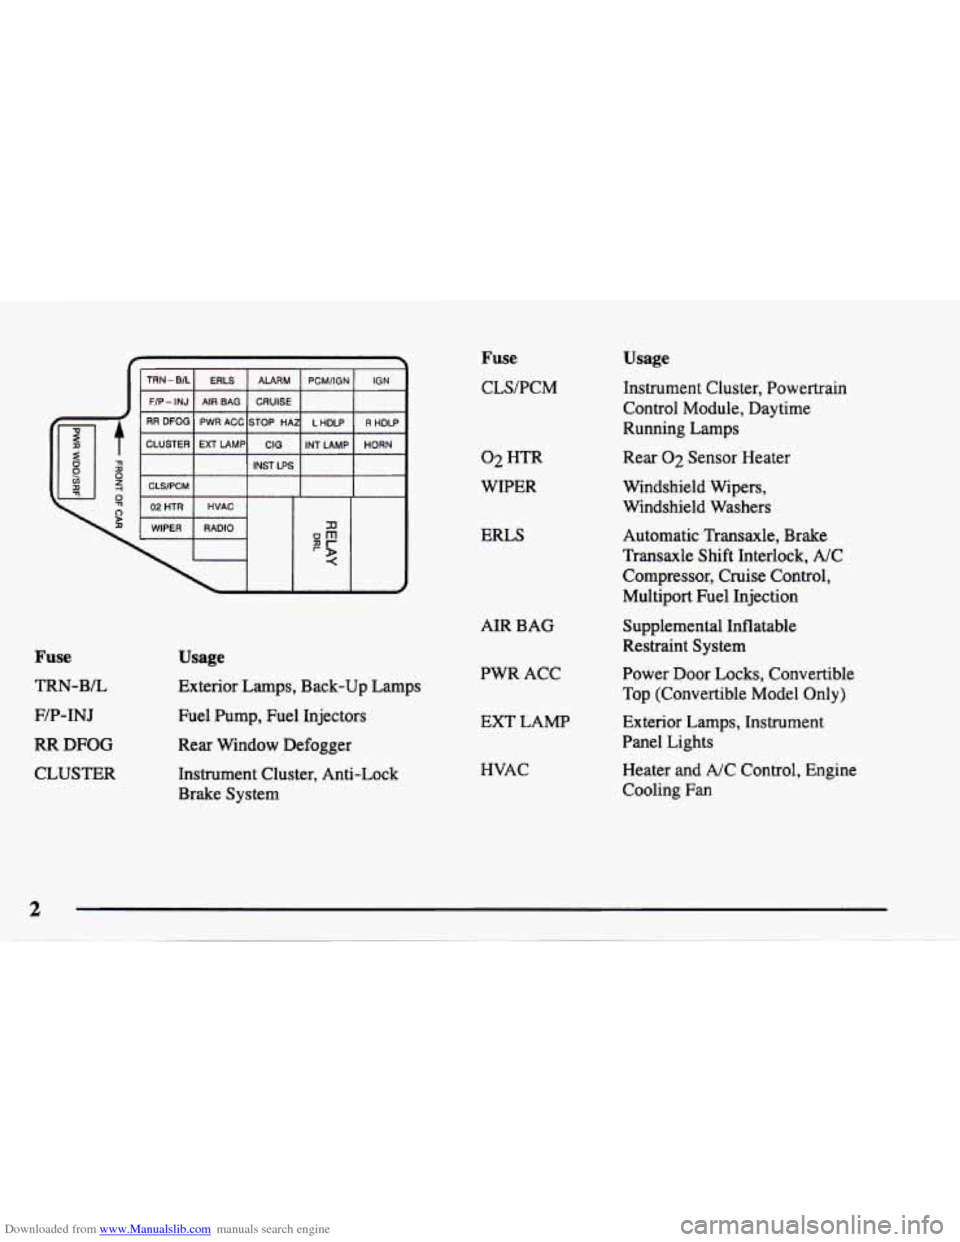
Downloaded from www.Manualslib.com manuals search engine Fuse
TRN-BL
F/P-INJ
RR
DFOG
CLUSTER
I TRN-BIL~ ERLS 1 ALA;' PCMIIGN I IGN 1
FIP- INJ AIR BAG CRUISE
RR DFOG PWR ACC STOP HA L HDLP R HDLP
CLUSTER EXT LAMP INT LAMP
HORN
I I I INST LPS I I I
I I I I
I 02 HTR I HVAC I I I I
1
WIPER RADIO
Usage
Exterior Lamps, Back-up Lamps
Fuel Pump, Fuel Injectors
Rear Window Defogger
Instrument Cluster, Anti-Lock
Brake System
Fuse
CLS/PCM
02 HTR
WIPER
ERLS
AIR BAG
PWR ACC
EXT LAMP
HVAC
Usage
Instrument Cluster, Powertrain
Control Module, Daytime
Running Lamps
Rear
02 Sensor Heater
Windshield Wipers,
Windshield Washers
Automatic Transaxle, Brake
Transaxle Shift Interlock, A/C
Compressor, Cruise Control,
Multiport Fuel Injection
Supplemental Inflatable
Restraint System
Power Door Locks, Convertible
Top (Convertible Model Only)
Exterior Lamps, Instrument
Panel Lights
Heater and NC Control, Engine
Cooling
Fan
Page 9 of 400
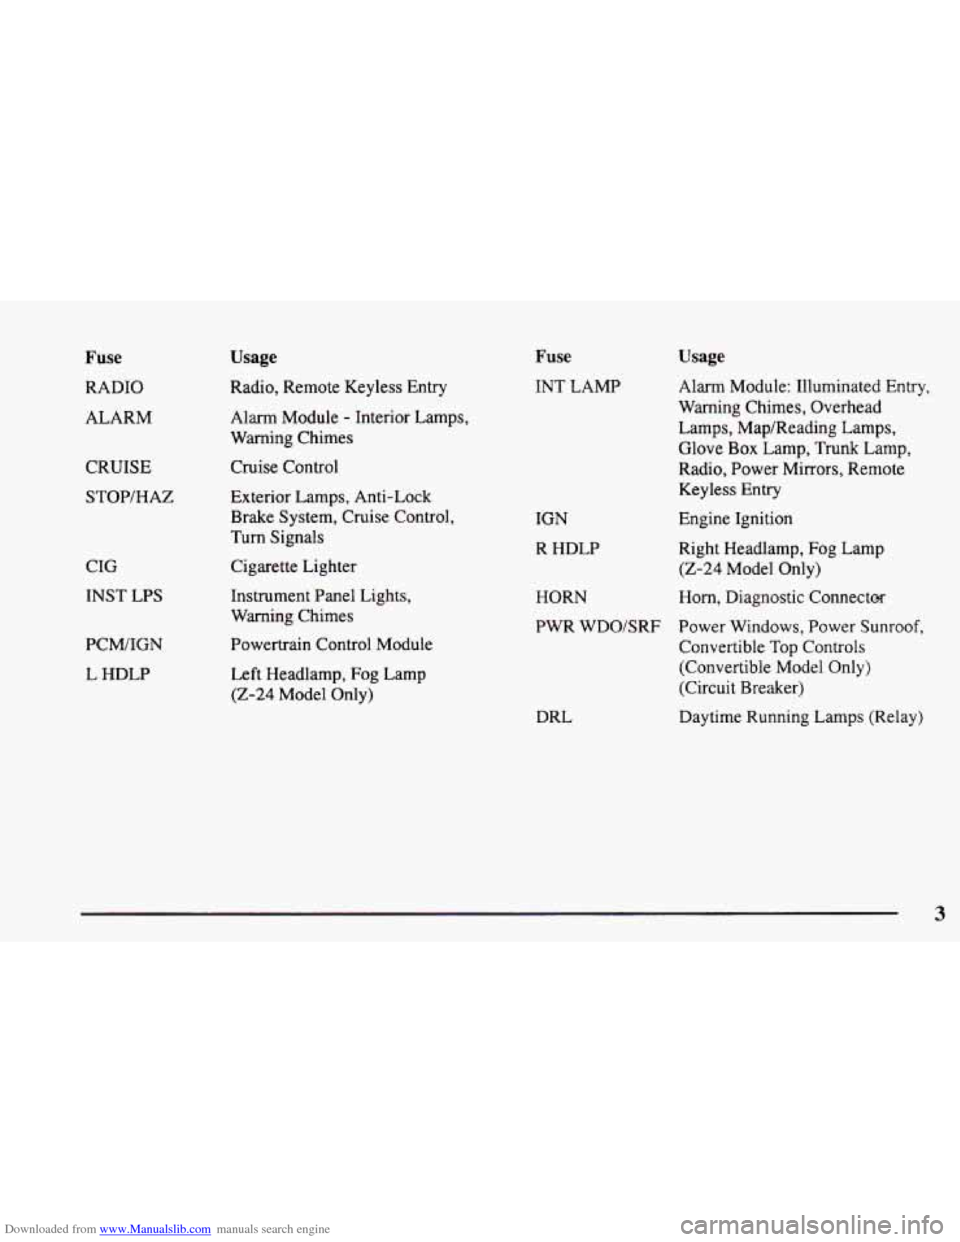
Downloaded from www.Manualslib.com manuals search engine Fuse
RADIO
ALARM
CRUISE
STOP/HAZ
CIG
INST LPS
PCWIGN
L HDLP
Usage
Radio, Remote Keyless Entry
Alarm Module
- Interior Lamps,
Warning Chimes
Cruise Control
Exterior Lamps, Anti-Lock
Brake System, Cruise Control,
Turn Signals
Cigarette Lighter
Instrument Panel Lights,
Warning Chimes
Powertrain Control Module
Left Headlamp, Fog Lamp
(2-24 Model Only)
Fuse
INT LAMP
IGN
R HDLP
HORN
Usage
Alarm Module: Illuminated Entry,
Warning Chimes, Overhead
Lamps, Map/Reading Lamps,
Glove
Box Lamp, Trunk Lamp,
Radio, Power Mirrors, Remote
Keyless
Entry
Engine Ignition
Right Headlamp, Fog Lamp
(2-24 Model Only)
Horn, Diagnostic Connectm
PWR WDO/SRF Power Windows, Power Sunroof,
Convertible Top Controls
(Convertible Model Only)
(Circuit Breaker)
DRL Daytime Running Lamps (Relay)
3
Page 82 of 400
Downloaded from www.Manualslib.com manuals search engine The rear doors of your vehicle cannot be opened from
the inside when this feature is in use. If you want to
open a rear door when the security lock is on:
1. Unlock the door from the inside.
2. Then open the door from the outside.
If you don’t cancel the security lock feature, adults or
older children who ride in the rear won’t be able to open
the rear door from the inside.
You should let adults and
older children know how to cancel the locks.
To cancel the rear door lock:
1. Unlock the door from the inside and open the door
from the outside.
2. Use a key to move the lock all the way down.
3. Do the same for the other rear door.
The rear door lock will now work normally.
Leaving Your Vehicle
If you are leaving the vehicle, open your door and
set the locks from the inside. Then
get out and close
the door.
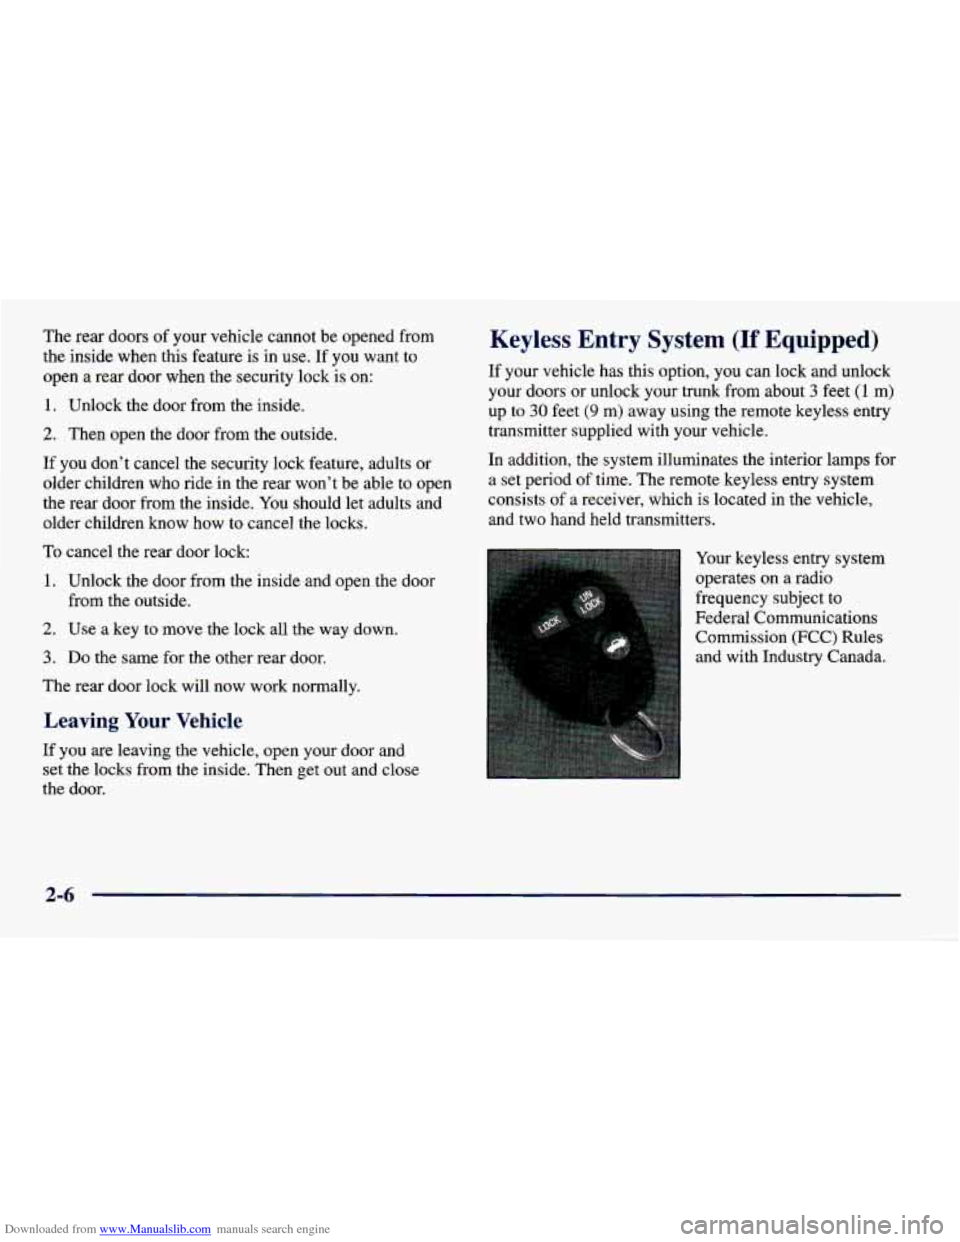
Keyless Entry System (If Equipped)
If your vehicle has this option, you can lock and unlock
your doors or unlock your trunk from about
3 feet (1 m>
up to 30 feet (9 m) away using the remote keyless entry
transmitter supplied with your vehicle.
In addition, the system illuminates the interior lamps for
a set period
of time. The remote keyless entry system
consists
of a receiver, which is located in the vehicle,
and two hand held transmitters.
Your keyless entry system
operates on a radio
frequency subject to
Federal Communications
Commission (FCC) Rules
and with Industry Canada.
2-6
Page 90 of 400
Downloaded from www.Manualslib.com manuals search engine OFF (C): This position unlocks the steering wheel,
ignition and transaxle, but does not send electrical
power to any accessories. The instrument cluster and the
automatic transaxle gear shift indicator have electrical
power while in
OFF. Use this position if your vehicle
must be pushed or towed, but never try to push-start
your vehicle. A warning chime will sound if you open
the driver’s door when the ignition is
off and the key is
in the ignition.
RUN (D): This is a position to which the switch returns
after you start your engine and release the switch. The
switch stays in
RUN when the engine is running. But
even when the engine is not running, you can use
RUN
to operate your electrical power accessories, and to
display some instrument panel warning lights.
START (E): This position starts the engine. When the
engine starts, release the key. The ignition switch will
return to
RUN for normal driving.
Note that even if the engine is not running, the positions
ACCESSORY and RUN are on positions that allow
you
to operate your electrical accessories, such as the radio.
On manual transaxle vehicles, turning the key to
LOCK will lock the steering column and result in
a loss of ability to steer the vehicle. This could
cause a collision.
If you need to turn the engine
off while the vehicle
is moving, turn the key only
to
OFF. Don’t press the key release button while
the vehicle is moving.
I NOTICE:
If your key seems stuck in LOCK and you can’t
turn
it, be sure you are using the correct key; if
so, is it all the way in? If it is, then turn the
steering wheel left and right while you turn the
key hard. But turn the key only
with your hand.
Using a tool to force it could break the key or the
ignition switch.
If none of this works, then your
vehicle needs service.
2-14
Page 143 of 400
Downloaded from www.Manualslib.com manuals search engine Charging System Light
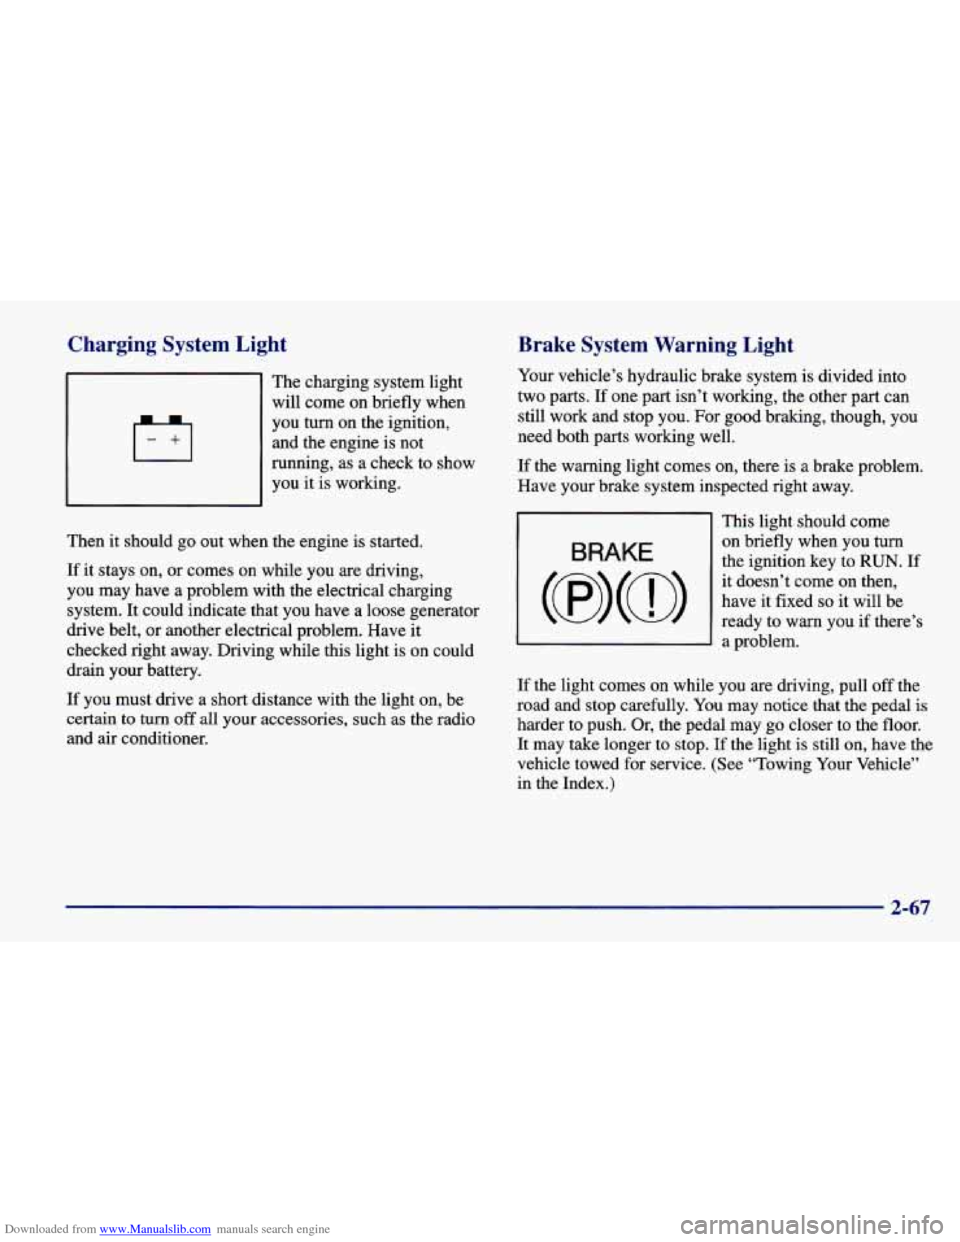
The charging system light
will come on briefly when
you turn on the ignition,
and the engine is not
running, as a check to show
you it is working.
Then
it should go out when the engine is started.
If it stays on, or comes on while you are driving,
you may have a problem with the electrical charging
system. It could indicate that you have a loose generator
drive belt, or another electrical problem. Have it
checked right away. Driving while this light is on could
drain your battery.
If you must drive a short distance with the light on, be
certain to turn
off all your accessories, such as the radio
and air conditioner.
Brake System Warning Light
Your vehicle’s hydraulic brake system is divided into
two parts.
If one part isn’t working, the other part can
still work and stop you. For good braking, though, you
need both parts working well.
If the warning light comes on, there is a brake problem.
Have your brake system inspected right away.
BRAKE
This light should come
on briefly when you
turn
the ignition key to RUN. If
it doesn’t come on then,
have it fixed
so it will be
ready to warn you if there’s
3 a problem.
If the light comes on while you are driving, pull off the
road and stop carefully. You may notice that the pedal
is
harder to push. Or, the pedal may go closer to the floor.
It may take longer to stop. If the light is still on, have the
vehicle towed for service. (See “Towing Your Vehicle”
in the Index.)
2-67
Page 155 of 400
Downloaded from www.Manualslib.com manuals search engine 0 Section 3 Comfort Controls and Audio Systems
In this section, you’ll find out how to operate the comfort\
control and audio systems offered with your vehicle. Be sure to
read about the particular systems supplied with your vehicle.
3-2
3-4
3-5
3-5
3-6
3-6
3 -7
3-7
3-7
3-7
Comfort Controls
Air Conditioning (If Equipped)
Heating
Ventilation System
Defogging and Defrosting
Rear Window Defogger (If Equipped)
Audio Systems
Setting the Clock for Systems without
Automatic Tone Control Setting the Clock for Systems with
Automatic Tone Control
AM-FM Stereo 3-9
3-11
3-
16
3-20
3-22
3-22
3-23
3 -24 3-24
3-24
AM-FM Stereo With Cassette Tape Player
(If Equipped)
AM-FM Stereo With Cassette Tape Player and
Automatic Tone Control (If Equipped) AM-FM Stereo With Compact Disc Player
and Automatic Tone Control (If Equipped)
Theft-Deterrent Feature (If Equipped) Understanding Radio Reception
Tips About Your Audio System
Care of Your Cassette Tape Player
Care of Your Compact Discs
Care of Your Compact Disc Player
Fixed Mast Antenna
3-1
Page 161 of 400
Downloaded from www.Manualslib.com manuals search engine Audio Systems
Your Delco Electronics audio system has been designed
to operate easily and give years of listening pleasure.
You will get the most enjoyment out of it
if you acquaint
yourself with
it first. Find out what your Delco
Electronics system can do and how to operate all its
controls, to be sure you’re getting the most out of the
advanced engineering that went into it.
AM-FM Stereo
Setting the Clock for Systems without
Automatic Tone Control
Press SET. SET will appear on the display for five
seconds. Within five seconds, press and hold the right
arrow on the SEEK button until the correct minute
appears. Press and hold the left arrow on the SEEK
button until the correct hour appears.
Setting the Clock for Systems with
Automatic Tone Control
Press and hold HR until the correct hour appears. Press
and hold
MN until the correct minute appears. Playing
the Radio
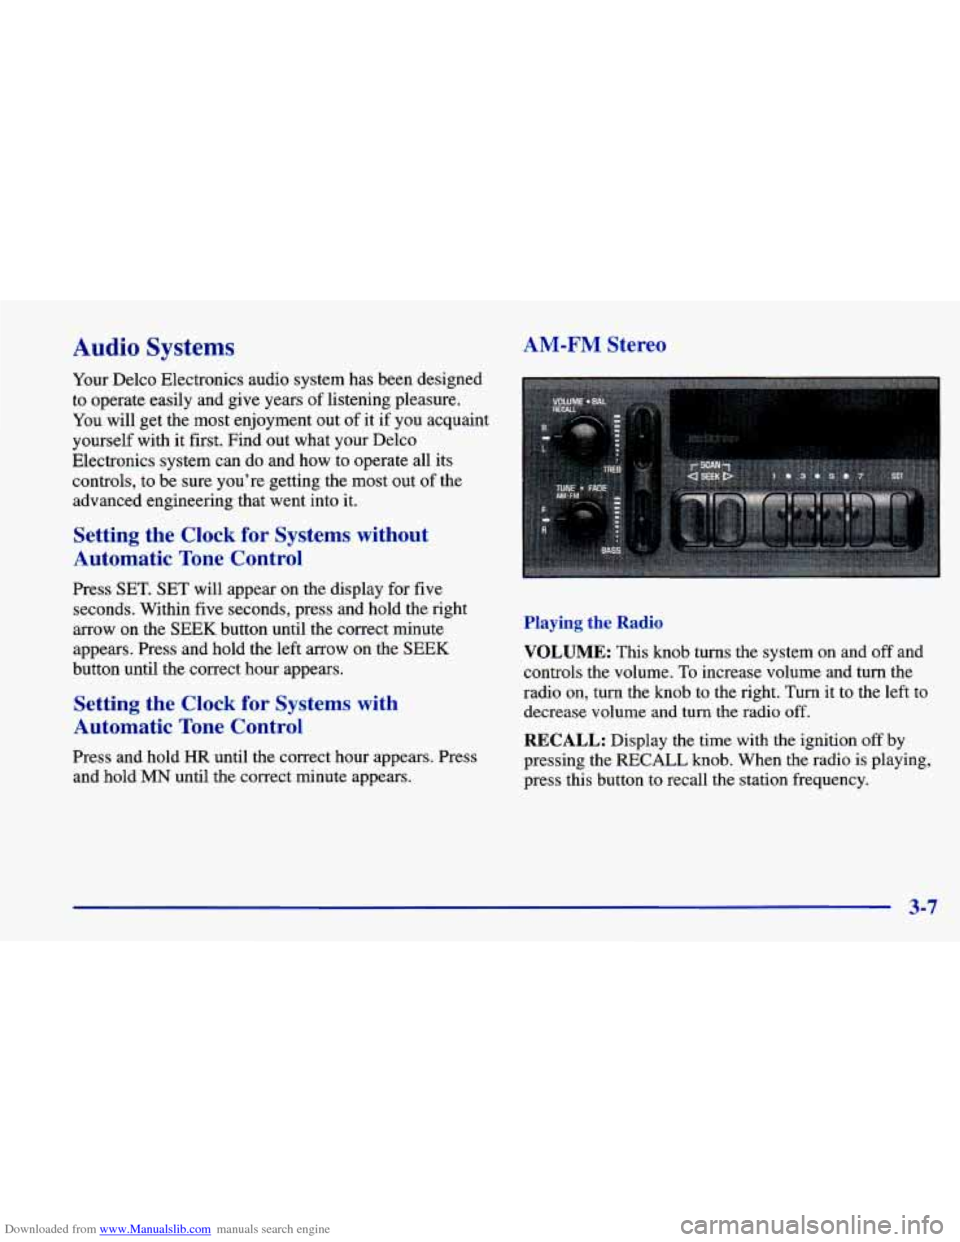
VOLUME: This
knob turns the system on and off and
controls the volume.
To increase volume and turn the
radio on, turn the
knob to the right. Turn it to the left to
decrease volume and
turn the radio off.
RECALL: Display the time with the ignition off by
pressing the RECALL
knob. When the radio is playing,
press this button to recall the station frequency.
3-7