1998 CADILLAC SEVILLE rear view mirror
[x] Cancel search: rear view mirrorPage 96 of 378
Downloaded from www.Manualslib.com manuals search engine Rainsense Wipers (STS Only)
This moisture sensor is mounted on the passenger’s
interior side
of the windshield behind the rearview
mirror and
is used to automatically operate the
wipers by monitoring the amount
of moisture that is
on the windshield.
The Rainsense system can be activated by turning the
wiper stalk to one of the five sensitivity settings within
the INT
ADJ area. The bottom INT ADJ position is the
lowest sensitivity setting. This
allows more water to
collect on the windshield between wipes. Rotating the
INT
ADJ band up to the other INT ADJ settings
increases the sensitivity
of the system and frequency of
wipes. A single wipe will occur each time you turn the
INT
ADJ to a higher sensitivity setting. An initial wipe
occurs when
you turn the ignition on as a reminder that
Rainsense is active. The windshield wipers also remain
in
a “high park” position, even when the ignition is
turned off.
The Rainsense wipers operate in a delay mode as well
as a continuous low or high speed depending on the
amount of moisture and the sensitivity setting. The
MIST and “wash” cycles operate as normal and are not affected by the Rainsense function.
I NOTICE:
The wipers must be turned off when going
through a car wash
to avoid damage.
It is important to note that the Rainsense wiping feature
(INT
ADJ) can be overridden at any time by manually
changing the wiper control to
LO or HI speed.
NOTICE:
Do not place stickers or other items on the
exterior glass surface directly
in front of the
rainsensor. Doing this could cause the rainsensor
to malfunction.
Page 107 of 378
Downloaded from www.Manualslib.com manuals search engine If the battery continues to discharge, even with the
engine idling at a higher
RPM setting, some electrical
loads will automatically
be reduced. When this occurs,
the
rear window defogger may take slightly longer to
clear the glass, the heated seats may not get as warm as
they usually do and the fan blower may cut back to a
lower speed. For more battery saving information, see “Battery Saver Active Message” in the Index.
Inadvertent Power Battery Saver
This feature is designed to protect your vehicle’s battery against drainage from the interior lamps, trunk lamp,
glove box lamp, cigarette lighters or the garage door
opener. When the ignition is turned
off, the power to
these features will automatically
turn off after
10 minutes. Power will be restored for an additional
10 minutes if any door is opened, the trunk is opened or
the courtesy lamp switch is turned on.
Mirrors
Electrochromic Daymight Rearview Mirror
I
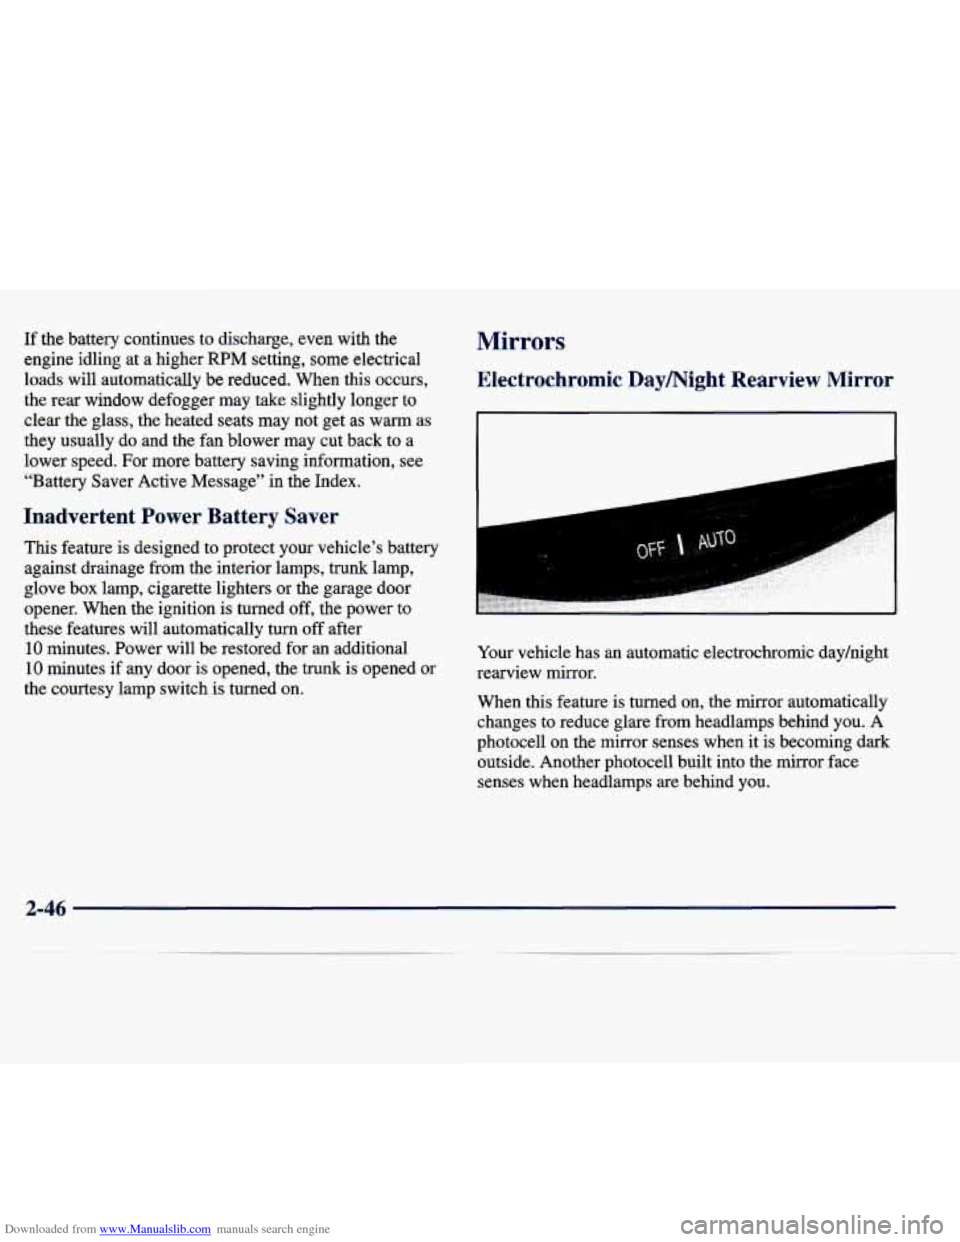
Your vehicle has an automatic electrochromic dayhight
rearview mirror.
When this feature is turned on, the mirror automatically
changes to reduce glare from headlamps behind you.
A
photocell on the mirror senses when it is becoming dark
outside. Another photocell built into the mirror face
senses when headlamps are behind you.
2-46
Page 108 of 378
Downloaded from www.Manualslib.com manuals search engine At night, when the glare is too high, the mirror will
gradually darken to reduce glare (this change may take a
few seconds). The mirror will return to its clear daytime
state when the glare is reduced.
Mirror Operation
To turn on the automatic dimming feature, press AUTO.
To turn off automatic dimming, press OFF. The
indicator light will be illuminated when this feature
is active.
Time Delay
The automatic mirror has a time delay feature which
prevents unnecessary switching from the night back to
the day position. This delay prevents rapid changing of
the mirror as you drive under lights and through traffic.
Cleaning the Photocells
Use a cotton swab and glass cleaner to clean the
photocells when necessary.
Electrochromic Daymight Rearview Mirror with Compass
(If Equipped)
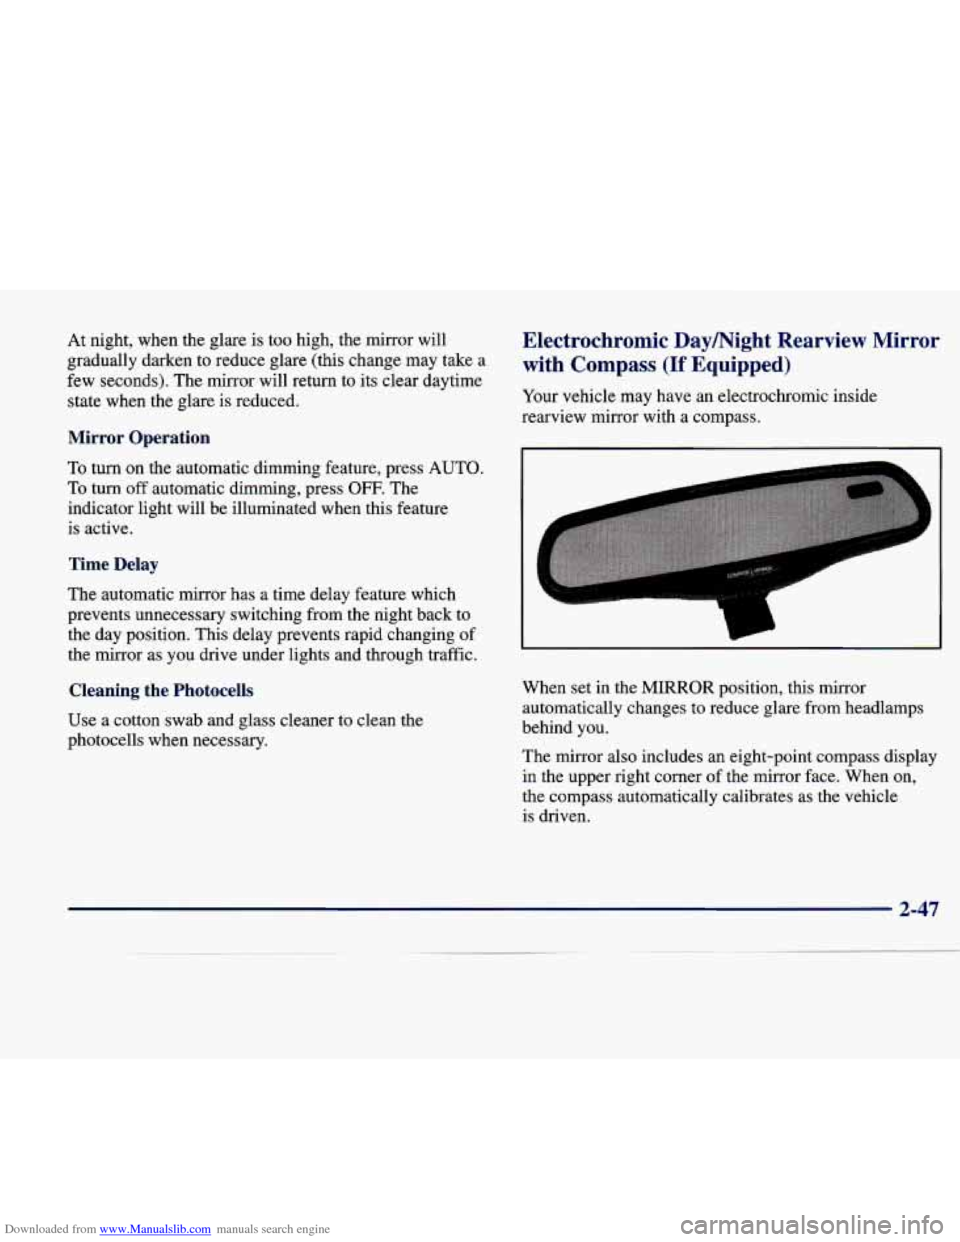
Your vehicle may have an electrochromic inside
rearview mirror with
a compass.
L
1
When set in the MIRROR position, this mirror
automatically changes to reduce glare from headlamps
behind you.
The mirror also includes an eight-point
Cti~pa"ss display
in the upper right corner of the mirror face. When on,
the compass automatically calibrates as the vehicle
is driven.
Page 111 of 378
Downloaded from www.Manualslib.com manuals search engine PowedHeated Remote Control Mirror
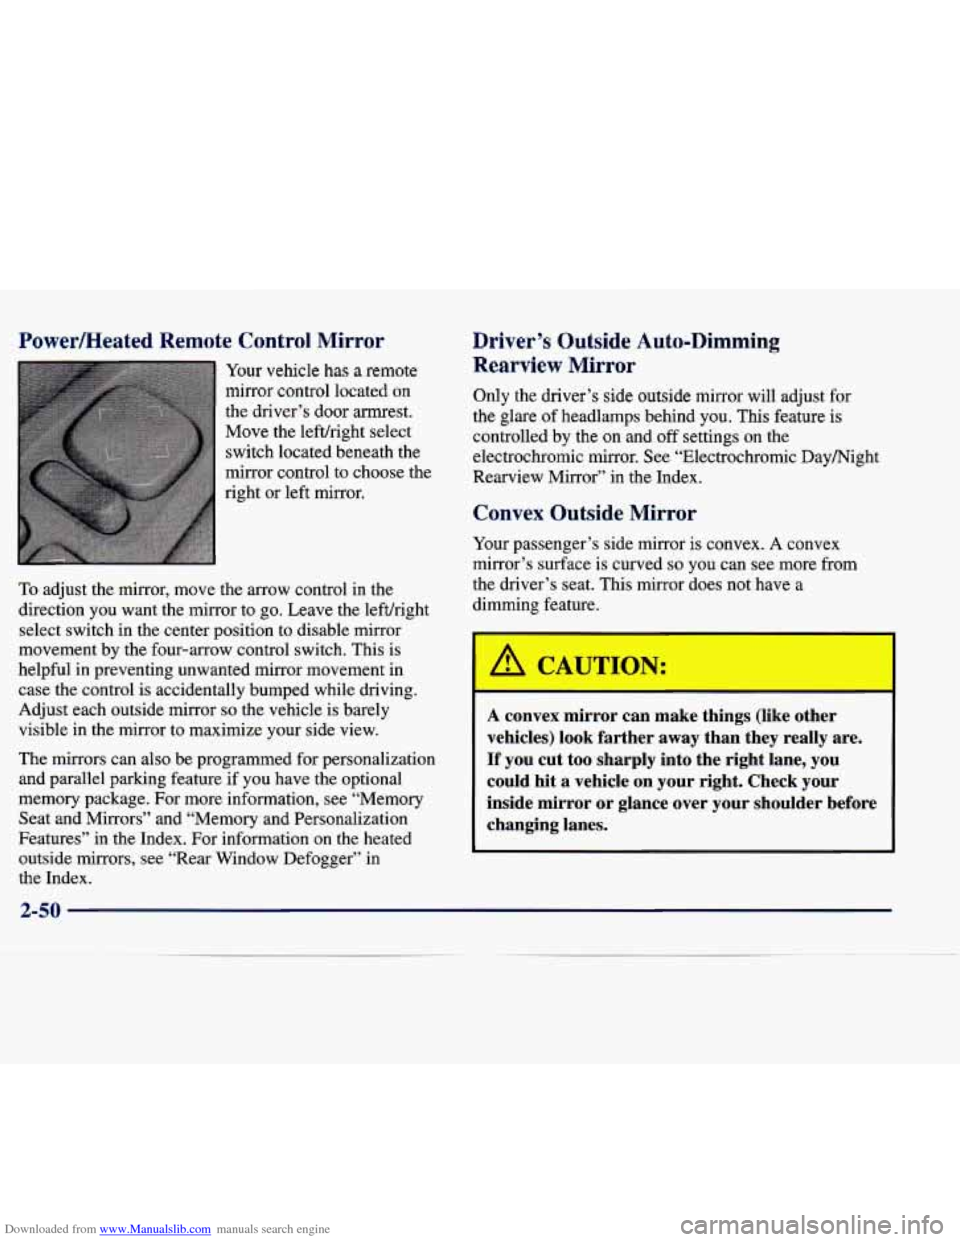
Your vehicle has a remote
mirror control located on
the driver’s door armrest.
Move the lefthight select
switch located beneath
the
mirror control to choose the
right or left mirror.
To adjust the mirror, move the arrow control in the
direction you want the mirror to
go. Leave the lefuright
select switch in the center position to disable mirror
movement by the four-arrow control switch. This is
helpful in preventing unwanted mirror movement in case the control is accidentally bumped while driving.
Adjust each outside mirror so the vehicle is barely
visible in the mirror to maximize your side view.
The mirrors can also be programmed for personalizauon
and parallel parking feature if you have the optional
memory package. For more information, see “Memory Seat and Mirrors” and “Memory and Personalization
Features” in the Index. For infomation on the heated
outside mirrors, see “Rear Window Defogger’’ in the Index.
Driver’s Outside Auto-Dimming Rearview
Mirror
Only the driver’s side outside mirror will adjust for
the glare of headlamps behind you. This feature is
controlled by the on and off settings on the
electrochromic mirror. See “Electrochromic Daymight
Rearview Mirror” in the Index.
Convex Outside Mirror
Your passenger’s side mirror is convex. A convex
mirror’s surface is curved
so you can see more from
the driver’s seat. This mirror does not have a
dimming feature.
A CAUTIC) r:
I
A convex mirror can make things (like other
vehicles) look farther away than they really are.
If you cut too sharply into the right lane,
you
could hit a vehicle on your right. Check your
inside mirror or glance over your shoulder before
changing lanes.
2-50
Page 140 of 378
Downloaded from www.Manualslib.com manuals search engine Driver Unlock Key Off
Press the down arrow on the INFO button one or more
times until the DRIVER UNLOCK
KEY OFF prompt
appears. This feature will automatically unlock only the
driver’s door when the ignition key is moved to
OW. To
turn the feature on, press ON/OFF until ON is displayed
on the DIC. To
turn the feature off, press ON/OFF until
OFF is displayed.
Doors Unlock in PARK (P)
Press the down arrow on the INFO button one or more
times until the DOORS UNLOCK
IN PARK prompt
appears. This feature will automatically unlock all doors
when the vehicle is shifted into PARK
(P). To turn the
feature on, press
ON/OFF until ON is displayed on the
DIC.
To turn the feature off, press ON/OFF until OFF
is displayed.
Doors Unlock Key Off
Press the down arrow on the INFO button one or more
times until the DOORS UNLOCK
KEY OFF prompt
appears.
This feature will automatically unlock all doors
when the ignition key is turned to
OFF. To turn the
feature on, press
ON/OFF until ON is displayed on the
DIC.
To turn the feature off, press ON/OFF until OFF
is displayed.
Curbview Assist Mirror (If Equipped)
Press the down arrow on the INFO button one or more times
until the MIRROR TO CURB IN REV prompts appears on
the DIC display.
This feature will move the passenger’s
outside rearview mirror
to a curb view position when the
console shifter is placed
in REVERSE (R) and it will return
the mirror to the last known driving position when the
console shifter is moved out of REVERSE (R).
To turn this
feature on, press the ON/OFF button until ON is displayed on
the DIC. To
turn the feature off, press the ON/OFF button
until OFF is displayed. For more information, see “Curbview
Assist Mirror”
in the Index.
Driver’s Names Set/Recall (If Equipped)
After the FEATURE PROGRAMMING prompt is
displayed on the Driver Information Center (DIC) and
the
ON/OFF button is pressed, the prompts DRIVER
NO 1 or DRIVER NO 2 will appear. These prompts
correspond to which
RKE transmitter button or memory
recall button has been pressed on the
RKE transmitter.
You may have your name and a second driver’s name
displayed here replacing the prompts DRIVER
NO 1
and DRIVER NO 2. A dealership can program your
vehicle to display the names you want. The names will
appear whenever the key position
is turned to ON only
if RKE transmitters 1 or 2 are used to enter the vehicle
or buttons
1 or 2 on the driver’s door are pressed.
2-79
Page 158 of 378
Downloaded from www.Manualslib.com manuals search engine Rear Window Defogger
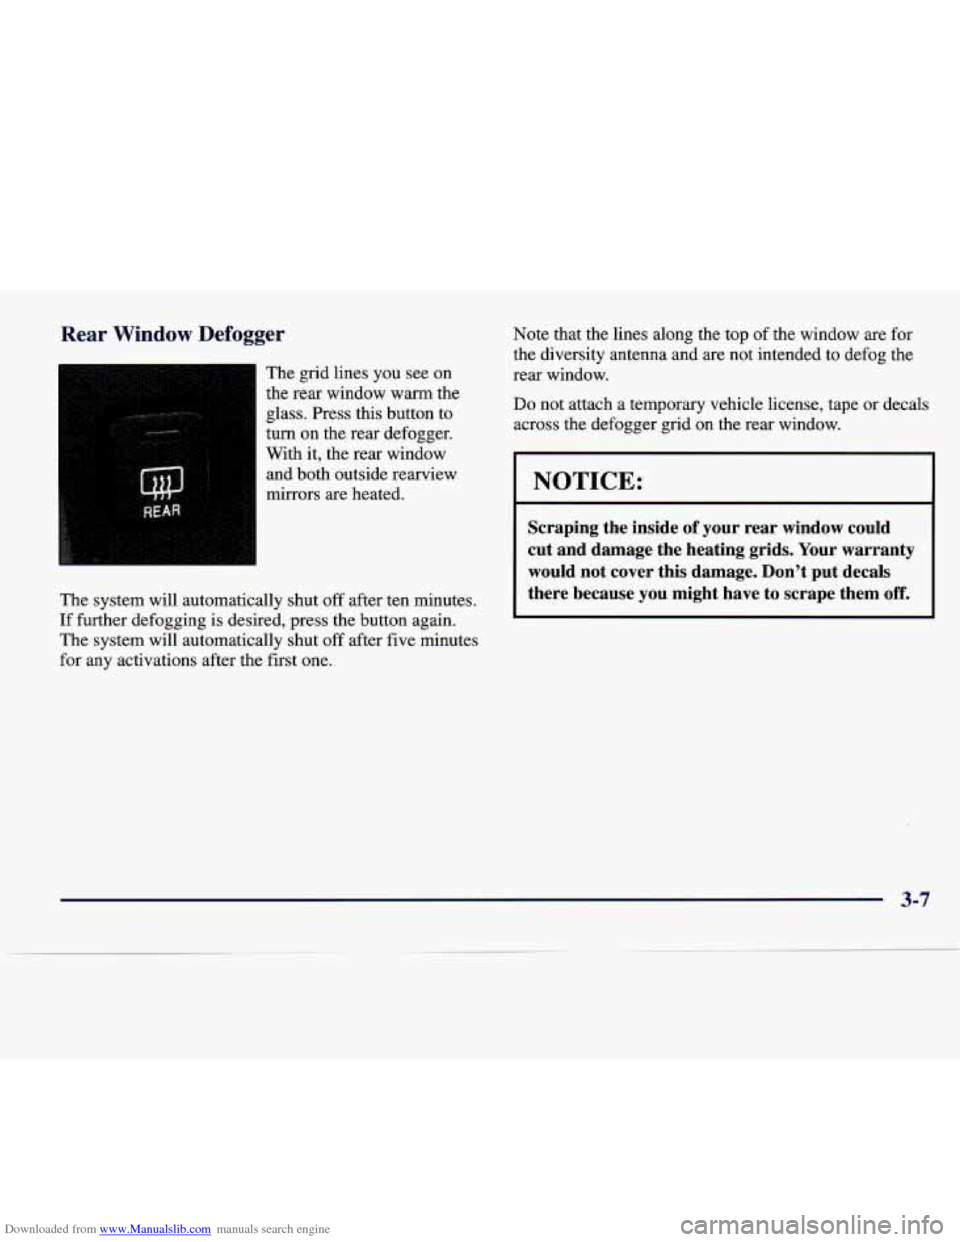
The grid lines you see on
the rear window warm the
glass. Press this button to
turn
on the rear defogger.
With it, the rear window
and both outside rearview
mirrors are heated.
The system will automatically shut
off after ten minutes.
If further defogging is desired, press the button again.
The system will automatically shut
off after five minutes
for any activations after the first one. Note that the lines along the top
of the
window are for
the diversity antenna and are not intended to defog the
rear window.
Do not attach a temporary vehicle license, tape or decals
across the defogger grid
on the rear window.
I NOTICE:
Scraping the inside of your rear window could
cut and damage the heating grids. Your warranty would not cover this damage. Don’t put decals
there because you might have
to scrape them off.
3-7
Page 220 of 378
Downloaded from www.Manualslib.com manuals search engine Then here are some tips:
Make sure your vehicle is well ventilated, with a
comfortably cool interior.
Keep your eyes moving. Scan the road ahead and to
the sides. Check your rearview mirrors and your
instruments frequently.
If you get sleepy, pull off the road into a rest, service
or parking area and take a nap, get some exercise, or
both. For safety, treat drowsiness on the highway as
an emergency.
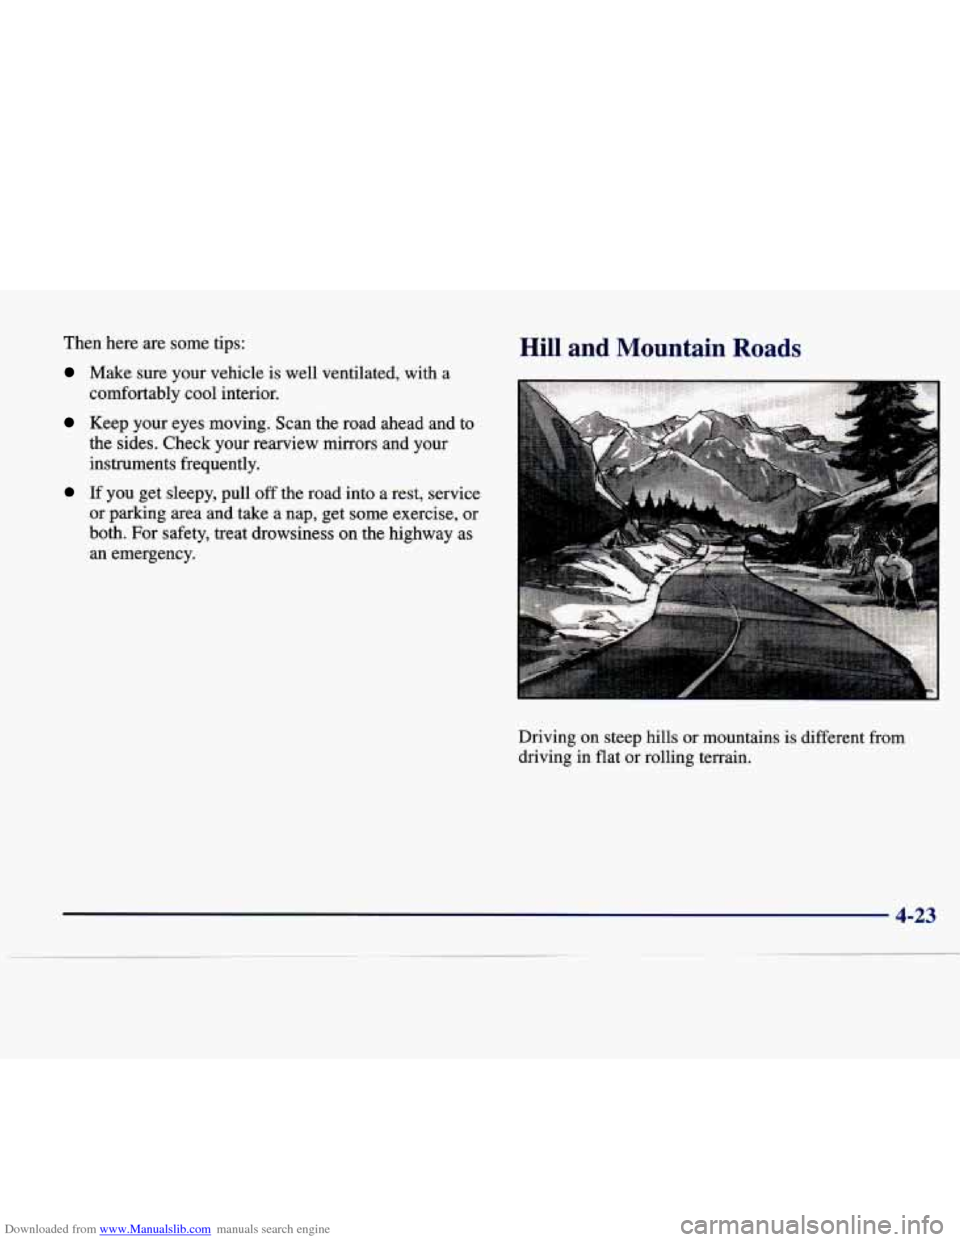
Hill and Mountain Roads
Driving on steep hills or mountains is different from
driving in flat
or rolling terrain.
Page 364 of 378
Downloaded from www.Manualslib.com manuals search engine Cleaning Aluminum or Chrome Wheels
................... 6-55
Fabric
...................................... 6-51
Glass
....................................... 6-53
Inside of Your Vehicle
......................... 6-50
Instrument Panel
............................. 6-52
Leather
..................................... 6-52
Outside of Your Vehicle
........................ 6-54
Speakercovers
.............................. 6-52
Special Problems
............................. 6-5 1
Stains ...................................... 6-5 1
Tires
....................................... 6-55
Vinyl
....................................... 6-52
Wheels
..................................... 6-55
Windshield and Wiper Blades
................... 6-53
WoodPanels
................................. 6-52
Climate Control Panel
............................ 3-2
Climate Control Personalization
................... 3- 10
Climate Control. Steering Wheel Controls ........... 3-10
Clock. Setting the ............................... 3- 11
Comfort Controls ................................ 3-2
Compact Disc Care
............................. 3-45
Compact Disc Player
....................... 3-1 1. 3-20
Compact Disc Player Care
........................ 3-45
Compact Disc Player Errors
.................. 3-15. 3-28
Compact Spare Tire
............................. 5-35
Compass. Rearview Mirror with
................... 2-47
Console Shift Lever
............................. 2-27
Console-Mounted CD Changer
.................... 3-39
Continuous Variable Road Sensing Suspension
........ 2-75
Control Buttons
................................ 2-80
Control of a Vehicle
.............................. 4-6
ConvenienceNet
............................... 2-52
Convex Outside Mirror
.......................... 2-50 Coolant
....................................... 6-22
CheckMessage
.............................. 2-83
Heater. Engine
............................... 2-20
SurgeTank
.................................. 5-20
Cooling System
................................ 5-18
Cornering Lamps
............................... 2-42
Cruise Control
................................. 2-36
Cupholders
.................................... 2-52
Curbview Assist Mirror
..................... 2.51. 2.79
Customer Assistance Information
................... 7-1
Customer Satisfaction Procedure
.................... 7-2
CVRSS
....................................... 2-75
Customer Assistance for
Text Telephone Users
......... 7-4
Damage. Finish
............................... 6-56
Damage. Sheet Metal
............................ 6-56
Daytime Running Lamps
......................... 2-41
Dead Battery
................................... 5-3
Defects. Reporting Safety
................... 7.12. 7.13
Defensive Driving
............................... 4-2
Defogger. Rear Window
.......................... 3-7
Defrosting
..................................... 3-6
DIC
.......................................... 2-75
Dimensions. Vehicle
............................ 6-66
Diversity Antenna
.............................. 3-45
Dolby Noise Reduction
........... 3.14.3.19.3.28. 3.37
Door Defogging
..................................... 3-6
Central Unlocking System
....................... 2-4
Locks
........................................ 2-4
MapPocket
................................. 2-51
OpenMessage
............................... 2-84
Driver Information Center
........................ 2-75
8-3