1998 CADILLAC SEVILLE steering wheel
[x] Cancel search: steering wheelPage 94 of 378
Downloaded from www.Manualslib.com manuals search engine Turn SignaVMultifunction Lever
’hrn and Lane Change Signals
To signal a turn, move the lever on the left side of the
steering wheel all the
way up or down. The lever returns
automatically when the turn is complete.
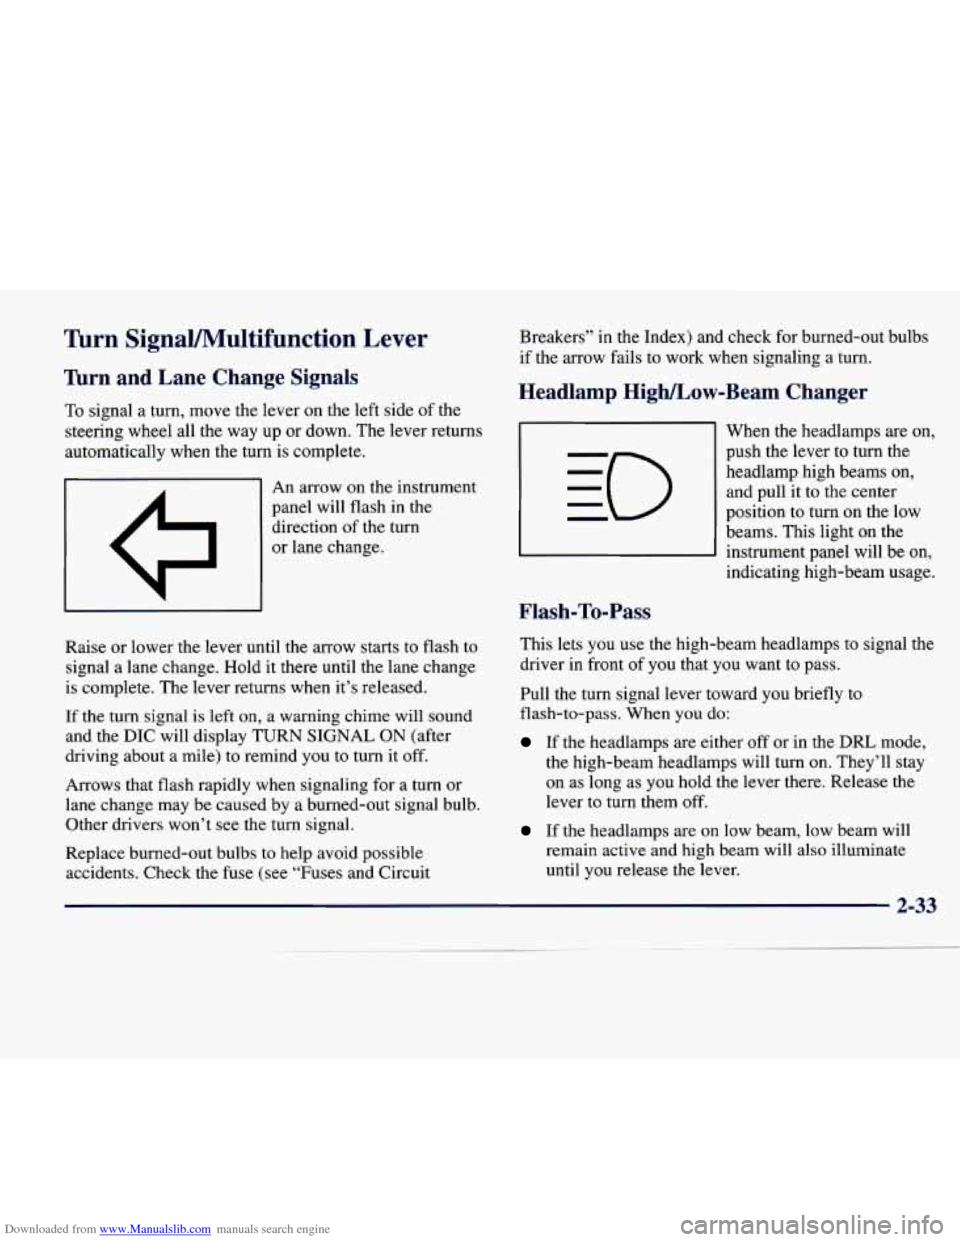
I A I An arrow on the instrument
panel will flash in the
direction of the turn
or lane change.
Raise or lower the lever until the arrow starts to flash to
signal a lane change. Hold it there until the lane change
is complete. The lever returns when it’s released.
If the turn signal is left
on, a warning chime will sound
and the
DIC will display TURN SIGNAL ON (after
driving about a mile) to remind you to turn it off.
Arrows that flash rapidly when signaling for
a turn or
lane change may be caused by a burned-out signal bulb. Other drivers won’t see the turn signal.
Replace burned-out bulbs
to help avoid possible
accidents. Check the fuse (see “Fuses and Circuit Breakers”
in the Index) and check
for burned-out bulbs
if the arrow fails to work when signaling
a turn.
Headlamp High/Low-Beam Changer
Flash-To-Pass
When the headlamps are on,
push the lever to turn the headlamp high beams on, and pull it to the center
position
to turn on the low
beams. This light on the
instrument panel will be on,
indicating high-beam usage.
This lets
you use the high-beam headlamps to signal the
driver in front
of you that you want to pass.
Pull the turn signal lever toward you briefly to
flash-to-pass. When
you do:
If the headlamps are either off or in the DRL mode,
the high-beam headlamps will turn
on. They’ll stay
on as long as you hold the lever there. Release the
lever to turn them off.
If the headlamps are on low beam, low beam will
remain active and high beam will also illuminate
until you release the lever.
Page 115 of 378
Downloaded from www.Manualslib.com manuals search engine Illuminated Visor Vanity Mirror
Turn the sunshade down and lift the cover to see the
mirror. Move the slide switch up or down to brighten or
dim the lamp.
Cellular TeleI '>one (Option)
Remote Door unlock
Your vehicle has been prewlred for dealer installation of
a dual-mode (analog/digital) cellular telephone. A fixed
mobile or a portable hand-held system are available.
Either system has steering wheel telephone controls and information output through the DIC. Voice activation
and hands-free operation are standard features. For more
information, contact your dealer.
A user's guide is
provided with the telephone.
OnStar System (Option)
This system may be ordered through your dealer if you have the optional fixed cellular telephone. The
following services are available
24 hours a day:
0 Roadside Service with Location
Emergency Services Button
Theft DetectiodNotification and
Stolen-Vehicle Tracking
Deployment
Automatic Notification of Frontal Air Bag
Concierge/Customer Convenience Services
For more information, contact your dealer.
Assist Straps
An assist strap above each door can be used when
getting out of your vehicle.
Garment Hooks
For your convenience, a garment hook is attached to the
rear assist strap.
Floor Mats
Your vehicle is equipped with rubber-backed front and
rear floor mats. Keep them clean by vacuuming and using a spot cleaner,
if necessary. Do not machine wash.
2-54
Page 122 of 378
Downloaded from www.Manualslib.com manuals search engine The instrument panel is designed to let you know at a glance how your vehicle is running. You’ll know how fast
you’re going, how much fuel you’re using and many
of the other things you’ll need to know to drive safely and
economically. The main components of the instrument panel are:
1. Air Outlets 13. Fuel Door Release
2. Driver Information Center Control Buttons 14. Trunk Release
3. Turn SignaVLights 15. HVAC Steering Wheel Controls
4. Cluster 16. Horn
5. Windshield Wiperwasher Lever 17. Audio Steering Wheel Controls
6. Cruise Control Lever 18. Seat Heater Switch
7. Ignition Switch 19. Traction Control Switch
8. Air Vent Control Dial
20. Console Shift Lever
9. Hazard Warning Button
2 1. Convenience S torage/Optional Ashtray
10. Radio
22. Electronic Climate Controls
11. Lamp Controls 23. Glove Box
12. Hood Release
Page 137 of 378
Downloaded from www.Manualslib.com manuals search engine Remote Recall Memory (If Equipped)
Press the down arrow on the INFO button one or more
times until the REMOTE RECALL MEMORY prompt
appears. To turn the feature on, press the ON/OFF
button until ON is displayed on the DIC. The seat and
mirror memory settings that have been previously
programmed can be recalled by pressing the unlock
button on the
RKE transmitter. The column will move
when the key is inserted in the ignition and moved to
ON. To turn the feature off, press the ON/OFF button
until OFF is displayed.
Key in Recall (If Equipped)
Press the down arrow on the INFO button one or more
times until the
KEY IN RECALL prompt appears on the
DIC display. To turn the feature on, press the ON/OFF
button until ON appears. The seat
and mirror memory
settings that have been previously programmed will be
recalled when the key is inserted in the ignition. The
column will move when the key is moved to
ON. To
turn the feature off, press the ON/OFF button until
OFF appears.
Auto Exit Seat (If Equipped)
Press the down arrow on the INFO button one or more
times until the
AUTO EXIT SEAT prompt shows on the
DIC display. This feature will move the seat to the driver’s exit position when the key is moved out of ON
(away from
START) and the driver’s door is opened. To
turn this feature on, press the ON/OFF button until ON
appears on the DIC.
To turn this feature off, press the
ON/OFF button until
OFF shows.
Auto Exit Steering Wheel (If Equipped)
Press the down arrow on the INFO button one or more
times until the AUTO EXIT
STRG WHEEL prompt
appears on the Driver Information Center (DIC) display.
This feature will move the column to the driver’s exit
position when the key is moved out of ON (away from
START) and the driver’s door is opened.
2-76
-
Page 152 of 378
Downloaded from www.Manualslib.com manuals search engine #z= -.
Section 3 Comfort Controls and Audio Systems
In this section, you'll find out how to operate the comfort control and audio systems offered w\
ith your vehicle. Be
sure to read about the particular systems supplied with your vehicle.
3-2
3-2
3-6
3-6
3 -6
3-7
3-8
3- 10
3-
10
3-11
3-1 1
3-11
3-16
3-20
Comfort Controls
Climate Control Panel
Air Conditioning
Heating
Defrosting and Defogging
Rear Window Defogger
Ventilation System
HVAC Steering Wheel Controls
Climate Control Personalization (If Equipped)
Audio Systems
Setting the Clock
AM-FM Stereo with Cassette Tape and
Compact Disc Player
(If Equipped)
AM-FM Stereo with Cassette Tape and
MiniDisc' Player (If Equipped) AM-FM Stereo with Cassette Tape and
Compact Disc Player with Radio Data
Systems (RDS) and Digital Signal Processing
(DSP) (If Equipped)
3-29
3-38
3-39
3-41 3-41
' 3-42
3-42
3-43
3-43 3-44
3
-45
3-45
3-45
AM-FM Stereo with Cassette Tape and
MiniDisc' Player with Radio Data Systems
(RDS) and Digital Signal Processing (DSP)
(If Equipped)
Radio Data Systems
(RDS) Program Type
(PTY) Selections
Console-Mounted
CD Changer (Option)
CD Adapter Kits
Radio Personalization (If Equipped)
Theft-Deterrent Feature Audio Steering Wheel Controls
Understanding Radio Reception
Tips About Your Audio System
Care of Your Cassette Tape Player
Care of
Your Compact Discs
Care of Your Compact Disc Player
Diversity Antenna System
3-1
Page 161 of 378
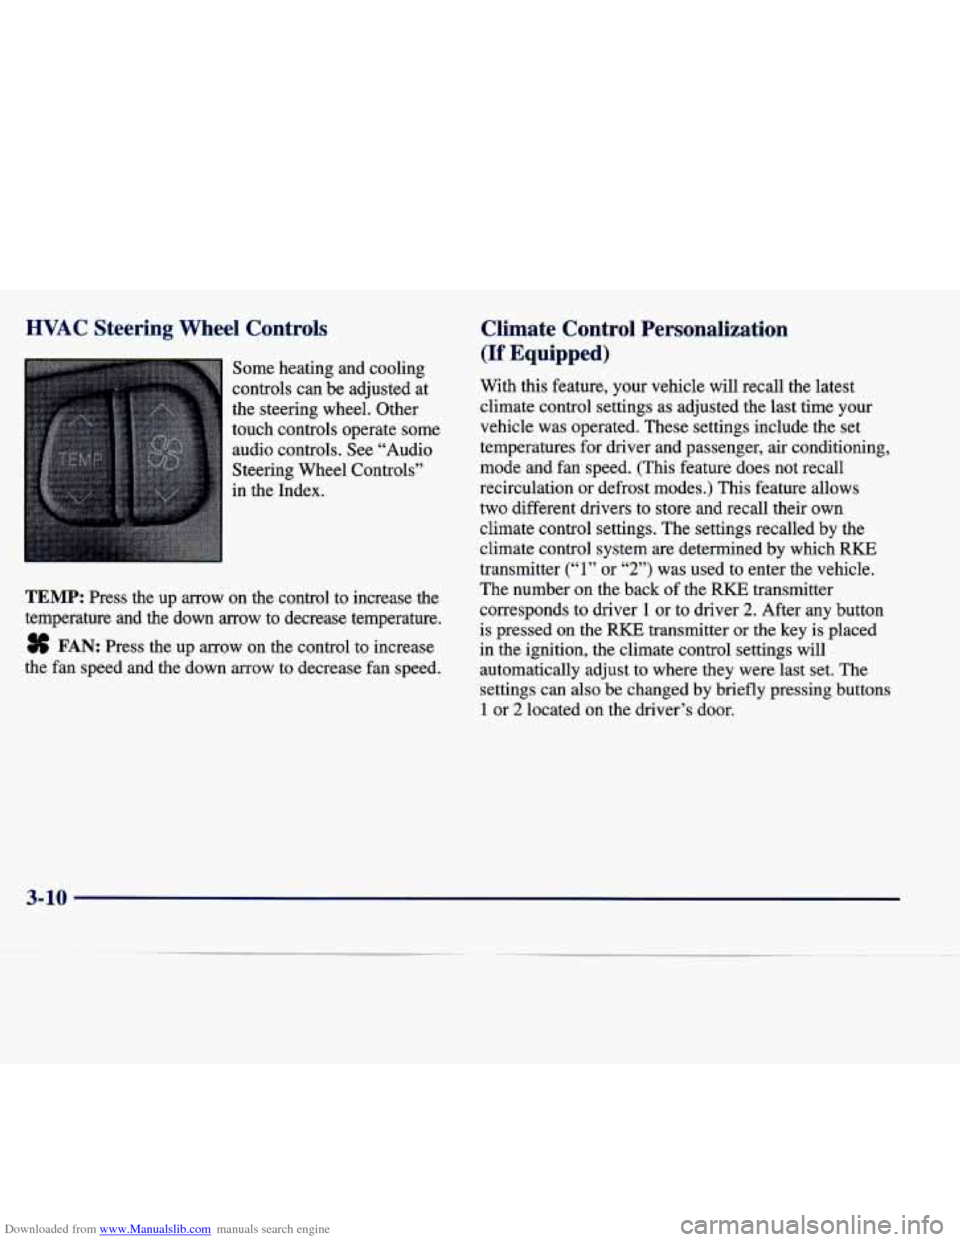
Downloaded from www.Manualslib.com manuals search engine HVAC Steering Wheel Controls
Some heating and cooling
controls can be adjusted at
the steering wheel. Other
touch controls operate some
audio controls. See “Audio
Steering Wheel Controls”
in the Index.
TEMP: Press the up arrow on the control to increase the
temperature and the down
arrow to decrease temperature.
8 FAN: Press the up arrow on the control to increase
the fan speed and the down arrow to decrease fan speed.
Climate Control Personalization
(If Equipped)
With this feature, your vehicle will recall the latest
climate control settings as adjusted the last time your
vehicle was operated. These settings include the set
temperatures for driver and passenger, air conditioning,
mode and fan speed. (This feature does not recall
recirculation
or defrost modes.) This feature allows
two different drivers to store and recall their own
climate control settings. The settings recalled by the
climate control system
are determined by which RKE
transmitter
(“1” or “2”) was used to enter the vehicle.
The number on the back
of the RKE transmitter
corresponds to driver
1 or to driver 2. After any button
is pressed on the
RKE transmitter or the key is placed
in the ignition, the climate control settings will
automatically adjust to where they were last set. The
settings can also be changed by briefly pressing buttons
1 or 2 located on the driver’s door.
3-10
Page 193 of 378
Downloaded from www.Manualslib.com manuals search engine With the radio off and the clock displayed, use FF and
RW to select home or away presets.
To select the away
presets, press and hold FF for five counts until you hear
a beep. The next time the radio comes on, the away
presets will be active. To select the home presets, press
and hold RW for five counts until you hear a beep.
The next time the radio comes on, the home presets
will be active.
When battery power is removed and later applied, you
will not have to reset your home radio presets because
the radio remembers them. However, you will have to
reset
your away radio presets.
Theft-Deterrent Feature
THEFTLOCK@ is designed to discourage theft of your
radio. Your vehicle has
a “built-in” theft-deterrent
feature on each radio that is automatic
-- there is no
programming required. The radio in your vehicle
cannot be used in any other vehicle. When the radio was originally installed in your vehicle at the factory, it
stored the Vehicle Identification Number (VIN). Each
time the ignition
is turned on, the VIN is verified. If the
vehicle’s VIN does not match the VIN stored in the
radio, THEFTLOCK will be activated and the audio system will not play. If the radio is removed from your
vehicle, the original VIN in the radio can be used to
trace the radio back to your vehicle.
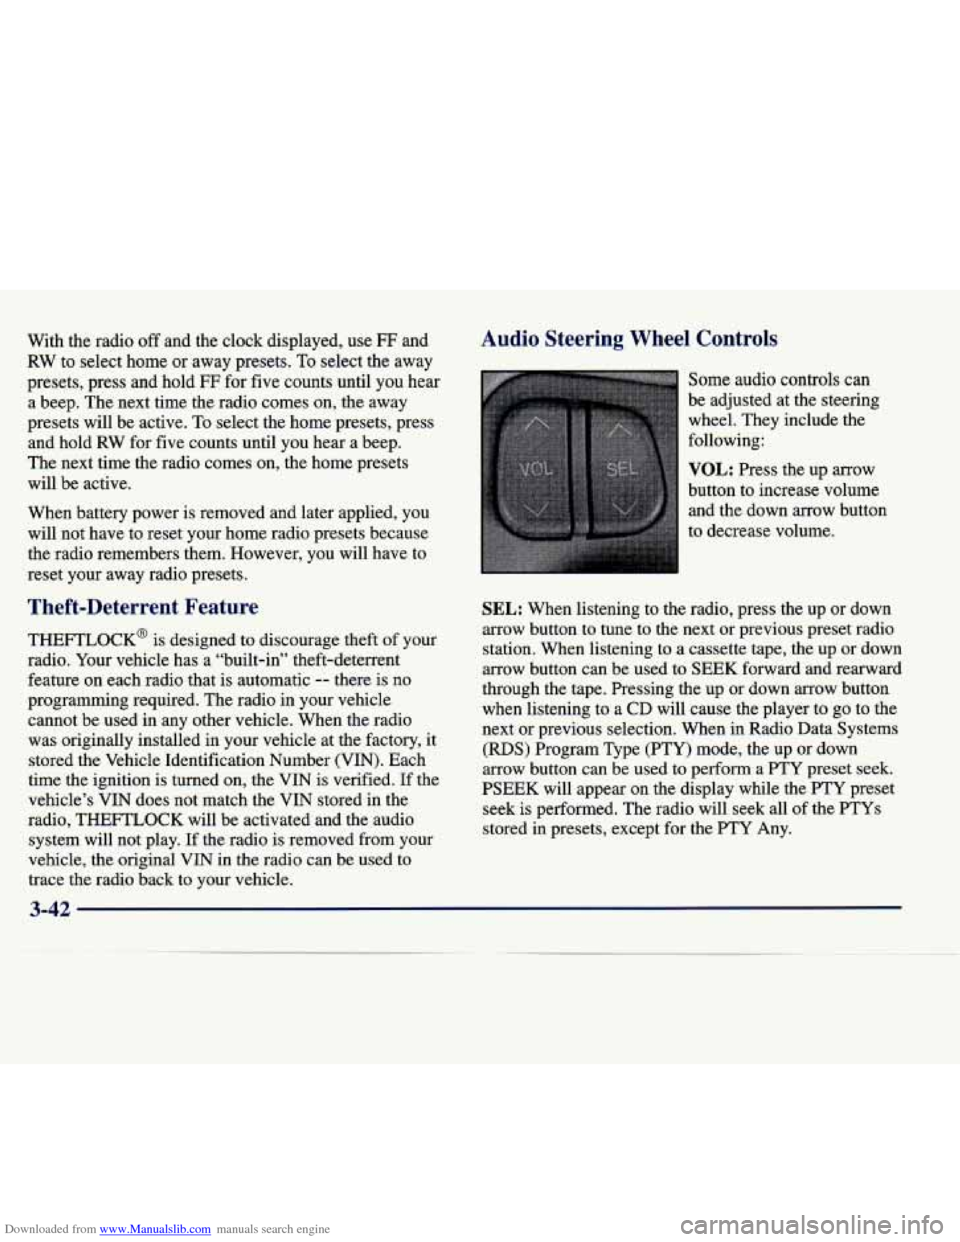
Audio Steering Wheel Controls
Some audio controls can
be adjusted at the steering
wheel. They include the
following:
VOL: Press the up arrow
button to increase volume and the down arrow button
to decrease volume.
SEL: When listening to the radio, press the up or down
arrow button to tune to the next or previous preset radio
station. When listening to a cassette tape, the up or down
arrow button can be used to
SEEK forward and rearward
through the tape. Pressing the up or down arrow button
when listening to
a CD will cause the player to go to the
next or previous selection. When in Radio Data Systems
(RDS) Program Type
(PTY) mode, the up or down
arrow button can be used to perform a
PTY preset seek.
PSEEK will appear on the display while the FTY preset seek is performed. The radio will seek all
of the PTYs
stored in presets, except for the PTY Any.
Page 207 of 378
Downloaded from www.Manualslib.com manuals search engine You can turn the system back on at any time by pressing
the button again. The TRACTION READY message
should display briefly on the Driver Information Center.
Braking in Emergencies
With anti-lock, you can steer and brake at the same
time. In many emergencies, steering can help you
more than even the very best braking.
Steering
Power Steering
If you lose power steering assist because the engine
stops or the system is not functioning, you can steer
but it will take much more effort.
MAGNASTEEP
Your vehicle may be equipped with GM
MAGNASTEER, a system that continuously adjusts the
effort you feel when steering at all vehicle speeds. It
provides ease when parking yet a firm, solid feel at highway speeds.
Steering Tips
Driving on Curves
It’s important to take curves at a reasonable speed.
A lot of the “driver lost control” accidents mentioned
on the news happen on curves. Here’s why:
Experienced driver or beginner, each
of us is subject to
the same laws of physics when driving
on curves. The
traction of the tires against the road surface makes it
possible for the vehicle to change its path when you turn
the front wheels.
If there’s no traction, inertia will keep
the vehicle going in the same direction. If you’ve ever
tried to steer a vehicle on wet ice, you’ll understand this.
The traction you can get in a curve depends
on the
condition of your tires and the road surface, the angle
at which the curve is banked, and your speed.
While you’re in a curve, speed is the one factor you
can control.
4-10