Page 15 of 426
I
8 Raise or Bower the entire seat cushion by holding the
whole
horizonhl control up or down.
@ hsh the vertical control forward to bring the seat to
a more upright position. Push it rearward to recline
the seatback.
Raise
or lower the shoulder belt aamd head rest by
pushing the vertical contro1 to the top or bottom.
You can use this memory €unction to save your seat
cushion (mintas the head restraint), optional lumbar,
mirror adjustment, window lockout, HVAc and radio
settings by using the foltlowing procedure:
1. You must first program the SEAT RECALL feature
to be
ON when this choice appears on the DHC.
See “Memory Seat Recall” in the hdex fop
programming instructions.
ProCarManuals.com
Page 74 of 426

The power door locks will not work if the key is left in
the ignition, the ignition is turned to
OFF and the
driver's door is open.
You can override this feature by
holding the power door lock switch for more than
three seconds.
If you are leaving the vehicle, take your keys, open your
door and set the locks from inside, then get out and close
the door.
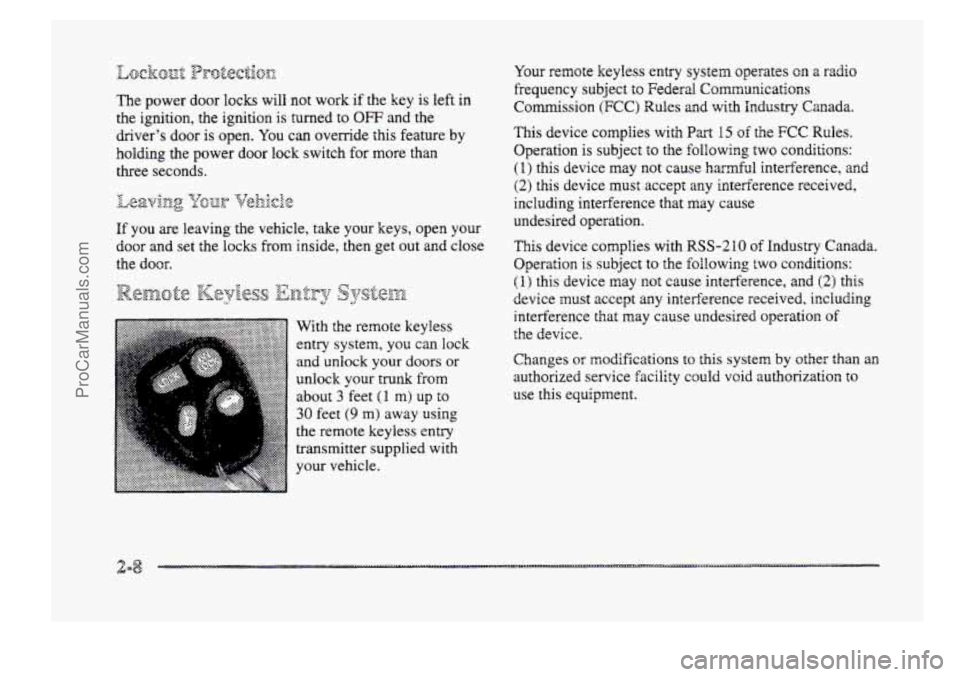
With the remote keyless
entry system,
you can lock
and unlock your doors or
unlock your trunk from
about
3 feet (I m) up to
30 feet (9 m> away using
the remote keyless entry
transmitter supplied
with
your vehicle.
Your remote keyless entry system operates on a radio
frequency subject to Federal Communications
Commission
(FCC) Rules and with Industry Canada.
This device complies
with Part 15 of the FCC Rules.
Operation is subject to the following two conditions:
(I) this device may not cause harmful interference, and
(2) this device must accept any interference received,
including interference that may cause
undesired operation.
This device complies with RSS-210 of Industry Canada.
Operation is subject to the following
two conditions:
(I.) this device may not cause interference, and (2) this
device must accept any interference received, ir,cluding
interference
that may cause undesired operation of
the device.
Changes
or modifications to this system by other than an
authorized service facility could vcid authorization
to
use this equipment.
ProCarManuals.com
Page 84 of 426

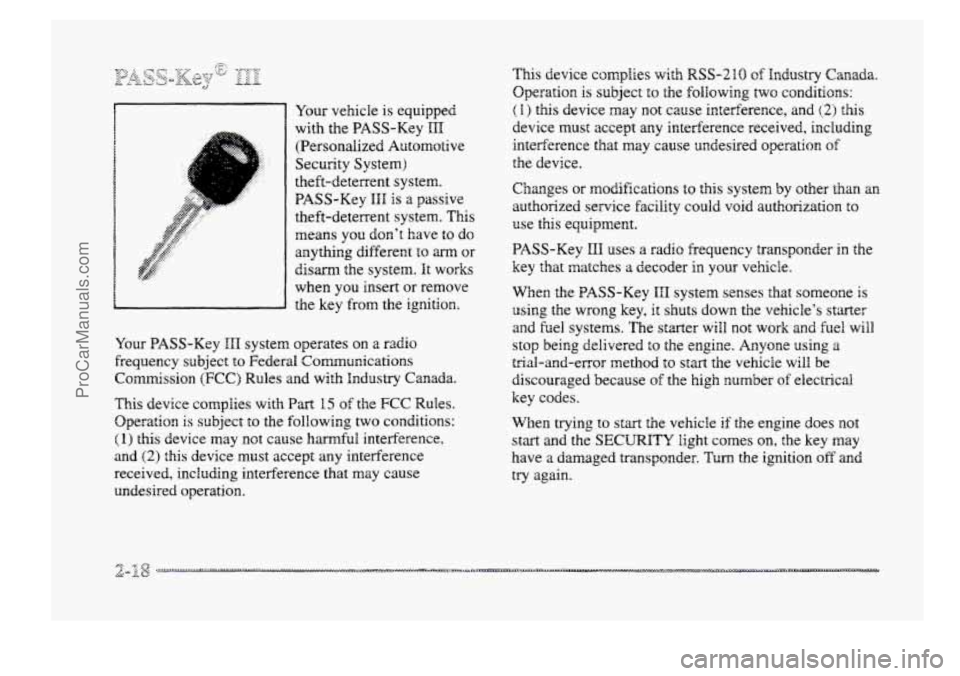
Your vehicle is equipped
with the PASS-Key
III
(Persondized Automotive
Security System)
theft-deterrent system.
PASS-Key
HHI is a passive
theft-deterrent system.
This
means you don’t have to do
anything different to arm or
disarm the system. It works
when YOU insert or remove
the key
from the ignition.
Your PASS-Key
III system operates on a radio
frequency
subject to Federal Communications
Commission
(FCC) Rules and with Industry Canada.
This device complies
with Part 15 of the FCC Rules.
Operation
is subject to the following two conditions:
(I) this device may not cause harmful interference,
and
(2) this device must accept any interference
received, including interference that may cause
undesired operation.
This device complies with RSS-210 of Industry Canada.
Operation
is subject to the following two conditions:
(I) this device may not cause interference, and (2) this
device must accept any interference received, including
interference that may cause undesired operation
of
the device.
Changes
or modifications to this system by other than an
authorized service facility could void authorization to
use this equipment.
PASS-Key
HI1 uses a radio frequency transponder in the
key that matches a decoder in your vehicle.
When the PASS-Key
III system senses that someone is
using the wrong key, it shuts
down the vehicle’s starter
and fuel systems.
The starter will not work and he8 will
stop being delivered to the engine. Anyone using a
trial-and-error method to start the vehicle will be
discouraged because
of the high number of electrical
key codes.
When trying
to start the vehicle if the engine does not
start and the SECURITY light comes on, the key may
have
a damaged transponder. Turn the ignition off and
try again.
ProCarManuals.com
Page 87 of 426

I
LOCK @I: This is the only position from which
YOU can remove the key. This position locks YOU
igition, steering wheel and transaxle. It’s a
theft-deterrent feature.
OFF (C): This position lets YOU turn ofif the engine but
still turn the steering wheel. It doesn’t lock the steering
wrlhee1 like LOCK and it doesn’t send my electrical
power to
the accessories. The instrument panel cluster
will remain powered in OFF to illarminate the gear sWt
indicator. The cluster will also activate the parking brake
fight when the parking brake is set. Use OW if you must
have your vehicle in motion while the engine is
not mnanaing.
RUN (D): This is the position that the switch returns to
after you start YSUP engine and release the switch. This
is &e p~sisi~n for driving. Even when the engine is not
running, you can use RUN to operate your electrical
power accessories anad t~ display some instrument panel
START (E): This position starts your engine. When the
engine
starts, release the key. The ignition switch will
return to RUN for ~a~rrrnal driving.
wdng
lights.
Retained Acces§ory Power
After you turn the ignition off md even remove the key,
you
will still have electrical power to such accessories
as the radio, astroroof ad power windows for up to
10 minutes. Power is shut off if you open a door.
2-21
ProCarManuals.com
Page 132 of 426
'Ih close the glass panel,, press and hold the switch
fwwad. The sunshade must be manually closed.
Once the astroroof is closed, it can be opened to a vent
position. Push the switch upward
to vent. To close, pull
the switch downward. The sunshade must be opened and
closed manually for vent operation.
An assist strap over each rear door and the frorat
passenger's door can be used to help you get in or out of
your vehicle.
It will operate garage doors and gates, or other devices
controlled
by radio frequency such as ltnome/office
lighting
systems.
ProCarManuals.com
Page 174 of 426
"
Your DeBco Electronics audio system has been designed
to operate easily and give years of listeing pleasmi.
You will get the most enjoyment out of it if you acquaint
yourself with it
first. Find out what your Delco
Electronics system can
do and how to operate all its .
controls, to be sure you're getting the most out of the?.. J
advanced engineering that went into it. . .
Setting &he Chock
Press and hold until the correct how appears. Press
and hold MIN until the correct minute appears.
You may set the clock with the ignition off if YOU
press RECALL fist and follow the same procedure
described above.
VOLUME: This hob turns the system on and off anad
controls the volume. To increase volume and turn the
radio
on, turn the knob to the right. Turn it to the left to
decrease volume.
ProCarManuals.com
Page 175 of 426
5;. Repeat :he steps for each pushb~tt~n.
P SCAN: Press this button to :isten to each of your
preset stations f~r a few seconds. The radio will go to
the first preset station, stcp for a few seconds, then go
on Fa the next ?reset station. Press P SCAN again to stop
scanning. The radio will not stop at a preset if the station
is weak.
ProCarManuals.com
Page 176 of 426

BASS: Press this knob lightly so it extends. Tun the
knob to increase
or decrease bass.
TREB: Press this knob lightly so it extends. Turn the
knob to increase or decrease treble. If a station is weak
or noisy, you may want to decrease the treble.
Push these hobs back into their stored positions when
you're
not using them.
BAL: Turn the control behind the upper knob to move
the
somi to the left or right speakers. The middle
position balances the sound between
the speakers.
FADE: Turn the control behind the lower knob to move
the
sound to thc front or rear speakers. The middle
position
balmces the sound between the speakers.
7-. . L.. (..,I &F$i 7:.
The longer side with the tape visible should face to the
right.
If the ignition and the radio are on, the tape can be
inserted
and will begin playing. If you hear nothing or
hear
a garbled sound, the tape may not be in squarely.
Press
EJECT to remove the tape and start over.
&Lag 2 *." ::,4~y&~~$~ - ''-.:.:%.A V' L+&
Mile the tape is playing, use the VOLUME, FADE,
BAL, BASS and TBZEB controls just as you do for the
radio. Other controk may have different functions when
a tape
is inserted. The display will show an mow to
show which side of the tape is playing.
If you want to insert a tape when the ignition or radio is
off, first press EJECT or RECALL. Note that the
cassette tape adapter
kits for portable compact disc
players will work in your cassette tape player.
Your tape bias is set automatical2y.
If E and a number appear on the radio display, the tape
won't play because
of an error.
e EdO: The tape is tight and the player can't turn the
tape
hubs. Remove the tape. Hold the tape with the
open end down
and try to turn the right hub to the
left with a pencil. Turn the tape over and repeat. If
the hubs do not turn easily, your tape may be
damaged
and shoutct not be used in the player.
Try a new tape to make sure your player is
working properly.
Ell: The tape is broken. Try a new tape.
ProCarManuals.com