Page 297 of 426

Refer to the Maintenance Schedule to determine what
kind
of transaxle fluid to use. See “Recommended
Fluids
md Eubricmts” in the Index.
If the fluid level is low, add only enough of the proper
fluid
to bring the level into the cross-hatched area on
the dipstick.
I. Pull out the dipstick.
2. Using a long-neck funnel, add enough fluid at the
dipstick hole
to bring it to the proper level.
It doesn’t
take much fluid, generally less than one
pint
(0.5 L). Don’t ove@Zl.
3. After adding fluid, recheck the fluid level ips
4. When the correct fluid level is obt.ained, push the
described
under “How to Check.”
dipstick back in
dl the way.
The cooling s stem in your vehicle is filled with
DEX-COOL engine coolant. This coolant is designed
to remain in your vehicle for 5 years or 150,000 miles
(240 MI0 h) whichever occurs first, if you add only
DEX-COOL“ extended life coolant,
The following explains
your coding system and
how to add coolant when it is low. If YOU have a
problem with engine overheating, see “Engine
Overheating”
in the Index.
A 50/50 mixture of water and DEX-COOL’
coolant will:
J
Give freezing protection down to -34°F (-37°C).
Give boiling protection up to 265 OF 129 ” C).
Protect against rust and corrosion.
Help keep the proper engine temperature.
Let the warning lights and gages work as
they should.
ProCarManuals.com
Page 319 of 426
Xeplacement blades come in digerent types and are
removed in different ways.
To replace the wiper blade assembly:
1. Position the wipers on the windshield in the “mid’’
wipe position.
windshield. Note:
The windshieid wiper does not
have a ’;ocking upright positior~ feature.
2. Lift the windshield wiper m away from the
3.
4.
5.
Push the tab OR the wiper biade assembly 2nd pull
the assembly dcwn enough to release it from the “U”
hooked end of the wiper m. Slide the assembly
away from the am.
Replace the blade.
TQ reinstall the wiper blade assembly, slide it, over
the wiper m to engage the “U” hooked end QII the
wiper
blade assembly. Full up on the assembly to
lock it into place.
For the correct windshield wiper blade replacement
length and type, see “Nomal Maintenance Replacement
Parts’’ in the Index.
ProCarManuals.com
Page 322 of 426

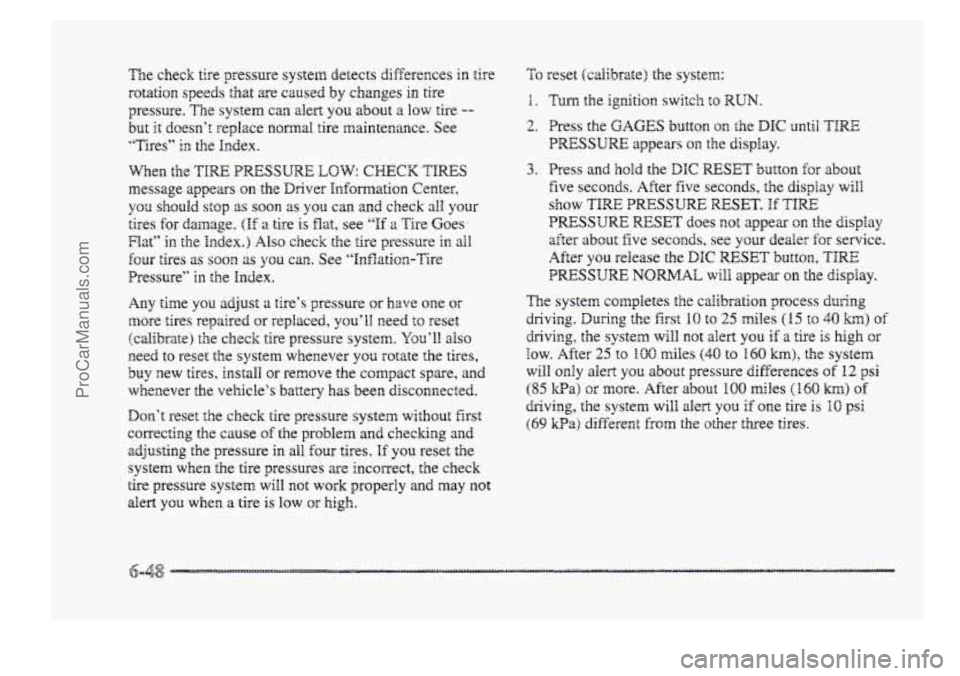
The check tire pressure system detects differences in tire
rotation speeds that are caused
by changes in tire
pressure. The system can alert
you about a OW tire --
but it doesn’t replace normal tire maintenance. See
“Tires”
in the Index.
When the TIRE PRESSURE LOW: CWECK TIRES
message appears on the Driver Information Center,
you should stop as soon as YOU can and check all your
tires
for damage. (If a tire is flat, see ‘‘If a Tire Goes
Flat” in the Index.) Also check the tire pressure in all
four tires as SOOIZ 2s you can. See “Inflati~n-Tire
Pressure”
in the Index.
Any time
you adjust tire’s pressure or have one or
more tires repaired or replaced, you’ll need to reset
(calibrate) tE-ae check
tire pressure system. YOU’BI a~so
Reed to reset the system whenever you rotate the tires,
buy new
rim, install or remove the compact spare, and
whenever the vehicle‘s battery has been disconnected.
Don’t reset the check tire pressure system without first
correcting the
cause of the problem and checking and
adjusting the pressure in all four tires. If you reset the
system when the tire pressures are incorrect, the check
tire presswe system will
not work properly and may ~QB
alert you when a tire is Bow or high.
To reset (calibrate) the system:
3. Press and hold the CIC RESET button for abut
five seconds. After five seconds, the display will
show TIRE PRESSUFE RESET. Hf TIE
PRESSURE RESET does not appear on the display
after about five seconds, see your dealer for service.
After
you release the DIC RESET button, TIRE
PRESSURE NORMAL will appear on the display.
The system completes the calibration process
during
driving. During the first 10 to 25 miles ( I5 to 40 kw) of
drivhg, the system will not alert you if a tire is high or
SOW. After 25 to EOO miles (40 to 160 h>, the system
will oniy alert YOU about pressure differences of 12 psi
(85 Wa) or more. After about 100 miles (160 h) of
driving, the system will alert you if one tire is IO psi
(69 kPaj different from the other thee tires.
ProCarManuals.com
Page 348 of 426

Qverall
Length ................. 206.8 inches (525.3 cm)
Width ................... 74.7 inches ( B 89.7 cm)
Height ................... 58.8 inches (147.6 cm)
Wheelbase .............. B 13.8 inches (289.1 cm)
Front Tread ............... 62.7 inches (159.3 cm)
Rear Tread ............... 62.3 inches (158.2 cm)
".. - ?$ ~.p~~~$ 5 ~~4a~~.~ena~~~~ T:. '..
17. ~~~~ja-aee~~~~~~~ , ..-. yay&
Engine Oil Filter ................ AC Type PF-47
_L
Air Cleaner Element .......... AC Type A- 1096C
Fuel Filter .................... AC Type GF-627
Spark Plugs ................... AC Type 41-921
Gap: 0.060 inch (. 152 crn)
Windshield Wiper Blades
Type
............................ Hook Style
Length
..................... 22 inches (56 cm)
Filter
(HVAC air filter) ..... GM Part No. 52472175
Passenger
Compartment
Air
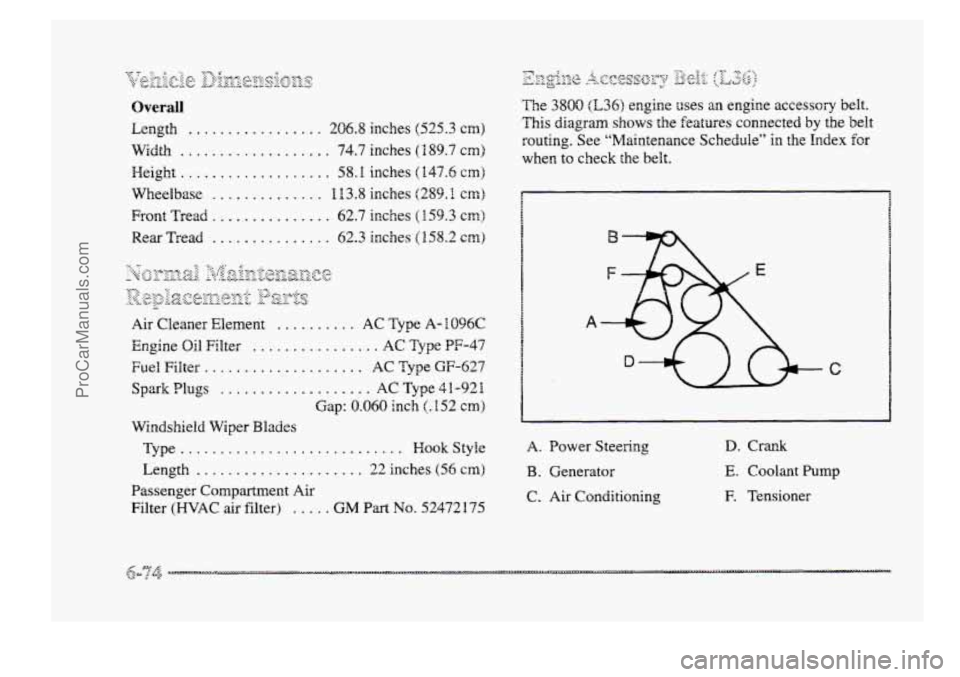
&g&ze &yggsGyy 15 jL2Q e. ,.', E c/ I'
The 3800 (L36) engine uses an engine accessory belt.
This diagram shows the features connected by the belt
routing. See "Maintenance Schedule" in the Index for
when to check the belt.
A
C
A. Power Steering
B. Generator
C. Air Conditioning
D. Crank
E. Coolant Pump
E Tensioner
ProCarManuals.com
Page 349 of 426
1. Front Belt C. Crank
2. Back Belt D. Supercharger
A. Generator E. Coolant Pump
B. Power Steering IF. Air Conditioning The Supercharged
3800 engine
uses two accessory drive
belts. One belt drives the generator, power steering
pump, coolant
pump surd air conditioning compressor.
The second belt drives the superchwger. Each belt has
its own tensioner
mi idler pulley. See ‘‘Maintenance
Schedule” in the Index
for when to check he accessory
drive belts and supercharger oil level. Have your dealer
check the
oil level in the supercharger.
ProCarManuals.com
Page 351 of 426
7- 2
7-3
7-4
7-4 7-4
7-3 1
7-3 1
Introduction
How
This Section is Organized
Bart A: Scheduled Maintenance Services
Using Your Maintenance Schedule
Selecting the Right Schedule
Part B: Owner Checks and Services
At Each Fuei Fill
At Least oncc a h4onth
At Least Twice a Year
At Least Once a Year
Part C: Periodic Maintenance hspections
Part D: Recommended Fluids and Lubricants
Part E: Maintenance Record
ProCarManuals.com
Page 352 of 426
I
IMPORTANT*
KEEP ENGINE OIL
AT THE PROPER
LEVEL ANI) CHANGE AS.
RECOMMENDED
Have you puschased the GM Prwotectiorz Plan? The Plan
supplements ~ous new vehicle war{-unties. See your
Warranty und Owner AssistaPzce booklet, or your Buick
deuler.for details.
Jr
ceep yor
vehicle in good working condition, but &o helps the
environment.
AEB reconirnended maintenance procedures
are
important. Improper vehicle maintenance can even
affect
the quality of the air we breathe. Improper fiuid
Ievels or the wrong tire infiation can increase the level
of emissions from your vehicle. To help protect our
environment,
and to keep your vehicle in good
condition, please maintain your vehicle properly.
ProCarManuals.com
Page 353 of 426

._y 0 C. 12‘3\+7 p &-2cbisn Tq LL . --o.-.-G+. 7.. .: v.:fi.::+ C&,hAkLA.d& -1 --- Lj
The remainder of this section is divided into five pms:
”Part A: Scheduled Maintenance Services” shows
what to have done and how oftec. Some of these
services
can be complex, so unless you are technically
qualified and have the necessary equipnent, you should
let your dealer’s service department
or another qualified
service center
do these jobs.
Performing maintenance work on a vehicle can
be dangerous.
In trying to do some Jobs, you can
be seriously injured.
Do your own maintenance
work O~Y if you have the required know-how
and the proper tools and equipment for the job.
If you have any doubt, have a qualified
technician
do the work.
If you are skilled enough to do some work on your
vehicle, you will probably want
to get the service
information. See “Service and Owner Publications”
in the Index.
“Part 8: Owner Cheeks and Services” tells you
what should be checked and when.
It also explains
what YOU can easily do to help keep your vehicle in
good condition.
“Part C: Periodic Maintenance Inspections”
explains important inspections that your deater’s
service department or another quaiifled service center
should perfom.
“Part D: Recommended Fluids and Llph~ricipn~’’
lists some recommended products to hcBp keep your
vehicle properly
maintained. T’kzesc 19n~lucts, or their
equivalents, should
be used wlacikct. you do the work
yourself or have
it done.
“Past E: Maintenance Record’’ provides a,place for
you to record the ~naintcrrance performed on your
vehicle. Whenever any n:aintcnancc is performed, be
sure to write it down in Ffris part. ’his will help you
determine when your next nraintenance should be done.
In addition,
it is ;L good idca to keep your maintenance
receipts.
They may be rleedcd to qualify your vehicle
for warranty repairs.
ProCarManuals.com