Page 11 of 179

Contents
At a glance
Controls and features
Cockpit16
Instrument cluster18
Indicator and warning
lamps20
Hazard warning system22
Hazard warning triangle22
First-aid kit22
Refueling23
Fuel specification23
CARB OBD II interface24
Tire inflation pressures25
Locks and security systems:
Keys30
Electronic immobilizing device35
Doors31
Trunk lid33
Luggage compartment34
Power windows35
Sliding/tilt sunroof36
Convertible top operation37
Adjustments:
Seats43
Steering wheel45
Mirrors46
Passenger safety systems:
Safety belts47
Child restraint system48
Installing child seats49
Airbags50
Child-safety locks52
Rollover protection system Ð
convertible52
Driving:
Steering/ignition lock54
Starting the engine54
Switching off the engine55
Parking brake56
Manual transmission57
Automatic transmission58
Turn signals/high beam60
Wiper/washer system61
Cruise control62
Everything under control:
Odometer63
Tachometer63
Energy control63
Fuel gauge64
Coolant temperature gauge64
Service Interval Display64
Multi-Information Display (MID)66
Outside temperature display
and digital clock68
Check Control71
Check Control with outside
temperature display and
digital clock74
Onboard computer77
Technology for driving comfort
and safety:
Automatic stability control
plus traction (ASC+T)84
Page 16 of 179
15
At a glance
Controls and featuresCare and maintenanceAdvanced technology
Technical data
Owner service procedure
Index
At a glanceControls Car care Repairs Technical Data Index
Cockpit 16
Instrument cluster 18
Indicator and warning lamps 20
Hazard warning system 22
Hazard warning triangle 22
First-aid kit 22
Refueling 23
Fuel specification 23
CARB OBD II interface 24
Tire inflation pressures 25
Page 19 of 179
18
Instrument cluster
360us319
Page 20 of 179
Controls and features MaintenanceAt a glanceControls Car care Repairs Technical Data Index
19
1 Fuel gauge with low-fuel
warning lamp 64
2 Indicator lamp for turn signals 20
3 Speedometer
4 Indicator and warning lamps for
d
Battery charge current 20
d
High beams 20
d
Engine oil pressure 20
5 Tachometer 63
Energy control 63
6 Coolant temperature gauge 64
7 Indicator and warning lamps for
d
Brake pad wear 20
d
Brake system hydraulics 21
d
Parking brake 21
d
Airbag 50
8 Indicator lamp for ASC+T 20
9 Indicator and warning lamps for
d
Automatic transmission
*
20
d
Warning lamp for Check Control
*
71
d
Please fasten seat belts
*
21
d
ABS 20
10 Trip odometer 63
11 Service Interval Display 64
12 Odometer 6313 Indicator lamps for
d
Foglamps
*
20
d
Emissions-related systems
indicator 21
d
Rollover protection system
*
21
14 Trip odometer reset button 63
Instrument cluster
Page 52 of 179

51
At a glanceControls Car careRepairsTechnicalDataIndex
The airbags are triggered by impacts
coming from the directions shown in
the illustration. Note that the supple-
mentary protection against lateral
impact is available only on vehicles
equipped with optional door-mounted
airbags.Indicator lamp in instrument
clusterSystem operational:
dThe indicator lamp comes on briefly.
System malfunction:
dThe indicator lamp fails to come on.dIndicator lamp lights up for approx.
4 seconds, goes out brießy and then
lights up again.
A system malfunction could prevent the
system from responding to an impact
occurring within its normal response
range.
Please have your authorized BMW
Retailer inspect and repair the system
as soon as possible.
a
For your own safety, please ob-
serve the following precautions con-
cerning airbags, as otherwise their
protective function may be impaired. We
also request that you make this informa-
tion available to your passengers, and
that you urge them to observe the in-
structions for safety belt use: the air-
bags are a supplemental restraint
device designed to provide extra pro-
tection; they are not a substitute for
safety belts. Wear your safety belt at all
times. The system does not respond to
minor collisions, if the vehicle rolls over,
or if the impact is at the rear of the vehi-
cle. In this situation, only the safety belt
protects you.
When adjusting your seat, select a posi-
tion that provides maximum distance
between you and the steering wheel, the instrument panel and the door while still
allowing comfortable and safe access to
all vehicle controls.
Always grip the steering wheel on its
rim with your hands at the 9 and 3 oÕclock
positions, otherwise hand and arm inju-
ries could occur when the airbag
inflates.
Never allow any objects to obstruct the
area between the airbag and the driver/
passenger.
Do not use the cover panel above the
passenger-side airbag as a storage
area.
Do not glue, cover or in any way alter
the padded covers on the steering
wheel, the instrument panel or the side
trim panels of the front doors.
Do not install a rear-facing child re-
straint device on the front passenger
seat. Children under 12 years of age
should only sit in the back.c
Even when all these guidelines are
observed, there is still a residual risk of
mild facial injuries occurring in isolated
instances of airbag actuation. The igni-
tion and inßation noise may induce a
mild temporary hearing loss in sensitive
individuals.
Airbag information is also located on
the sun visors.
p
The indicator lamp comes on from
ignition key position 1 to indicate
that the system is operational.
390de142Airbags
Page 57 of 179

56
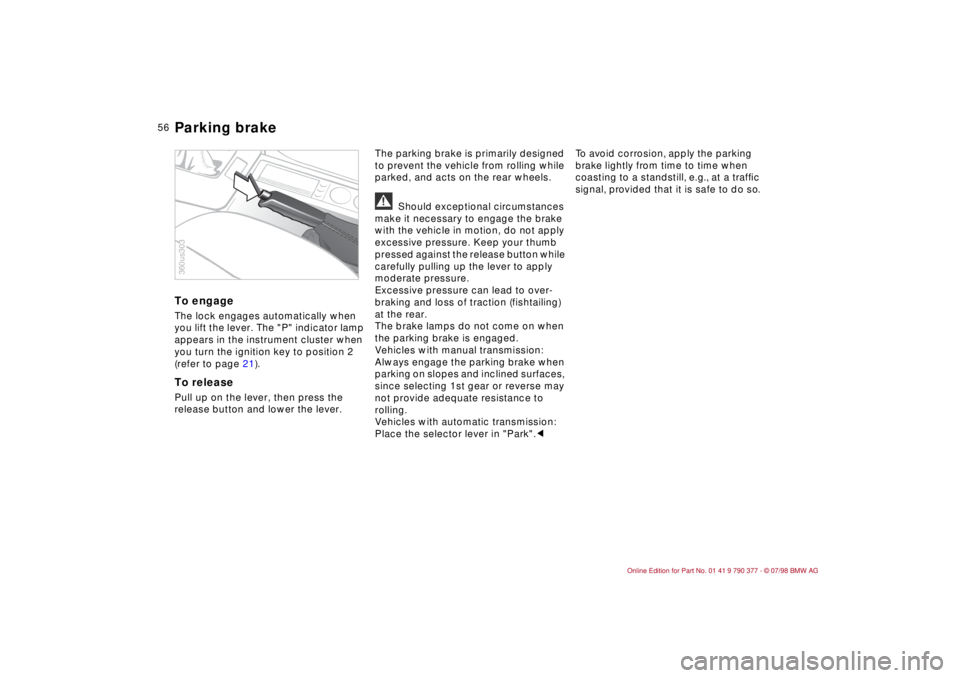
To engageThe lock engages automatically when
you lift the lever. The "P" indicator lamp
appears in the instrument cluster when
you turn the ignition key to position 2
(refer to page 21).To releasePull up on the lever, then press the
release button and lower the lever.The parking brake is primarily designed
to prevent the vehicle from rolling while
parked, and acts on the rear wheels.
a
Should exceptional circumstances
make it necessary to engage the brake
with the vehicle in motion, do not apply
excessive pressure. Keep your thumb
pressed against the release button while
carefully pulling up the lever to apply
moderate pressure.
Excessive pressure can lead to over-
braking and loss of traction (fishtailing)
at the rear.
The brake lamps do not come on when
the parking brake is engaged.
Vehicles with manual transmission:
Always engage the parking brake when
parking on slopes and inclined surfaces,
since selecting 1st gear or reverse may
not provide adequate resistance to
rolling.
Vehicles with automatic transmission:
Place the selector lever in "Park".cTo avoid corrosion, apply the parking
brake lightly from time to time when
coasting to a standstill, e.g., at a trafÞc
signal, provided that it is safe to do so.
360us303Parking brake
Page 72 of 179

71
At a glanceControls Car careRepairsTechnicalDataIndex
Texts with messages and warnings are
used to alert the driver to defective sys-
tems. In addition, there is a warning
lamp in the instrument panel.
The time and date can be displayed
with the digital clock.
1 Status report symbol
2 Display
3 Plus symbol for additional messages
4 CHECK key
The defective-system messages are
divided into 3 different priorities:
Priority 1These defects are indicated immedi-
ately with the flashing warning lamp and
the flashing warning symbol (1). Several
simultaneous defects are displayed
consecutively. After 20 seconds or
when the CHECK key is pressed, the
warning lamp in the instrument cluster
stops flashing.
The messages continue to be displayed
until the defects are eliminated and can
not be deleted by pressing the CHECK
key (4).
Brake lamp electrical system
The brake lamps have failed. Fuse or
electrical circuit is defective. Refer to
page 151 or consult your BMW Retailer.
360us110Check Control*
Brake lamps defective
Brake lamps have failed - bulbs
defective.
Replace bulbs. Refer to page 143.Priority 2These defects appear when the ignition
key is in position 2. The warning sym-
bols remain after the message disap-
pears. If the plus symbol (3) appears:
Additional messages are present and
can be displayed by pressing the
CHECK key.
1 Brake lamp defective
A bulb has failed. Refer to page 143.
Low beams defective,
Backup lamps defective,
License plate lamp
Bulb has failed or fuse or electrical
circuit defective. Refer to pages 141,
143, 145 or visit a BMW Retailer.
Washer fluid low
Too low, top up at next opportunity.
Refer to page 124.
Check Control inactive
Messages and warnings can not be
displayed. See BMW Retailer.
Page 78 of 179

77
At a glanceControls Car careRepairsTechnicalDataIndex
Allows you to select display data for
safe and economical driving.
If your car is equipped with the Check
Control option, texts with information
and warnings are used to alert the
driver to system malfunctions. In addi-
tion, an indicator lamp is provided in the
instrument cluster. For details and
operating instructions, refer to
pages 71 and 72.
With the digital clock you can
ddisplay the time and date,
dpre-program a reminder signal
(memo), e.g., to remind you of news
broadcasts.
Refer to page 74 for information and
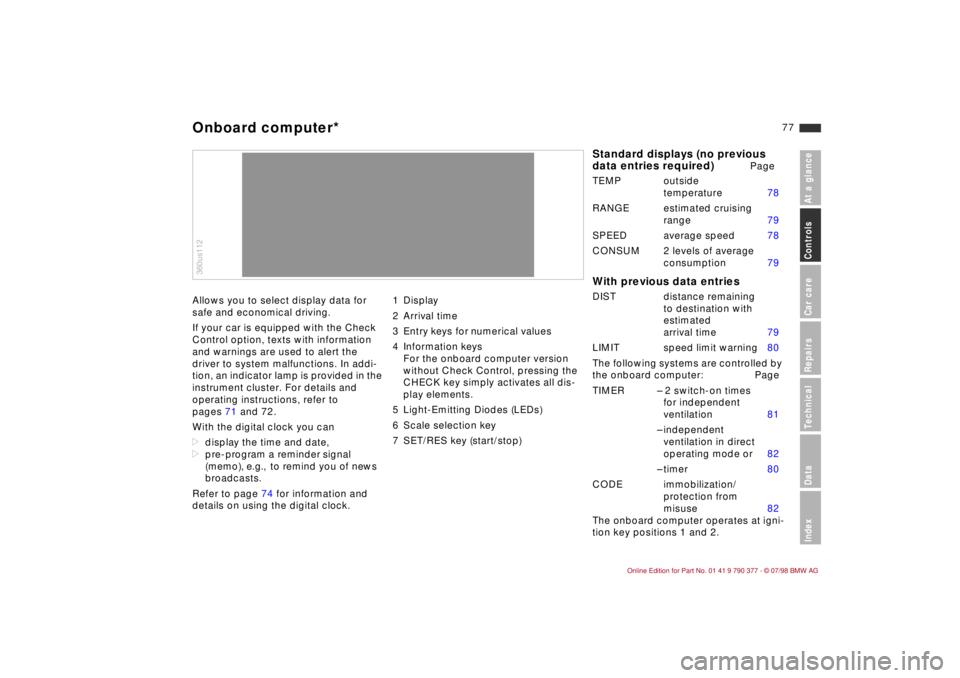
details on using the digital clock.1 Display
2 Arrival time
3 Entry keys for numerical values
4 Information keys
For the onboard computer version
without Check Control, pressing the
CHECK key simply activates all dis-
play elements.
5 Light-Emitting Diodes (LEDs)
6 Scale selection key
7 SET/RES key (start/stop)360us112Onboard computer*
Standard displays (no previous
data entries required)
Page
TEMP outside
temperature 78
RANGE estimated cruising
range 79
SPEED average speed 78
CONSUM 2 levels of average
consumption 79
With previous data entriesDIST distance remaining
to destination with
estimated
arrival time 79
LIMIT speed limit warning 80
The following systems are controlled by
the onboard computer: Page
TIMER Ð 2 switch-on times
for independent
ventilation 81
Ð independent
ventilation in direct
operating mode or 82
Ð timer 80
CODE immobilization/
protection from
misuse 82
The onboard computer operates at igni-
tion key positions 1 and 2.