1998 BMW 740I ECO mode
[x] Cancel search: ECO modePage 4 of 211

Congratulations, and thank you for choosing a BMW.
Thorough familiarity with your vehicle will provide you with enhanced co\
ntrol and
security when you drive it. We therefore have this request:
Please take the time to read this Owner's Manual and familiarize yoursel\
f with the
information that we have compiled for you before starting off in your ne\
w car. It
contains important data and instructions intended to assist you in gaini\
ng maximum
use and satisfaction from the unique range of technical features on your\
BMW. The
manual also contains information on care and maintenance designed to enh\
ance
operating safety and contribute to maintaining the value of your BMW thr\
oughout an
extended service life.
This Owner's Manual should be considered a permanent part of this vehicl\
e. It
should stay with the vehicle when sold to provide the next owner with im\
portant
operating, safety and maintenance information.
This manual is supplemented by a Service and Warranty Information Bookle\
t
(US models) or a Warranty and Service Guide Booklet (Canadian models)\
. We
recommend that you read this publication thoroughly.
Your BMW is covered by the following warranties:
>
New Vehicle Limited Warranty
>
Limited Warranty Rust Perforation
>
Federal Emissions System Defect Warranty
>
Federal Emissions Performance Warranty
>
California Emission Control System Limited Warranty
Detailed information about these warranties is listed in the Service and\
Warranty In-
formation Booklet (US models) or in the Warranty and Service Guide Boo\
klet (Cana-
dian models).
We wish you an enjoyable driving experience.
BMW AG
Page 22 of 211
21n
RepairsIndexOverview Controls Car care Technology Data
Indicator and warning lamps
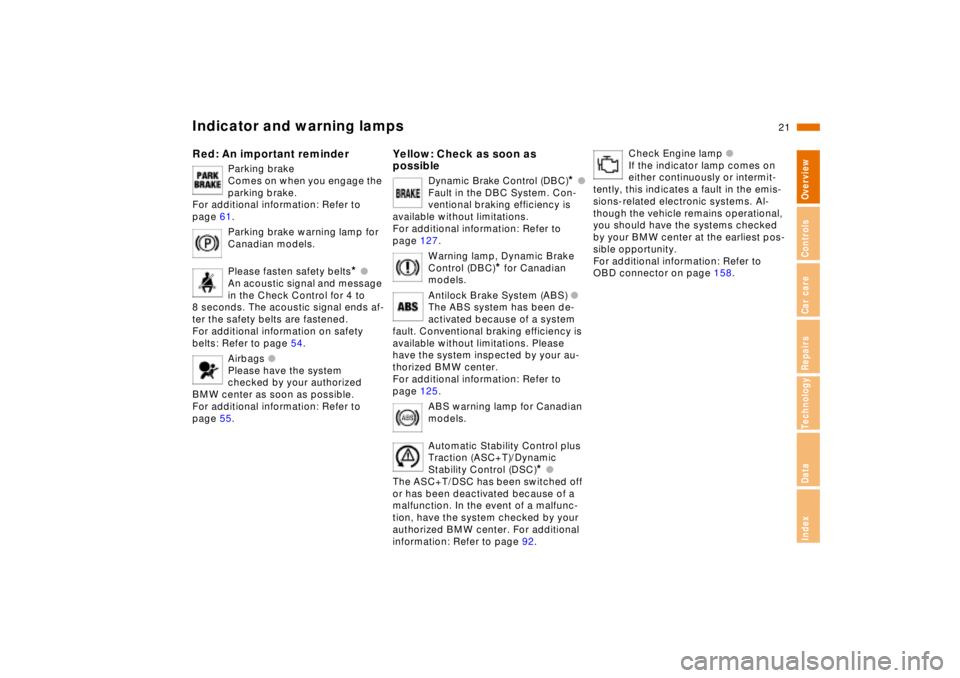
Red: An important reminder
Parking brake
Comes on when you engage the
parking brake.
For additional information: Refer to
page 61.
Parking brake warning lamp for
Canadian models.
Please fasten safety belts
*
l
An acoustic signal and message
in the Check Control for 4 to
8 seconds. The acoustic signal ends af-
ter the safety belts are fastened.
For additional information on safety
belts: Refer to page 54.
Airbags
l
Please have the system
checked by your authorized
BMW center as soon as possible.
For additional information: Refer to
page 55.
Yellow: Check as soon as
possible
Dynamic Brake Control (DBC)
*
l
Fault in the DBC System. Con-
ventional braking efficiency is
available without limitations.
For additional information: Refer to
page 127.
Warning lamp, Dynamic Brake
Control (DBC)
*
for Canadian
models.
Antilock Brake System (ABS)
l
The ABS system has been de-
activated because of a system
fault. Conventional braking efficiency is
available without limitations. Please
have the system inspected by your au-
thorized BMW center.
For additional information: Refer to
page 125.
ABS warning lamp for Canadian
models.
Automatic Stability Control plus
Traction (ASC+T)/Dynamic
Stability Control (DSC)
*
l
The ASC+T/DSC has been switched off
or has been deactivated because of a
malfunction. In the event of a malfunc-
tion, have the system checked by your
authorized BMW center. For additional
information: Refer to page 92.
Check Engine lamp
l
If the indicator lamp comes on
either continuously or intermit-
tently, this indicates a fault in the emis-
sions-related electronic systems. Al-
though the vehicle remains operational,
you should have the systems checked
by your BMW center at the earliest pos-
sible opportunity.
For additional information: Refer to
OBD connector on page 158.
Page 33 of 211

32n
Central locking system Door locks – outsideThe conceptThe central locking system is ready for
operation as soon as you close the
driver's door. The system engages and
releases the locks on the
>doors
>luggage compartment lid
>fuel filler door.
The central locking system can be
operated
>from outside via the driver's door or
luggage compartment lock and with
the remote control
>from inside via the central locking
button.
The fuel filler door remains unlocked
when you activate the system from in-
side the vehicle.
The anti-theft system is automatically
armed whenever you activate the cen-
tral locking system from outside the ve-
hicle. The alarm system is also acti-
vated or deactivated.
In the event of an accident, the central
locking system unlocks automatically
(only those doors which were not
locked separately with the safety lock
buttons). Refer to page 36. In addition,
the hazard warning flashers and interior
lamps come on.
To engage and release locksOne turn of the key in the driver's door
lock unlocks the driver's door only.
Turning the key a second time unlocks
all of the remaining doors, the luggage
compartment lid and the fuel filler door.
When a door is opened, the inte-
rior lamps and the exterior door
handle illumination are switched on.
Switching off is automatic.< 380de015
Convenience operating modeYou can also use your remote control
transmitter to open and close the elec-
tric power windows and the sliding/tilt
sunroof.
>To open: With the door closed, turn
the key to the "Unlock" position and
hold it.
>To close: With the door closed, turn
the key to the "Lock" position and
hold it.
Watch the closing process care-
fully and be sure that no one is
trapped by the closing motion. The
movement stops when you release the
key.< Manual operation(in the event of an electrical failure)
Turn the key all the way to the extreme
left or right to unlock/lock the door.
Page 34 of 211
33n
RepairsIndexOverview Controls Car care Technology Data
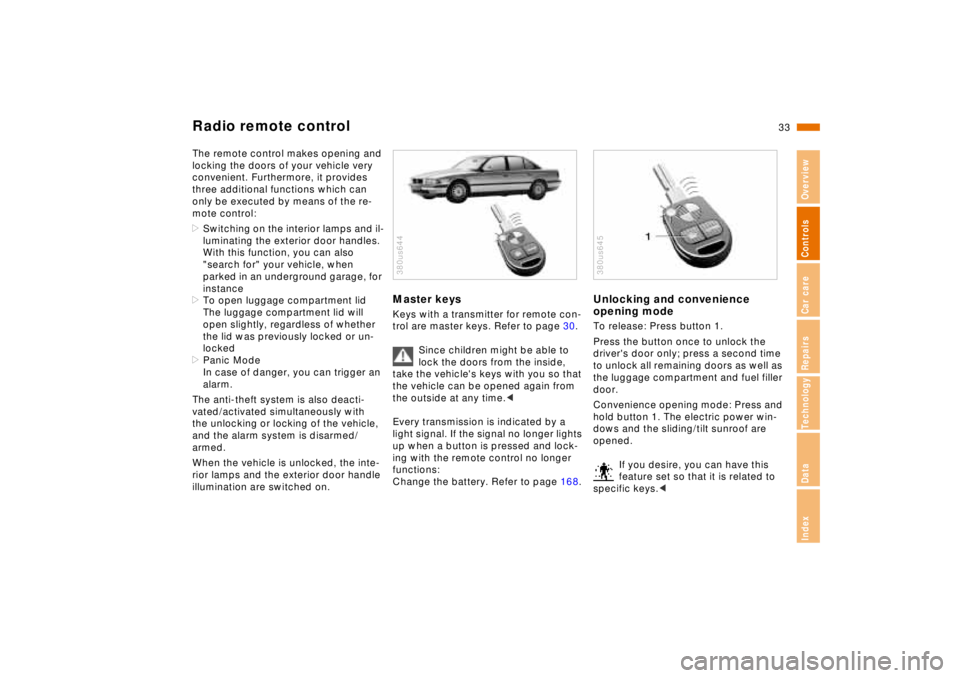
Radio remote controlThe remote control makes opening and
locking the doors of your vehicle very
convenient. Furthermore, it provides
three additional functions which can
only be executed by means of the re-
mote control:
>Switching on the interior lamps and il-
luminating the exterior door handles.
With this function, you can also
"search for" your vehicle, when
parked in an underground garage, for
instance
>To open luggage compartment lid
The luggage compartment lid will
open slightly, regardless of whether
the lid was previously locked or un-
locked
>Panic Mode
In case of danger, you can trigger an
alarm.
The anti-theft system is also deacti-
vated/activated simultaneously with
the unlocking or locking of the vehicle,
and the alarm system is disarmed/
armed.
When the vehicle is unlocked, the inte-
rior lamps and the exterior door handle
illumination are switched on.
Master keysKeys with a transmitter for remote con-
trol are master keys. Refer to page 30.
Since children might be able to
lock the doors from the inside,
take the vehicle's keys with you so that
the vehicle can be opened again from
the outside at any time.<
Every transmission is indicated by a
light signal. If the signal no longer lights
up when a button is pressed and lock-
ing with the remote control no longer
functions:
Change the battery. Refer to page 168.380us644
Unlocking and convenience
opening modeTo release: Press button 1.
Press the button once to unlock the
driver's door only; press a second time
to unlock all remaining doors as well as
the luggage compartment and fuel filler
door.
Convenience opening mode: Press and
hold button 1. The electric power win-
dows and the sliding/tilt sunroof are
opened.
If you desire, you can have this
feature set so that it is related to
specific keys.< 380us645
Page 35 of 211
34n
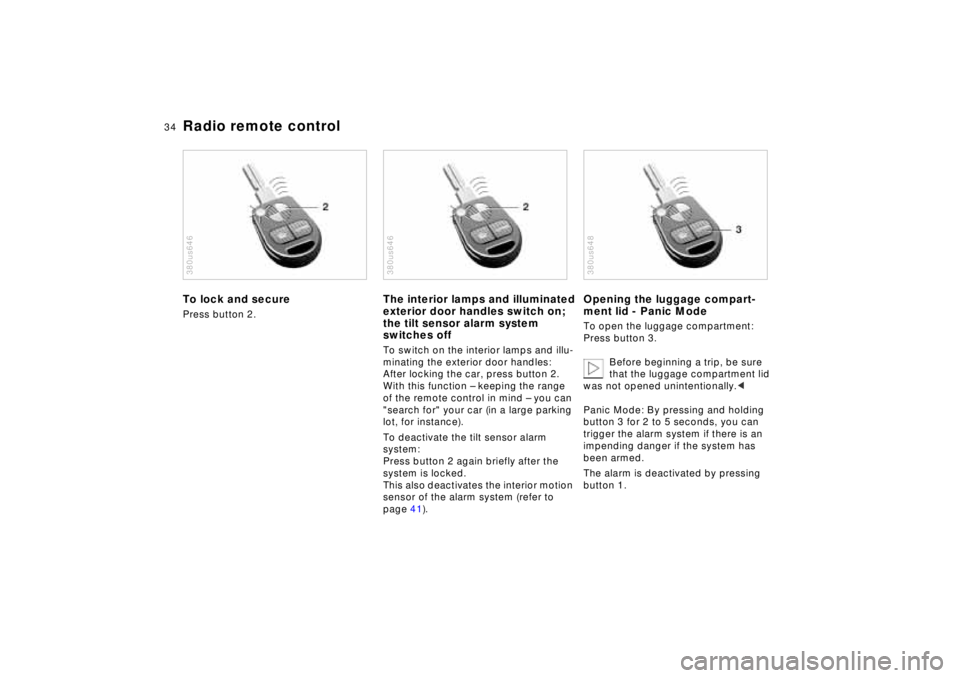
Radio remote controlTo lock and securePress button 2.380us646
The interior lamps and illuminated
exterior door handles switch on;
the tilt sensor alarm system
switches offTo switch on the interior lamps and illu-
minating the exterior door handles:
After locking the car, press button 2.
With this function – keeping the range
of the remote control in mind – you can
"search for" your car (in a large parking
lot, for instance).
To deactivate the tilt sensor alarm
system:
Press button 2 again briefly after the
system is locked.
This also deactivates the interior motion
sensor of the alarm system (refer to
page 41).380us646
Opening the luggage compart-
ment lid - Panic ModeTo open the luggage compartment:
Press button 3.
Before beginning a trip, be sure
that the luggage compartment lid
was not opened unintentionally.<
Panic Mode: By pressing and holding
button 3 for 2 to 5 seconds, you can
trigger the alarm system if there is an
impending danger if the system has
been armed.
The alarm is deactivated by pressing
button 1.380us648
Page 43 of 211
42n
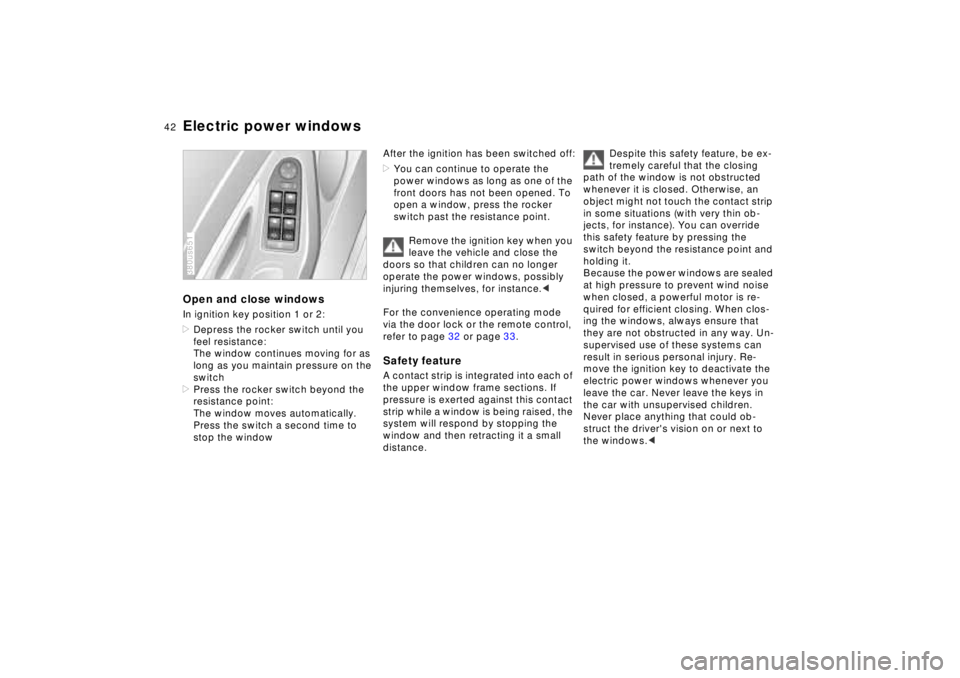
Electric power windowsOpen and close windowsIn ignition key position 1 or 2:
>Depress the rocker switch until you
feel resistance:
The window continues moving for as
long as you maintain pressure on the
switch
>Press the rocker switch beyond the
resistance point:
The window moves automatically.
Press the switch a second time to
stop the window380us651
After the ignition has been switched off:
>You can continue to operate the
power windows as long as one of the
front doors has not been opened. To
open a window, press the rocker
switch past the resistance point.
Remove the ignition key when you
leave the vehicle and close the
doors so that children can no longer
operate the power windows, possibly
injuring themselves, for instance.<
For the convenience operating mode
via the door lock or the remote control,
refer to page 32 or page 33.Safety featureA contact strip is integrated into each of
the upper window frame sections. If
pressure is exerted against this contact
strip while a window is being raised, the
system will respond by stopping the
window and then retracting it a small
distance.
Despite this safety feature, be ex-
tremely careful that the closing
path of the window is not obstructed
whenever it is closed. Otherwise, an
object might not touch the contact strip
in some situations (with very thin ob-
jects, for instance). You can override
this safety feature by pressing the
switch beyond the resistance point and
holding it.
Because the power windows are sealed
at high pressure to prevent wind noise
when closed, a powerful motor is re-
quired for efficient closing. When clos-
ing the windows, always ensure that
they are not obstructed in any way. Un-
supervised use of these systems can
result in serious personal injury. Re-
move the ignition key to deactivate the
electric power windows whenever you
leave the car. Never leave the keys in
the car with unsupervised children.
Never place anything that could ob-
struct the driver's vision on or next to
the windows.<
Page 59 of 211
58n
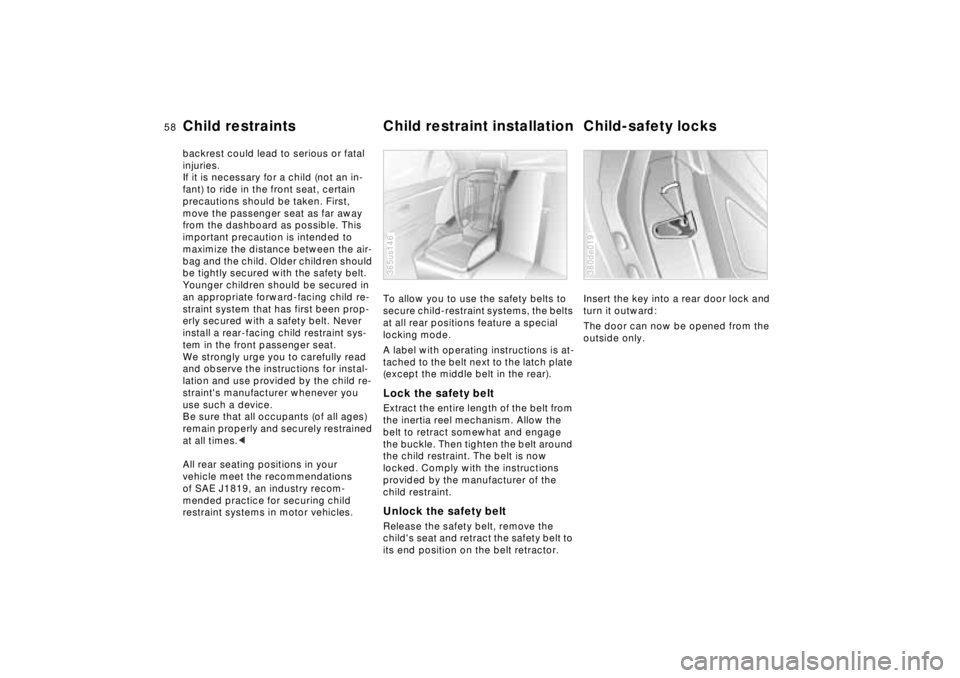
Child restraints Child restraint installation Child-safety locksbackrest could lead to serious or fatal
injuries.
If it is necessary for a child (not an in-
fant) to ride in the front seat, certain
precautions should be taken. First,
move the passenger seat as far away
from the dashboard as possible. This
important precaution is intended to
maximize the distance between the air-
bag and the child. Older children should
be tightly secured with the safety belt.
Younger children should be secured in
an appropriate forward-facing child re-
straint system that has first been prop-
erly secured with a safety belt. Never
install a rear-facing child restraint sys-
tem in the front passenger seat.
We strongly urge you to carefully read
and observe the instructions for instal-
lation and use provided by the child re-
straint's manufacturer whenever you
use such a device.
Be sure that all occupants (of all ages)
remain properly and securely restrained
at all times.<
All rear seating positions in your
vehicle meet the recommendations
of SAE J1819, an industry recom-
mended practice for securing child
restraint systems in motor vehicles.To allow you to use the safety belts to
secure child-restraint systems, the belts
at all rear positions feature a special
locking mode.
A label with operating instructions is at-
tached to the belt next to the latch plate
(except the middle belt in the rear).
Lock the safety beltExtract the entire length of the belt from
the inertia reel mechanism. Allow the
belt to retract somewhat and engage
the buckle. Then tighten the belt around
the child restraint. The belt is now
locked. Comply with the instructions
provided by the manufacturer of the
child restraint.Unlock the safety beltRelease the safety belt, remove the
child's seat and retract the safety belt to
its end position on the belt retractor.365us146
Insert the key into a rear door lock and
turn it outward:
The door can now be opened from the
outside only.380de019
Page 64 of 211

63n
RepairsIndexOverview Controls Car care Technology Data
Automatic transmission4 - Sport programThis position is recommended if your
driving style is performance-oriented.3 and 2 - Shift limiterSelect this range when you wish to limit
gear changes (on steep uphill or down-
hill slopes, for instance). The transmis-
sion upshifts only as far as the selected
gear."Kickdown"
(automatic downshift) In the "Kickdown" mode, you achieve
maximum performance.
Press the accelerator pedal past the in-
creased resistance point at the full-
throttle position.Shift programsThe automatic transmission of your
BMW is equipped with the Adaptive
Transmission Control (ATC) as standard
equipment.When you select program A, the ATC
system automatically adapts to individ-
ual driving styles and road conditions to
provide optimal performance with the
selector lever at position D.
Because of this, the remaining selector
lever positions for forward driving are
only required in extreme situations such
as those listed in the description of po-
sition 2.
A - Adaptive programThis is the initial position that the trans-
mission selects at every start. In the po-
sitions for forward driving, the ATC
(Adaptive Transmission Control) auto-
matically selects the optimal gear from
different shift programs. To achieve
this, the system constantly adapts to
driver characteristics (such as a moder-
ate or performance-oriented driving
style), road condition factors (slick
roads or extreme slopes, for instance)
as well as the current driving situation
(winding roads or mountain travel, for
instance).
For details concerning ATC, please re-
fer to the chapter titled "Advanced
Technology" on page 184.
M – Manual programThis program is for driving in one gear
(4th gear when D has been selected).
The transmission then remains in the
selected gear both when underway and
when starting off. For instance, when
you make a steep ascent with the se-
lector lever in position 2, the transmis-
sion does not make undesired upshifts.
The same principle applies during oper-
ation on ice-covered roads: By placing
the selector lever in position 3 you can
move off gradually, and the transmis-
sion will also suppress subsequent
shifts into higher gears.Selector lever positionsPositions 4, 3 and 2 have the function of
enhanced control over shifting – control
which is desired and intentionally se-
lected.
The ATC also functions in these selec-
tor lever positions – of course with limi-
tations for gear selection imposed by
the lever position.