Page 97 of 211

96n
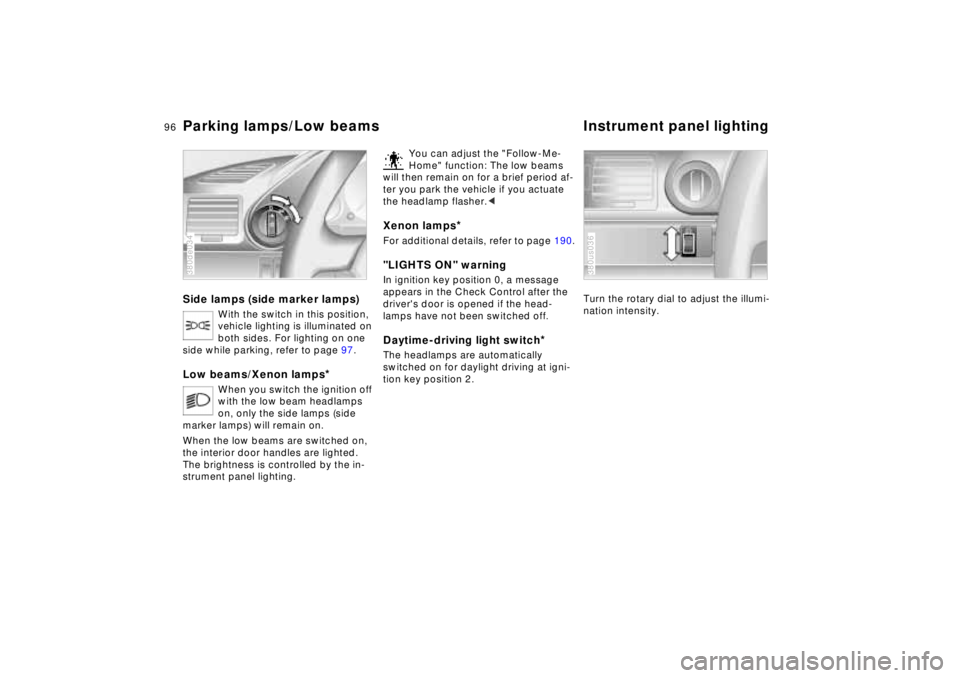
Parking lamps/Low beams Instrument panel lightingSide lamps (side marker lamps)
With the switch in this position,
vehicle lighting is illuminated on
both sides. For lighting on one
side while parking, refer to page 97.
Low beams/Xenon lamps
*
When you switch the ignition off
with the low beam headlamps
on, only the side lamps (side
marker lamps) will remain on.
When the low beams are switched on,
the interior door handles are lighted.
The brightness is controlled by the in-
strument panel lighting.
380de034
You can adjust the "Follow-Me-
Home" function: The low beams
will then remain on for a brief period af-
ter you park the vehicle if you actuate
the headlamp flasher.<
Xenon lamps
*
For additional details, refer to page 190."LIGHTS ON" warningIn ignition key position 0, a message
appears in the Check Control after the
driver's door is opened if the head-
lamps have not been switched off
.
Daytime-driving light switch
*
The headlamps are automatically
switched on for daylight driving at igni-
tion key position 2.
Turn the rotary dial to adjust the illumi-
nation intensity.380us036
Page 98 of 211
97n
RepairsIndexOverview Controls Car care Technology Data
High beams/Parking lampsFog lamps Interior lamps1 High beam
(blue indicator lamp)
2 Headlamp flasher
(blue indicator lamp)
3 Parking lamp
(not released at this time)Parking lamp, left or right
*
With the ignition key in position 0, en-
gage the lever in the appropriate turn-
signal position.380de629
Front fog lamps
A green indicator light appears in
the instrument cluster to indicate
that the front fog lamps are on.
If the high beam is switched on, the fog
lamps go out.
380us037
The interior lamps operate automati-
cally.Switching interior lamps on
and offPress the button (arrow).
If you want the interior lamps to remain
off continuously, maintain pressure on
the button for approximately 3 seconds.
Press the button briefly to revert to nor-
mal operation.
The orientation lamps on the right and
left of the button for interior lamps
come on when the side lamps are
switched on.380us640
Page 140 of 211
139n
RepairsIndexOverview Controls Car care Technology Data
Engine compartment – BMW 740i/L1 Brake fluid reservoir147
2 Power steering fluid reservoir/
Level control system148
3 Auxiliary terminal for jump
starting179
4 Engine oil dipstick143
5 Engine oil filler neck143
6 Coolant expansion tank146
7 Reservoir for headlamp
and windshield washer system142
8 Fuse box176
Page 142 of 211
141n
RepairsIndexOverview Controls Car care Technology Data
Engine compartment – BMW 750iL1 Brake fluid reservoir147
2 Power steering fluid reservoir/
Level control system148
3 Auxiliary terminal for jump
starting179
4 Engine oil filler neck143
5 Coolant expansion tank146
6 Engine oil dipstick143
7 Reservoir for headlamp
and windshield washer system142
8 Fuse box176
Page 143 of 211

142n
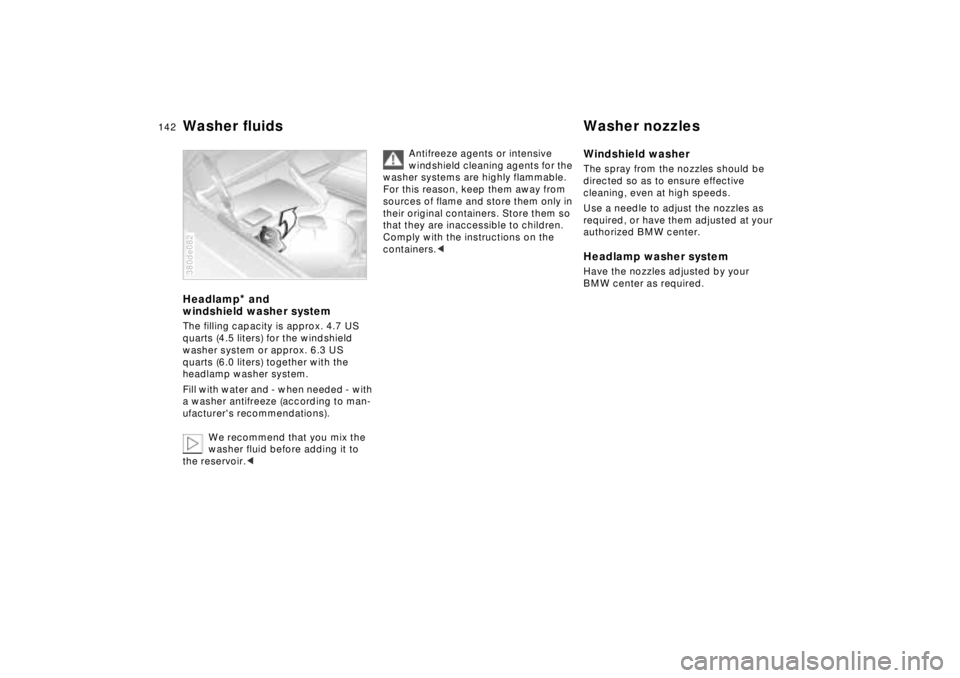
Washer fluids Washer nozzlesHeadlamp
* and
windshield washer system
The filling capacity is approx. 4.7 US
quarts (4.5 liters) for the windshield
washer system or approx. 6.3 US
quarts (6.0 liters) together with the
headlamp washer system.
Fill with water and - when needed - with
a washer antifreeze (according to man-
ufacturer's recommendations).
We recommend that you mix the
washer fluid before adding it to
the reservoir.< 380de082
Antifreeze agents or intensive
windshield cleaning agents for the
washer systems are highly flammable.
For this reason, keep them away from
sources of flame and store them only in
their original containers. Store them so
that they are inaccessible to children.
Comply with the instructions on the
containers.<
Windshield washerThe spray from the nozzles should be
directed so as to ensure effective
cleaning, even at high speeds.
Use a needle to adjust the nozzles as
required, or have them adjusted at your
authorized BMW center.Headlamp washer systemHave the nozzles adjusted by your
BMW center as required.
Page 151 of 211

150n
Caring for your carWashing your carYou can have your new BMW washed
in an automatic car wash. Car wash
systems that do not employ brushes are
preferable.
Wipe away tough dirt and loosen and
remove dead insects before washing
the car.
To prevent spots, avoid washing when
the hood is still warm, or immediately
after and during exposure to strong
sunlight.
When using an automatic car wash, be
sure that:
>The car wash system is suited for the
dimensions of your vehicle
>No damage will occur on vehicles
with attached body accessories (such
as spoilers or antennas). If you are
uncertain, consult the manager of the
car wash
>The wheels and tires of your vehicle
cannot be damaged by the convey-
ance devices of the car wash system
>The vehicle is cleaned with minimum
brush pressure, and that ample water
is available for washing and rinsing.Vehicles with rain sensor
*:
Clean the windshield regularly. Wax
from automatic car washes or insects,
for example, can cause malfunctions in
the function of the rain sensor.
Turn the rain sensor off in auto-
matic car washes. If you do not,
damage may occur if the wipers switch
on unintentionally.<
Parts of the car which are inaccessible
to the automatic washer - such as door
sills, door and hood edges, etc. -
should be cleaned by hand.
In the winter months, it is especially im-
portant to ensure that the car is washed
on a regular basis. Large quantities of
dirt and road salt are difficult to remove,
and they also cause damage to the ve-
hicle.
If spray wands or high-pressure
washers are used, be sure to
maintain an adequate distance between
the spray source and the vehicle's sur-
face.
Inadequate distance and excessive
pressure can damage or weaken the
finish, making it more susceptible to
subsequent attack. In addition, mois-
ture could penetrate to vehicle compo-
nents, leading to long-term damage.<
When cleaning the headlamps,
please observe the following:
>Do not clean by wiping with a dry
cloth (scratches). Never use abra-
sives or strong solvents to clean the
covers
>Remove dirt and contamination
(such as insects) by soaking with
BMW Car Shampoo and then rinsing
with plenty of water
>Always use a deicer spray to remove
accumulated ice and snow – never
use a scraper.<
After washing the car, apply the
brakes briefly to dry them. Braking
efficiency might otherwise be reduced
by the moisture, and the brake rotors
could also be corroded.<
Page 164 of 211

163n
RepairsIndexOverview Controls Car care Technology Data
Lamps and bulbsThe lamps and bulbs make essential
contributions to the safety of your vehi-
cle. Observe the following instructions
during bulb replacement carefully. If
you are not familiar with any of the pro-
cedures, consult your authorized BMW
center.
Do not touch the glass portion of a
new bulb with your bare hands
since even small amounts of impurities
burn in to the surface, thus reducing the
service life of the bulb. Use a clean
cloth, paper napkin, or a similar mate-
rial, or hold the bulb by its metallic
base.<
A replacement bulb set is available from
your BMW center.
Whenever working on the electri-
cal system, switch off the electri-
cal accessory you are working on or
disconnect the cable from the negative
terminal of the battery. Failure to do this
could result in short circuits.
To prevent injuries and damage, comply
with any instructions provided by the
bulb manufacturer.<
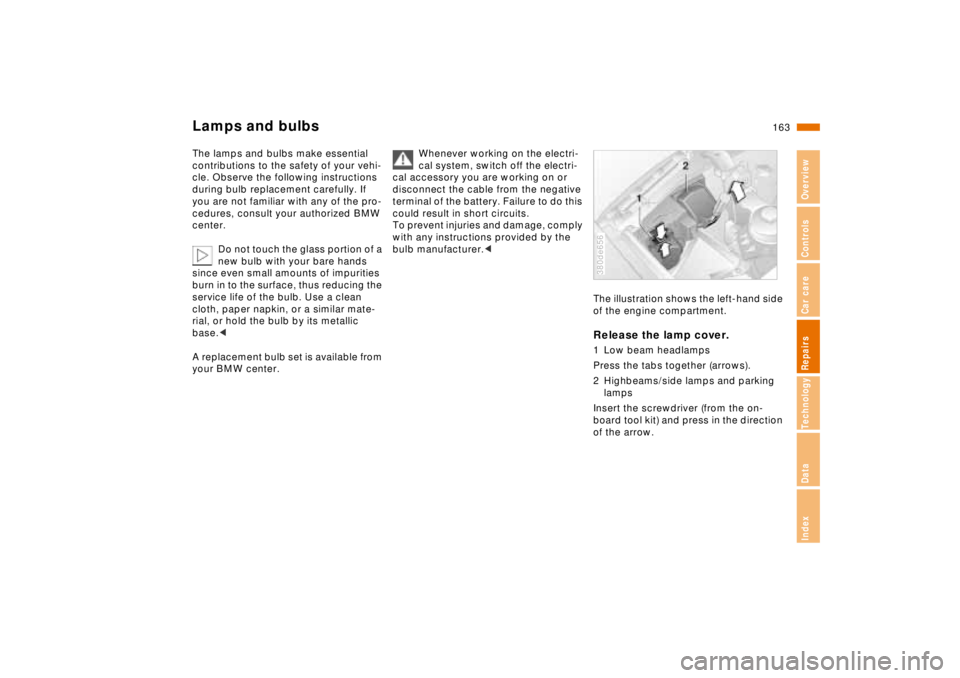
The illustration shows the left-hand side
of the engine compartment.Release the lamp cover.1 Low beam headlamps
Press the tabs together (arrows).
2 Highbeams/side lamps and parking
lamps
Insert the screwdriver (from the on-
board tool kit) and press in the direction
of the arrow.380de656
Page 165 of 211

164n
Lamps and bulbs
For checking and adjusting head-
lamp aim, please contact your
BMW center.<
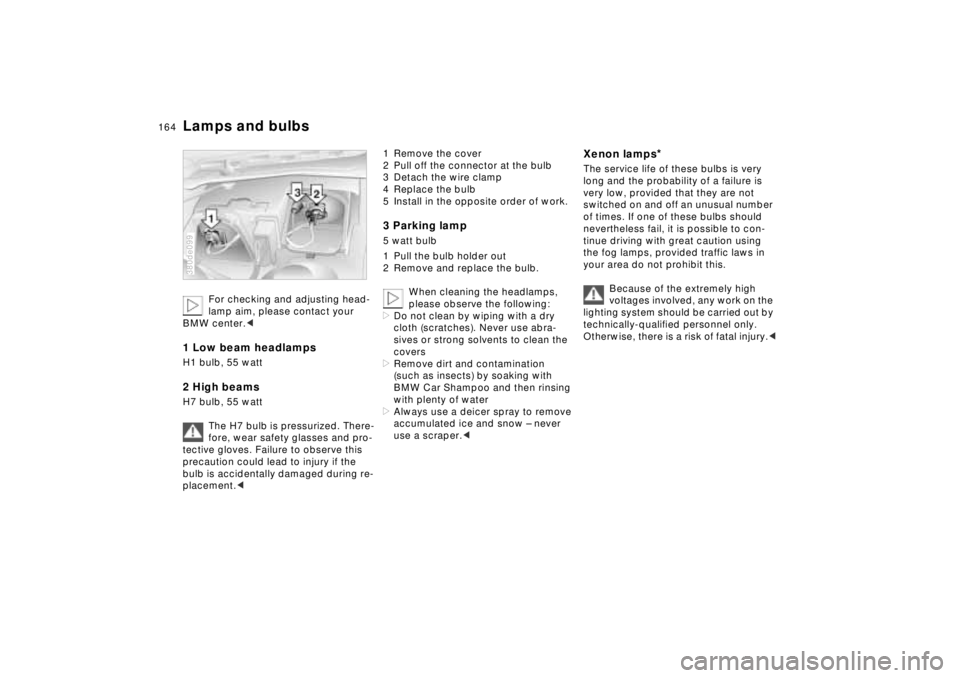
1 Low beam headlampsH1 bulb, 55 watt 2 High beamsH7 bulb, 55 watt
The H7 bulb is pressurized. There-
fore, wear safety glasses and pro-
tective gloves. Failure to observe this
precaution could lead to injury if the
bulb is accidentally damaged during re-
placement.< 380de099
1 Remove the cover
2 Pull off the connector at the bulb
3 Detach the wire clamp
4 Replace the bulb
5 Install in the opposite order of work.3 Parking lamp5 watt bulb
1 Pull the bulb holder out
2 Remove and replace the bulb.
When cleaning the headlamps,
please observe the following:
>Do not clean by wiping with a dry
cloth (scratches). Never use abra-
sives or strong solvents to clean the
covers
>Remove dirt and contamination
(such as insects) by soaking with
BMW Car Shampoo and then rinsing
with plenty of water
>Always use a deicer spray to remove
accumulated ice and snow – never
use a scraper.<
Xenon lamps
*
The service life of these bulbs is very
long and the probability of a failure is
very low, provided that they are not
switched on and off an unusual number
of times. If one of these bulbs should
nevertheless fail, it is possible to con-
tinue driving with great caution using
the fog lamps, provided traffic laws in
your area do not prohibit this.
Because of the extremely high
voltages involved, any work on the
lighting system should be carried out by
technically-qualified personnel only.
Otherwise, there is a risk of fatal injury.<