1997 PONTIAC PONTIAC buttons
[x] Cancel search: buttonsPage 184 of 419

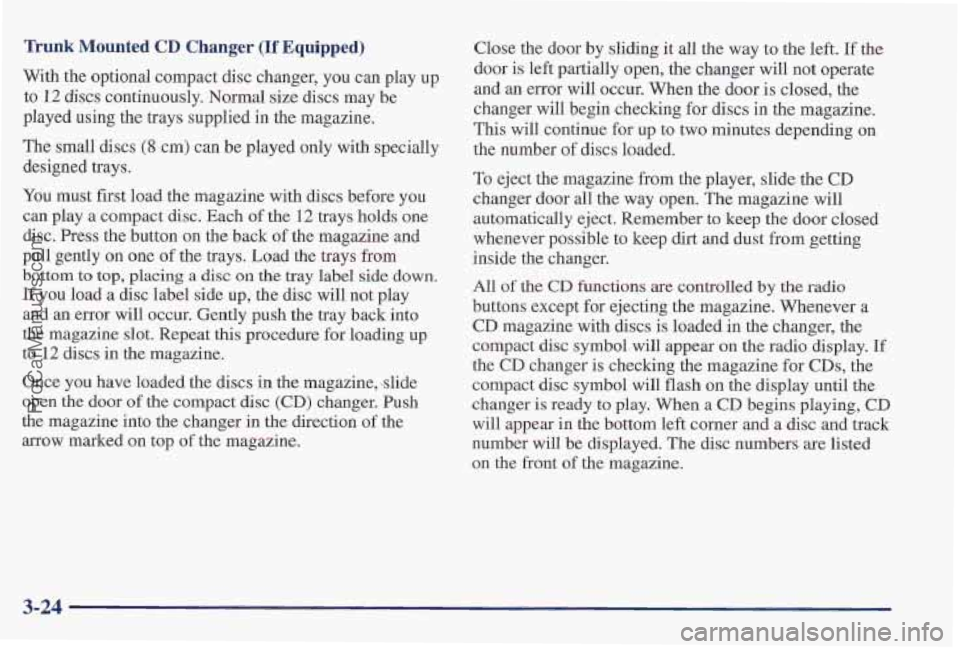
Trunk Mounted CD Changer (If Equipped)
With the optional compact disc changer, you can play up
to 12 discs continuously. Normal size discs may be
played using
the trays supplied in the magazine.
The small discs
(8 cm) can be played only with specially
designed trays.
You must first load the magazine with discs before you
can play
a compact disc. Each of the 12 trays holds one
disc. Press the button on the back of the magazine and
pull gently
on one of the trays. Load the trays from
bottom to top, placing a disc on the tray label side down.
If you load a disc label side up, the disc will not play
and an error will occur. Gently push the tray back into
the magazine slot. Repeat this procedure for loading up
to
12 discs in the magazine.
Once you have loaded the discs in the magazine, -slide
open
the door of the compact disc (CD) changer. Push
the magazine into the changer in the direction
of the
arrow marked on top
of the magazine. Close
the door by sliding it all the way to the left. If the
door is left partially open, the changer will not operate
and an error will occur. When the door is closed, the
changer will begin checking for discs in the magazine.
This will continue for up to two minutes depending on
the number
of discs loaded.
To eject the magazine from the player, slide the CD
changer door all the way open. The magazine will
automatically eject. Remember
to keep the door closed
whenever possible to keep dirt and dust from getting
inside the changer.
All
of the CD functions are controlled by the radio
buttons except for ejelcting the magazine. Whenever a
CD magazine with discs is loaded in the changer, the
compact disc symbol will appear on the radio display.
If
the CD changer is checking the magazine for CDs, the
compact disc symbol will flash on the display until the
changer is ready
to play. When a CD begins playing, CD
will appear in the bottom left corner and a disc and track
number will be displayed. The disc numbers are listed
on the front of the magazine.
3-24
ProCarManuals.com
Page 187 of 419

Activating the Theft-Deterrent Feature
The instructions which follow, explain how to enter your
secret code to activate the THEFTLOCK system. It
is
recommended that you read through all nine steps
before starting the Drocedure.
8. Press AM-FM after you have confirmed that the
code matches the secret code you have written down.
The display will show
REP to let you know that you
need to repeat Steps 5 through
7 to confirm your
secret code.
w I
NOTE: If you allow more than 15 seconds to elapse 9. Press AM-FM and this time the display will show
between any steps, the radio automatically reverts to SEC
to let you know that your radio is secure.
time and you must start the procedure over at Step
4. Note that with the ignition off, the THEFTLOCK
1.
2.
3.
4.
5.
6.
7.
-
Write down any three or four-digit number from
000 to 1999 and keep it in a safe place separate from
the vehicle.
Turn the ignition to ACCESSORY or
RUN.
Turn the radio off.
Press the 1 and 4 buttons together. Hold them down
until
--- shows on the display. Next you will use the
secret code number which you have written down.
Press MIN and
000 will appear on the display.
Press MIN again to make the last two digits agree
with your code.
Press
HR to make the first one or two digits agree
with your code. indicator will flash
indicating a secured radio.
Unlocking the Theft-Deterrent Feature After a
Power
Loss
Enter your secret code as follows; pause no more than
15 seconds between steps:
1. LOC appears when the ignition is on.
2. Press MIN and 000 will appear on the display.
3. Press MIN again to make the last two digits agree
4. Press HR to make the first one or two digits agree
5. Press AM-FM after you have confirmed that the
with your code.
with your code.
code matches the secret code you have written down.
The display will show SEC, indicating the radio is
now operable and secure.
ProCarManuals.com
Page 188 of 419

If you enter the wrong code eight times, INOP will
appear
on the display. You will have to wait an hour
with the ignition on before you can try again. When you
try again, you
will only have thee chances to enter the
correct code before
INOP appears.
If you lose or forget your code, contact your dealer.
Disabling the Theft-Deterrent Feature
Enter your secret code as follows; pause no more than
15 seconds between steps:
1. Turn the ignition to ACCESSORY or RUN.
2. Turn the radio off.
3. Press the 1 and 4 buttons together. Hold hem down
until
SEC shows on the display.
4. Press MIN and 000 will appear on the display.
5. Press MIN again to make the last two digits agree
with your code.
6. Press HR to make the first one or two digits agree
with your code.
7. Press AM-EM after you have confirmed that the
code matches the secret code you have written down.
The display will
show ---, indicating that the radio is
no longer secured.
If the code entered is incorrect, SEC will appear on the
display. The radio will remain secured until the correct
code is entered.
When battery power is removed and later applied to a
secured radio,
the radio won’t turn on and LOC will
appear
on the display.
To unlock a secured radio, see “Unlo’cking the
Theft-Deterrent Feature After
a Power Loss” earlier in
this section.
3-28
ProCarManuals.com
Page 189 of 419

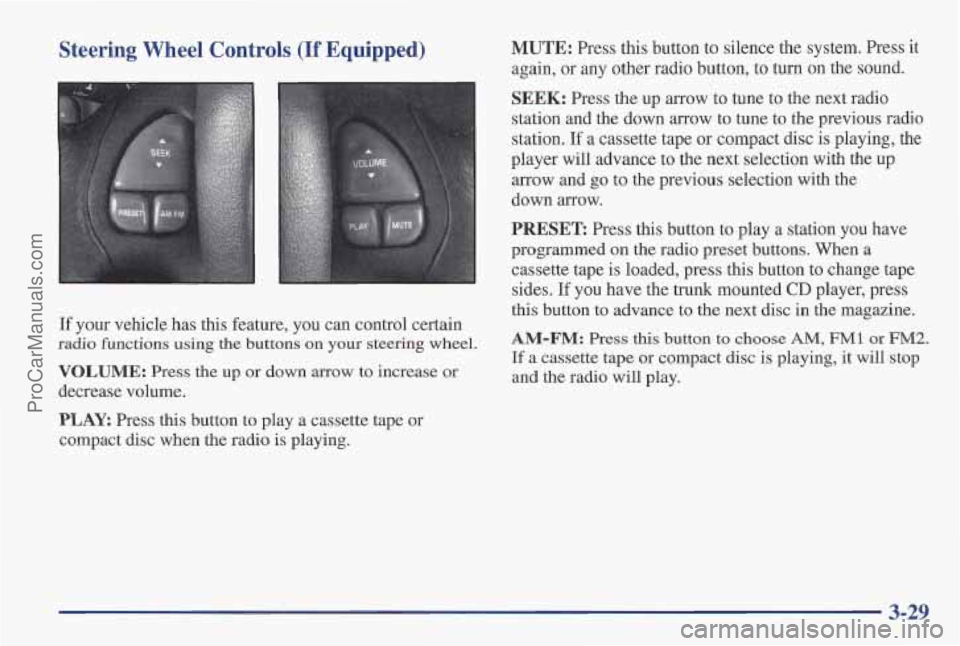
Steering Wheel Controls (If Equipped) MUTE: Press this button to silence the system. Press it
again, or any other radio button, to turn on the sound.
If your vehicle has this feature, you can control certain
radio functions using the buttons on your steering wheel.
VOLUME: Press the up or down arrow to increase or
decrease volume.
PLAY. Press this button to play a cassette tape or
compact disc when the radio is playing.
SEEK: Press the up arrow to tune to the next radio
station and the down arrow to tune to
the previous radio
station.
If a cassette tape or compact disc is playing, the
player will advance to the next selection with the
up
arrow and go to the previous selection with the
down arrow.
PRESET Press this button to play a station you have
programmed
on the radio preset buttons. When a
cassette tape is loaded, press this button to change tape
sides.
If you have the trunk mounted CD player, press
this button to advance to the next disc in the magazine.
AM-FM: Press this button to choose AM, FM1 or FM2.
If a cassette tape or compact disc is playing, it will stop
and the radio will play.
3-29
ProCarManuals.com
Page 412 of 419

Lights Lubrication Service. Body ........................ 7-40 Air Bag Readiness ....................... 1-23. 2-65 Lumbar Seat .................................... 1-4
Anti-Lock Brake System Warning
............ 2-67. 4-7
Brake System Warning ......................... 2-66
Charging System
............................. 2-66 Maintenance. Normal Replacement Parts ........... 6-73
Check Tire Pressure ........ 2-70 Maintenance Record 7-46
Engine Coolant Temperature
.................... 2-74 Maintenance Schedule ............................ 7-1 Interior ..................................... 2-40 Introtduction .................................. 7-2
Low Coolant Warning ......................... 2-75 Long TripMighway Definition ................... 7-6
LowFuel ................................... 2-77 Long TripMighway Intervals ..................... 7-6
Low Traction
................................ 2-69 Periodic Maintenance Inspections ................ 7-43
Low Washer Fluid ............................ 2-76
Recommended Fluids and Lubricants ............. 7-44
Oil Warning ................................. 2-73 Scheduled Maintenance Services .................. 7-3
Safety Belt Reminder ...................... 1-9. 2-64 Short TriplCity Definition ....................... 7-5
Service Engine Soon
.......................... 2-70 Short Trip/City Intervals .........................
Trac System Warning .......................... 2-68 Your Vehicle and the Environment ................ 7-2
Trunk
Ajar Warning ........................... 2-76 Maintenance. Underbody ......................... 6-63
Loading Your Vehicle
........................... 4-29 Maintenance When Trailer Towing ................. 4-38
Automatic Door .......................... 2-6. 2-46 Manual Front Seat ............................... 1-2
Door ........................................ 2-4 Mirrors ....................................... 2-53
Ignition Transaxle Check ....................... 7-42 Convex Outside .............................. 2-54
Key Lock Cylinder Service
..................... 7-40 Electrochromic Daymight Rearview .............. 2-53
Locks and Lighting Choices
...................... 2-44 Visor Vanity .................................. 2-59
Low Coolant Warning Light ...................... 2-75 ......................................... 6-4
LOW Fuel Light ................................ 2-77 Mode Buttons. Automatic and Auxiliary Temp Control .. 3-6 LOW Oil Level Light ............................ 2-74 Mode Knob. climate Control System ................ 3-2
LOW Traction Light ............................. 2-69 Mountain Roads ................................ 4-23 Low Washer muid Light ......................... 2-76 Multifunc$iQn Lever ............................. 2-32
............ ............................
LowOilLevel ............................... 2-74 Owner Checks and Services ..................... 7-39
7-5
......................................... ...................... Locks 2-4 Malfunction Indicator Lap 2-70
Cylinders 7-40 Methanol 6-4 ................................... ......................................
PowerDoor .................................. 2-5 Inside DayNight Rearview ..................... 2-53
Pawar Outside
2-54
Trunk ...................................... 2-12 ...............................
Lubricants and Fluids ............................ 7-44
9-6
ProCarManuals.com