1997 PONTIAC GRAND AM belt
[x] Cancel search: beltPage 55 of 371
Safety Belt Extender
If the vehicle’s safety belt will fasten around you, you
should use it.
But if a safety belt isn’t long enough to fasten, your
dealer will order you an extender. It’s free. When you go
in to order it, take the heaviest coat you will wear,
so the
extender will be long enough for you. The extender will
be just for you, and just for the seat in your vehicle that
you choose. Don’t let someone else use it, and use
it
only for the seat it is made to fit. To wear it, just attach it
to the regular safety belt.
Checking Your Restraint Systems
Now and then, make sure the safety belt reminder light
and all your belts, buckles, latch plates, retractors and
anchorages are working properly.
Look for any other
loose or damaged safety belt system
parts. If you see
anything that might keep a safety belt system from
doing its job, have it repaired.
Torn or frayed safety belts may not protect you in a
crash. They can rip apart under impact forces. If a belt is
torn or frayed, get a new one right away.
Also look for any opened or broken air bag covers, and
have them repaired
or replaced. (The air bag system
does not need regular maintenance.)
Replacing Restraint System Parts
After a Crash
If you’ve had a crash, do you need new belts?
After a very minor collision, nothing may be neces
san 1-
But if the belts were stretched, as they would be if worn
during a more severe crash, then you need new belts.
If belts are cut or damaged, replace them. Collision
damage also may mean you will need to have safety belt
or seat parts repaired or replaced. New parts and repairs
may be necessary even if the belt wasn’t being used at
the time of the collision.
If your seat adjuster won’t work after a crash, the special
part of the safety belt that goes through the seat to the
adjuster may need to be replaced.
If an air bag inflates, you’ll need to replace air bag
system parts. See the part on the air bag system earlier in
this section,
Page 59 of 371
Door Locks
A CAUTION: '" '
Unlocked doors can be dangerous. .
Passengers -- especially children -- can easily
open the doors and
fall out. When a door is
locked, the inside handle won't open it.
Outsiders can easily enter through an unlocked
door when you slow down or stop your vehicle.
This may not be
so obvious: You increase the
chance of being thrown out
of the vehicle in a
. .. . *_
---
crash if the doors aren't locked. Wear safety belts
properly, lock your doors, and you will be far
better off whenever you drive your vehicle.
There are several ways to lock and unlock your vehicle.
From the outside, you can use your key in the door lock.
You can also use the Keyless Entry System if your
vehicle has this option. From
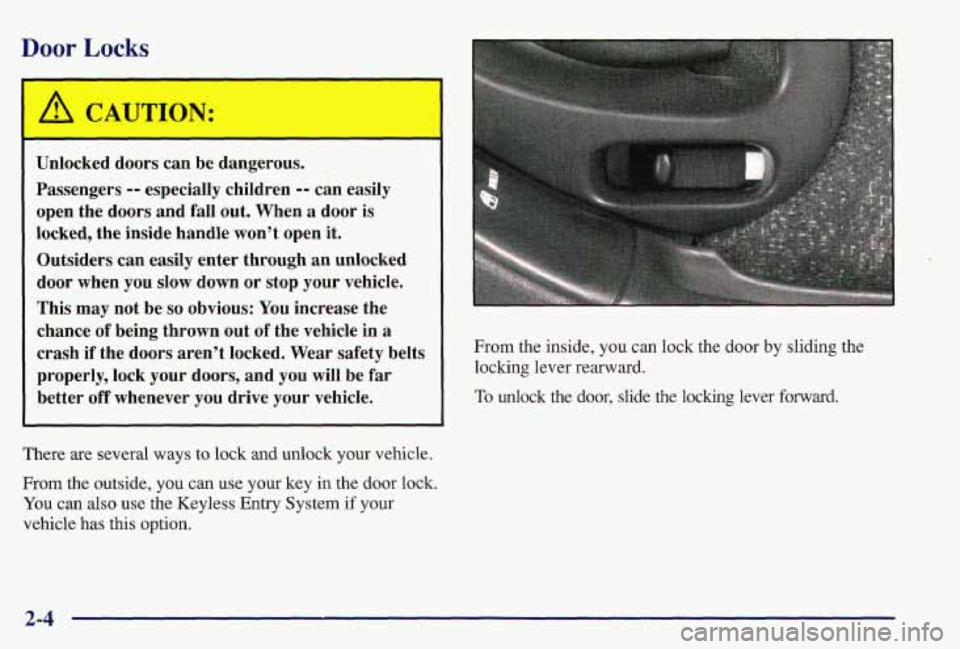
the inside, you can lock the door by sliding the
locking lever rearward.
To unlock the door, slide the locking lever forward.
2-4
Page 114 of 371

Safety Belt Reminder Light
When the key is turned to RUN or START, a chime will
come on for about eight seconds to remind people to
fasten their safety belts, unless the driver’s safety belt is
already buckled,
The safety belt light will also come on and stay
on for about
20 seconds,
then it will flash for about
55 seconds. If the driver’s
belt is already buckled,
neither the chime nor the
light will come on.
Air Bag Readiness Light
There is an air bag readiness light on the instrument
panel, which shows AIR BAG. The system checks the
air bag’s electrical system for malfunctions. The light
tells you
if there is an electrical problem. The system
check includes the air bag sensor, the air bag modules,
the wiring and the crash sensing and diagnostic module.
For more information on the air bag system, see “Air
Bag”
in the Index.
AIR
BAG
This light will come on
when you start your engine,
and it will flash for a few
seconds. Then the light
should go out. This means
the system is ready.
If the air bag readiness light stays on after you start the -
engine or comes on when you are driving, your air bag
system may not work properly. Have your vehicle
serviced right away.
The
air bag readiness light should flash for a few
seconds when you turn the ignition key to RUN.
If the
light doesn’t come on then, have it fixed
so it will be
ready to warn you
if there is a problem.
2-59
Page 115 of 371

Charging System Indicator Light
The charging system
indicator light will come on
briefly when you turn on the ignition, but the engine is
not running. The light will
go out when the engine
is stated.
If it stays on when your engine is running, or comes on
while you are driving, you may have a problem with the
electrical charging system.
It could indicate that you
have a loose generator drive belt or another electrical
problem. Have it checked right away. Driving while this
light is
on could drain your battery.
If you must drive a short distance with the light on, be
certain to turn
off all your accessories, such as the radio
and air conditioner.
Brake System Warning Light
Your Pontiac’s hydraulic brake system is divided into
two parts.
If one part isn’t working, the other part can
still work and stop you. For good braking, though, you
need both parts working well.
If the warning light comes on, there could be a brake
problem or the brake fluid level could be low. Have your
brake system inspected right away.
BRAKE
United States Canada
This light should come on briefly when you turn the
ignition key to RUN. If it doesn’t come on then, have it
fixed
so it will be ready to warn you if there’s a problem.
2-60
Page 150 of 371
Care of Your Cassette Tape Player
A tape player that is not cleaned regularly can cause
reduced sound quality, ruined cassettes or a damaged
mechanism. Cassette tapes should be stored in their
cases away from contaminants, direct sunlight and
extreme heat. If they aren’t, they may not operate
properly or may cause failure of the tape player.
Your tape player should be cleaned regularly after every
50 hours of use. Your radio may display CLN to indicate
that you have used your tape player for
50 hours without
resetting the tape clean timer.
If this message appears
on the display, your cassette tape player needs to be
cleaned. It will still play tapes, but you should clean
it as
soon as possible
to prevent damage to your tapes and
player.
If you notice a reduction in sound quality, try a
known good cassette to see if it is the tape or the tape
player at fault. If this other cassette has no improvement
in sound quality, clean the tape player.
Cleaning may be done with a scrubbing action,
non-abrasive cleaning cassette with pads which scrub
the tape head as the hubs of the cleaner cassette turn. Follow these
steps to prevent the cassette from being
ejected due to the CUT TAPE DETECTION feature:
1. Turn the radio off and the ignition on.
2. Press and hold the TAPEPLAY button for three
seconds (tape indicator will flash for two seconds).
3. Insert the cleaner cassette (a CD adapter kit may also
be inserted).
The radio will default back to CUT TAPE DETECTION
when the cleaner cassette (or CD adapter kit) is ejected.
You may also choose a non-scrubbing action, wet-type
cleaner which uses a cassette with a fabric belt to clean
the tape head. It may not clean as thoroughly as the
scrubbing type cleaner.
After you clean the player, press and hold EJECT for
five seconds
to reset the CLN indicator. The radio will
display
--- to show the indicator was reset.
Cassettes are subject to wear and the sound quality
may degrade over time. Always make sure the cassette
tape is in good condition before you have your tape
player serviced.
3-25
Page 153 of 371
Defensive Driving
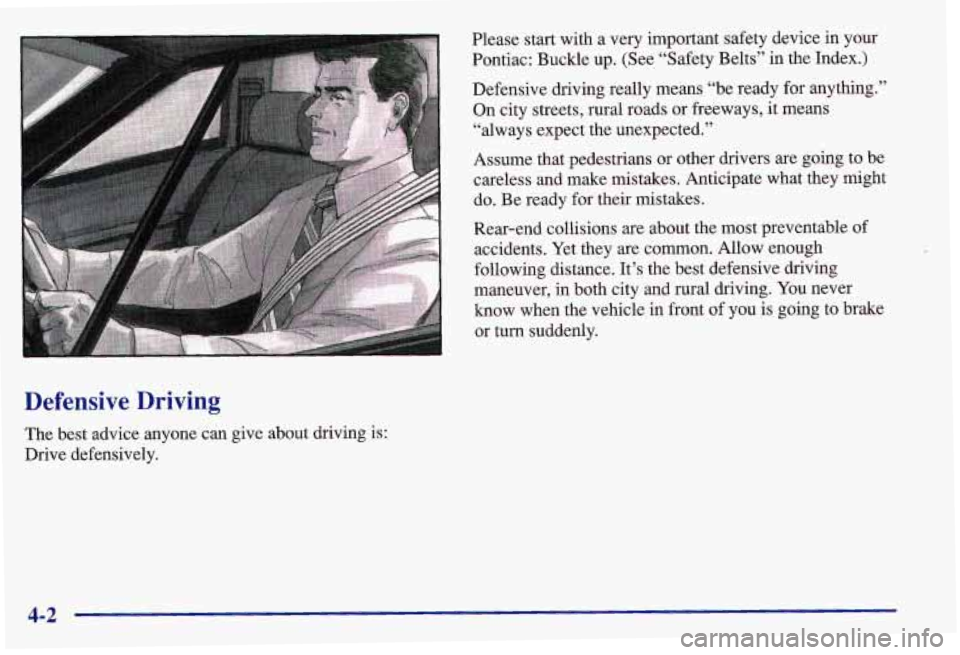
The best advice anyone can give about driving is: Drive defensively. Please start with a very important safety device
in your
Pontiac: Buckle up. (See “Safety Belts” in the Index.)
Defensive driving really means “be ready for anything.” On city streets, rural roads or freeways, it means
“always expect the unexpected.”
Assume that pedestrians or other drivers are going to be
careless and make mistakes. Anticipate what they might
do, Be ready for their mistakes.
Rear-end collisions are about the most preventable of
accidents. Yet they are common. Allow enough
following distance. It’s the best defensive driving
maneuver, in both city and rural driving. You never
know when the vehicle in front of you is going to brake
or turn suddenly.
4-2
Page 163 of 371
Try to adjust your speed so you can “drive” through the
curve. Maintain a reasonable, steady speed. Wait to
accelerate until you are out of the curve, and then
accelerate gently into the straightaway.
Steering in Emergencies
There are times when steering can be more effective than
braking. For example, you come over
a hill and find a
truck stopped
in your lane, or a car suddenly pulls out
from nowhere, or a child darts out from between parked
cars and stops right
in front of you. You can avoid these
problems by braking
-- if you can stop in time. But
sometimes you can’t; there isn’t room. That’s the time \
for
evasive action
-- steering around the problem.
Your Pontiac can perform very well in emergencies like
these. First apply your brakes. (See “Braking in
Emergencies” earlier in this section.) It is better to
remove as much speed as you can from
a possible
collision. Then steer around the problem, to the left
or
right depending on the space available. An
emergency like this requires close attention and a
quick decision.
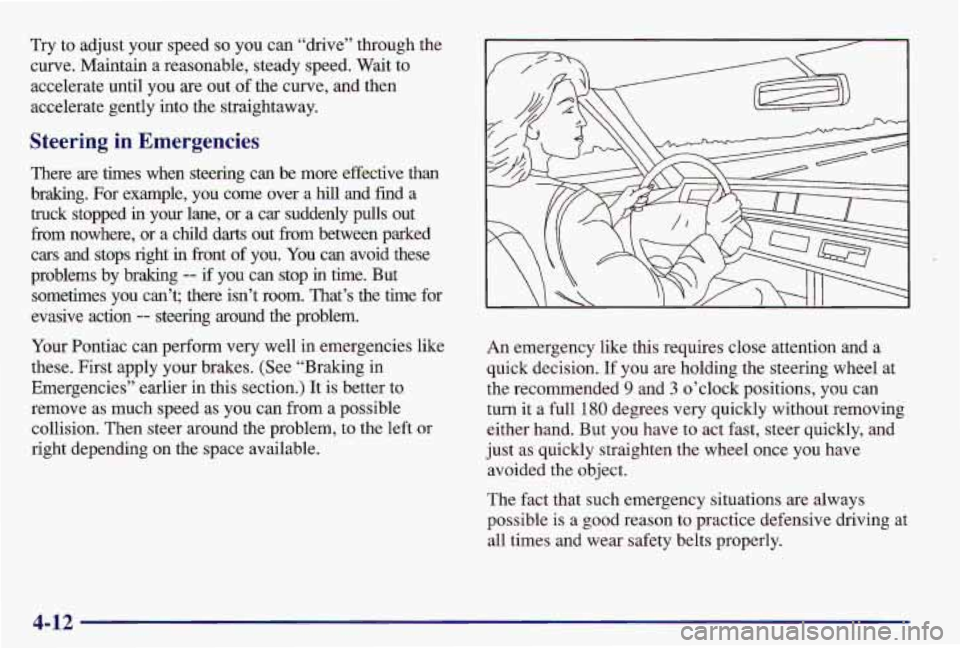
If you are holding the steering wheel at
the recommended
9 and 3 o’clock positions, you can
turn
it a full 180 degrees very quickly without removing
either hand. But you have to act fast, steer quickly, and
just as quickly straighten the wheel once you have
avoided the object.
The fact that such emergency situations are always
possible is a good reason to practice defensive driving at
all times and wear safety belts properly.
4-12
Page 192 of 371
Parking on Hills
You really should not park your vehicle, with a trailer
attached, on a hill.
If something goes wrong, your rig
could start to move. People can be injured, and both
your vehicle and the trailer can be damaged.
But if you ever have to park your
rig on a hill, here’s
how to do it:
1. Apply your regular brakes, but don’t shift into
PARK
(P) yet, or into a gear for a manual transaxle.
2. Have someone place chocks under the trailer wheels.
3. When the wheel chocks are in place, release the
regular brakes until the chocks absorb the load.
4. Reapply the regular brakes. Then apply your parking
brake, and then shift to PARK
(P), or REVERSE (R)
for a manual transaxle.
5. Release the regular brakes.
When You Are Ready to Leave After
Parking
on a Hill
1. Apply your regular brakes and hold the pedal down
while you:
0 Start your engine;
Shift into a gear; and
0 Release the parking brake.
2. Let up on the brake pedal.
3. Drive slowly until the trailer is clear of the chocks.
4. Stop and have someone pick up and store the chocks.
Maintenance When Trailer Towing
Your vehicle will need service more often when you’re
pulling a trailer. See the Maintenance Schedule for more
on this. Things that are especially important in trailer
operation are automatic transaxle fluid (don’t overfill),
engine oil, belt, cooling system and brake adjustment.
Each
of these is covered in this manual, and the Index
will help you find them quickly.
If you’re trailering, it’s
a good idea to review these sections before you start
your trip.
Check periodically to see that all hitch nuts and bolts
are tight.
4-41