1997 NISSAN FRONTIER light
[x] Cancel search: lightPage 58 of 204

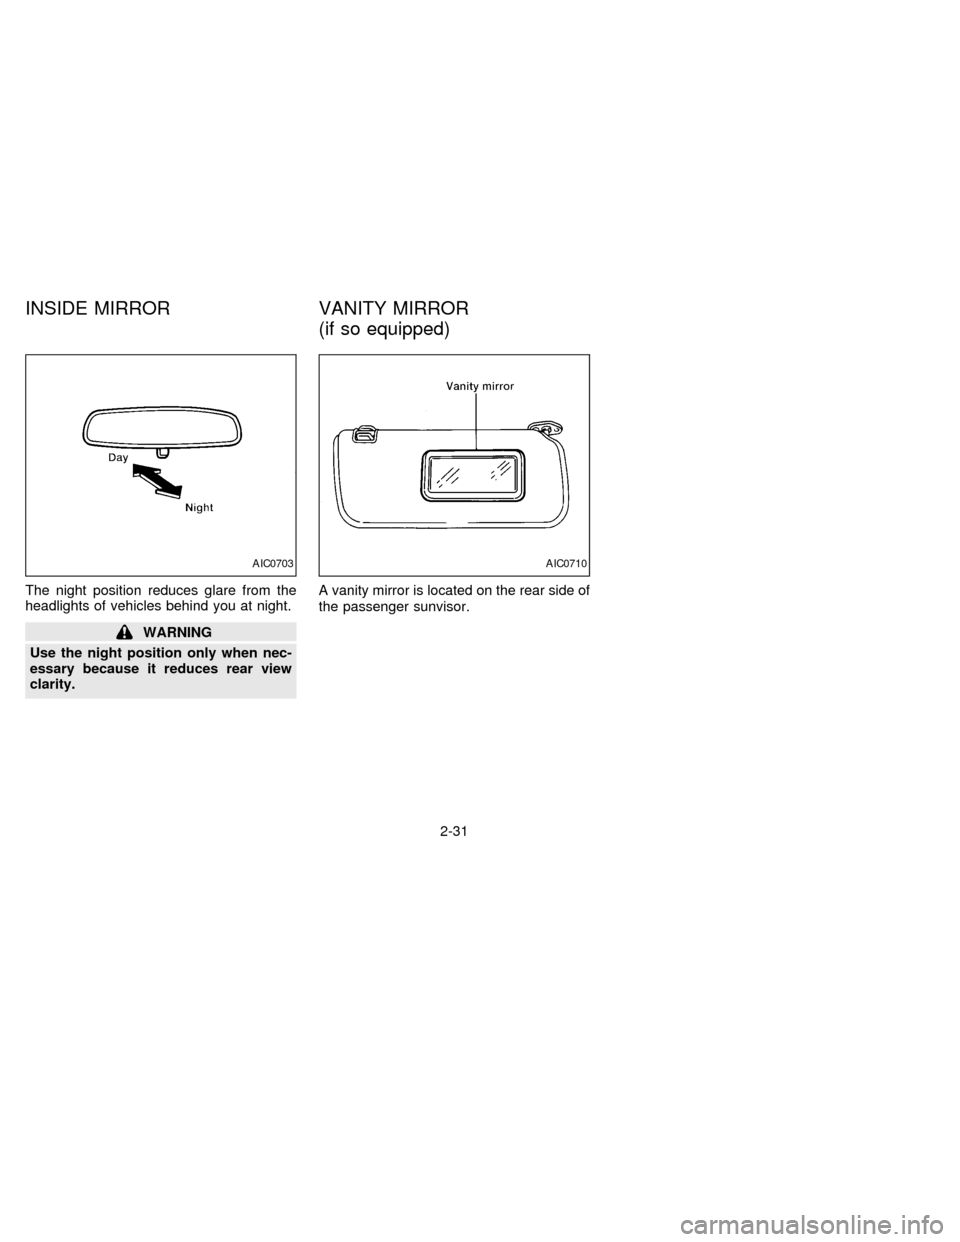
The night position reduces glare from the
headlights of vehicles behind you at night.
WARNING
Use the night position only when nec-
essary because it reduces rear view
clarity.A vanity mirror is located on the rear side of
the passenger sunvisor.
AIC0703AIC0710
INSIDE MIRROR VANITY MIRROR
(if so equipped)
2-31
ZX
Page 63 of 204

position
Interior air is recirculated inside the vehicle.
Move the air intake lever to the
posi-
tion:
cwhen driving on a dusty road.
cto prevent traffic fumes from entering the
passenger compartment.
cfor maximum cooling when using the air
conditioner.
Air conditioner switch
(if so equipped)
This button is provided only for vehicles with
an air conditioner.
Start the engine, push the switch and move
the fan control lever to the desired speed.
The indicator light comes on when the air
conditioner is on.
HEATER OPERATION
Heating
This mode directs hot air to the foot outlets.
A small amount of air is also directed to the
defrost outlets.
1. Move the air intake lever to the
po-sition for normal heating.
2. Move the air control lever to the
position.
3. Move the fan control lever to the desired
speed.
4. Move the temperature control lever to the
desired position between the middle and
the HOT position.
Ventilation
This mode directs outside air to the side and
center ventilators.
1. Move the air intake lever to the
po-
sition.
2. Move the air control lever to the
position.
3. Move the fan control lever to the desired
speed.
4. Move the temperature control lever to the
desired position.
Defrosting or defogging
This mode defrosts/defogs the windows.
1. Move the air intake lever to the
po-
sition.2. Move the air control lever to the
position.
3. Move the fan control lever to the desired
speed.
4. Move the temperature control lever to the
desired position between the middle and
the HOT position.
cIf it is difficult to defog the windshield,
turn the air conditioner switch on (if so
equipped).
Bi-level heating
This mode directs cooler air from the side
and center ventilators and warmer air from
the foot outlets.
1. Move the air intake lever to the
po-
sition.
2. Move the air control lever to the
position.
3. Move the fan control lever to the desired
speed.
4. Move the temperature control lever to the
desired position.
3-4
ZX
Page 64 of 204

Heating and defrosting
This mode heats the interior and defogs the
windshield.
1. Move the air intake lever to the
po-
sition.
2. Move the air control lever to the
position.
3. Move the fan control lever to the desired
speed.
4. Move the temperature control lever to the
desired position between the middle and
the HOT position.
Operating tips
Clear snow and ice from the wiper blade
and air inlet in front of the windshield. This
improves heater and defroster operation.
AIR CONDITIONER OPERATION
(if so equipped)
Start the engine, move the fan control lever
to the desired (1 to 4) position, and push in
the air conditioner switch to activate the air
conditioner. When the air conditioner is on,
cooling and dehumidifying functions are
added to the heater operation.The air conditioner cooling function op-
erates only when the engine is running.
Cooling
This mode cools and dehumidifies.
1. Move the air intake lever to the
po-
sition.
2. Move the air control lever to the
position.
3. Move the fan control lever to the desired
position.
4. Push in the air conditioner switch. The
indicator light comes on.
5. Move the temperature control lever to the
desired position.
cFor quick cooling when the outside tem-
perature is high, move the air intake lever
to the
position. Be sure to return
the air intake lever to theposition
for normal cooling.
Dehumidified heating
This mode heats and dehumidifies.
1. Move the air intake lever to the
po-
sition.
2. Move the air control lever to the
position.3. Move the fan control lever to the desired
position.
4. Push in the air conditioner switch. The
indicator light comes on.
5. Move the temperature control lever to the
desired position.
Dehumidified defrosting
This mode defrosts/defogs the windows and
dehumidifies.
1. Move the air intake lever to the
po-
sition.
2. Move the air control lever to the
position.
3. Move the fan control lever to the desired
position.
4. Push in the air conditioner switch. The
indicator light comes on.
5. Move the temperature control lever to the
desired position.
Operating tips
cKeep windows and sunroof closed while
operating the air conditioner.
cAfter parking in the sun, drive for two or
3-5
ZX
Page 72 of 204

Adjusting tone quality and sound
balance
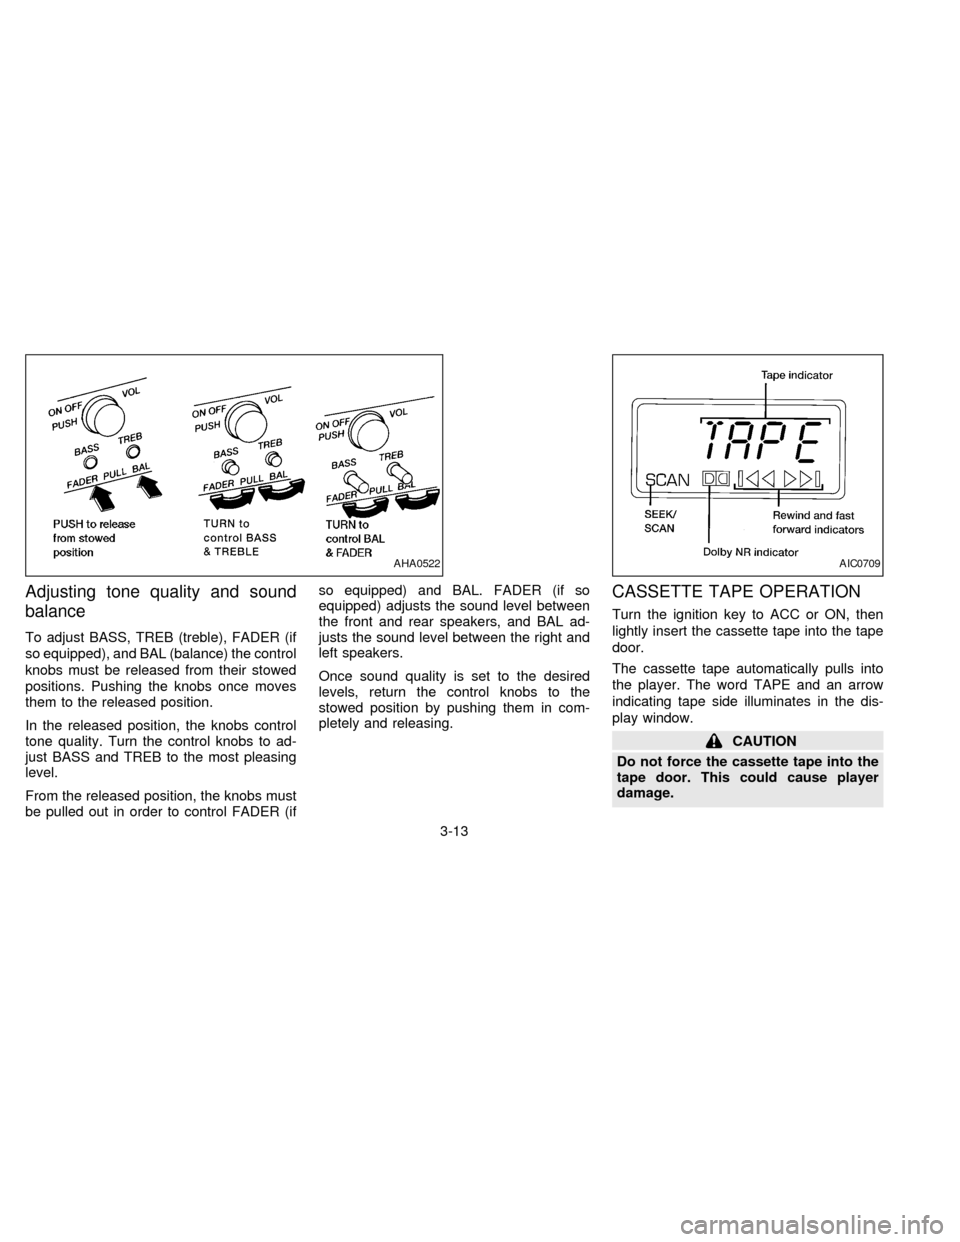
To adjust BASS, TREB (treble), FADER (if
so equipped), and BAL (balance) the control
knobs must be released from their stowed
positions. Pushing the knobs once moves
them to the released position.
In the released position, the knobs control
tone quality. Turn the control knobs to ad-
just BASS and TREB to the most pleasing
level.
From the released position, the knobs must
be pulled out in order to control FADER (ifso equipped) and BAL. FADER (if so
equipped) adjusts the sound level between
the front and rear speakers, and BAL ad-
justs the sound level between the right and
left speakers.
Once sound quality is set to the desired
levels, return the control knobs to the
stowed position by pushing them in com-
pletely and releasing.
CASSETTE TAPE OPERATION
Turn the ignition key to ACC or ON, then
lightly insert the cassette tape into the tape
door.
The cassette tape automatically pulls into
the player. The word TAPE and an arrow
indicating tape side illuminates in the dis-
play window.
CAUTION
Do not force the cassette tape into the
tape door. This could cause player
damage.
AHA0522AIC0709
3-13
ZX
Page 73 of 204

The cassette tape automatically changes
direction to play the other side when the first
side is complete. At this time, the arrow in
the display window changes direction.
Fast forwarding or rewinding the
tape
Push either the FF (fast forward) or REW
(rewind) button for the desired direction.
The
orsymbol illuminates in the
display. To stop the FF or REW function,
press the PLAY/STOP button.
Automatic Program Search (APS)
fast forwarding or APS rewinding
the tape
Push either the APS FF or APS REW button
while the tape is playing. The tape runs
quickly, stops, then plays the next selection.
The
orsymbol illuminates in
the display.
This system searches for the blank intervals
between selections. If there is a blank inter-
val within one program or there is no interval
between programs, the system may not
stop in the desired or expected location.
Changing the direction of tape play
Push the PROG (program) select button.
The
orsymbol illuminates in the
display window to indicate which program
side is playing.
PLAY/STOP button
Push the PLAY/STOP button to stop cas-
sette tape play and turn the audio system
off. Press the PLAY/STOP button again to
resume cassette tape play.
Also use the PLAY/STOP button to resume
play when the tape is in the fast forward or
rewind mode.
Dolby NR (noise reduction)
Push theDOLBY NR button for
Dolby NR encoded tapes to reduce high
frequency tape noise. The indicator light
comes on.
Dolby NR is manufactured under license
from Dolby Laboratories Licensing Corpora-
tion. DOLBY NR and the double-D symbol
are trademarks of Dolby Laboratories Li-
censing Corporation.
If in the clock priority mode when the
button is pressed,and TAPE il-luminate in the display window for about ten
seconds. The clock mode than returns to
the display window.
Metal or chrome tape usage
The cassette player is automatically set to
high performance play when playing a metal
or chrome cassette tape. The indicator
METAL comes on when playing a metal or
chrome cassette tape.
Ejecting the cassette tape
Push the EJECT button. The cassette tape
automatically comes out.
Precautions on cassette player op-
eration
cTo maintain good quality sound,
NISSAN recommends using cassette
tapes of 60 minutes or shorter in
length.
cCassette tapes should be removed
from the player when not in use. Store
cassettes in their protective cases,
away from direct sunlight, heat, mois-
ture and magnetic sources.
3-14
ZX
Page 74 of 204

cDirect sunlight can cause the cassette
to become deformed. The use of a
deformed cassette may cause the cas-
sette to jam in the player.
cDo not use a cassette that has a label
which is peeling and loose. If used,
the label could jam in the player.
cIf a cassette has loose tape, insert a
pencil through one of the cassette
hubs and rewind the tape firmly
around the hubs. Loose tape may
cause tape jamming and wavering
sound quality.
cOver a period of time, the playback
head, capstan and pinch roller may
gather a tape coating residue as the
tape passes over the head. This resi-
due accumulation can cause a weak
or wavering sound and should be re-
moved periodically with a head clean-
ing tape. If the residue is not removed
periodically, the player may need to
be disassembled for cleaning.
3-15
ZX
Page 78 of 204

CASSETTE TAPE OPERATION
Turn the ignition key to ACC or ON, then
lightly insert the cassette tape into the tape
door.
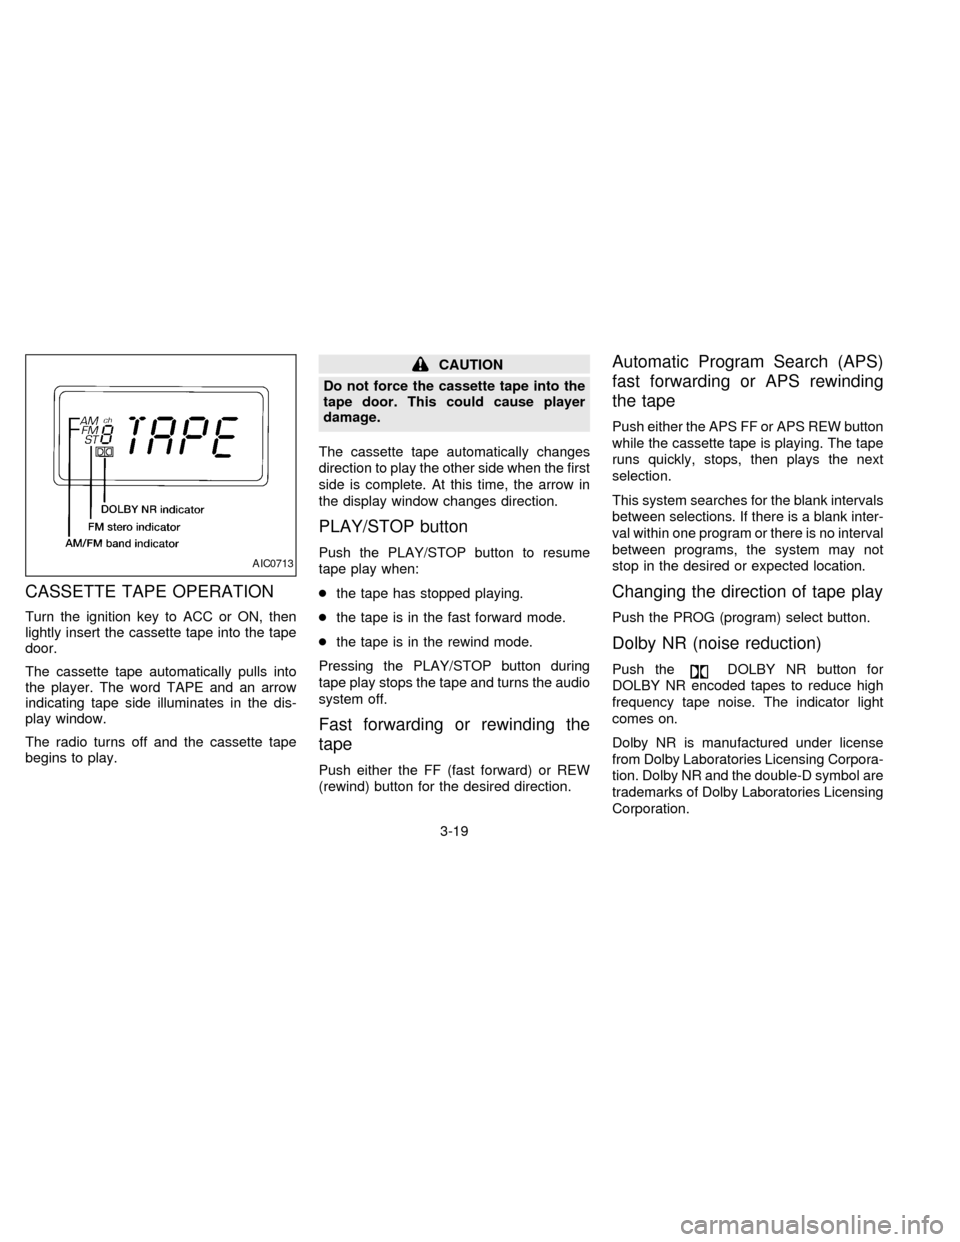
The cassette tape automatically pulls into
the player. The word TAPE and an arrow
indicating tape side illuminates in the dis-
play window.
The radio turns off and the cassette tape
begins to play.
CAUTION
Do not force the cassette tape into the
tape door. This could cause player
damage.
The cassette tape automatically changes
direction to play the other side when the first
side is complete. At this time, the arrow in
the display window changes direction.
PLAY/STOP button
Push the PLAY/STOP button to resume
tape play when:
cthe tape has stopped playing.
cthe tape is in the fast forward mode.
cthe tape is in the rewind mode.
Pressing the PLAY/STOP button during
tape play stops the tape and turns the audio
system off.
Fast forwarding or rewinding the
tape
Push either the FF (fast forward) or REW
(rewind) button for the desired direction.
Automatic Program Search (APS)
fast forwarding or APS rewinding
the tape
Push either the APS FF or APS REW button
while the cassette tape is playing. The tape
runs quickly, stops, then plays the next
selection.
This system searches for the blank intervals
between selections. If there is a blank inter-
val within one program or there is no interval
between programs, the system may not
stop in the desired or expected location.
Changing the direction of tape play
Push the PROG (program) select button.
Dolby NR (noise reduction)
Push theDOLBY NR button for
DOLBY NR encoded tapes to reduce high
frequency tape noise. The indicator light
comes on.
Dolby NR is manufactured under license
from Dolby Laboratories Licensing Corpora-
tion. Dolby NR and the double-D symbol are
trademarks of Dolby Laboratories Licensing
Corporation.
AIC0713
3-19
ZX
Page 79 of 204

Metal or chrome tape usage
The cassette player is automatically set to
high performance play when playing a metal
or chrome cassette tape.
The indicator will come on when playing a
metal or chrome cassette tape.
Ejecting the cassette tape
Push the EJECT button. The tape automati-
cally comes out.
Precautions on cassette player
operation
cTo maintain good quality sound,
NISSAN recommends using cassette
tapes of 60 minutes or shorter in
length.
cCassette tapes should be removed
from the player when not in use. Store
cassettes in their protective cases,
away from direct sunlight, heat, mois-
ture and magnetic sources.
cDirect sunlight can cause the cassette
to become deformed. The use of a
deformed cassette may cause the cas-
sette to jam in the player.cDo not use a cassette that has a label
which is peeling and loose. If used,
the label could jam in the player.
cIf a cassette has loose tape, insert a
pencil through one of the cassette
hubs and rewind the tape firmly
around the hubs. Loose tape may
cause tape jamming and wavering
sound quality.
cOver a period of time, the playback
head, capstan and pinch roller may
gather a tape coating residue as the
tape passes over the head. This resi-
due accumulation can cause a weak
or wavering sound and should be re-
moved periodically with a head clean-
ing tape. If the residue is not removed
periodically, the player may need to
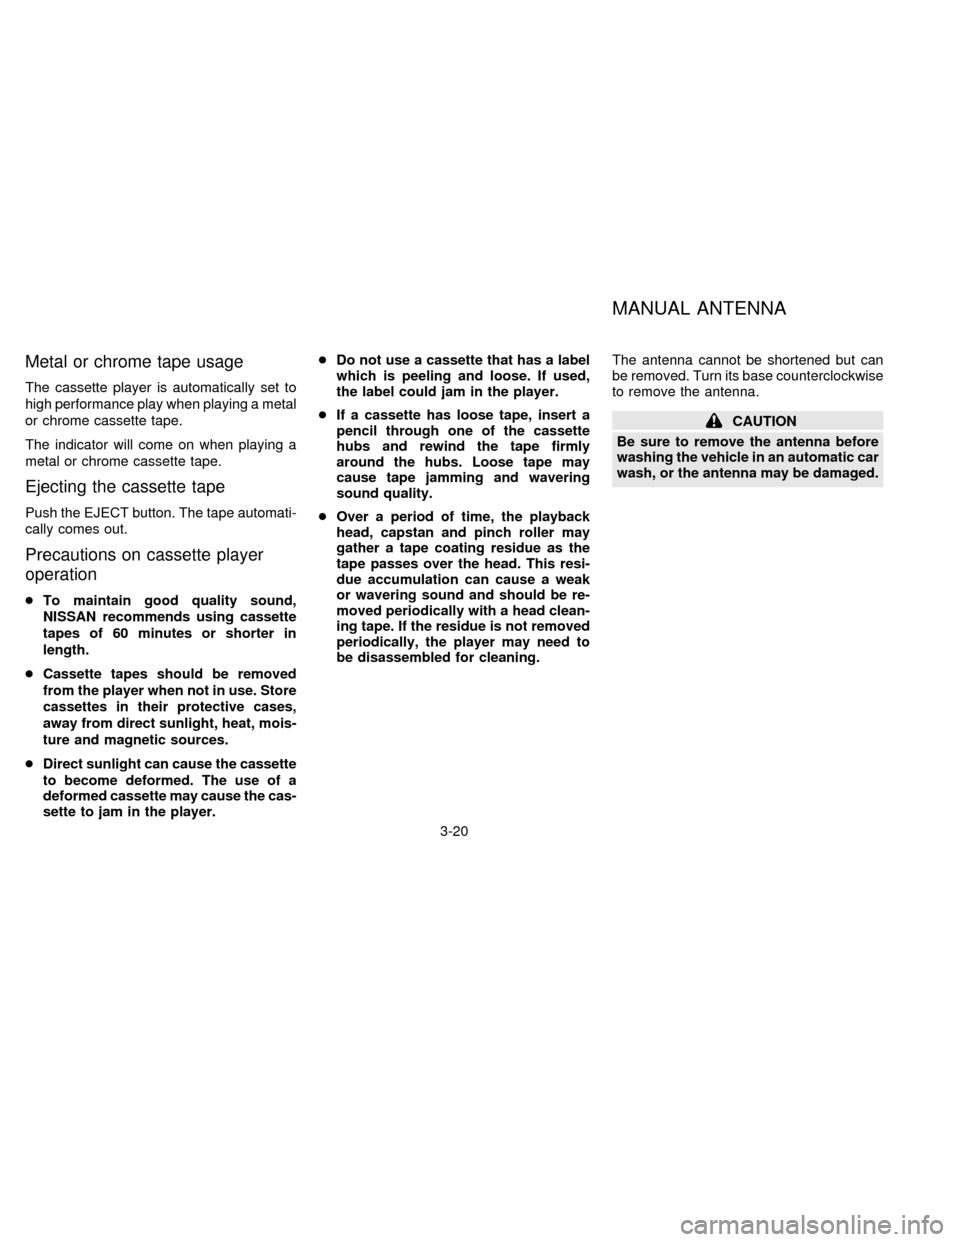
be disassembled for cleaning.The antenna cannot be shortened but can
be removed. Turn its base counterclockwise
to remove the antenna.
CAUTION
Be sure to remove the antenna before
washing the vehicle in an automatic car
wash, or the antenna may be damaged.
MANUAL ANTENNA
3-20
ZX