1997 MERCEDES-BENZ ML430 steering wheel
[x] Cancel search: steering wheelPage 327 of 4133
277 Contents - Vehicle care
Te ch n ica l
data Instruments
and controlsOperation DrivingInstrument
cluster displayPractical hintsCar careIndex
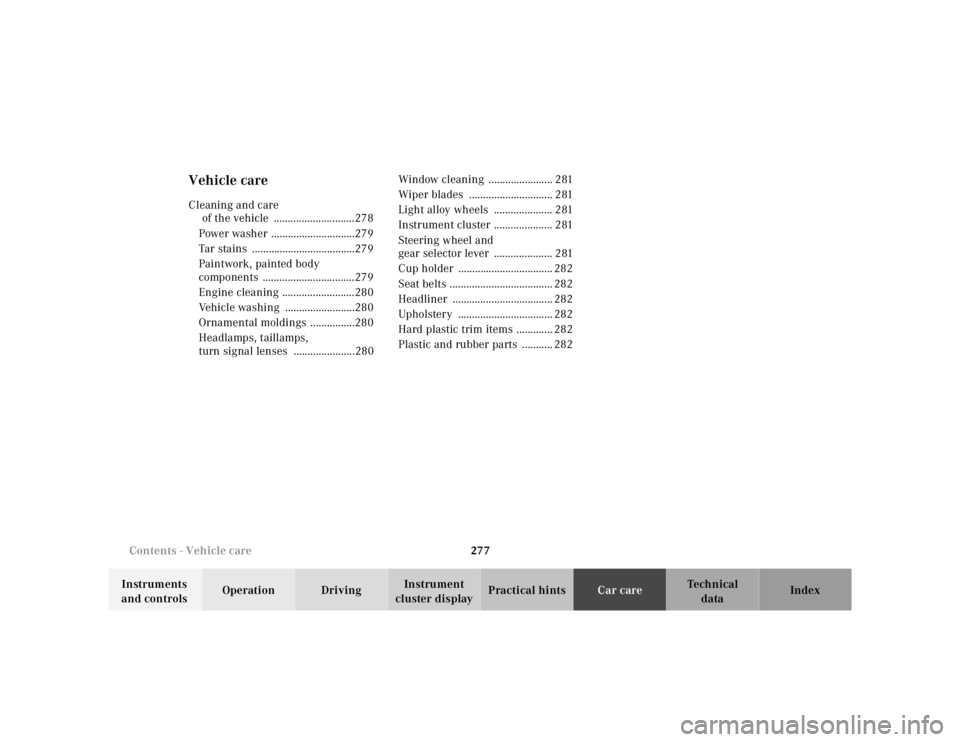
Vehicle careCleaning and care
of the vehicle .............................278
Power washer ..............................279
Tar stains .....................................279
Paintwork, painted body
components .................................279
Engine cleaning ..........................280
Vehicle washing .........................280
Ornamental moldings ................280
Headlamps, taillamps,
turn signal lenses ......................280Window cleaning ....................... 281
Wiper blades .............................. 281
Light alloy wheels ..................... 281
Instrument cluster ..................... 281
Steering wheel and
gear selector lever ..................... 281
Cup holder .................................. 282
Seat belts ..................................... 282
Headliner .................................... 282
Upholstery .................................. 282
Hard plastic trim items ............. 282
Plastic and rubber parts ........... 282
Page 331 of 4133
281 Cleaning and care of the vehicle
Te ch n ica l
data Instruments
and controlsOperation DrivingInstrument
cluster displayPractical hintsCar careIndex Window cleaning
Use a window cleaning solution on all glass surfaces. An
automotive glass cleaner is recommended.
Note:
For safety reasons, switch off wipers and remove key
from steering lock before cleaning the windshield,
otherwise the wiper motor can suddenly turn on and
cause injury.
Wiper blades
Clean the wiper blade rubbers with a clean cloth and
detergent solution.
Note:
For safety reasons, switch off wipers and remove key
from steering lock before cleaning the wiper blades,
otherwise the wiper motor can suddenly turn on and
cause injury.Light alloy wheels
Mercedes-Benz approved Wheel Care should be used for
regular cleaning of the light alloy wheels.
If possible, clean wheels once a week with
Mercedes-Benz approved Wheel Care, using a soft
bristle brush and a strong spray of water.
Follow instructions on container.
Note:
Use only acid-free cleaning materials. The acid could
lead to corrosion or may damage the clear coat.
Instrument cluster
Use a gentle dishwashing detergent or mild detergent
for delicate fabrics as a washing solution. Wipe with a
cloth moistened in lukewarm solution. Do not use
scouring agents.
Steering wheel and gear selector lever
Wipe with a damp cloth and dry thoroughly or clean
with Mercedes-Benz approved Leather Care.
Page 342 of 4133
292 Fuels, coolants, lubricants etc. - capacities
Te ch n ica l
data Instruments
and controlsOperation DrivingInstrument
cluster displayPractical hints Car care Index
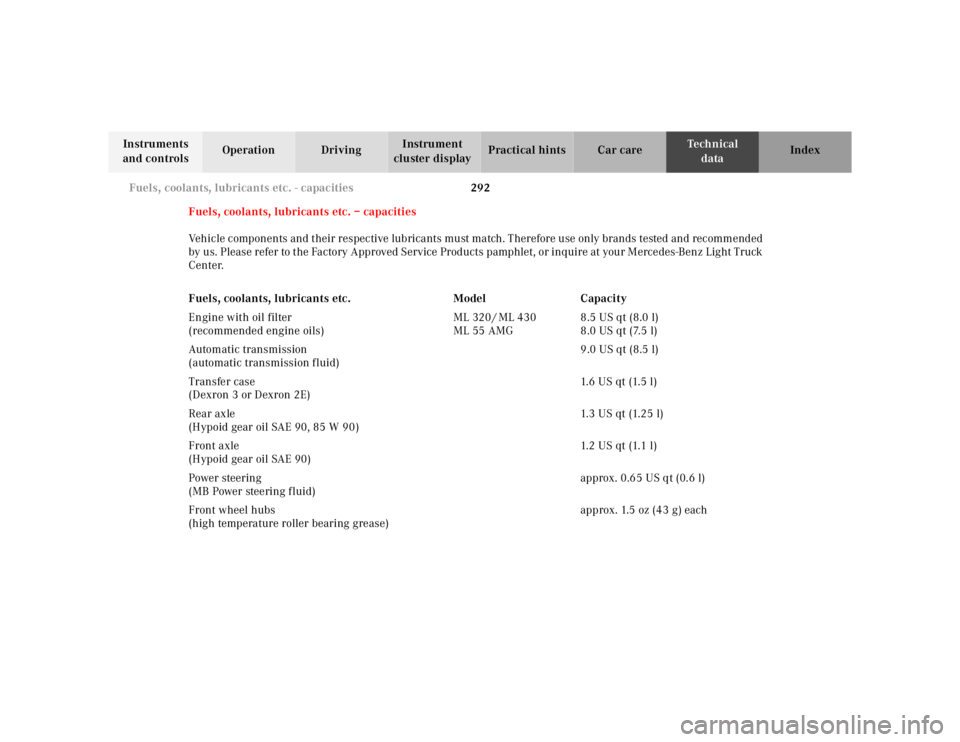
Fuels, coolants, lubricants etc. – capacities
Vehicle components and their respective lubricants must match. Therefore use only brands tested and recommended
by us. Please refer to the Factory Approved Service Products pamphlet, or inquire at your Mercedes-Benz Light Truck
Center.
Fuels, coolants, lubricants etc. Model Capacity
Engine with oil filter
(recommended engine oils)ML 320 / ML 430
ML 55 AMG8.5 US qt (8.0 l)
8.0 US qt (7.5 l)
Automatic transmission
(automatic transmission fluid)9.0 US qt (8.5 l)
Transfer case
(Dexron 3 or Dexron 2E)1. 6 U S q t (1. 5 l )
Rear axle
(Hypoid gear oil SAE 90, 85 W 90)1.3 US qt (1.25 l)
Front axle
(Hypoid gear oil SAE 90)1. 2 U S q t (1. 1 l )
Power steering
(MB Power steering fluid)approx. 0.65 US qt (0.6 l)
Front wheel hubs
(high temperature roller bearing grease)approx. 1.5 oz (43 g) each
Page 350 of 4133
300 Index
Te ch n ica l
data Instruments
and controlsOperation DrivingInstrument
cluster displayPractical hints Car careIndex
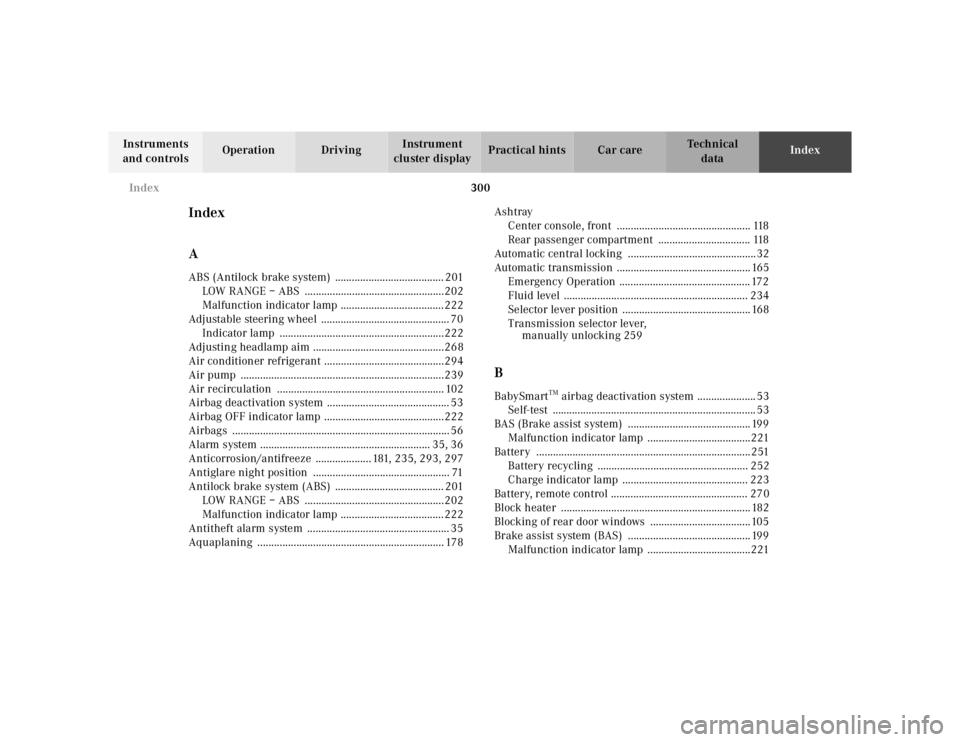
Index
AABS (Antilock brake system) ....................................... 201
LOW RANGE – ABS ..................................................202
Malfunction indicator lamp .....................................222
Adjustable steering wheel .............................................. 70
Indicator lamp ...........................................................222
Adjusting headlamp aim ...............................................268
Air conditioner refrigerant ...........................................294
Air pump .........................................................................239
Air recirculation ............................................................ 102
Airbag deactivation system ............................................ 53
Airbag OFF indicator lamp ...........................................222
Airbags .............................................................................. 56
Alarm system ............................................................. 35, 36
Anticorrosion/antifreeze .................... 181, 235, 293, 297
Antiglare night position ................................................. 71
Antilock brake system (ABS) ....................................... 201
LOW RANGE – ABS ..................................................202
Malfunction indicator lamp .....................................222
Antitheft alarm system ................................................... 35
Aquaplaning ................................................................... 178Ashtray
Center console, front ................................................ 118
Rear passenger compartment ................................. 118
Automatic central locking ..............................................32
Automatic transmission ................................................ 165
Emergency Operation ............................................... 172
Fluid level .................................................................. 234
Selector lever position .............................................. 168
Transmission selector lever,
manually unlocking 259
BBabySmart
TM airbag deactivation system ..................... 53
Self-test ......................................................................... 53
BAS (Brake assist system) ............................................ 199
Malfunction indicator lamp .....................................221
Battery .............................................................................251
Battery recycling ...................................................... 252
Charge indicator lamp ............................................. 223
Battery, remote control ................................................. 270
Block heater .................................................................... 182
Blocking of rear door windows ....................................105
Brake assist system (BAS) ............................................ 199
Malfunction indicator lamp .....................................221
Page 359 of 4133
309 Index
Te ch n ica l
data Instruments
and controlsOperation DrivingInstrument
cluster displayPractical hints Car careIndex Special settings (Climate control) ............................... 101
Split rear seat bench ..................................................... 120
Easy entry/exit feature ............................................ 123
Rear seat head restraints ......................................... 124
SRS indicator lamp ........................................................ 219
SRS malfunction .............................................................. 57
Start lock-out .................................................................... 25
Starting and turning off the engine ............................ 164
Steering lock ................................................................... 162
Steering wheel
Adjustable .................................................................... 70
Indicator lamp ...........................................................222
Stop lamp, high mounted .............................................267
Storage compartments
Center console ............................................................115
Compartment under front passenger seat .............116
Glove box .....................................................................115
Stowing things in the vehicle ......................................230
Stranded vehicle ............................................................259
Sun visors ........................................................................113
Supplemental restraint system (SRS) ........................... 54
Synchronizing remote control ..................................... 271
TTachometer ........................................................................82
Technical data ................................................................ 287
Electrical system ...................................................... 290
Main dimensions ...................................................... 291
Rims and tires ..................................................288, 289
Weights ...................................................................... 290
Tele Aid ............................................................................ 148
Emergency calls ........................................................149
Information ................................................................ 154
Initiating an emergency call manually .................. 151
Roadside Assistance ................................................. 152
Telephone, general ......................................................... 139
Telephones and two-way radios ................................... 146
Telescoping steering column
Adjusting ......................................................................70
Indicator lamp .......................................................... 222
The first 1 000 miles (1 500 km) ................................147
Third row seats ...............................................................126
Tie-down rings, cargo .................................................... 132
Tire inflation pressure ................................................. 250
Tire traction ....................................................................178
Page 368 of 4133
DISABLING SYSTEM
Before proceeding, see AIR BAG SAFETY PRECAUTIONS . Record radio presets and obtain anti-theft
code. Turn ignition switch to OFF position and remove ignition key. If welding on vehicle, disconnect negative
battery cable and disconnect air bag control module.
ACTIVATING SYSTEM
Ensure ignition is off. Reconnect air bag system co mponents (if disconnected). Reconnect negative battery
cable. Perform See SYSTEM OPERATION CHECK
.
DISPOSAL PROCEDURES
Several situations may arise requiring so me form of disposal action, including:
Scrapping a vehicle containing a deployed air bag module and-or ETR.
Scrapping a vehicle with a live air bag module and-or ETR.
Disposal of a live but electrically faulty air bag module and-or ETR.
Disposal of a deployed air bag module and-or ETR.
DEPLOYED AIR BAG OR ETR
Deployed air bag module and-or ETR unit can be thrown away. None of its components are reusable. Deployed
air bag module is NOT classified as hazardous material.
SCRAPPED VEHICLE
1. Before proceeding, follow service precautions. See AIR BAG SAFETY PRECAUTIONS . Move
vehicle outdoors to a remote area, away from work shop and other personnel. Disconnect and shield
negative battery cable. Open al l vehicle windows and doors.
2. Ensure air bag module is secured to steering wheel, and passenger air bag is secured to dash. Ensure ETR
seat belt assemblies are secured to "B" pillars and all seat belt buckles are latched. Remove loose ob
jects
CAUTION: On CL500, open doors before
disconnecting battery. Opening doors
allows windows to automa tically lower thus preventing roof seal damage.
WARNING: An undeployed air bag module or ET R should never be disposed of
without first being deplo yed. See SCRAPPED VEHICLE
. If deployment is
not possible, contact vehicle manuf acturer for further instructions.
WARNING: An undeployed air bag m odule and-or ETR seat belt CANNOT be disposed
of without first being de ployed. If this is not possible through procedures
outlined below, contact vehicle ma nufacturer for further instructions.
Perform remote deployment outdoors . Keep personnel at least 20 feet
away.
2001 Mercedes-Benz ML320
2000-01 ACCESSORIES/SAFETY EQUIPMENT Merc edes-Benz - Air Bag Restraint Systems
me
Saturday, October 02, 2010 3:44:45 PMPage 4 © 2006 Mitchell Repair Information Company, LLC.
Page 369 of 4133
from front seat. DO NOT allow anyone inside vehicle.
3. Disable air bag system. See DISABLING & ACTIVATING AIR BAG SYSTEM
. Connect Trigger
Device (126-589-00-90-00) and Adapter Cable (126 589 21 63 00) to SRS system connector (X29-9)
located at passenger footwell area. Move away from ve hicle as far as trigger device wiring will allow.
4. To deploy driver air bag and ETR, turn rotary knob on trigger device to position No. 1. Push battery
check push button and ignition push button simultane ously. Trigger light should illuminate indicating
driver air bag and ETR deployed. If trigger light is illuminated and driver air bag and-or ETR did not
deploy, driver air bag module and-or ETR is faulty. See UNDEPLOYED AIR BAG
-ETR .
5. To deploy passenger air bag detonator No. 1, turn ro tary knob on trigger device to position No. 2. Push
battery check push button and igni tion push button simultaneously. Tr igger light should illuminate
indicating passenger air bag detonator No. 1 deployed. If trigger light is illuminated and passenger air bag
detonator No. 1 did not deploy, passe nger air bag module is faulty. See UNDEPLOYED AIR BAG
-
ETR .
6. To deploy passenger air bag detonator No. 2, turn ro tary knob on trigger device to position No. 3. Push
battery check push button and igni tion push button simultaneously. Tr igger light should illuminate
indicating passenger air bag detonator No. 2 deployed. If trigger light is illuminated and passenger air bag
detonator No. 2 did not deploy, passe nger air bag module is faulty. See UNDEPLOYED AIR BAG
-
ETR .
UNDEPLOYED AIR BAG-ETR
After deploying procedures and-or diagnostic testing have confirmed air bag module and-or ETR is
undeployable, contact vehicle manufacture r for proper disposal instructions.
POST-COLLISION INSPECTION
When a vehicle has been involved in a collision, certain components of the passive restraint system must be
inspected or replaced. See AIR BAG/SRS COMPONENT INSPECTION & REPLACEMENT TABLES
article in the GENERAL INFORMATION section.
REMOVAL & INSTALLATION
CLOCKSPRING ASSEMBLY
Removal & Installation
1. Before proceeding, See AIR BAG SAFETY PRECAUTIONS . Disable air bag system. See
DISABLING & ACTIVATI NG AIR BAG SYSTEM
.
2. Remove driver air bag module. See DRIVER
-SIDE AIR BAG MODULE . Remove steering wheel bolt.
Using a puller, remove steering wheel. Disconnect lower clockspring connector. Turn 2 fixing screws
(locating on clockspring) countercl ockwise until clockspring cannot be rotated. Remove clockspring
mountin
g screws as necessary. Disconnect all necessary electrical connectors. Remove clockspring
WARNING:
Accidental air bag deployment is pos sible. Personal injury may result.
Read and follow all WARNINGS and AIR BAG SAFETY PRECAUTIONS
before working on ai r bag system or related components.
2001 Mercedes-Benz ML320
2000-01 ACCESSORIES/SAFETY EQUIPMENT Merc edes-Benz - Air Bag Restraint Systems
me
Saturday, October 02, 2010 3:44:45 PMPage 5 © 2006 Mitchell Repair Information Company, LLC.
Page 371 of 4133
1. Before proceeding, See AIR BAG SAFETY PRECAUTIONS . Disable air bag system. See
DISABLING & ACTIVATI NG AIR BAG SYSTEM
. Remove ignition key. Remove radio. Push up
and pull out heater control panel. Unplug 2 connectors. Remove scre w in middle of storage tray.
2. Bend up at top corners and lift out storage tray. Rem ove screws below storage tray. Lift wood trim panel
at rear, pull down and out of catches. Unplug swit ch connectors and remove wood trim panel. Unplug
connectors at control module and remove Torx mounting screws. Remove control module.
3. To install, reverse removal proce dure. Ensure SRS control module arro w points to front of vehicle. Set
parameters and program new SRS control module wi th Hand-Held Tester (965 589 00 01 00). Activate
air bag system. Perform system operation check to ensure system is functioning properly. See SYSTEM
OPERATION CHECK .
Removal & Installation (CLK & SLK)
1. Before proceeding, See AIR BAG SAFETY PRECAUTIONS . Disable air bag system. See
DISABLING & ACTIVATI NG AIR BAG SYSTEM
. Remove ignition key. Remove cover on center
console. Remove cover on shift lever. Remove ash tray housing with storage compartment at front of
center console. Unplug connectors at control module and remove Torx mounting screws. Remove control
module.
2. To install, reverse removal proce dure. Ensure SRS control module arro w points to front of vehicle. Set
parameters and program new SRS control module wi th Hand-Held Tester (965 589 00 01 00). Activate
air bag system. Perform system operation check to ensure system is functioning properly. See SYSTEM
OPERATION CHECK .
DRIVER-SIDE AIR BAG MODULE
Removal & Installation
1. Before proceeding, See AIR BAG SAFETY PRECAUTIONS . Disable air bag system. See
DISABLING & ACTIVATI NG AIR BAG SYSTEM
. Remove ignition key. Remove 2 Torx screws
from rear of steering wheel. Lift off air bag m odule enough to unplug connector from rear of module.
Place module away from work area, with pad facing upward.
2. To install, reverse removal procedure. Tighten Torx screws to specification. See TORQUE
SPECIFICATIONS . Activate air bag system. Perform system operation ch eck to ensure system is
functioning properly. See SYSTEM OPERATION CHECK
.
SIDE AIR BAG UNIT (DRIVER-SIDE & PASSENGER-SIDE)
Removal & Installation
1. Before proceeding, See AIR BAG SAFETY PRECAUTIONS . Disable air bag system. See
DISABLING & ACTIVATI NG AIR BAG SYSTEM
. Remove ignition key. Drill out rivets at
retaining plate of side air bag unit. Pull air bag unit out of door. Disconnect connector at driver-side air
bag squib. Remove unit from vehicle. See Fig. 2.
NOTE: Air bag module and steer
ing wheel must be replaced following a collision in
which air bag was deployed.
2001 Mercedes-Benz ML320
2000-01 ACCESSORIES/SAFETY EQUIPMENT Merc edes-Benz - Air Bag Restraint Systems
me
Saturday, October 02, 2010 3:44:45 PMPage 7 © 2006 Mitchell Repair Information Company, LLC.