Page 3910 of 4133

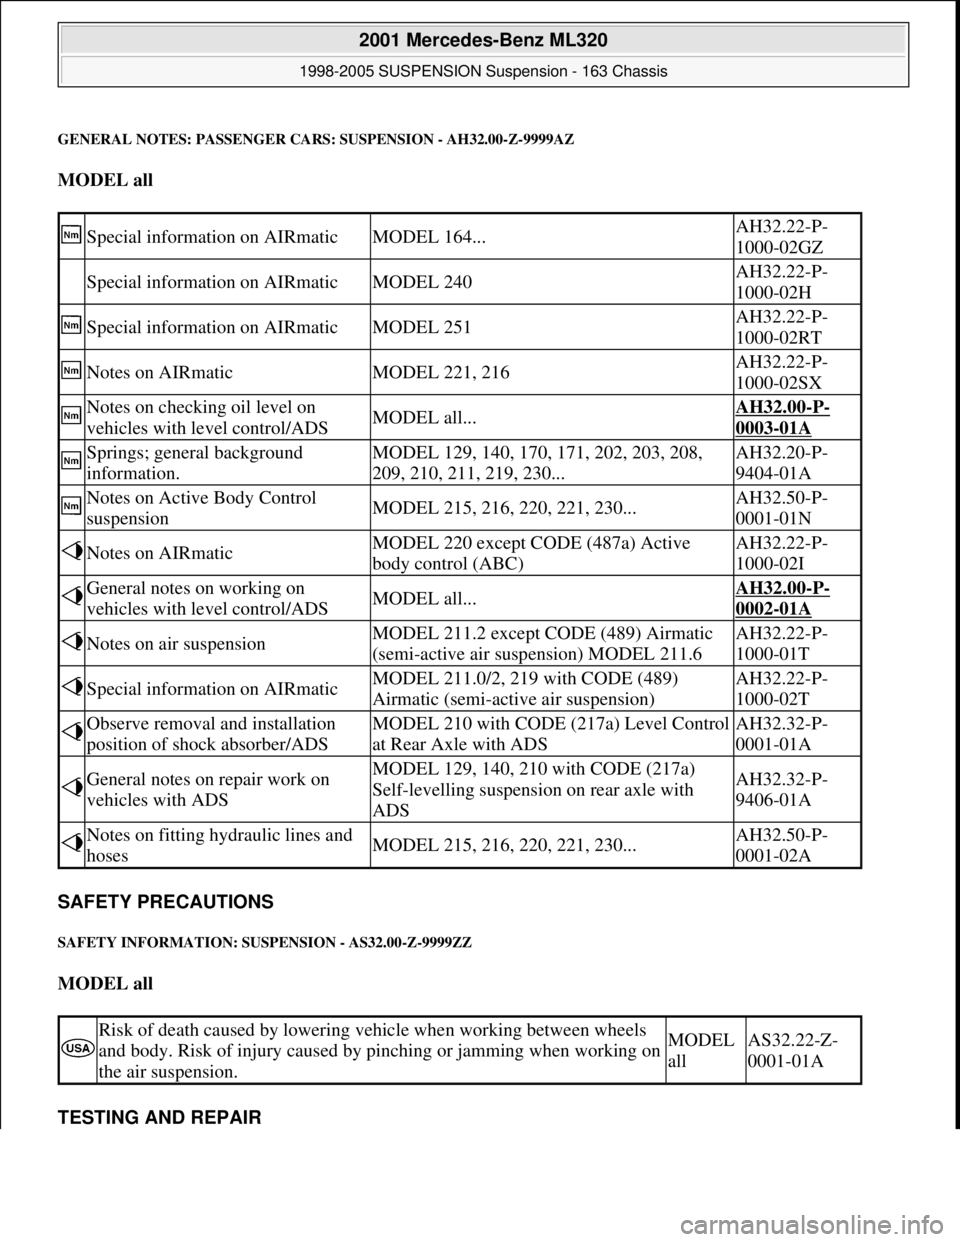
GENERAL NOTES: PASSENGER CARS: SUSPENSION - AH32.00-Z-9999AZ
MODEL all
SAFETY PRECAUTIONS
SAFETY INFORMATION: SUSPENSION - AS32.00-Z-9999ZZ
MODEL all
TESTING AND REPAIR
Special information on AIRmaticMODEL 164...AH32.22-P-
1000-02GZ
Special information on AIRmaticMODEL 240AH32.22-P-
1000-02H
Special information on AIRmaticMODEL 251AH32.22-P-
1000-02RT
Notes on AIRmaticMODEL 221, 216AH32.22-P-
1000-02SX
Notes on checking oil level on
vehicles with level control/ADSMODEL all...AH32.00-P-
0003-01A
Springs; general background
information.MODEL 129, 140, 170, 171, 202, 203, 208,
209, 210, 211, 219, 230...AH32.20-P-
9404-01A
Notes on Active Body Control
suspensionMODEL 215, 216, 220, 221, 230...AH32.50-P-
0001-01N
Notes on AIRmaticMODEL 220 except CODE (487a) Active
body control (ABC)AH32.22-P-
1000-02I
General notes on working on
vehicles with level control/ADSMODEL all...AH32.00-P-
0002-01A
Notes on air suspensionMODEL 211.2 except CODE (489) Airmatic
(semi-active air suspension) MODEL 211.6AH32.22-P-
1000-01T
Special information on AIRmaticMODEL 211.0/2, 219 with CODE (489)
Airmatic (semi-active air suspension)AH32.22-P-
1000-02T
Observe removal and installation
position of shock absorber/ADSMODEL 210 with CODE (217a) Level Control
at Rear Axle with ADSAH32.32-P-
0001-01A
General notes on repair work on
vehicles with ADSMODEL 129, 140, 210 with CODE (217a)
Self-levelling suspension on rear axle with
ADSAH32.32-P-
9406-01A
Notes on fitting hydraulic lines and
hosesMODEL 215, 216, 220, 221, 230...AH32.50-P-
0001-02A
Risk of death caused by lowering vehicle when working between wheels
and body. Risk of injury caused by pinching or jamming when working on
the air suspension.MODEL
allAS32.22-Z-
0001-01A
2001 Mercedes-Benz ML320
1998-2005 SUSPENSION Suspension - 163 Chassis
me
Saturday, October 02, 2010 3:37:35 PMPage 2 © 2006 Mitchell Repair Information Company, LLC.
Page 3911 of 4133

TESTING AND REPAIR WORK: PASSENGER CARS: SUSPENSION - AR32.00-Z-9163AA
MODEL 163
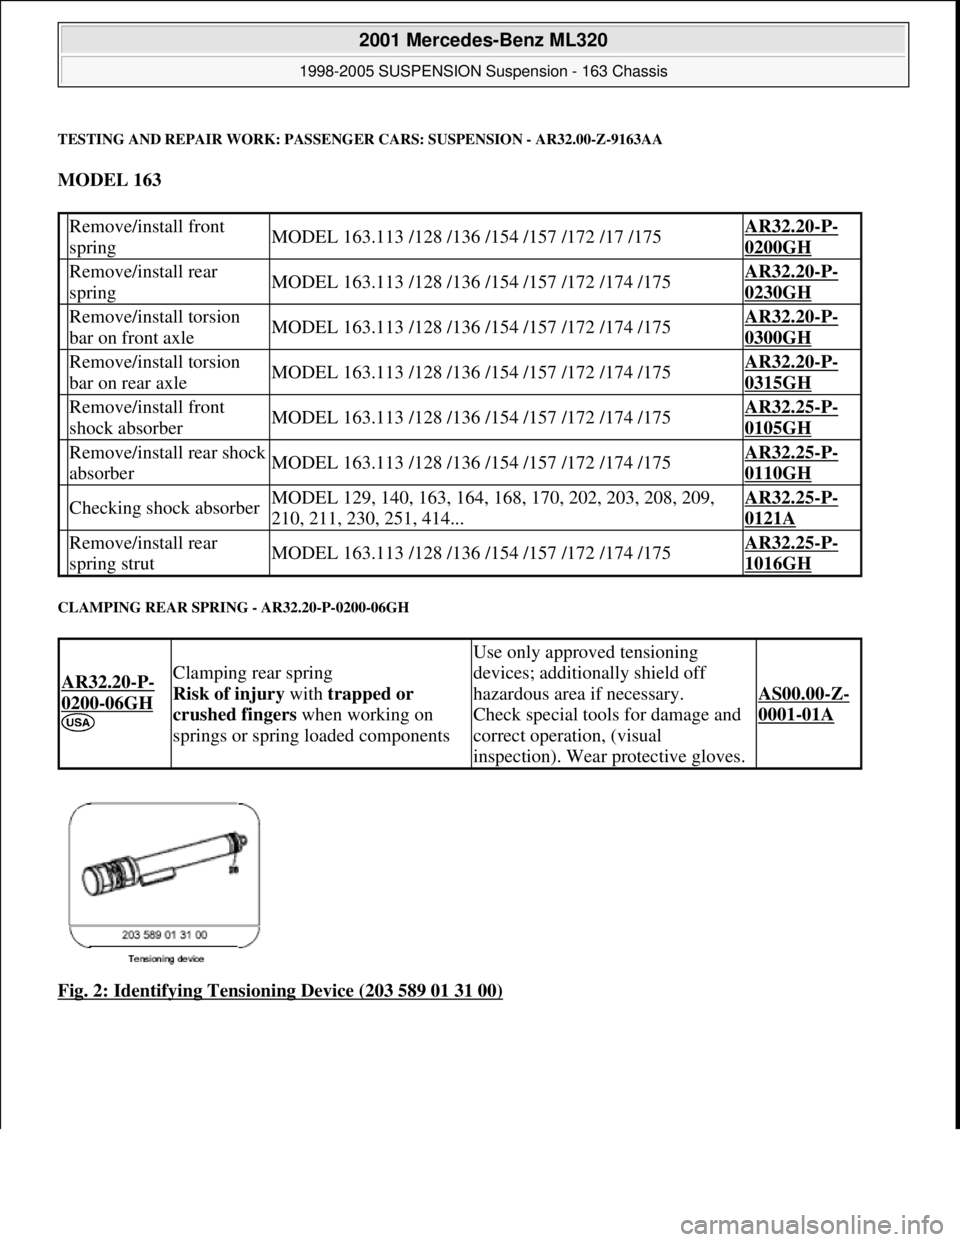
CLAMPING REAR SPRING - AR32.20-P-0200-06GH
Fig. 2: Identifying Tensioning Device (203 589 01 31 00)
Remove/install front
springMODEL 163.113 /128 /136 /154 /157 /172 /17 /175AR32.20-P-
0200GH
Remove/install rear
springMODEL 163.113 /128 /136 /154 /157 /172 /174 /175AR32.20-P-
0230GH
Remove/install torsion
bar on front axleMODEL 163.113 /128 /136 /154 /157 /172 /174 /175AR32.20-P-
0300GH
Remove/install torsion
bar on rear axleMODEL 163.113 /128 /136 /154 /157 /172 /174 /175AR32.20-P-
0315GH
Remove/install front
shock absorberMODEL 163.113 /128 /136 /154 /157 /172 /174 /175AR32.25-P-
0105GH
Remove/install rear shock
absorberMODEL 163.113 /128 /136 /154 /157 /172 /174 /175AR32.25-P-
0110GH
Checking shock absorberMODEL 129, 140, 163, 164, 168, 170, 202, 203, 208, 209,
210, 211, 230, 251, 414...AR32.25-P-
0121A
Remove/install rear
spring strutMODEL 163.113 /128 /136 /154 /157 /172 /174 /175AR32.25-P-
1016GH
AR32.20-P-
0200-06GH
Clamping rear spring
Risk of injury with trapped or
crushed fingers when working on
springs or spring loaded components
Use only approved tensioning
devices; additionally shield off
hazardous area if necessary.
Check special tools for damage and
correct operation, (visual
inspection). Wear protective gloves.
AS00.00-Z-
0001-01A
2001 Mercedes-Benz ML320
1998-2005 SUSPENSION Suspension - 163 Chassis
me
Saturday, October 02, 2010 3:37:35 PMPage 3 © 2006 Mitchell Repair Information Company, LLC.
Page 3912 of 4133
Fig. 3: Identifying Tensioning Plates (163 589 00 63 00)
1. Pre-equip tensioning device.
Insert tensioning plates (01a) into tensioner (01) until they engage. Press pins (arrows) to remove the
clamping plates.
2. Pre-adjust tensioning device to approx. 130 mm (a). This makes it easier to insert the rear spring
Fig. 4: Identifying Tensioning Plates And Pins
3. Clamp tensioning device (01) horizontal in vise.
4. Insert rear spring (73) in the clamping plates so that the end of the winding of the rear spring is roughly
parallel with the upper edge of the clamping plates (arrows a).
Insert rear spring from the 5th to the 11th rear spring winding (counted from the side with the larger
winding diameter in the clamping plates (6 to 7 windings must be clamped).
2001 Mercedes-Benz ML320
1998-2005 SUSPENSION Suspension - 163 Chassis
me
Saturday, October 02, 2010 3:37:35 PMPage 4 © 2006 Mitchell Repair Information Company, LLC.
Page 3913 of 4133
Fig. 5: Clamping Tensioning Device Horizontal In Vise And Rear Spring
5. Rotate rear spring by approx. a quarter of a revolution (counterclockwise) so that the end of the rear
spring winding is located approximately in the center of the clamping plate (arrow b).
6. Check whether the lugs of the clamping plates are above the rear spring windings (arrow c), if necessary
correct the position of the rear spring.
7. Compress rear spring.
REMOVE/INSTALL FRONT SPRING - AR32.20-P-0200GH
MODEL 163.113 /128 /136 /154 /157 /172 /174 /175
2001 Mercedes-Benz ML320
1998-2005 SUSPENSION Suspension - 163 Chassis
me
Saturday, October 02, 2010 3:37:35 PMPage 5 © 2006 Mitchell Repair Information Company, LLC.
Page 3914 of 4133
Fig. 6: Identifying Front Sp ring Components (1 Of 2)
Fig. 7: Identifying Front Sp ring Components (2 Of 2)
2001 Mercedes-Benz ML320
1998-2005 SUSPENSION Sus pension - 163 Chassis
me
Saturday, October 02, 2010 3:37:35 PMPage 6 © 2006 Mitchell Repair Information Company, LLC.
Page 3915 of 4133

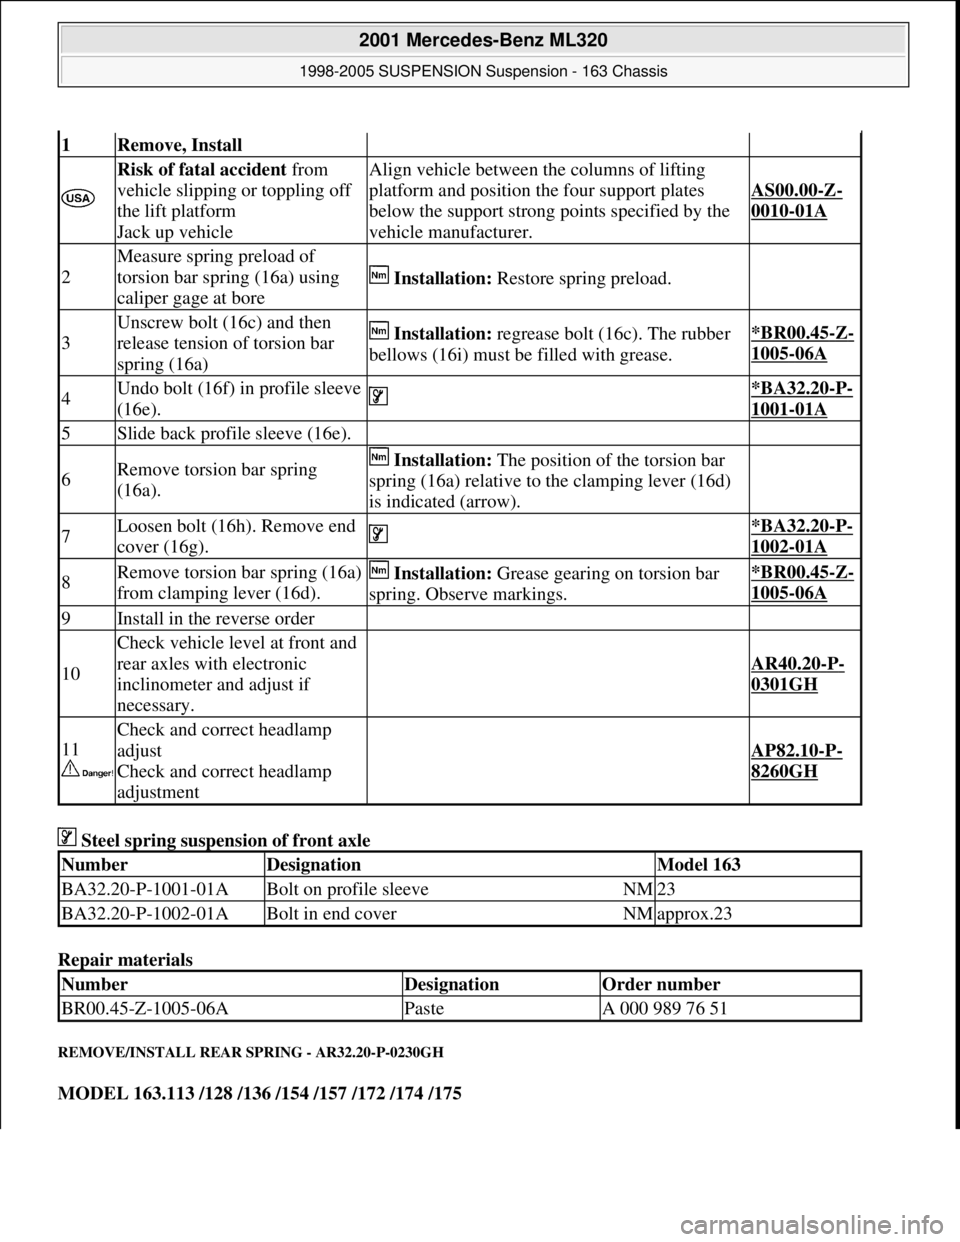
Steel spring suspension of front axle
Repair materials
REMOVE/INSTALL REAR SPRING - AR32.20-P-0230GH
MODEL 163.113 /128 /136 /154 /157 /172 /174 /175
1Remove, Install
Risk of fatal accident from
vehicle slipping or toppling off
the lift platform
Jack up vehicleAlign vehicle between the columns of lifting
platform and position the four support plates
below the support strong points specified by the
vehicle manufacturer.
AS00.00-Z-
0010-01A
2
Measure spring preload of
torsion bar spring (16a) using
caliper gage at bore
Installation: Restore spring preload.
3
Unscrew bolt (16c) and then
release tension of torsion bar
spring (16a) Installation: regrease bolt (16c). The rubber
bellows (16i) must be filled with grease.*BR00.45-Z-
1005-06A
4Undo bolt (16f) in profile sleeve
(16e). *BA32.20-P-
1001-01A
5Slide back profile sleeve (16e).
6Remove torsion bar spring
(16a). Installation: The position of the torsion bar
spring (16a) relative to the clamping lever (16d)
is indicated (arrow).
7Loosen bolt (16h). Remove end
cover (16g). *BA32.20-P-
1002-01A
8Remove torsion bar spring (16a)
from clamping lever (16d). Installation: Grease gearing on torsion bar
spring. Observe markings.*BR00.45-Z-
1005-06A
9Install in the reverse order
10
Check vehicle level at front and
rear axles with electronic
inclinometer and adjust if
necessary.
AR40.20-P-
0301GH
11
Check and correct headlamp
adjust
Check and correct headlamp
adjustment
AP82.10-P-
8260GH
Number Designation Model 163
BA32.20-P-1001-01ABolt on profile sleeveNM23
BA32.20-P-1002-01ABolt in end coverNMapprox.23
NumberDesignationOrder number
BR00.45-Z-1005-06APasteA 000 989 76 51
2001 Mercedes-Benz ML320
1998-2005 SUSPENSION Suspension - 163 Chassis
me
Saturday, October 02, 2010 3:37:35 PMPage 7 © 2006 Mitchell Repair Information Company, LLC.
Page 3916 of 4133
Fig. 8: Identifying Rear Spring Components
Remove/Install
Risk of injury with
trapped or crushed
fingers when working on
springs or spring-loaded
componentsUse only approved
tensioning devices;
additionally shield off
hazardous area if
necessary.
Inspect special tools for
damage and proper
operation (visual
inspection).
Wear protective gloves.AS00.00-Z-0001-01A
Notes on self-locking nuts
and boltsAll modelsAH00.00-N-0001-01A
1Remove spring strut from
rear axle AR32.25-P-1016GH
2Remove shock absorber
from spring strut AR32.25-P-0200-07GH
*BA32.25-P-1003-03D
Spring
compressorFig. 2
Tensioning platesFig. 3
3Unclamp rear spring Installation: ?
2001 Mercedes-Benz ML320
1998-2005 SUSPENSION Suspension - 163 Chassis
me
Saturday, October 02, 2010 3:37:35 PMPage 8 © 2006 Mitchell Repair Information Company, LLC.
Page 3917 of 4133
Rear axle shock absorber
Fig. 9: Identifying Tensioning Device (203 589 01 31 00)
Fig. 10: Identifying Tensioning Plates (163 589 00 63 00)
REMOVE/INSTALL TORSION BAR ON FRONT AXLE - AR32.20-P-0300GH
MODEL 163.113 /128 /136 /154 /157 /172 /174 /175
Compress rear spring.AR32.20-P-0200-06GH
Spring
compressorFig. 2
Tensioning platesFig. 3
4Install in the reverse order
Testing
5Check and correct
headlamp adjustment
Check and correct
headlamp adjustmentAP82.10-P-8260GH
NumberDesignationModel Series 163
BA32.25-P-1003-03DSelf-locking nut, shock
absorber to rear springNM30
2001 Mercedes-Benz ML320
1998-2005 SUSPENSION Sus pension - 163 Chassis
me
Saturday, October 02, 2010 3:37:35 PMPage 9 © 2006 Mitchell Repair Information Company, LLC.