Page 1129 of 4133

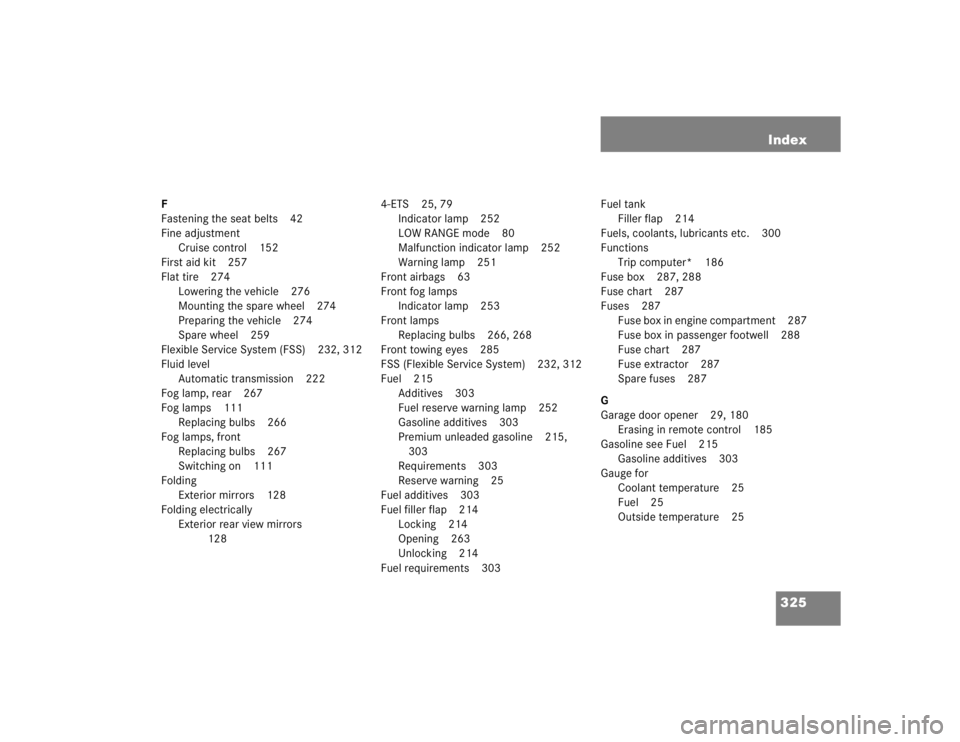
325 Index
F
Fastening the seat belts 42
Fine adjustment
Cruise control 152
First aid kit 257
Flat tire 274
Lowering the vehicle 276
Mounting the spare wheel 274
Preparing the vehicle 274
Spare wheel 259
Flexible Service System (FSS) 232, 312
Fluid level
Automatic transmission 222
Fog lamp, rear 267
Fog lamps 111
Replacing bulbs 266
Fog lamps, front
Replacing bulbs 267
Switching on 111
Folding
Exterior mirrors 128
Folding electrically
Exterior rear view mirrors
1284-ETS 25, 79
Indicator lamp 252
LOW RANGE mode 80
Malfunction indicator lamp 252
Warning lamp 251
Front airbags 63
Front fog lamps
Indicator lamp 253
Front lamps
Replacing bulbs 266, 268
Front towing eyes 285
FSS (Flexible Service System) 232, 312
Fuel 215
Additives 303
Fuel reserve warning lamp 252
Gasoline additives 303
Premium unleaded gasoline 215,
303
Requirements 303
Reserve warning 25
Fuel additives 303
Fuel filler flap 214
Locking 214
Opening 263
Unlocking 214
Fuel requirements 303Fuel tank
Filler flap 214
Fuels, coolants, lubricants etc. 300
Functions
Trip computer* 186
Fuse box 287, 288
Fuse chart 287
Fuses 287
F us e box i n engi ne com p art me nt 2 87
Fuse box in passenger footwell 288
Fuse chart 287
Fuse extractor 287
Spare fuses 287
G
Garage door opener 29, 180
Erasing in remote control 185
Gasoline see Fuel 215
Gasoline additives 303
Gauge for
Coolant temperature 25
Fuel 25
Outside temperature 25
Page 1757 of 4133
REMOVE/INSTALL TURN SIGNAL LAMPS - AR82.10-P-4725GH
MODELS 163.113 /154 /174 #A as of 289565, 163.113 #X as of 754620, 163.128/157/175
Turn signal lamp in exterior mirror
Fig. 162: Identifying Turn Signal Lamp Components
lamp unit
2Place headlamp in
inverted position on
workbenchPlace on a soft base so
that the headlamp lens is
not scratched.
3Remove bolts (1) 3 each.
4Remove Xenon headlamp
control unit Is unplugged
automatically when
removed.
5Install in the reverse order
6Set headlamps to zero
position using STAR
DIAGNOSIS
7Inspect headlamp
adjustment, correct if
necessary.
Check and correct
headlamp adjustment AP82.10-P-8260GH
Remove/install
1Remove exterior mirror AR88.70-P-9040GI
2001 Mercedes-Benz ML320
1998-2005 ACCESSORIES & BODY, CAB Electrical System - Body - 163 Chassis
me
Saturday, October 02, 2010 3:30:09 PMPage 262 © 2006 Mitchell Repair Information Company, LLC.
Page 1758 of 4133
REMOVE/INSTALL HEADLAMP UNIT - AR82.10-P-4730GH
MODEL 163.113 /128 /136 /154 /157 /172 /174 /175
Fig. 163: Identifying Headlamp Unit Components
paneling (4)
2Unscrew screw (2) of turn
signal lamp (3) in the
exterior mirror paneling
(4)
3Remove turn signal lamp
(3) from the exterior
mirror paneling (4)
4Install in the reverse order
Remove/Install
1Open engine hood
2Unlock cover (1) at the
clip (arrow A) under the
lamp unit and unhook Installation: Lock
clip again.
3Unscrew screw (2)
4Unscrew nuts (3). Installation: Align
the lamp unit so that the
2001 Mercedes-Benz ML320
1998-2005 ACCESSORIES & BODY, CAB Electrical System - Body - 163 Chassis
me
Saturday, October 02, 2010 3:30:09 PMPage 263 © 2006 Mitchell Repair Information Company, LLC.