Page 356 of 4133

306 Index
Te ch n ica l
data Instruments
and controlsOperation DrivingInstrument
cluster displayPractical hints Car careIndex
Parking lamp ...................................................... 90, 264
Replacing bulbs .........................................................260
Side marker lamp ......................................................264
Standing lamp .................................................... 90, 264
Taillamp assemblies .................................................265
Turn signal lamp ................................................ 90, 264
Turn signal lamp, side .............................................266
Layout of poly-V-belt ......................................................286
Liftgate ............................................................................... 34
Unlocking ..................................................................... 28
Lighter ..............................................................................119
Limp home mode (Automatic transmission) ............. 172
Loading instructions ..................................................... 136
Lockable storage compartment .....................................116
Locking and unlocking the vehicle ............................... 27
Low engine coolant level warning ..............................224
Low engine oil level warning .......................................224
LOW RANGE
Indicator lamp ........................................................... 221
LOW RANGE mode ........................................................209
LOW RANGE – 4-ETS+ .............................................204
LOW RANGE – ABS ..................................................202
LOW RANGE – ESP ...................................................208
MMaintenance ...................................................................147
Malfunction and indicator lamps in the instrument
cluster ......................................................................... 218
Manual locking/unlocking the doors ...........................29
Manual operation of Skyview Top .............................. 273
Manual operation of sliding/pop-up roof .................. 272
Manual seat, front ............................................................39
MCS, radio and telephone ............................................146
Mechanical keys ............................................................... 29
Memory .............................................................................42
Recalling ....................................................................... 42
Storing ........................................................................... 42
Mirror, exterior, adjusting ..............................................73
Mirror, exterior, rear view ..............................................73
Mirror, inside, rear view ................................................. 71
Mirrors, vanity ................................................................ 113
Page 681 of 4133
214
What you should know at the gas station
Te ch n ica l
data
Instruments
and controls Operation
Driving Instrument
cluster display Practical hints Car care Index
•Bulbs high beam: H1 U (55 W),
low beam: H7 (55 W)
low beam: Xenon D2R - 35 W (optional)
fog lamps (optional): H3 U (55 W),
turn signal, parking, side marker and standing
lamps, front: 1157 (32 / 3 cp),
turn signal lamp, side: W 5 W (168 [3 cp]),
stop lamps: P 21 W (1073 [32 cp]),
backup lamps: P 21 W (1073 [32 cp]),
turn signal lamps, rear: P Y 21 W,
tail, parking, side marker, standing, and rear fog
lamp, driver’s side: P 21/4 W,
license plate lamps: C 5 W (tubular),
high mounted stop lamp: P 21 W (1073 [32 cp]).
Page 685 of 4133

218
Malfunction and indicator lamps
Te ch n ica l
data
Instruments
and controls Operation Driving
Instrument
cluster display Practical hints Car care Index
Malfunction and indicator lamps
in the instrument cluster
General information:
If a bulb in the instrument cluster fails to light up
during the bulb self-check when turning the key in
steering lock to position 2, have it checked and replaced
if necessary.
On-board diagnostic system
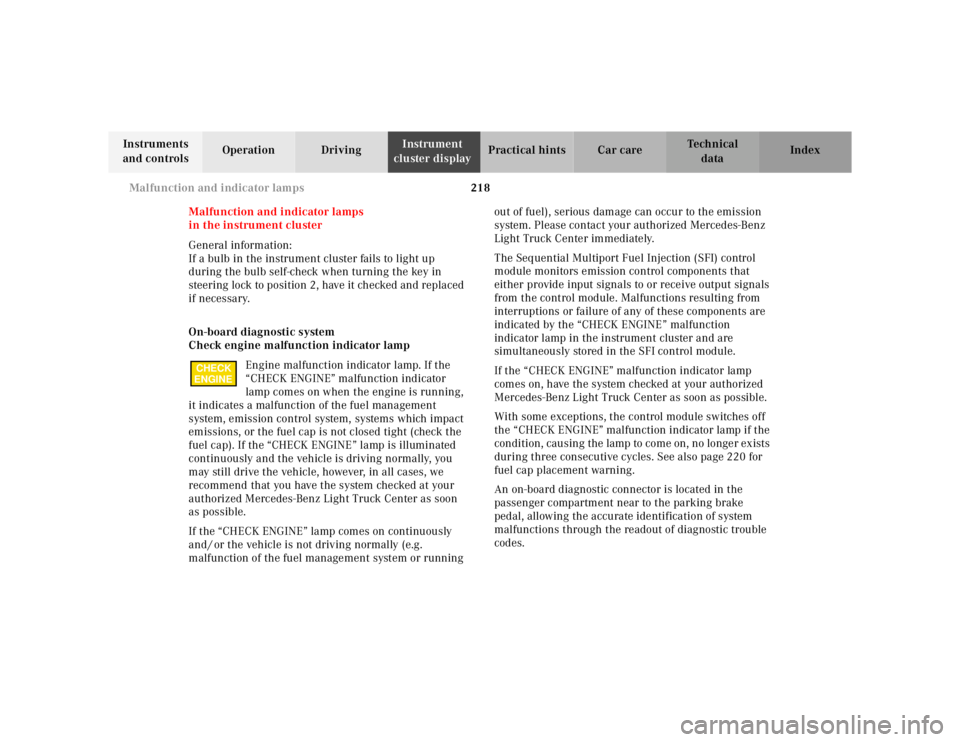
Check engine malfunction indicator lamp
Engine malfunction indicator lamp. If the
“CHECK ENGINE” malfunction indicator
lamp comes on when the engine is running,
it indicates a malfunction of the fuel management
system, emission control system, systems which impact
emissions, or the fuel cap is not closed tight (check the
fuel cap). If the “CHECK ENGINE” lamp is illuminated
continuously and the vehicle is driving normally, you
may still drive the vehicle, however, in all cases, we
recommend that you have the system checked at your
authorized Mercedes-Benz Light Truck Center as soon
as possible.
If the “CHECK ENGINE” lamp comes on continuously
and / or the vehicle is not driving normally (e.g.
malfunction of the fuel management system or running out of fuel), serious damage can occur to the emission
system. Please contact your authorized Mercedes-Benz
Light Truck Center immediately.
The Sequential Multiport Fuel Injection (SFI) control
module monitors emission control components that
either provide input signals to or receive output signals
from the control module. Malfunctions resulting from
interruptions or failure of any of these components are
indicated by the “CHECK ENGINE” malfunction
indicator lamp in the instrument cluster and are
simultaneously stored in the SFI control module.
If the “CHECK ENGINE” malfunction indicator lamp
comes on, have the system checked at your authorized
Mercedes-Benz Light Truck Center as soon as possible.
With some exceptions, the control module switches off
the “CHECK ENGINE” malfunction indicator lamp if the
condition, causing the lamp to come on, no longer exists
during three consecutive cycles. See also page 220 for
fuel cap placement warning.
An on-board diagnostic connector is located in the
passenger compartment near to the parking brake
pedal, allowing the accurate identification of system
malfunctions through the readout of diagnostic trouble
codes.
CHECK
ENGINE
Page 728 of 4133
261
Exterior lamps
Te ch n ica l
data
Instruments
and controls Operation Driving
Instrument
cluster display Practical hints
Car care Index
Headlamp assembly (Halogen)
1 Headlamp vertical adjustment screw
2 Headlamp horizontal adjustment screw
3 Headlamp cover with locking tab
4 Bulb socket for turn signal, parking, standing, and
side marker lamp 5
Electrical connector for low beam headlamp bulb
6 Electrical connector for high beam headlamp bulb
7 Level for headlamp vertical adjustment
8 Scale for headlamp horizontal adjustment
9 Auxiliary fog lamp (if so equipped)
Page 729 of 4133
262
Exterior lamps
Te ch n ica l
data
Instruments
and controls Operation Driving
Instrument
cluster display Practical hints
Car care Index
Headlamp assembly (Xenon)
1 Headlamp vertical adjustment screw
2 Headlamp horizontal adjustment screw
3 Headlamp cover with locking tab
4 Bulb socket for turn signal, parking, standing, and
side marker lamp 5
Electrical connector for low beam headlamp bulb
6 Electrical connector for high beam headlamp bulb
7 Auxiliary fog lamp (if so equipped)
Page 731 of 4133
264
Exterior lamps
Te ch n ica l
data
Instruments
and controls Operation Driving
Instrument
cluster display Practical hints
Car care Index
Parking, standing, side marker and turn signal lamp
115 6 N A ( 3 2 / 4 c p b u l b )
Open hood.
Twist bulb socket (4) counterclockwise and pull out.
Push bulb into socket, turn counterclockwise and
remove.
Insert new bulb in socket, push in and twist clockwise.
Reinstall bulb socket. Bulbs for auxiliary fog lamp
(optional)
H3 U (55 W)
Open hood.
Remove cover (9). Unhook clamping ring and remove
bulb. Pull off electrical connector.
Insert new bulb in socket (seating properly in cutouts of
bulb socket), and mount clamping ring. Reinstall and
push electrical connector on securely.
Reinstall cover (9).
Page 732 of 4133
265
Exterior lamps
Te ch n ica l
data
Instruments
and controls Operation Driving
Instrument
cluster display Practical hints
Car care Index
Taillamp assemblies
1 Stop lamp (1073 [32 cp bulb])
2 Backup lamp (1073 [32 cp bulb])
3 Turn signal lamp (P Y 21 W bulb)
4 Tail, parking, standing and side marker lamp,
driver’s side rear fog lamp (P 21 / 4 W bulb) Open liftgate.
Remove nuts (1).
Remove taillamp.
P82.10-2342-26
P82.10-2343-26
Page 733 of 4133
266
Exterior lamps
Te ch n ica l
data
Instruments
and controls Operation Driving
Instrument
cluster display Practical hints
Car care Index
Pull off electrical connector (2).
Squeeze tabs (3) together and remove bulb holder.
Push bulb into socket, turn counterclockwise and
remove.
Insert new bulb in socket, push in and twist clockwise.
Reinstall bulb holder.
Reinstall electrical connector (2).
Reinstall taillamp. Turn signal lamp, side
(168 [3 cp bulb])
Carefully slide lamp slightly towards rear (arrow), lift
away its front end first, then remove lamp from panel.
Twist bulb socket counterclockwise and pull out. Pull
bulb out of socket.
Insert new bulb in socket. Reinstall bulb socket.
To reinstall lamp, set rear end of lamp into panel and let
front end snap into place.