Page 144 of 236

Your vehicle can not be flat towed
with all wheels on the ground.
Servicing while towing
If you tow a trailer for long
distances, your vehicle requires
more frequent service than a
vehicle not used for towing. Refer
to the ªService Guideº for more
information on maintenance
intervals.
Using a step bumper
The rear bumper is equipped with
an integral hitch and requires only
a ball with a ô inch shank
diameter. The bumper has a Class
II capability (1590 kg / 3500 lb
trailer weight and 159 kg / 350 lb
tongue weight).
Use a frame mounted weight
distributing hitch for trailers over
1590 kg (3500 lb).
Launching or retrieving a boat
When backing down a ramp during
boat launching or retrieval,
²Do not allow the static water
level to rise above the bottom
edge of the rear bumper and
²Do not allow waves to break
higher than 15 cm (six inches)
above the bottom edge of the
rear bumper.
Exceeding these limits may allow
water to enter critical vehicle
components, adversely affecting
driveability, emissions and
reliability.uno_servicing_while_towing
uno_step_bumper_towing
com_launch-retrieving_boat.01
uno_roof-rack_title
Driving
145
Page 175 of 236

kilometers (mileage) and time
requirements, whichever occurs
first:
²Normal Schedule ± 8,000 km
(5,000 miles) or six months.
²Severe Duty Schedule ± 5,000
km (3,000 miles) or three
months. Severe duty operation
would include extensive idling,
trailer towing, driving in severe
dust and police, taxi or delivery
service.
Ford production and aftermarket
(Motorcraft) oil filters are designed
for added engine protection and
long life. If a replacement oil filter
is used that does not meet Ford
material and design specifications,
startup engine noises or knock
may be experienced.
It is recommended you use the
appropriate Motorcraft oil filter (or
another brand meeting Ford
specifications) for your engine
application.
DRIVELINE UNIVERSAL JOINT
AND SLIP YOKE
The universal joints standard with
your vehicle do not require
lubrication. If the original
equipment universal joints are
replaced with universal joints
equipped with grease fittings,
lubrication will be necessary at the
intervals shown in the ªService
Guideº supplement.
com_universal_joint.01
com_checking-adding_fluid.01
Maintenance and care
176
Page 182 of 236
freeze at the temperature level in
which you drive during winter
months. Never increase the engine
coolant concentration above 60%.
Leave a 50/50 mixture of engine
coolant and water in your vehicle
year-round in non-extreme
climates.
Adding engine coolant
1. Before removing the engine
coolant recovery cap, turn the
engine off and allow it to cool.
2. When the engine is cool, lift and
remove the cap.
²Step back for a moment while
the pressure in the reservoir is
released.
²Stand away from the reservoir
opening, hot steam or coolant
spray may be released.
3. Add engine coolant until the
fluid level in the reservoir is
between the MAX and MIN lines
on the reservoir.
Follow the recommended service
interval for changing engine
coolant as outlined in the ªService
Guideº. Refer to theCapacities
and specificationschapter for
more information on engine
coolant specifications.
RADIATOR
COOLANT
ONLY
uno_adding_engine_coolant
com_checking_hoses.01
Maintenance and care
183
Page 185 of 236
4. Visually inspect the fluid level in
the power steering reservoir.
5. If necessary, add power steering
fluid until the fluid level reaches
MAX. Do not overfill the reservoir.
²As a maintenance precaution,
visually inspect the lines and
hoses of the power steering
system for leaks and damage.
²If new fluid is frequently
required, consult a qualified
service technician.
TRANMISSION MAINTENANCE
Checking and adding automatic
transmission fluid
Check the automatic transmission
fluid according to the scheduled
intervals in the ªService Guideº.
Before adding any fluid, make sure
the correct type will be used. This
information is stamped on the
dipstick.
Check the fluid after your vehicle
has reached normal operating
temperature, which is reached
after driving approximately 32 km
(20 miles).
Add fluid in .25L (1/2 pint)
increments through the filler tube
MAX
MIN
DONOTOVERFILLPOWERSTEERINGFLUID
ADD FULL
uno_trans_fluid_title
com_checking-adding_fluid.02
Maintenance and care
186
Page 186 of 236

until the level is at the correct
area on the dipstick. If an overfill
occurs, excess fluid should be
removed by a qualified technician.
Checking and adding manual
transmission fluid (if equipped)
1. Clean the filler plug.
2. Remove the filler plug and
inspect the fluid level.
²The fluid level should be at the
bottom of the opening.
3. Add enough fluid through the
filler opening so that the fluid level
is at the bottom of the opening.
Use only fluid that meets Ford
specifications. Refer to the
Capacities and specifications
chapter for more information on
manual transmission fluid.
Driveline universal joint and slip
yoke
The universal joints standard with
your vehicle do not require
lubrication. If the original
equipment universal joints are
replaced with universal joints
equipped with grease fittings,
lubrication will be necessary at the
intervals shown in theService
Guidesupplement.
Constant velocity or double
carden joint (if equipped)
This component may be fitted with
a flush-type grease fitting that
requires an adaptor to permit
proper lubrication. If replaced,
uno_manual_trans_fluid
uno_driveline1
uno_constant_velocity
Maintenance and care
187
Page 187 of 236
lubricate the driveline joint
according to the maintenance
intervals specified in theService
Guide.
CHECKING AND ADDING
DIFFERENTIAL FLUID
(IF EQUIPPED)
To check and add differential fluid,
follow these steps:
1. Clean the filler plug.
2. Remove the filler plug and
inspect fluid level.
²Fluid level should be at the
bottom of the opening.
The rear axle is filled with
synthetic lubricant and will not
require a lubricant change during
the life of the vehicle unless the
rear axle has been submerged in
water. In addition, rear axle
lubricant quantities need not be
checked or changed unless a leak
is suspected or repair is needed.
BATTERY MAINTENANCE
Important battery information
If the original equipment
maintenance Ðfree battery needs
uno_differentail_fluid
uno_battery_title
uno_info_battery
Maintenance and care
188
Page 188 of 236

replacement, it may be replaced
with a low-maintenance battery.
For information on appropriate
replacement batteries, refer to
Motorcraft partsin theCapacities
and specificationschapter.
Applying too much
pressure on the ends when
lifting a battery could cause acid
to spill. Lift the battery with a
carrier or with your hands on the
opposite corners.
Batteries normally produce
explosive gases which can
cause personal injury. Do not
allow flames, sparks or lit
tobacco to come near the
battery. Always cover your face
and protect your eyes and also
provide ventilation.
Follow these steps to
minimize risk of personal
injury.
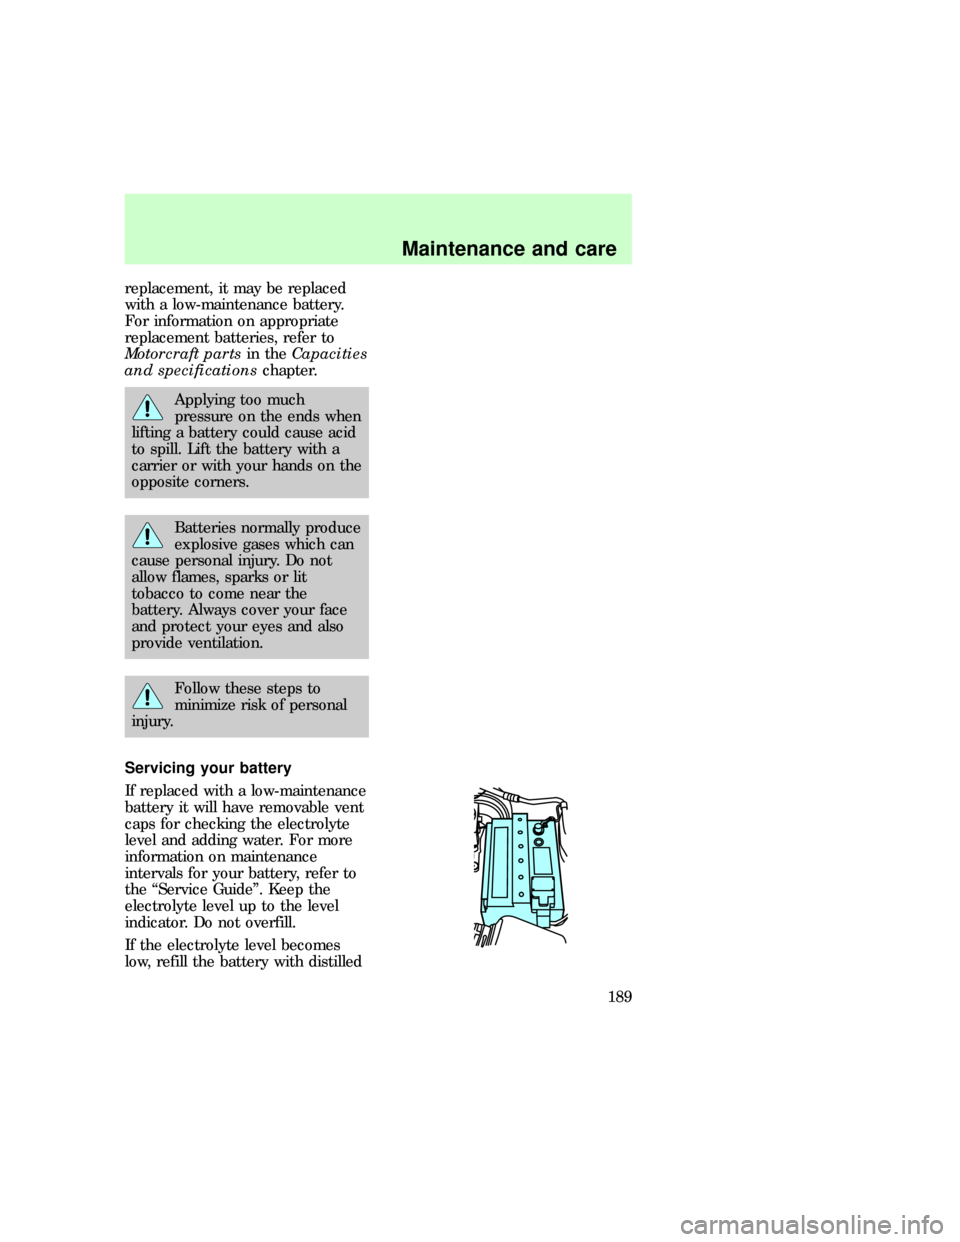
Servicing your battery
If replaced with a low-maintenance
battery it will have removable vent
caps for checking the electrolyte
level and adding water. For more
information on maintenance
intervals for your battery, refer to
the ªService Guideº. Keep the
electrolyte level up to the level
indicator. Do not overfill.
If the electrolyte level becomes
low, refill the battery with distilled
uno_servicing_battery
Maintenance and care
189
Page 191 of 236
Always dispose of automotive
batteries in a responsible manner.
Follow your community's local
standards for disposal. Call your
local recycling center to find out
more about recycling automotive
batteries.
Battery saver control feature
Your vehicle is equipped with a
battery saver control feature
designed to prevent your battery
from accidental wear down due to
doors left ajar. For information on
the system and its function, refer
to theControls and features
chapter.
AIR CLEANER FILTER
MAINTENANCE
Refer to the ªService Guideº for
the appropriate intervals for
changing the air cleaner filter.
Do not start your engine
with the air cleaner
removed and do not remove it
while the engine is running.
uno_saver_battery_feature
uno_air_filter_maint
uno_changing_air_filter
Maintenance and care
192