Page 69 of 236
Locking the doors
Press LOCK to lock all doors.
To confirm all doors are closed and
locked, press the LOCK control a
second time within five seconds.
The doors will lock again, the horn
will chirp and the lamps will flash.
If the horn chirps twice, a door is
still ajar and the anti-theft system
will not arm.
Sounding a panic alarm
Press the PANIC control to
activate the horn and lights.
To deactivate the alarm, press the
PANIC control again or turn the
ignition to the Acc or On position.
Remote memory seat feature
(if equipped)
The remote keyless entry system
can control the Memory Seat
system (refer to theMemory seat
section in theSeating and safety
restraintschapter. Each of the
first three transmitters
programmed recall a different seat
position.
PANICUN
LOCKLOCK
LOCK
PANICUN
LOCK
uno_remote_panic
uno_remote_memory_seat
Controls and features
70
Page 73 of 236

KEYLESS ENTRY SYSTEM
(IF EQUIPPED)
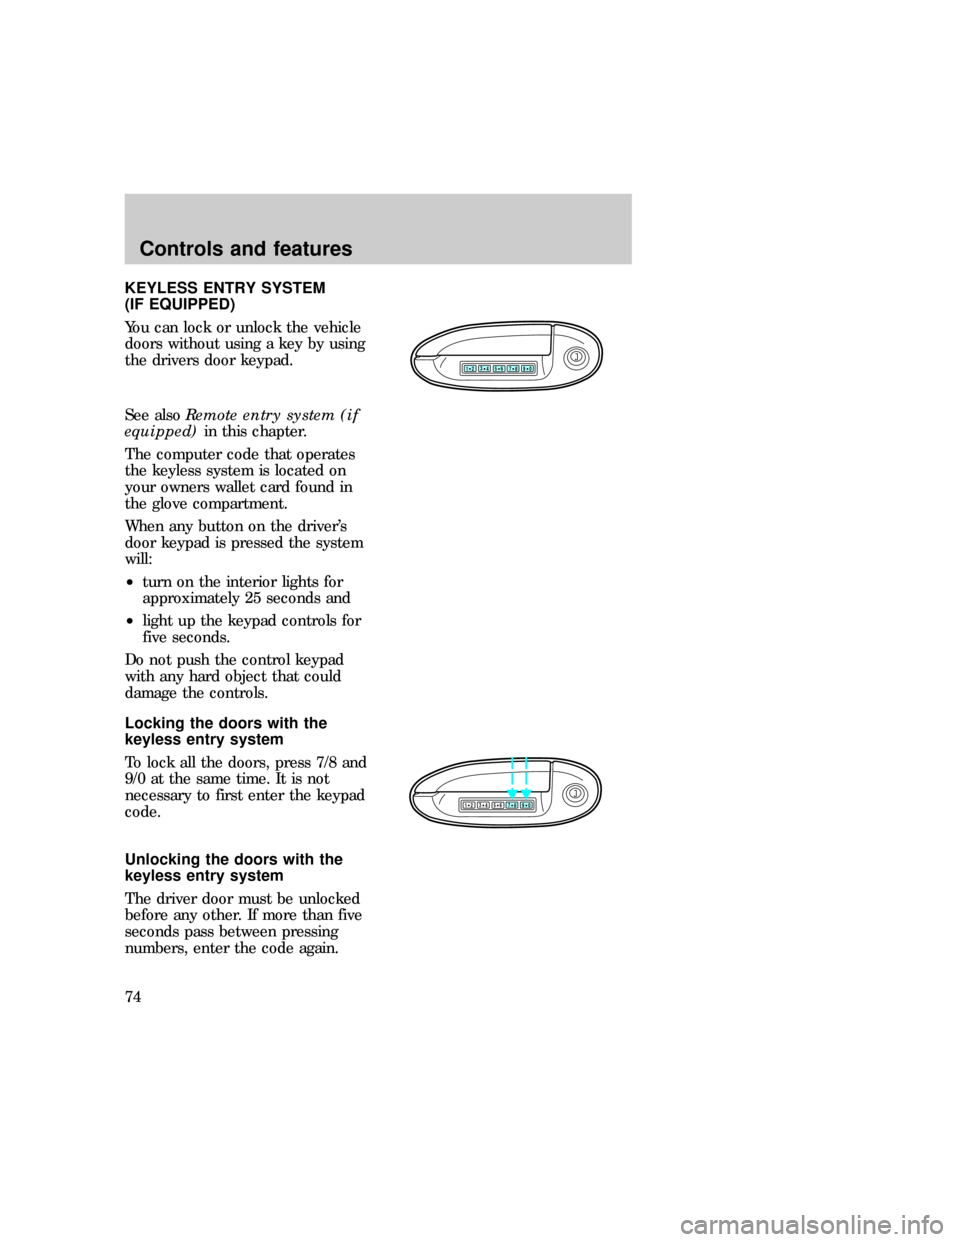
You can lock or unlock the vehicle
doors without using a key by using
the drivers door keypad.
See alsoRemote entry system (if
equipped)in this chapter.
The computer code that operates
the keyless system is located on
your owners wallet card found in
the glove compartment.
When any button on the driver's
door keypad is pressed the system
will:
²turn on the interior lights for
approximately 25 seconds and
²light up the keypad controls for
five seconds.
Do not push the control keypad
with any hard object that could
damage the controls.
Locking the doors with the
keyless entry system
To lock all the doors, press 7/8 and
9/0 at the same time. It is not
necessary to first enter the keypad
code.
Unlocking the doors with the
keyless entry system
The driver door must be unlocked
before any other. If more than five
seconds pass between pressing
numbers, enter the code again.
123
45678
90
123
45678
90
com_keyless_locking.01
uno_keyless_unlocking
Controls and features
74
Page 74 of 236
The system has shut down if the
keypad light is out. If the keyless
entry system does not work, use
the key or remote entry
transmitter(s).
1. To unlock the driver door, enter
one of the two codes. After
pressing the fifth number, the
driver door unlocks.
2. To unlock the passenger door(s)
and liftgate, press the 3/4 button
within five seconds of unlocking
the driver door.
Programming your own entry
code
This code does not replace the
permanent code from the
dealership.
To program your own code:
1. Select five digits for your
personal code.
2. Enter the permanent code that
the dealership gave you.
3. Within five seconds, press 1/2.
4. Within five seconds of pressing
1/2, enter your personal code,
pressing each digit within five
seconds of the previous digit.
You can now use either code. The
system remembers only one
personal code at a time.
To erase your personal code:
123
45678
90
123
45678
90
com_keyless_programming.01
Controls and features
75
Page 81 of 236
Press to increase (+ ) or decrease
(-) lumbar support.
Memory seats (if equipped)
This system allows automatic
positioning of the driver seat to
three programmable positions.
²To program position one, move
the driver seat to the desired
position using the seat controls.
Press the SET control. The SET
control indicator light will briefly
illuminate. While the light is
illuminated, press control 1.
²To program position two, repeat
the previous procedure using
control 2.
²To program position three,
repeat the previous procedure
but press controls 1 and 2
simultaneously.
A position can only be recalled
when the automatic transmission
gearshift is in P (Park) or the
manual transmission gearshift is in
N (Neutral). A memory seat
position may be programmed at
any time.
+–
SET
12
uno_remote_seat_controls
uno_seat_belts
Seating and safety restraints
82
Page 86 of 236
Using lap belts
Adjusting the lap belt
A lap belt is located in the center
of the rear seat.
To shorten the belt:
²Buckle the belt.
²Pull the loose end of the belt
until snug.
To lengthen the belt:
²Tip and pull the tongue.
Do not wear the lap belt around
your waist.
Safety belt indicator light and
warning chime
illuminates in the instrument
cluster and a chime sounds to
remind the occupants to fasten
their safety belts:
uno_adjusting_lap_belts
uno_indicator_light
Seating and safety restraints
87
Page 87 of 236

Conditions of operation
If......Then.....
The driver's safety belt is not
buckled before the ignition key
is turned to On. .The safety belt indicator illuminates
for 1-2 minutes and the warning
chime sounds for 4- 8 seconds.
The driver's safety belt is
buckled while the indicator
light is illuminated and the
reminder chime is sounding . .
.The safety belt indicator light and
reminder chime turn off.
The driver's safety belt is
buckled before the ignition key
is turned to On. . .The safety belt indicator light and
reminder chime remain off.
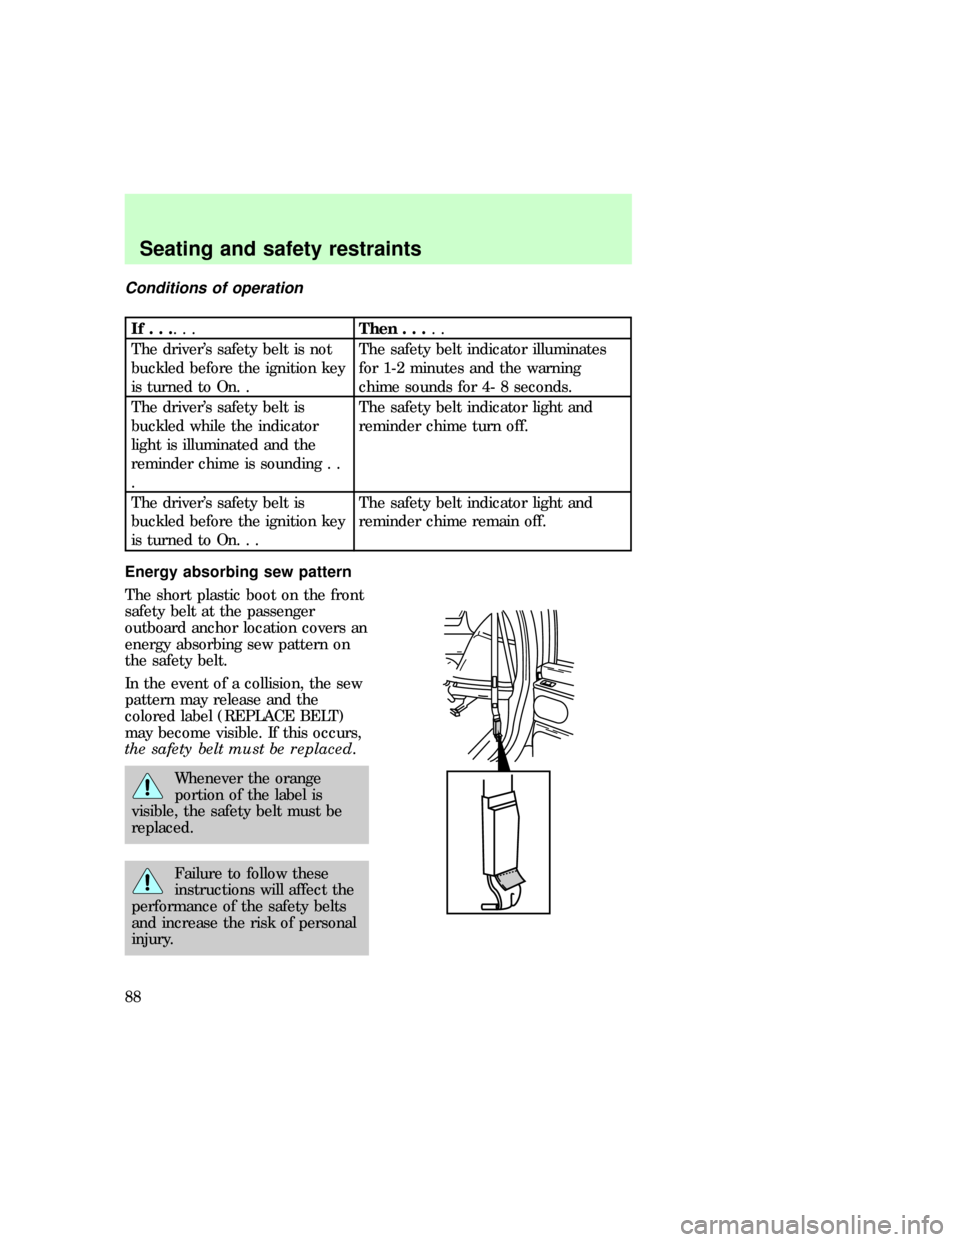
Energy absorbing sew pattern
The short plastic boot on the front
safety belt at the passenger
outboard anchor location covers an
energy absorbing sew pattern on
the safety belt.
In the event of a collision, the sew
pattern may release and the
colored label (REPLACE BELT)
may become visible. If this occurs,
the safety belt must be replaced.
Whenever the orange
portion of the label is
visible, the safety belt must be
replaced.
Failure to follow these
instructions will affect the
performance of the safety belts
and increase the risk of personal
injury.
uno_sbelt_maint
uno_sbelt_extension
Seating and safety restraints
88
Page 91 of 236

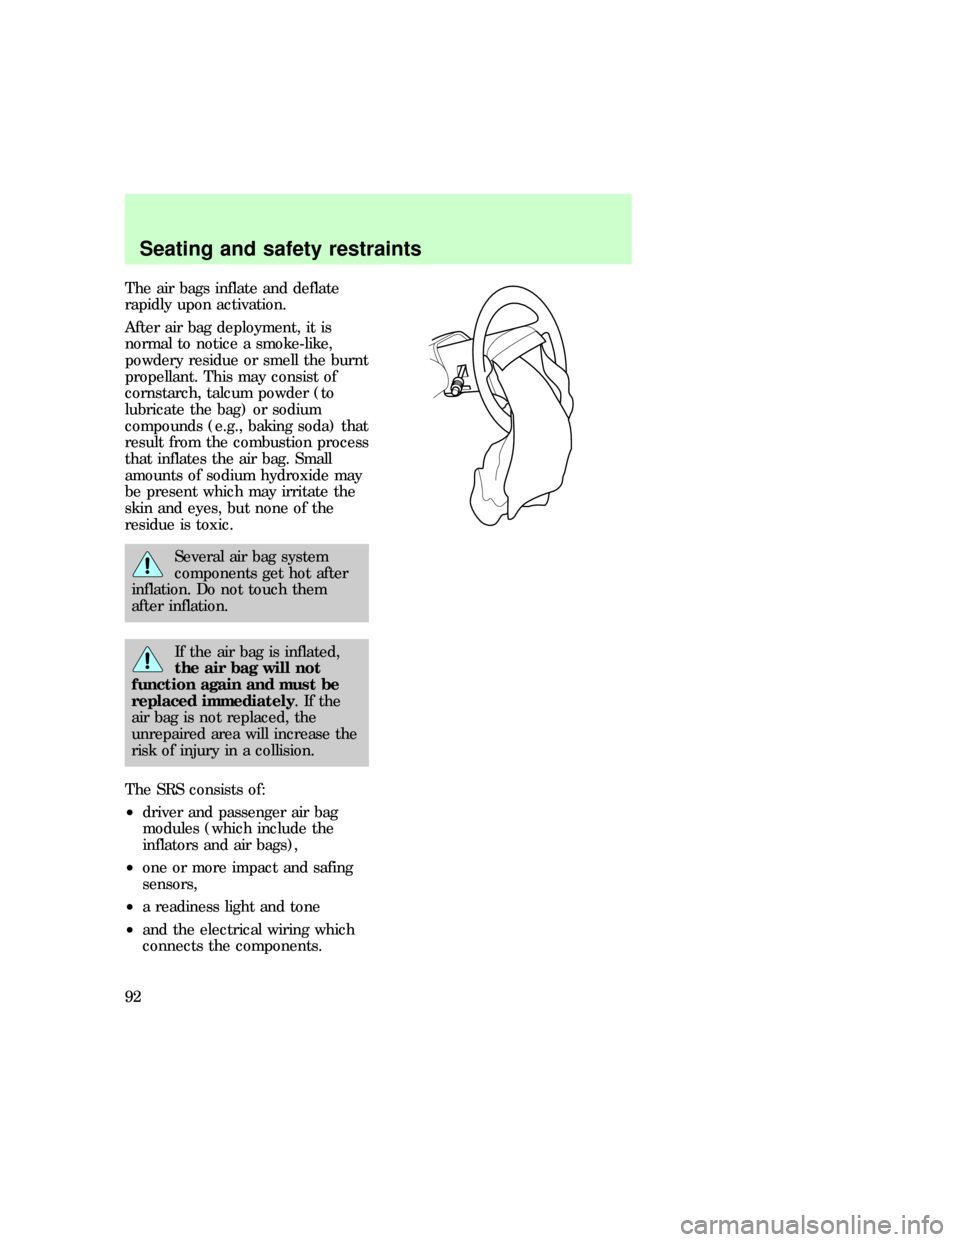
The air bags inflate and deflate
rapidly upon activation.
After air bag deployment, it is
normal to notice a smoke-like,
powdery residue or smell the burnt
propellant. This may consist of
cornstarch, talcum powder (to
lubricate the bag) or sodium
compounds (e.g., baking soda) that
result from the combustion process
that inflates the air bag. Small
amounts of sodium hydroxide may
be present which may irritate the
skin and eyes, but none of the
residue is toxic.
Several air bag system
components get hot after
inflation. Do not touch them
after inflation.
If the air bag is inflated,
the air bag will not
function again and must be
replaced immediately.Ifthe
air bag is not replaced, the
unrepaired area will increase the
risk of injury in a collision.
The SRS consists of:
²driver and passenger air bag
modules (which include the
inflators and air bags),
²one or more impact and safing
sensors,
²a readiness light and tone
²and the electrical wiring which
connects the components.
Seating and safety restraints
92
Page 92 of 236

The diagnostic module monitors its
own internal circuits and the
supplemental air bag electrical
system readiness (including the
impact sensors), the system wiring,
the air bag system readiness light,
the air bag back up power and the
air bag ignitors.
Determining if the system is
operational
The SRS uses a readiness light in
the instrument cluster or a tone to
indicate the condition of the
system. Refer to theAir bag
readinesssection in the
Instrumentationchapter. Routine
maintenance of the air bag is not
required.
A difficulty with the system is
indicated by one or more of the
following:
²The readiness light will either
flash or stay lit.
²The readiness light will not
illuminate immediately after
ignition is turned on.
²A group of five beeps will be
heard. The tone pattern will
repeat periodically until the
problem and light are repaired.
If any of these things happen, even
intermittently, have the SRS
serviced at your dealership or by a
qualified technician immediately.
Unless serviced, the system may
not function properly in the event
of a collision.
uno_determing_operational
com_disposal.01
Seating and safety restraints
93