Page 157 of 224
Working with the engine on
1. Set the parking brake fully and
ensure the gearshift is securely
latched in P (Park).
2. Block the wheels to prevent
your vehicle from moving
unexpectedly.
Do not start your engine
with the air cleaner
removed and do not remove it
while the engine is running.
IDENTIFYING COMPONENTS IN
THE ENGINE COMPARTMENT
4.6 / 5.4 L engine
1. Battery
2. Automatic transmission dipstick
12
107869
345
exd_title_engine_compartments
exd_2_engine_compartment
Maintenance and care
158
Page 159 of 224
are never needed and could, under
certain conditions, lead to engine
damage which is not covered by
your Ford warranty.
Synthetic engine oils which are
CERTIFIED and of the preferred
viscosity may be used in your
engine. The engine oil and oil filter
must still be changed according to
the ªService Guideº.
Checking the engine oil
Check the engine oil each time you
fuel your vehicle.
To check the oil:
1. Make sure the vehicle is on level
ground. If the engine is running,
turn the engine off and wait a few
minutes for the oil to drain into
the oil pan.
2. Set the parking brake and
ensure the gearshift is securely
latched in P.
3. Open the hood. Protect yourself
from engine heat.
exd_checking_engine_oil
Maintenance and care
160
Page 178 of 224

AIR CLEANER FILTER
MAINTENANCE
Refer to the ªService Guideº for
the appropriate intervals for
changing the air cleaner filter.
Do not start your engine
with the air cleaner
removed and do not remove it
while the engine is running.
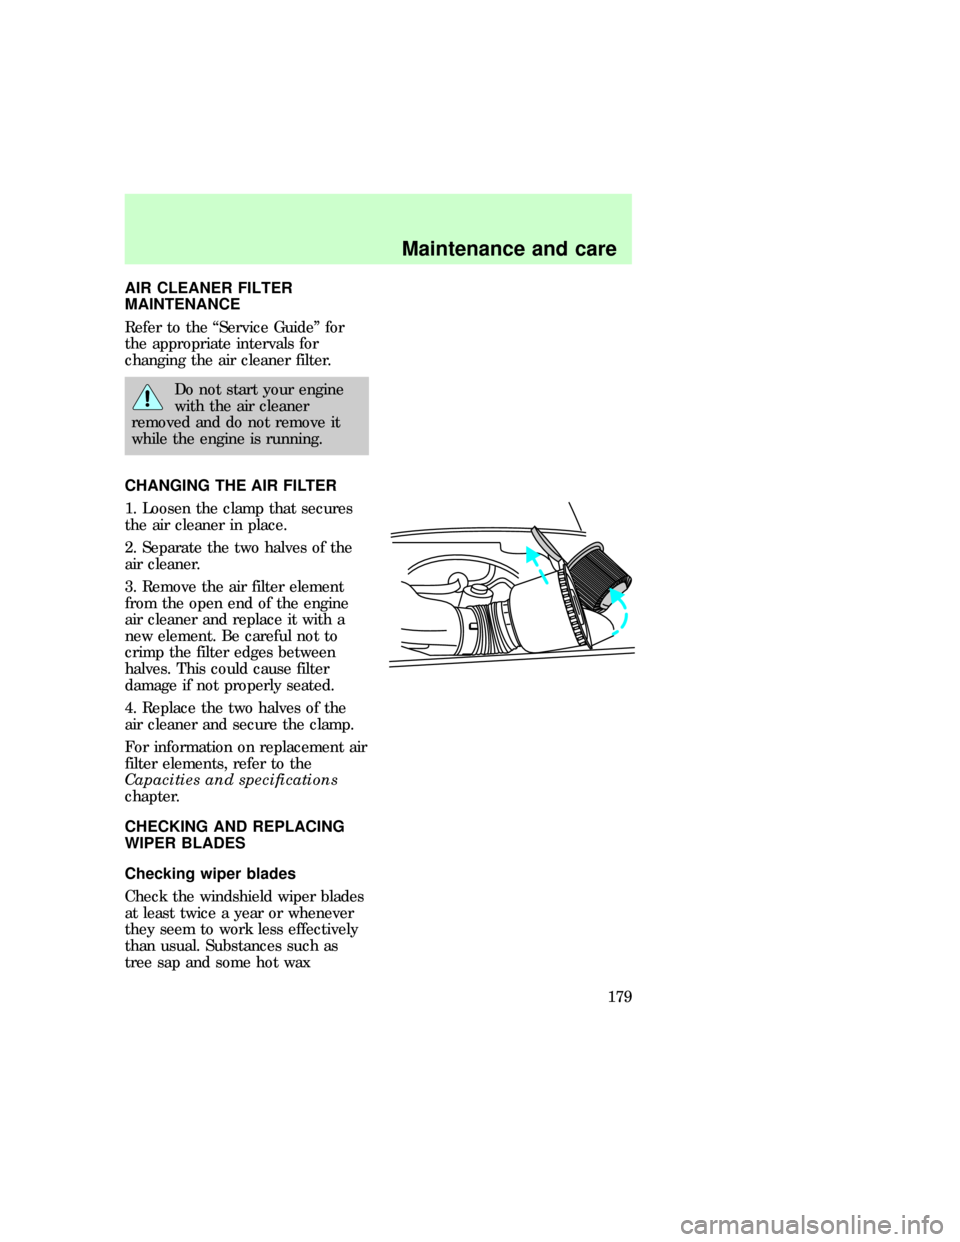
CHANGING THE AIR FILTER
1. Loosen the clamp that secures
the air cleaner in place.
2. Separate the two halves of the
air cleaner.
3. Remove the air filter element
from the open end of the engine
air cleaner and replace it with a
new element. Be careful not to
crimp the filter edges between
halves. This could cause filter
damage if not properly seated.
4. Replace the two halves of the
air cleaner and secure the clamp.
For information on replacement air
filter elements, refer to the
Capacities and specifications
chapter.
CHECKING AND REPLACING
WIPER BLADES
Checking wiper blades
Check the windshield wiper blades
at least twice a year or whenever
they seem to work less effectively
than usual. Substances such as
tree sap and some hot wax
exd_changing_air_filter
exd_wiper
exd_checking_wipers
Maintenance and care
179
Page 187 of 224
²Install cables securely, verifying
that the cables do not touch any
wiring, brake lines or fuel lines.
²Drive cautiously. If you hear the
cables rub or bang against the
vehicle, stop and retighten
them. If this does not work,
remove the cables to prevent
vehicle damage.
²Avoid overloading your vehicle.
²Remove the tire cables when
they are no longer needed.
²Do not use cables on dry roads.
²The suspension insulation and
bumpers will help prevent
vehicle damage. Do not remove
these components from the
vehicle when using snow tires
and traction devices.
²Do not exceed 48 km/h (30
mph) with tire cables on your
vehicle.
Consult your dealer for information
on other Ford approved methods
of traction control.
FUEL INFORMATION
The ignition key must be turned to
3 (Off) or 1 (Acc) during refueling
to obtain accurate fuel gauge
ratings.
exd_fuel_info
exd_important_precautions
Maintenance and care
188
Page 202 of 224
Replacing foglamp bulbs
1. Disconnect the electrical
connector from the back of the
foglamp assembly.
2. Twist, then pull the bulb from
the foglamp assembly.
3. Install the new bulb.
4. Connect the electrical connector
to the back of the foglamp
assembly.
High-mount brakelamp
To change the high-mount
brakelamp bulbs:
1. Remove the four screws
that secure the high-mount
brakelamp lens.
2. Carefully remove the lens.
3. Each of the three bulbs may be
removed with a1¤4turn
counterclockwise and a careful pull.
4. Replace the bulbs as needed
and replace the high-mount
brakelamp lens.
exd_highmount_brake
exd_tail_lamps
Maintenance and care
203
Page 203 of 224

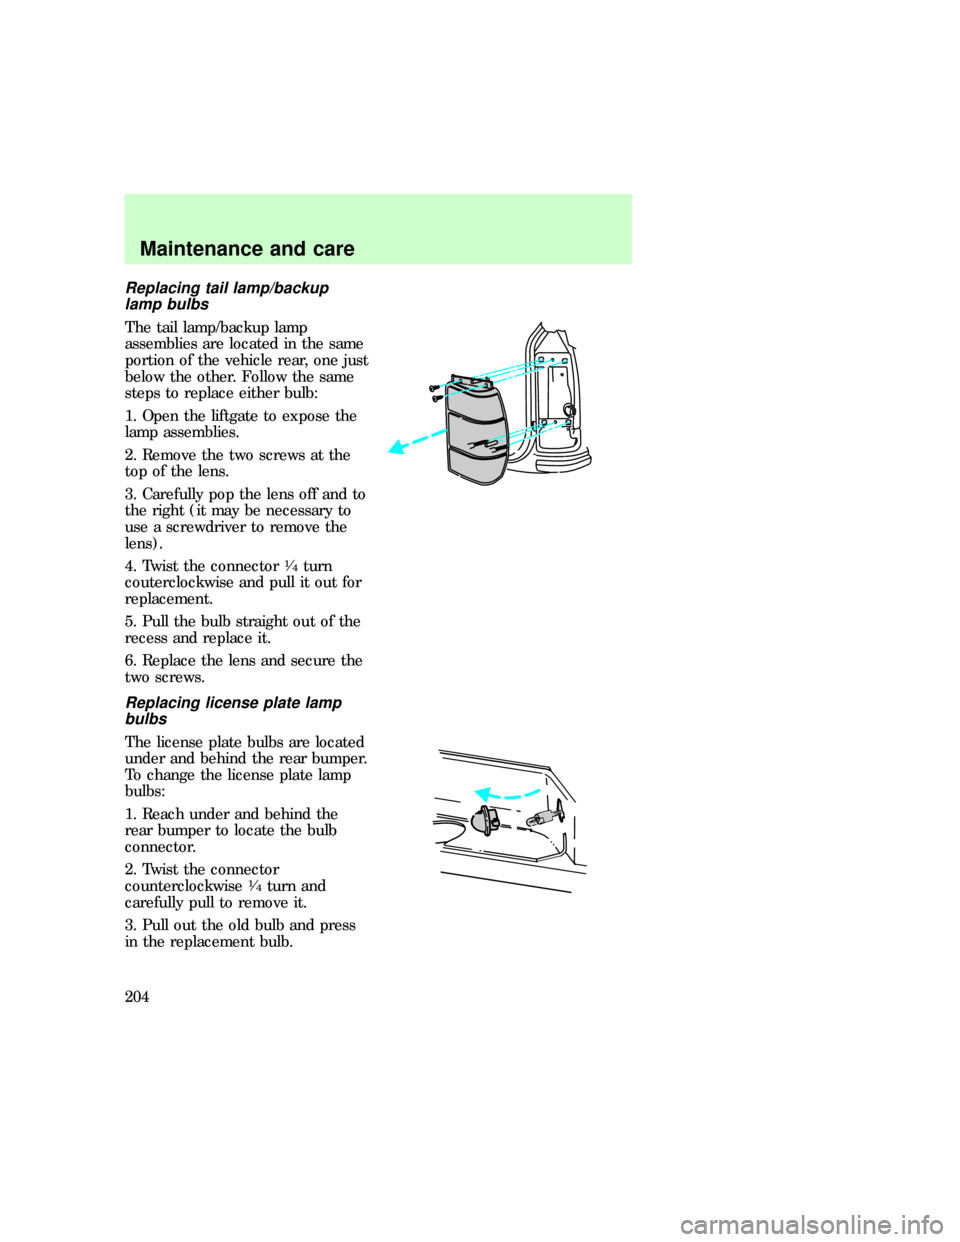
Replacing tail lamp/backup
lamp bulbs
The tail lamp/backup lamp
assemblies are located in the same
portion of the vehicle rear, one just
below the other. Follow the same
steps to replace either bulb:
1. Open the liftgate to expose the
lamp assemblies.
2. Remove the two screws at the
top of the lens.
3. Carefully pop the lens off and to
the right (it may be necessary to
use a screwdriver to remove the
lens).
4. Twist the connector
1¤4turn
couterclockwise and pull it out for
replacement.
5. Pull the bulb straight out of the
recess and replace it.
6. Replace the lens and secure the
two screws.
Replacing license plate lamp
bulbs
The license plate bulbs are located
under and behind the rear bumper.
To change the license plate lamp
bulbs:
1. Reach under and behind the
rear bumper to locate the bulb
connector.
2. Twist the connector
counterclockwise
1¤4turn and
carefully pull to remove it.
3. Pull out the old bulb and press
in the replacement bulb.
exd_license_plate_lamps
Maintenance and care
204