Page 141 of 433
Downloaded from www.Manualslib.com manuals search engine If the Light Is Flashing If the Light Is On Steady
You may be able to correct the emission system
malfunction by considering the following:
The following
may prevent more serious damage to
your vehicle:
0 Reducing vehicle speed.
Avoiding hard accelerations.
0 Avoiding steep uphill grades.
If you are towing a trailer, reduce the amount of
cargo being hauled as soon as it is possible.
If the light stops flashing and remains on steady, see “If
the Light
Is On Steady” following.
If the light continues to flash, when it is safe to do
so,
stop the vehicle. Find a safe place to park your vehicle.
Turn the key off, wait at least
10 seconds and restart the
engine. If the light remains on steady,
see “If the Light
Is On Steady” following. If the light is still flashing,
follow the previous steps, and drive the vehicle to your
dealer or qualified service center for service. Did
you recently put fuel into your vehicle?
If
so, reinstall the fuel cap, making sure to fully install
the cap. The diagnostic system can determine if the fuel
cap has been left off or improperly installed.
A loose or
missing fuel cap will allow fuel to evaporate into the
atmosphere. A few driving trips with the cap properly
installed should turn the light off.
Did you just drive through a deep puddle
of water?
If
so, your electrical system may be wet. The condition
will usually be corrected when the electrical system
dries
out. A few driving trips should turn the light off.
Are you low on fuel?
As your engine starts to run out of fuel, your engine may
not run as efficiently as designed since small amounts of
air
are sucked into the fuel line causing a misfire. The
system can detect this. Adding fuel should correct this
condition. Make sure to install the fuel cap properly.
It
will take a few driving trips to turn the light off.
2-70
Page 149 of 433
Downloaded from www.Manualslib.com manuals search engine Comfort Controls
Heater Control System
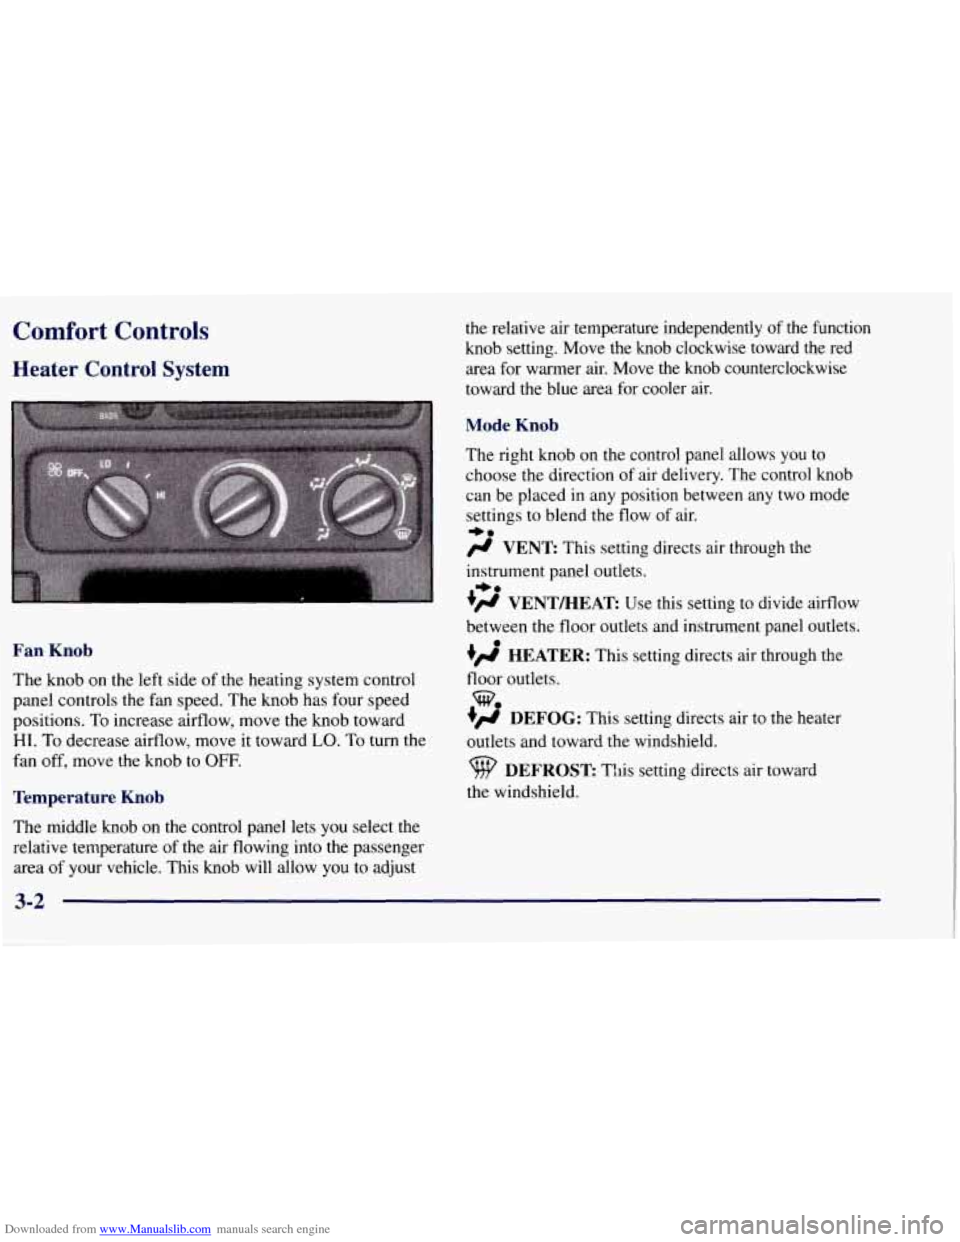
Fan Knob
The knob on the left side of the heating system control
panel controls the fan speed. The knob has four speed
positions. To increase aifflow, move the knob toward
HI. To decrease aifflow, move it toward LO. To turn the
fan off, move the knob to
OFF.
Temperature Knob
The middle knob on the control panel lets you select the
relative temperature of the air flowing into the passenger
area
of your vehicle. This knob will allow you to adjust the
relative air temperature independently of the function
knob setting. Move the knob clockwise toward the red
area for warmer air. Move
the knob counterclockwise
toward the blue area for cooler air.
Mode Knob
The right knob on the control panel allows you to
choose the direction
of air delivery. The control knob
can be placed in any position between any two mode
settings to blend the flow
of air.
+.
fl VENT This setting directs air through the
instrument panel outlets.
+# VENT/HEAT Use this setting to divide airflow
*e
between the floor outlets and instrument panel outlets.
0
+fl HEATER: This setting directs air through the
floor outlets.
+# DEFOG: This setting directs air to the heater
outlets and toward the windshield.
w.
DEFROST This setting directs air toward
the windshield.
3-2
Page 150 of 433
Downloaded from www.Manualslib.com manuals search engine Heater and Air Conditioning Control
System
(If Equipped)
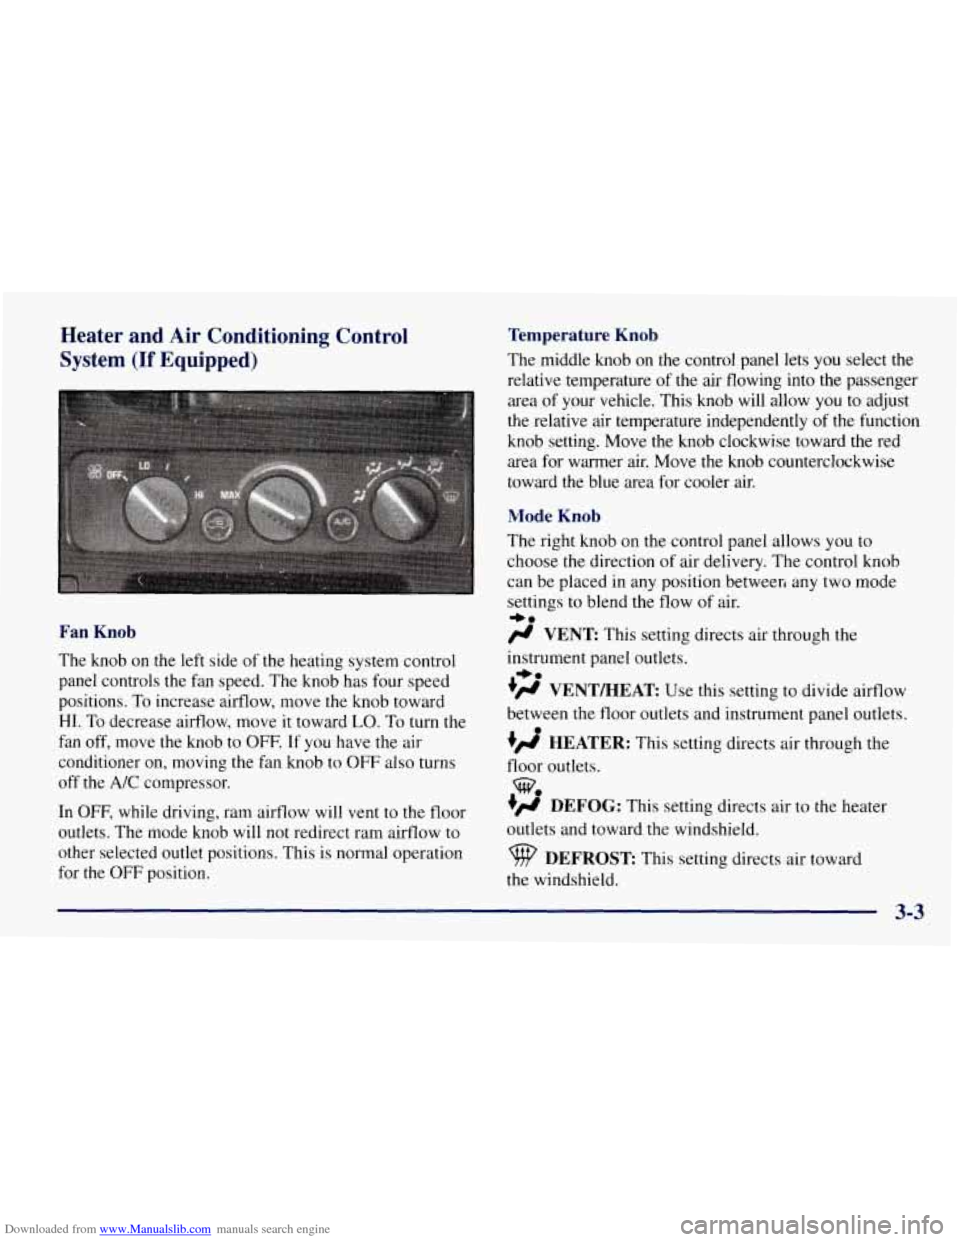
Fan Knob
The knob on the left side of the heating system control
panel controls the fan speed. The knob has four speed
positions.
To increase airflow, move the knob toward
HI. To decrease airflow, move it toward LO. To turn the
fan off, move the knob to OFF.
If you have the air
conditioner on, moving the fan knob to OFF also turns
off the
A/C compressor.
In OFF, while driving, ram airflow will vent to the floor
outlets. The mode knob will not redirect ram airflow to
other selected outlet positions. This is normal operation
for the OFF position.
Temperature Knob
The middle knob on the control panel lets you select the
relative temperature
of the air flowing into the passenger
area
of your vehicle. This knob will allow you to adjust
the relative air temperature independently
of the function
knob setting. Move the
knob clockwise toward the red
area for warmer air. Move the knob counterclockwise
toward
the blue area for cooler air.
Mode Knob
The right knob on the control panel allows you to
choose the direction
of air delivery. The control knob
can be placed in any position betweeri any two mode
settings
to blend the flow of air.
# VENT This setting directs air through the
instrument panel outlets.
+’ VENTBEAT Use this setting to divide airflow
between the floor outlets and instrument panel outlets.
+’ HEATER: This setting directs air through the
+e
+e
e
floor outlets.
+’ DEFOG: This setting directs air to the heater
outlets and toward the windshield.
w.
DEFROST This setting directs air toward
the windshield.
3-3
Page 152 of 433
Downloaded from www.Manualslib.com manuals search engine To use the rear control, first turn the front control knob
to REAR CNTL. Then, the rear control can be used to
increase and decrease the airflow.
Rear Heater (Without Rear Air Conditioning)
(If Equipped)
If you have a rear
heater (without rear air
conditioning), the control switch
is located on the
instrument panel.
To increase and decrease the flow of heated air to the
rear floor vents, move the switch marked REAR HEAT
to the blower speed
you want.
The knob has three speed positions. To increase the
flow
of heated air, move the switch toward HIGH. To
decrease the flow of heated air, move it toward
LOW.
To turn the fan off, move the switch to OFF.
3-5
Page 153 of 433
Downloaded from www.Manualslib.com manuals search engine Rear Air Conditioning and Rear Heater
(If Equipped)
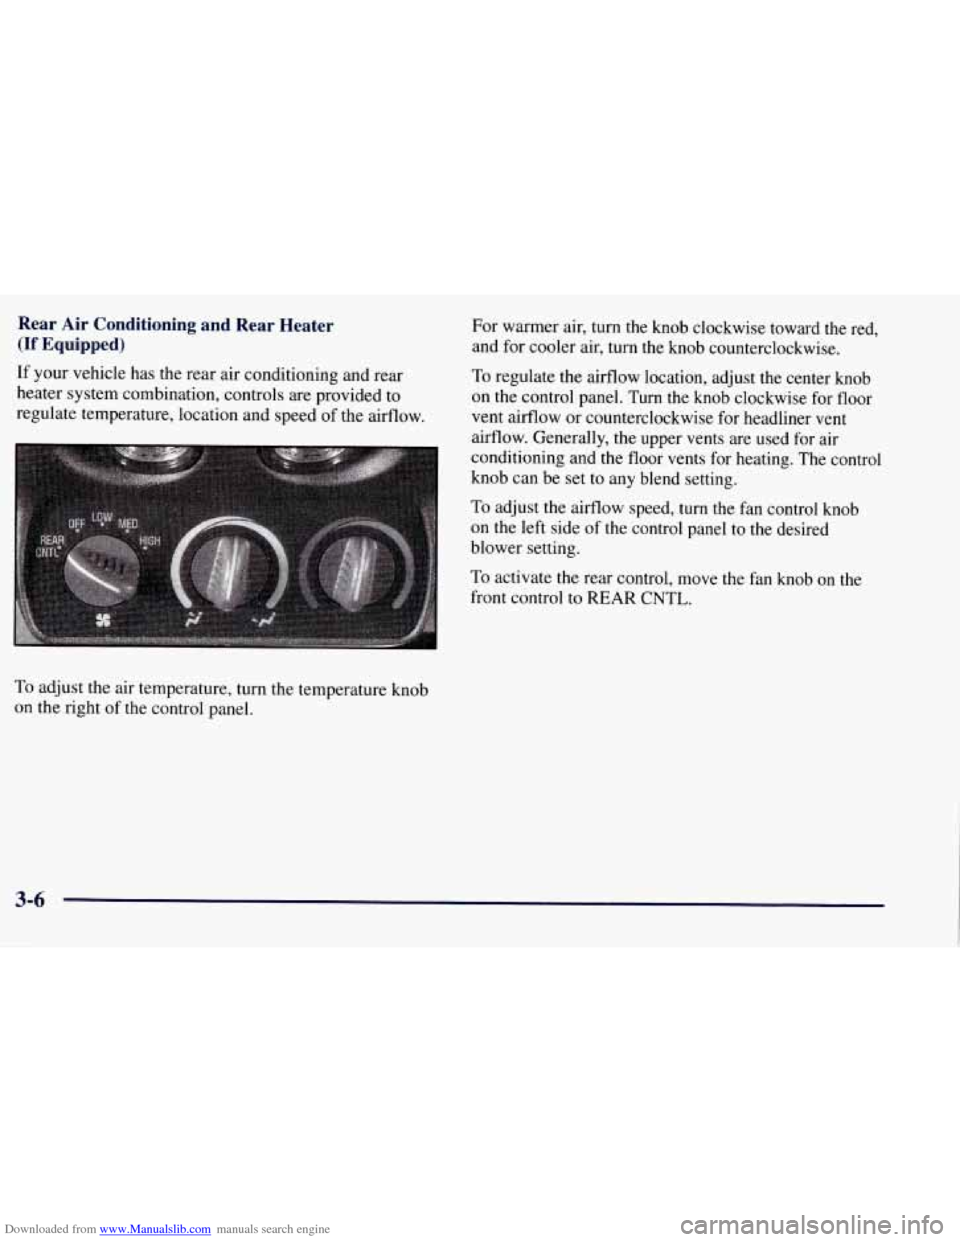
If your vehicle has the rear air conditioning and rear
heater system combination, controls are provided to
regulate temperature, location and speed of the airflow. For warmer air, turn
the knob clockwise toward the red.
and for cooler air, turn the knob counterclockwise. To regulate the airflow location, adjust the center knob
on the control panel.
Turn the knob clockwise for floor
vent airflow or counterclockwise for headliner vent
airflow. Generally, the upper vents are used for air
conditioning and the floor vents for heating. The control
knob can be set to any blend setting.
To adjust the aifflow speed, turn the fan control knob
on the left side of the control panel to the desired
blower setting.
To activate the rear control, move the fan knob on the
front control to
REAR CNTL.
To adjust the air temperature, turn the temperature knob
on the right of the control panel.
3-6
Page 157 of 433
Downloaded from www.Manualslib.com manuals search engine Defogging and Defrosting
On cool, humid days, use DEFOG to keep the
windshield and side windows clear. Use DEFROST to
remove fog or ice from the windshield in extremely
humid or cold conditions. Use DEFROST with the
temperature knob toward the red area and the fan control
toward HI.
Rear Window Defogger (If Equipped)
If you see lines running across the rear window, you
have a rear window defogger. The lines warm the glass.
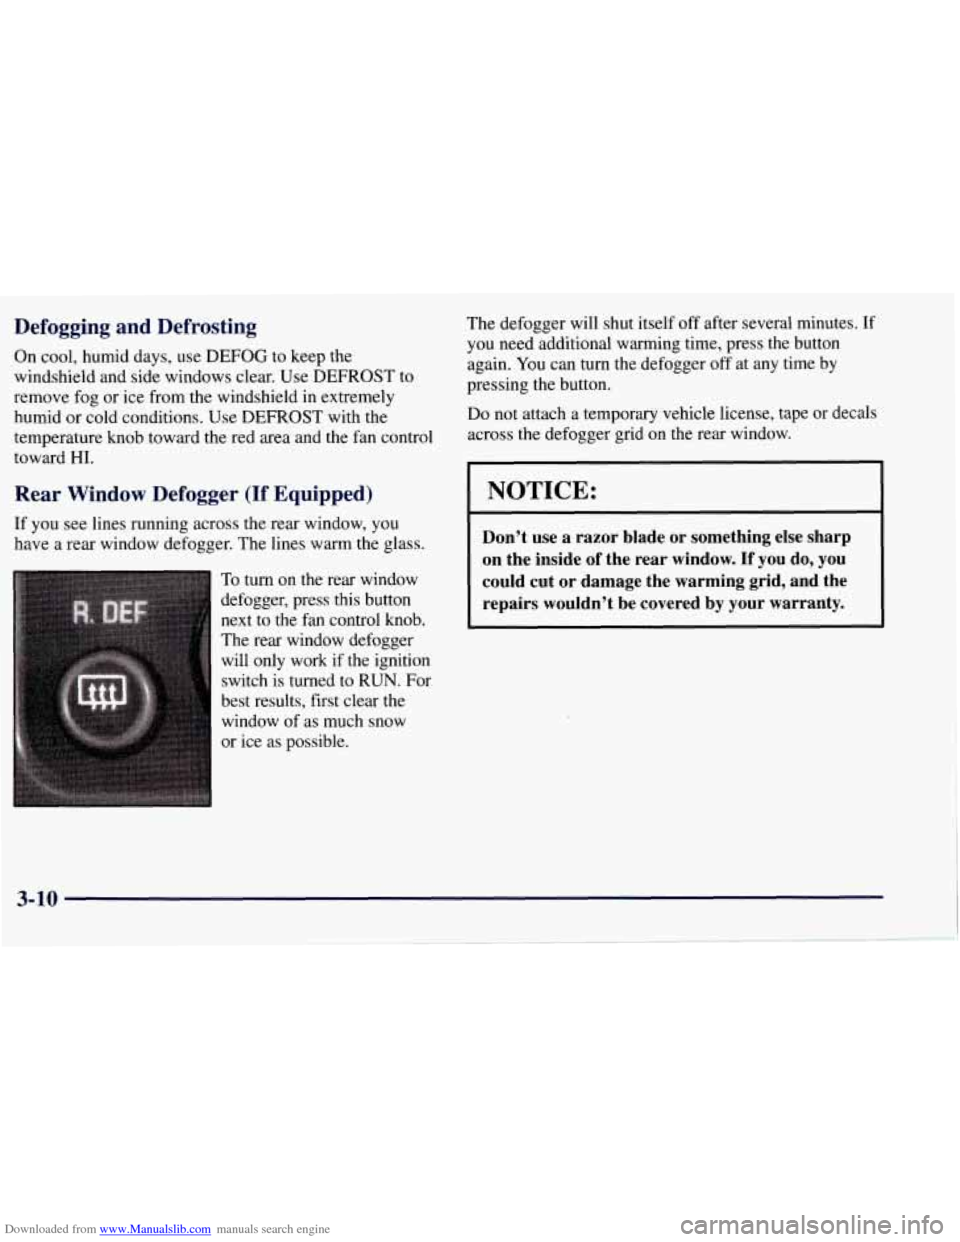
To
turn on the rear window
defogger, press this button
next to the fan control
knob.
The rear window defogger
will only work if the ignition
switch is turned to RUN. For
best results, first clear the
window of as much snow
or ice as possible. The
defogger will shut itself off after several minutes. If
you need additional warming time, press the button
again.
You can turn the defogger off at any time by
pressing the button.
Do not attach a temporary vehicle license, tape or decals
across the defogger grid on the rear window.
NOTICE:
Don’t use a razor blade or something else sharp
on the inside
of the rear window. If you do, you
could cut or damage the warming grid, and the repairs wouldn’t be covered by your warranty.
3-10
Page 180 of 433
Downloaded from www.Manualslib.com manuals search engine Section 4 Your Driving and the Road
Here you’ll find information about driving on different kinds of roads and in varying weather conditions. We’ve also
included many other useful tips on driving.
4-2
4-2 4-6
4-6
4-9
4-11
4-12
4- 13
4- 14 Defensive Driving
Drunken Driving
Control of a Vehicle
Braking Steering
Off-Road Recovery
Passing Other Vehicles
Loss of Control
Driving Guidelines Driving
at Night
Driving in Rain and
on Wet Roads
City Driving
Freeway Driving
Before Leaving on a Long Trip
Highway Hypnosis
Hill and Mountain Roads
Winter Driving Loading Your Vehicle
Towing a Trailer
4-28
4-30
4-32
4-33 4-34
4-35
4-36
4-38 4-42
4-44
4-1
Page 223 of 433
Downloaded from www.Manualslib.com manuals search engine Towing a Trailer
1-
I- I
If you don’t use the correct equipment and drive
properly, you can lose control when you pull
a
trailer. For example, if the trailer is too heavy, the
brakes may not work well
-- or even at all. You
and your passengers could be seriously injured.
Pull
a trailer only if you have followed all the
steps in this section. Ask your
GM dealer for
advice and information about towing
a trailer
with your vehicle.
I I
NOTICE:
Pulling a trailer improperly can damage your
vehicle and result in costly repairs not covered by
your warranty.
To pull a trailer correctly, follow
the advice in this part, and see your
GM dealer
for important information about towing a trailer
with your vehicle.
Every vehicle is ready for some trailer towing. If yours
was built with trailering options, as many are, it’s ready
for heavier trailers. But trailering is different than just
driving your vehicle by itself. Trailering means changes
in handling, durability and fuel economy. Successful,
safe trailering takes correct equipment, and
it has to be
used properly.
That’s the reason for this part. In
it are many
time-tested, important trailering tips and safety rules.
Many of these are important for your safety and that of
your passengers.
So please read this section carefully
before you pull a trailer.