1997 CHEVROLET TAHOE Index
[x] Cancel search: IndexPage 142 of 433

Downloaded from www.Manualslib.com manuals search engine Have you recently changed brands of fuel?
If
so, be sure to fuel your vehicle with quality fuel (see
“Fuel” in the Index). Poor fuel quality will cause your
engine not to run as efficiently as designed.
You may
notice this as stalling after start-up, stalling when you
put the vehicle into gear, misfiring, hesitation on
acceleration or stumbling on acceleration. (These
conditions may go away once the engine is warmed up.)
This will be detected by the system and cause the light
to turn on.
If you experience one or more
of these conditions,
change the fuel brand you use. It will require at least one
full tank
of the proper fuel to turn the light off.
If none of the above steps have made the light turn off,
have your dealer or qualified service center check the
vehicle. Your dealer has the proper test equipment and
diagnostic tools to fix any mechanical or electrical
problems that may have developed.
Oil Pressure Gage
80
The oil pressure gage shows
the engine oil pressure in psi
(pounds per square inch)
when the engine is running.
Canadian vehicles indicate
pressure
in kPa (kilopascals).
Oil pressure may vary with engine speed, outside
temperature and oil viscosity, but readings above the
low pressure zone indicate the normal operating range.
A reading in the low pressure zone may be caused by a
dangerously low oil level or other problem causing low
oil pressure. Check your oil as soon as possible.
2-71
Page 145 of 433
Downloaded from www.Manualslib.com manuals search engine Fuel Gage
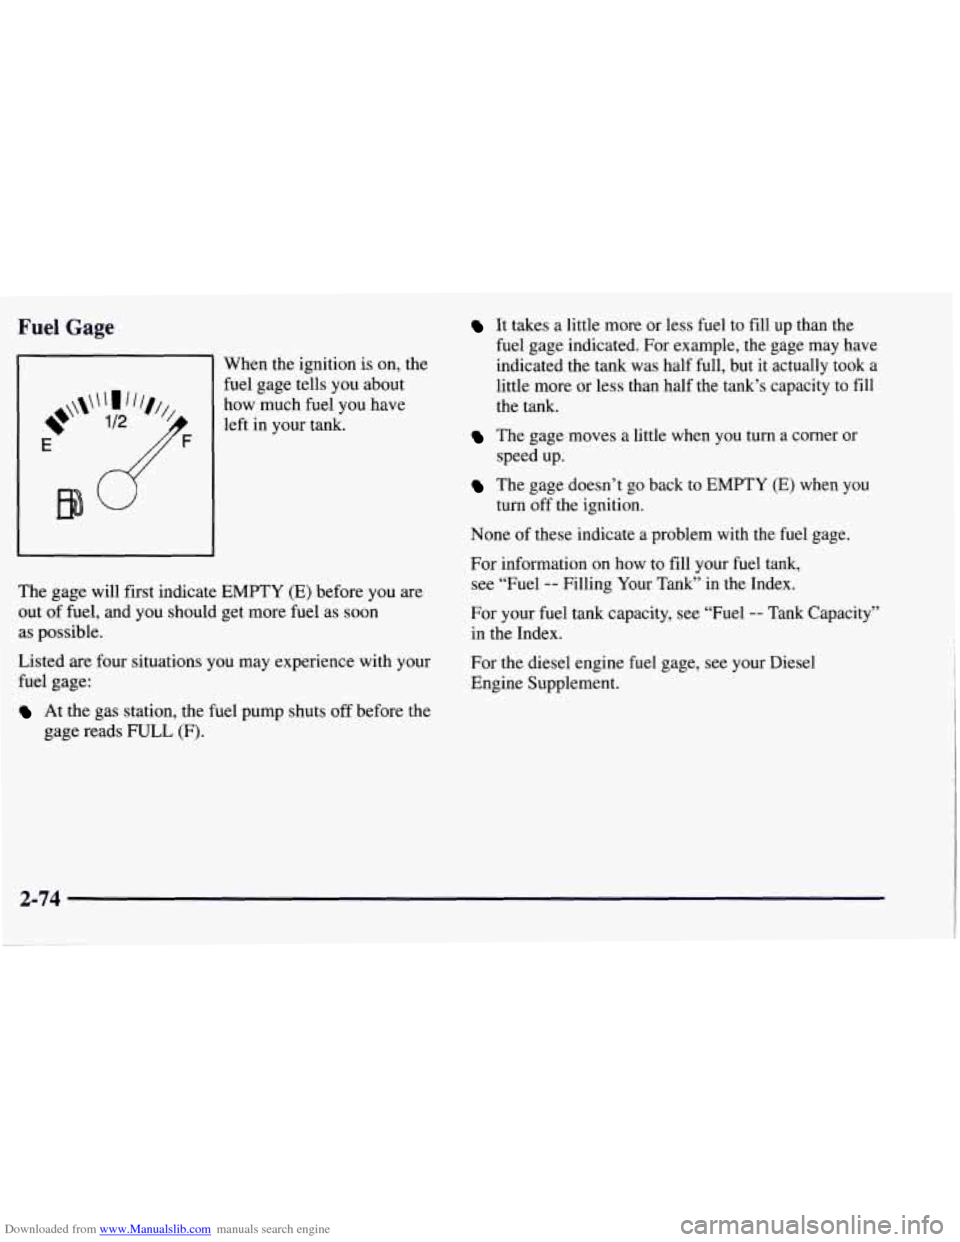
When the ignition is on, the
fuel gage tells you about
how much fuel you have
left in your tank.
The gage will first indicate
EMPTY (E) before you are
out
of fuel, and you should get more fuel as soon
as possible.
Listed
are four situations you may experience with your
fuel gage:
At the gas station, the fuel pump shuts off before the
gage reads FULL (F).
It takes a little more or less fuel to fill up than the
fuel gage indicated. For example, the gage may have
indicated the tank was half full, but
it actually took a
little more or less than half the tank’s capacity to fill
the tank.
The gage moves a little when you turn a corner or
speed up.
The gage doesn’t go back to EMPTY (E) when you
turn off the ignition.
None
of these indicate a problem with the fuel gage.
For information on how to fill your fuel tank,
see “Fuel
-- Filling Your Tank” in the Index.
For your fuel tank capacity, see “Fuel
-- Tank Capacity”
in the Index.
For the diesel engine fuel gage, see your Diesel
Engine Supplement.
2-74
Page 155 of 433
Downloaded from www.Manualslib.com manuals search engine Heating Ventilation System
The heater works best if you keep your windows closed
while using it. On cold days, use the HEATER or
VENT/HEAT setting with the temperature knob in
the
red area.
If you use the engine coolant heater before starting your
engine in cold weather,
20°F (-8 O C) or lower, your
heating system will produce warmer air faster, to heat
the passenger compartment in cold weather.
The use
of an engine coolant heater also reduces the
time it takes for the engine to reach normal operating
temperature, and shortens the time it takes the heater to
reach full output. For more information, see “Engine
Coolant Heater” in the Index. For
mild outside temperatures when little heating or
cooling is needed, use VENT to direct outside air
through your vehicle. Air will flow through the
instrument panel outlets.
Your vehicle’s ventilation system supplies outside air
to the inside of your vehicle when it is moving. With
the side windows closed, air will flow into the front
air inlet grilles, through the vehicle, and out the air
exhaust valves.
Outside air will also enter the vehicle when the heater or
the air conditioning fan
is running, unless you have the
recirculation button pushed
in. For more information on
the recirculation button, see
“Air Conditioning” earlier
in this section.
Page 162 of 433
Downloaded from www.Manualslib.com manuals search engine Playing a Cassette Tape
Your tape player is built to work best with tapes that are
30 to 45 minutes long on each side. Tapes longer than
that are
so thin they may not work well in this player.
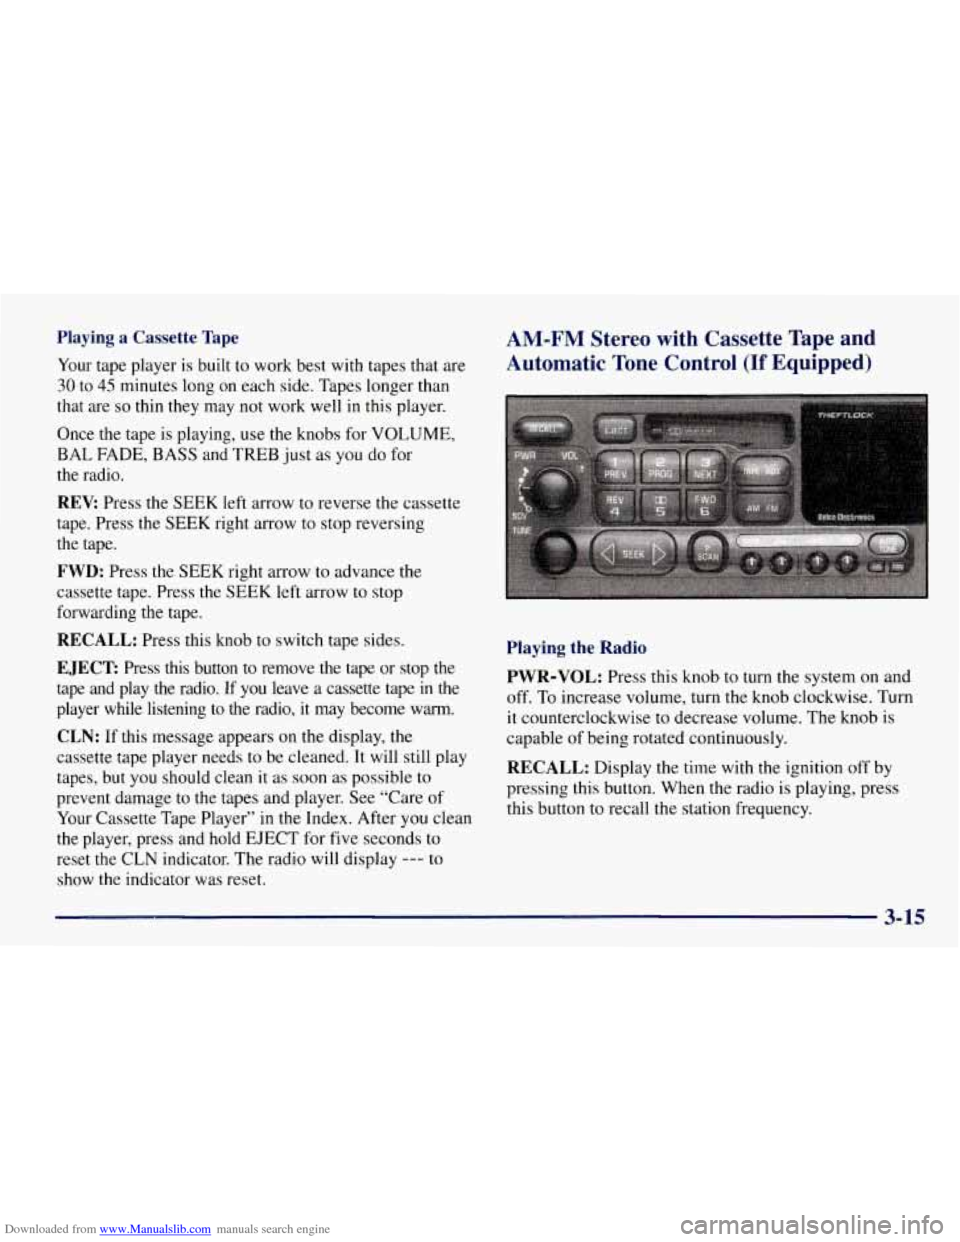
Once the tape is playing, use the knobs for VOLUME,
BAL FADE, BASS and TREB just as you do for
the radio.
REV: Press the SEEK left arrow to reverse the cassette
tape. Press the SEEK right arrow to stop reversing
the tape.
FWD: Press the SEEK right arrow to advance the
cassette tape. Press the SEEK left arrow to stop
forwarding the tape.
RECALL: Press this knob to switch tape sides.
EJECT Press this button to remove the tape or stop the
tape and play the radio.
If you leave a cassette tape in the
player while listening to the radio, it may become warm.
CLN: If this message appears on the display, the
cassette tape player needs to be cleaned. It will still play
tapes, but you should clean
it as soon as possible to
prevent damage to the tapes and player. See “Care of
Your Cassette Tape Player’’ in the Index. After you clean
the player, press and hold EJECT for five seconds to
reset the CLN indicator. The radio will display
--- to
show the indicator was reset.
AM-FM Stereo with Cassette Tape and
Automatic Tone Control
(If Equipped)
Playing the Radio
PWR-VOL: Press this knob to turn the system on and
off. To increase volume, turn the knob clockwise. Turn
it counterclockwise to decrease volume. The knob is
capable of being rotated continuously.
RECALL: Display the time with the ignition off by
pressing this button. When the radio is playing, press
this button to recall the station frequency.
3-15
Page 166 of 433
Downloaded from www.Manualslib.com manuals search engine AM-FM: Press this button to switch from a tape to
the radio.
TAPE AUX: Press this button to return to the tape
player when playing the radio. The lighted arrow will
appear and show the direction of play when a tape is in
the active mode.
EJECT: Press this button to remove the tape. The
radio will now play. EJECT can be used with either the
ignition or radio off.
To load a cassette tape with the
ignition or radio off, press EJECT before loading the
cassette. If you leave a cassette tape in the player while
listening to the radio, it may become warm.
CLN: If this message appears on the display, the
cassette tape player needs to be cleaned. It will still play
tapes, but
you should clean it as soon as possible to
prevent damage to the tapes and player. See “Care
of
Your Cassette Tape Player” in the Index. After you clean
the player, press and hold EJECT for five seconds to
reset the CLN indicator. The radio will display
--- to
show the indicator was reset.
CD Adapter Kits
It is possible to use a CD adapter kit with your cassette
tape player after activating the bypass feature on your
tape player.
To activate the bypass feature, the ignition must
be on.
Turn your radio off. Press TAPE AUX and hold for
three seconds. After three seconds, the tape symbol in
the display will flash for two seconds indicating the
feature is active. Insert the adapter cassette again. It will
power up the radio and begin playing.
This override routine will remain active until EJECT
is pressed.
3-19
Page 181 of 433
Downloaded from www.Manualslib.com manuals search engine Defensive Driving
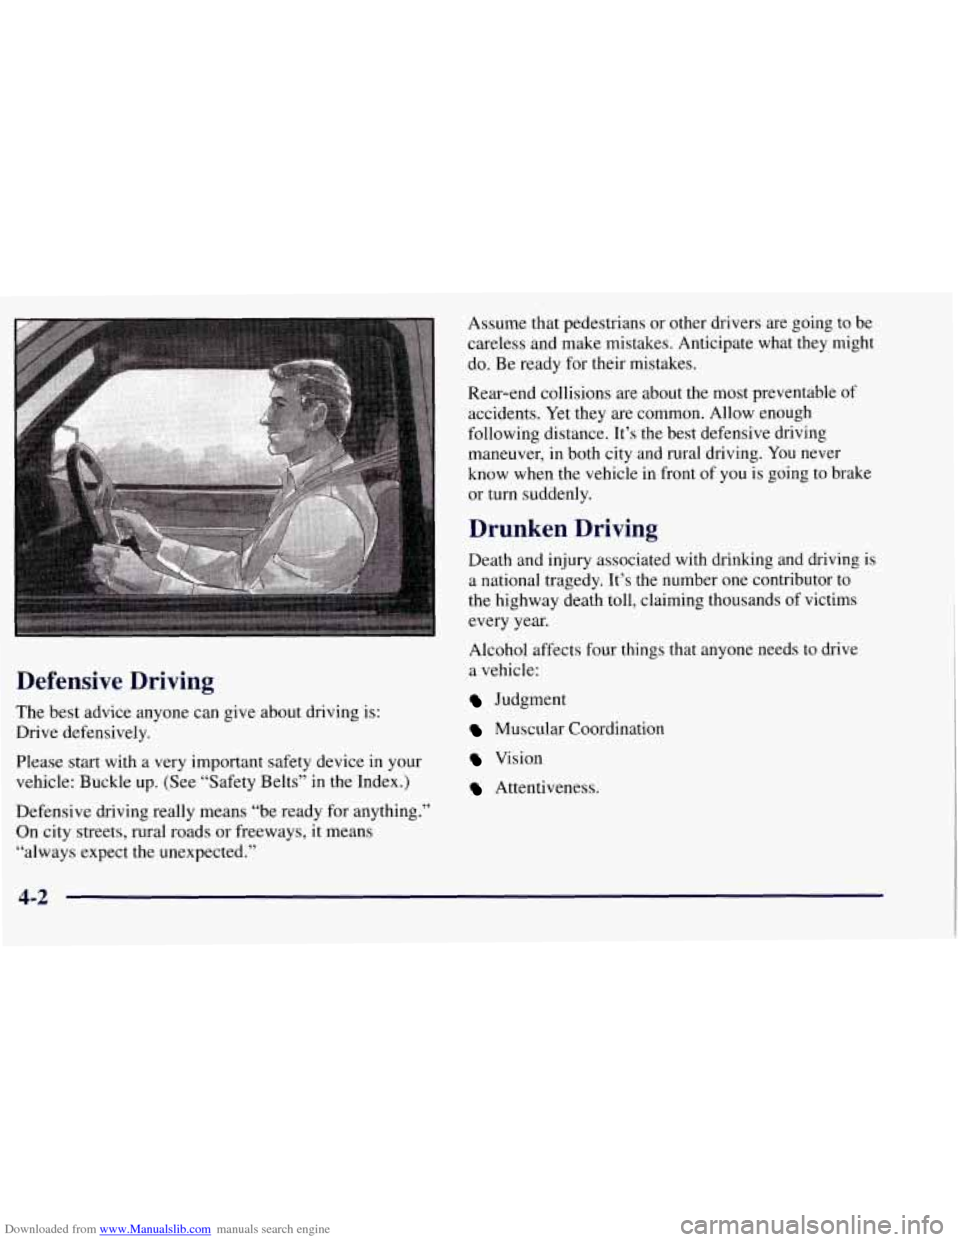
The best advice anyone can give about driving is:
Drive defensively.
Please
start with a very important safety device in your
vehicle: Buckle up. (See “Safety Belts” in the Index.)
Defensive driving really means “be ready for anything.”
On city streets, rural roads or freeways, it means
“always expect the unexpected.” Assume
that pedestrians or other drivers are going to be
careless and make mistakes. Anticipate what they might
do. Be ready for their mistakes.
Rear-end collisions are about the most preventable of
accidents. Yet they are common. Allow enough
following distance. It’s the best defensive driving
maneuver, in both city and rural driving.
You never
know when the vehicle in front of you is going to brake
or turn suddenly.
Drunken Driving
Death and injury associated with drinking and driving is
a national tragedy. It’s the number one contributor to
the highway death
toll, claiming thousands of victims
every year.
Alcohol affects four things that anyone needs to drive
a vehicle:
Judgment
Muscular Coordination
Vision
Attentiveness.
4-2
Page 186 of 433
Downloaded from www.Manualslib.com manuals search engine Avoid needless heavy braking. Some people drive in
spurts
-- heavy acceleration followed by heavy
braking
-- rather than keeping pace with traffic. This is a
mistake. Your brakes may not have time to cool between
hard stops. Your brakes will wear out much faster if you
do a lot of heavy braking. If you keep pace with the
traffic and allow realistic following distances, you will
eliminate a lot
of unnecessary braking. That means
better braking and longer brake life.
If your engine ever stops while you’re driving, brake
normally but don’t pump your brakes. If you do, the
pedal may get harder to push down. If your engine
stops, you will still have some power brake assist. But
you will use it when you brake. Once the power assist is
used up, it may take longer to stop and the brake pedal
will be harder to push.
Anti-Lock Brakes (ABS)
Your vehicle has anti-lock brakes (ABS). ABS is an
advanced electronic braking system that will help
prevent a braking skid.
When you start your engine and begin to drive away,
your anti-lock brake system will check itself. You may
hear a momentary motor or clicking noise while this test
is going on. This is normal.
ANTI -
LOCK
If there’s a problem with the
anti-lock brake system, this
warning light will stay on.
See “Anti-Lock Brake
System Warning Light” in
the Index.
4-7
Page 193 of 433
Downloaded from www.Manualslib.com manuals search engine While driving on a surface with reduced traction, try
your best to avoid sudden steering, acceleration
or
braking (including engine braking by shifting to a lower
gear). Any sudden changes could cause the tires to slide.
You may not realize the surface is slippery until your
vehicle is skidding. Learn to recognize warning
clues
-- such as enough water, ice or packed snow on
the road to make a “mirrored surface”
-- and slow down
when you have any doubt.
Remember:
Any anti-lock brake system (ABS) helps
avoid only the braking skid.
Driving Guidelines
This multipurpose passenger vehicle is defied as a utility
vehicle in Consumer Information Regulations issued by
the National Highway Trafpc Safety Administration
(NHTSA) of the United States Department of
Transportation. Utility vehicles have higher ground
clearance and a narrower track to make them capable of
performing in a wide variety of off-road applications.
Specific design characteristics give them a higher center of
gravity than ordinary cars.
An advantage of the higher
ground clearance is a better view of the road allowing you
to anticipate problems. They are not designed for
cornering at the same speeds as conventional
two-wheel-drive vehicles any more than low-slung
sports
cars are designed to perform satisfactorily under off-road conditions.
If at
all possible, avoid sharp turns or abrupt
maneuvers. As with other vehicles of this type, failure to
operate
this vehicle correctly may result in loss of control
or vehicle rollover.
Off-Road Driving with Your
Four-Wheel-Drive Vehicle
This off-road guide is for vehicles that have
four-wheel drive.
Also, see “Anti-Lock Brakes”
in the Index.
If your vehicle doesn’t have four-wheel drive, you
shouldn’t drive off-road unless you’re on
a level,
solid surface.
Off-road driving can
be great fun. But it does have some
definite hazards. The greatest of these is the terrain itself.
“Off-roading” means you’ve left the great North
American road system behind. Traffic lanes aren’t
marked. Curves aren’t banked. There are no road signs.
Surfaces can be slippery, rough, uphill or downhill. In
short, you’ve gone right back to nature.
Off-road driving involves some new skills.
And that’s
why it’s very important that you read this guide. You’ll
find many driving tips
and suggestions. These will help
make your off-road driving safer and more enjoyable.
4-14