Page 100 of 433
Downloaded from www.Manualslib.com manuals search engine Parking Over Things That Burn Engine Exhaust
I A CAUl mON:
Things that can burn could touch hot exhaust
parts under your vehicle and ignite. Don’t park
over papers, leaves, dry grass or other things that
can burn. Engine exhaust
can kill. It contains the gas
carbon monoxide
(CO), which you can’t see or
smell. It can cause unconsciousness and death.
You might have exhaust coming in if:
Your exhaust system sounds strange
Your vehicle gets rusty underneath.
0 Your vehicle was damaged in a collision.
Your vehicle was damaged when driving over
high points on the road or over road debris.
Repairs weren’t done correctly.
Your vehicle or exhaust system had been
If you ever suspect exhaust is coming into
your vehicle:
0 Drive it only with all the windows down to
Have your vehicle fixed immediately.
or different.
modified improperly.
blow out any
CO; and
2-29
Page 102 of 433
Downloaded from www.Manualslib.com manuals search engine Windows
Manual Windows
To open your manual windows, turn the hand crank on
each door to raise or lower your side door windows.
Power Windows (If Equipped)
2-Door Utility
4-Door Utility and Suburban
If you have the optional power windows, the controls
are on each of the side doors.
The driver’s door has a switch for
the passenger
windows
as well. Your power windows will work when
the ignition has been turned to ACC or RUN.
Push the rear of the switch with the power window
symbol on
it to lower the window.
Push the front of the switch with the power window
symbol
on it to raise the window.
2-31
Page 103 of 433

Downloaded from www.Manualslib.com manuals search engine The driver’s window switch has an express down feature
that allows the window to be lowered without holding
the switch. Press and hold the side
of the window switch
marked AUTO for one second to activate the express
down mode. The express down mode can be canceled at
any time
by pressing the opposite side of the switch. To
open the window partway, lightly tap the switch until the
window is at the desired position.
If
you have a four-door vehicle and power windows, the
power window switch has a lockout feature. This feature
prevents the rear windows from operating except from
the driver’s position, when the front driver’s side switch
is in LOCK. When the switch is moved to NORM, the
rear power windows will operate again.
Electric Tailgate Glass Release
Before operating your electric tailgate glass release, see
the caution under “Your Doors and How They Work” in
this section. The electric
hatch release
button lets you release the
tailgate glass. To release
the glass, press the top
of
the button.
Then, lift the window up to open.
The shift lever must be in PARK
(P) or NEUTRAL (N)
for the release to work.
There
is also a power door lock switch at the rear of the
vehicle which will allow you
to lock or unlock all of the
doors. See “Power Doors Locks” in the Index.
2-32
Page 107 of 433

Downloaded from www.Manualslib.com manuals search engine Rear Window Wiper and Washer
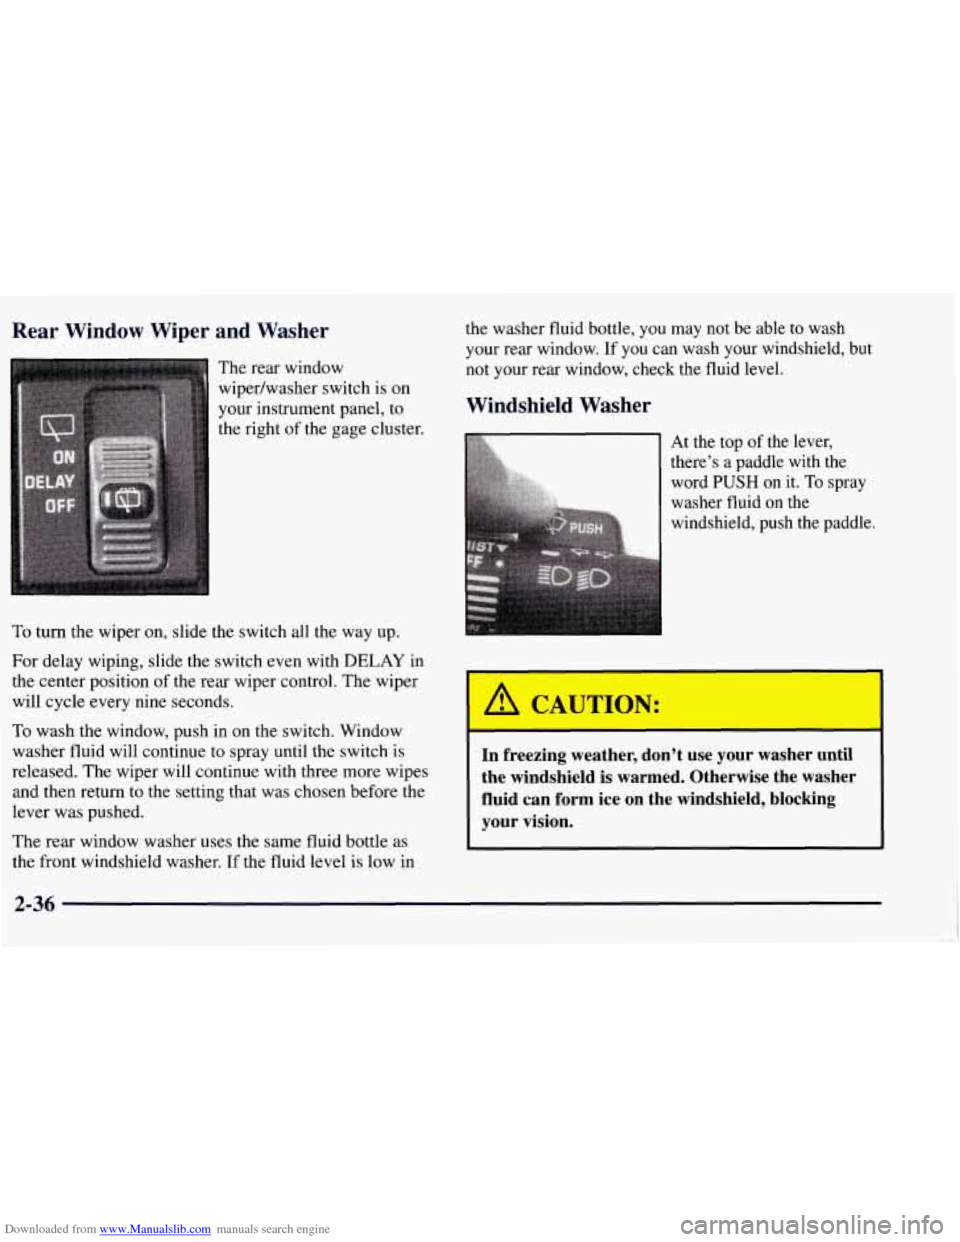
The rear window
wipedwasher switch is on
your instrument panel, to
the right of the gage cluster.
To turn the wiper on, slide the switch all the way up.
For delay wiping, slide the switch even with DELAY in
the center position of the rear wiper control. The wiper
will cycle every nine seconds.
To wash the window, push in on the switch. Window
washer fluid will continue
to spray until the switch is
released. The wiper will continue with three more wipes
and then return to the setting that was chosen before the
lever was pushed.
The rear window washer uses the same fluid bottle as
the front windshield washer. If the fluid level is low
in
the washer fluid bottle, you may not be able to wash
your rear window. If you can wash your windshield, but
not your rear window, check the fluid level.
Windshield Washer
At the top of the lever,
word
PUSH on it. To spray
washer fluid on the
windshield, push the paddle.
i there’s a paddle with the &
A CAUTION:
I
-I
In freezing weather, don’t use your washer until
the windshield is warmed. Otherwise the washer
fluid can form ice on the windshield, blocking
your vision.
Page 116 of 433

Downloaded from www.Manualslib.com manuals search engine Compass Operation
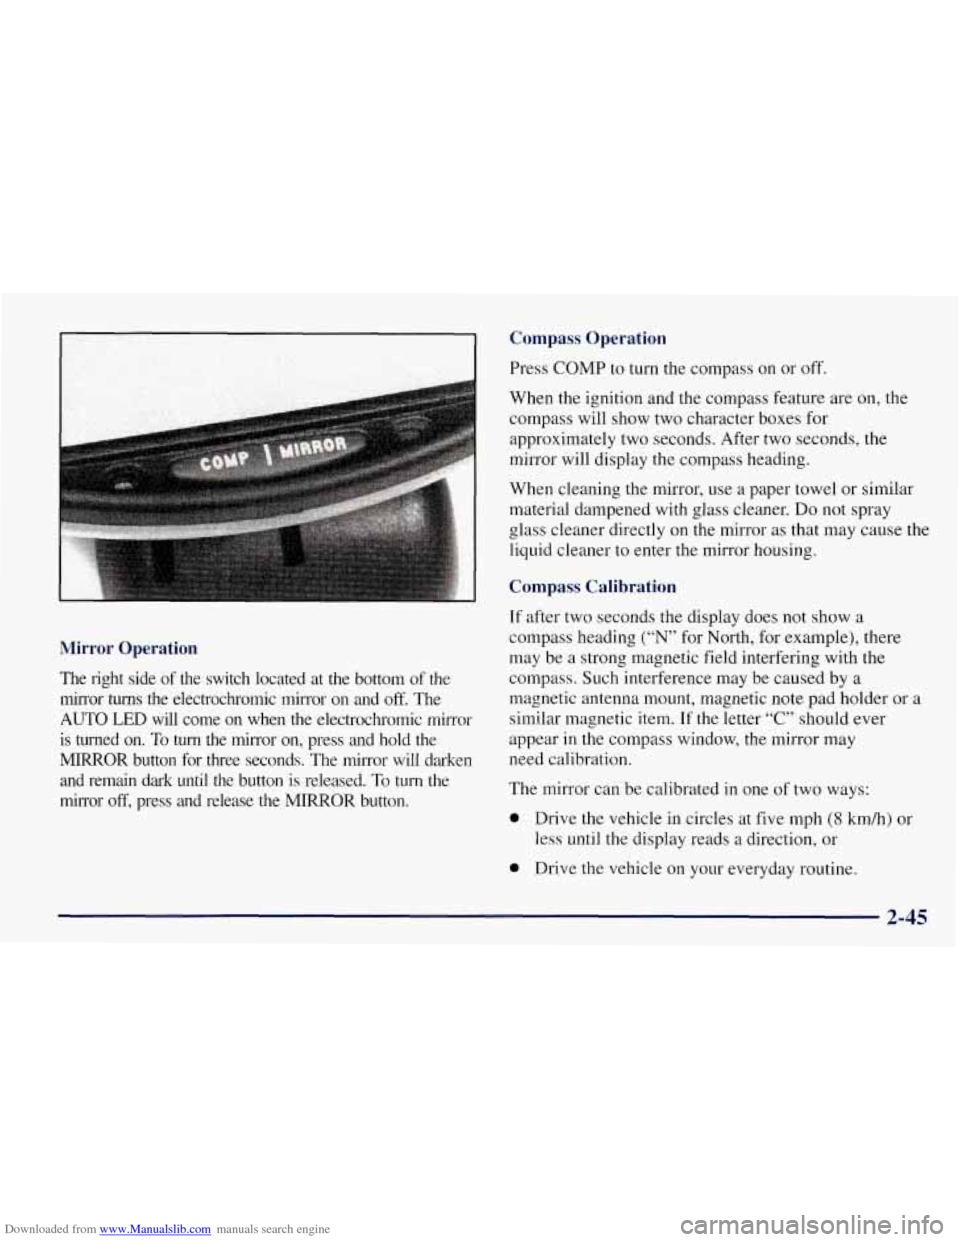
Mirror Operation
The right side of the switch located at the bottom of the
mirror turns the electrochromic mirror on and
off. The
AUTO LED will come on when the electrochromic mirror
is turned on. To
turn the mirror on, press and hold the
MIRROR button for three seconds. The mirror will darken
and remain dark until the button
is released. To turn the
mirror
off, press and release the MIRROR button. Press
COMP to turn the compass
on or off.
When the ignition and the compass feature are on, the
compass will show two character boxes for
approximately two seconds. After two seconds, the
mirror will display the compass heading.
When cleaning the mirror, use a paper towel or similar
material dampened with glass cleaner.
Do not spray
glass cleaner directly on the mirror as that may cause the
liquid cleaner to enter the mirror housing.
Compass Calibration
If after two seconds the display does not show a
compass heading
(“N” for North, for example), there
may be a strong magnetic field interfering with the
compass.
Such interference may be caused by a
magnetic antenna mount, magnetic note pad holder or
a
similar magnetic item. If the letter “C” should ever
appear in the compass window, the mirror may
need calibration.
The mirror can be calibrated
in one of two ways:
0 Drive the vehicle in circles at five mph (8 kmh) or
less until the display reads a direction,
or
0 Drive the vehicle on your everyday routine.
2-45
Page 130 of 433
Downloaded from www.Manualslib.com manuals search engine Accessory Power Outlets
Two auxiliary power outlets are located near the
cigarette lighter. Use these outlets to power mobile
telephones or other devices designed to operate with
vehicle electrical systems.
Sun Visors
To block out glare, you can swing down the visors. You
can also swing them out to help block glare at the front
and side windows.
Your visor may have a strap to hold small items, such
as maps.
extra glare coverage at the
front or side.
Some visors have mirrors with lights.
If the mirror has
lights, they will come on when you lift the mirror cover.
2-59
Page 132 of 433
Downloaded from www.Manualslib.com manuals search engine A. Dome Lamp Switch
B. Lamp Controls
C. Air Outlets
D. Multifunction Lever
E. Instrument Cluster
F. Gearshift Lever
G. Audio System
H. Comfort Control System
I. Glove Box
J. Supplemental Inflatable Restraint (Air Bag)
K. Ashtray
L. Cupholder
M. Auxiliary Power Outlets
N. Storage Area or Compact Disc Player (If Equipped)
0. Rear Window Defogger Switch (If Equipped)
P. Tilt Lever (If Equipped)
Q. Parking Brake Release
R. Hood Release
S. Fuse Block
2-61
Page 148 of 433

Downloaded from www.Manualslib.com manuals search engine Section 3 Comfort Controls and Audio Systems
In this section, you’ll find out how to operate the comfort control and audio systems offered with your vehicle. Be
sure to read about the particular systems supplied with your vehicle.
I 3-15
3-2
3-4
3-7
3-8
3-8
3- 10
3- 10
3-11
3-11
3-11 3-11
3-13 Comfort
Controls
Rear Comfort Controls
Air Conditioning
Heating
Ventilation System
Defogging and Defrosting
Rear Window Defogger
Audio Systems Setting the Clock
AM-FM Stereo Radio
Playing the Radio
AM-FM Stereo with Cassette Tape Player
3- 19
3-20
3-24
3-26 3-28
3-28
3 -29
3-30
3-30 AM-FM
Stereo with Cassette Tape and
Automatic Tone Control
CD Adapter Kit
AM-FM Stereo with Compact Disc Player and
Automatic Tone Control
Playing a Compact Disc in the Single Remote
Disc Player
Theft-Deterrent Feature
Understanding Radio Reception
Tips About Your Audio System
Care of Your Cassette Tape Player
Care of Your Compact Discs
Fixed Mast Antenna