1997 CHEVROLET TAHOE coolant temperature
[x] Cancel search: coolant temperaturePage 87 of 433
Downloaded from www.Manualslib.com manuals search engine 4. Before starting the engine, be sure to unplug and store
the cord as it was before to keep it away from moving
engine
parts. If you don’t, it could be damaged.
How long should you keep the coolant heater plugged
in? The answer depends on the outside temperature, the
kind
of oil you have, and some other things. Instead of
trying
to list everything here, we ask that you contact
your
GM dealer in the area where you’ll be parking your
vehicle. The dealer can give you the best advice for that
particular area.
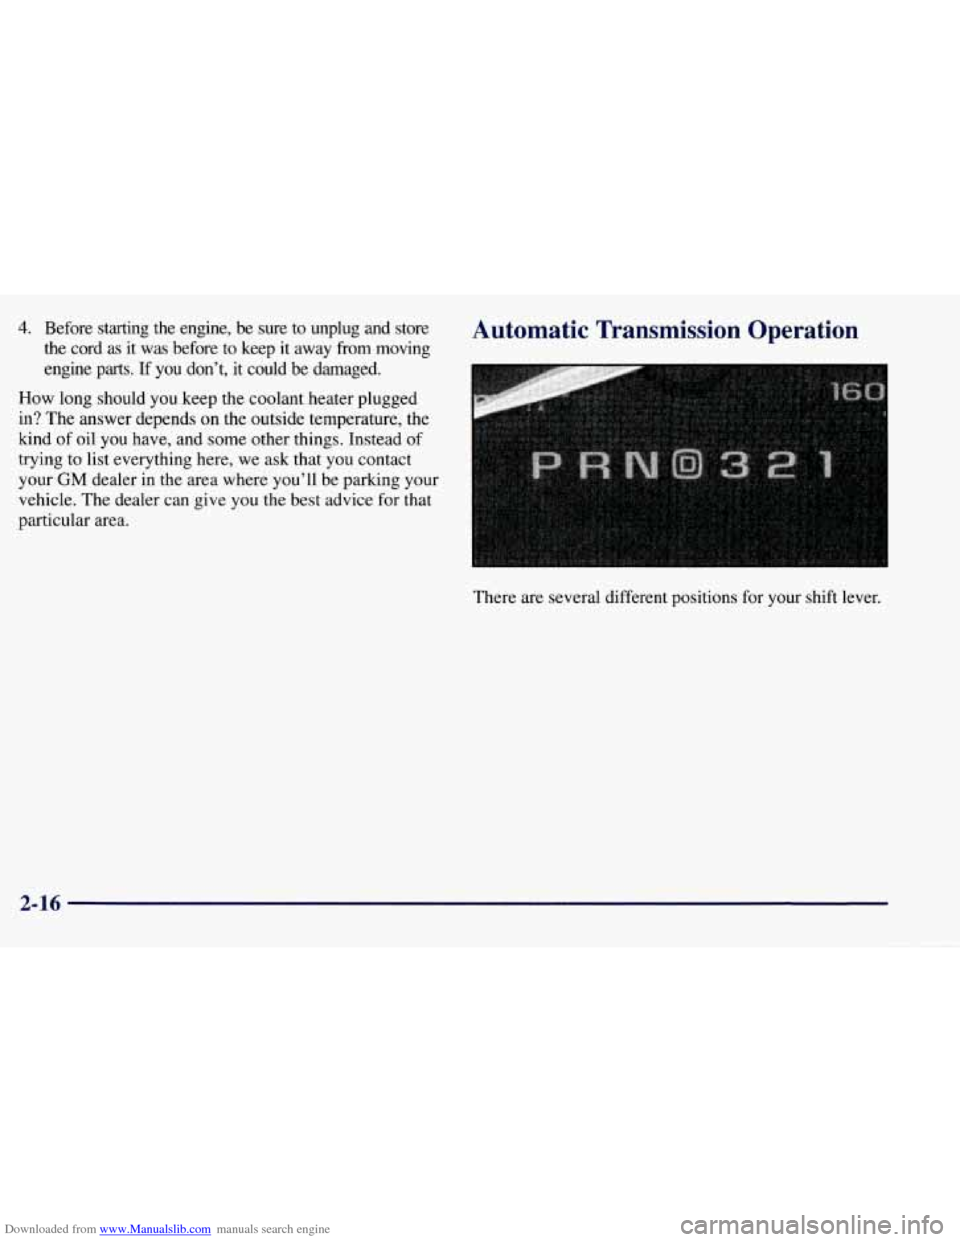
Automatic Transmission Operation
There are several different positions for your shift lever.
2-16
Page 139 of 433

Downloaded from www.Manualslib.com manuals search engine Anti-Lock Brake System Warning Light
With the anti-lock brake
system, this light will come
ANTI -
LOCK
on when you start your
engine and may stay on for
several seconds.
That’s normal.
Engine Coolant Temperature Gage
This gage shows the engine
coolant temperature.
If the light stays on, or comes on when you’re driving,
your vehicle needs service. If the regular brake system
warning light isn’t on, you still have brakes, but you
don’t have anti-lock brakes. If the regular brake system
warning light is also on, you don’t have anti-lock brakes
and there’s a problem with your regular brakes. See
“Brake System Warning Light” earlier in this section.
The anti-lock brake system warning light should come
on briefly when you turn the ignition key to
RUN. If the
light doesn’t come on then, have it fixed
so it will be
ready to warn you if there is a problem.
It also provides an indicator of how hard your vehicle is
working. During a majority of the operation, the gage
will read
2 10 OF ( 100 ” C) or less. If you are pulling a
load or going up hills, it is normal for the temperature
to
fluctuate and approach the 260 OF( 160” C) mark. If the
gage reaches the
260”F( 160°C) mark, it indicates that
the cooling system
is working beyond its capacity.
In “Problems on the Road,” this manual shows what to
do. See “Engine Overheating” in the Index.
2-68
Page 144 of 433
Downloaded from www.Manualslib.com manuals search engine Check Gages Light Headlamp High-Beam Indicator Light
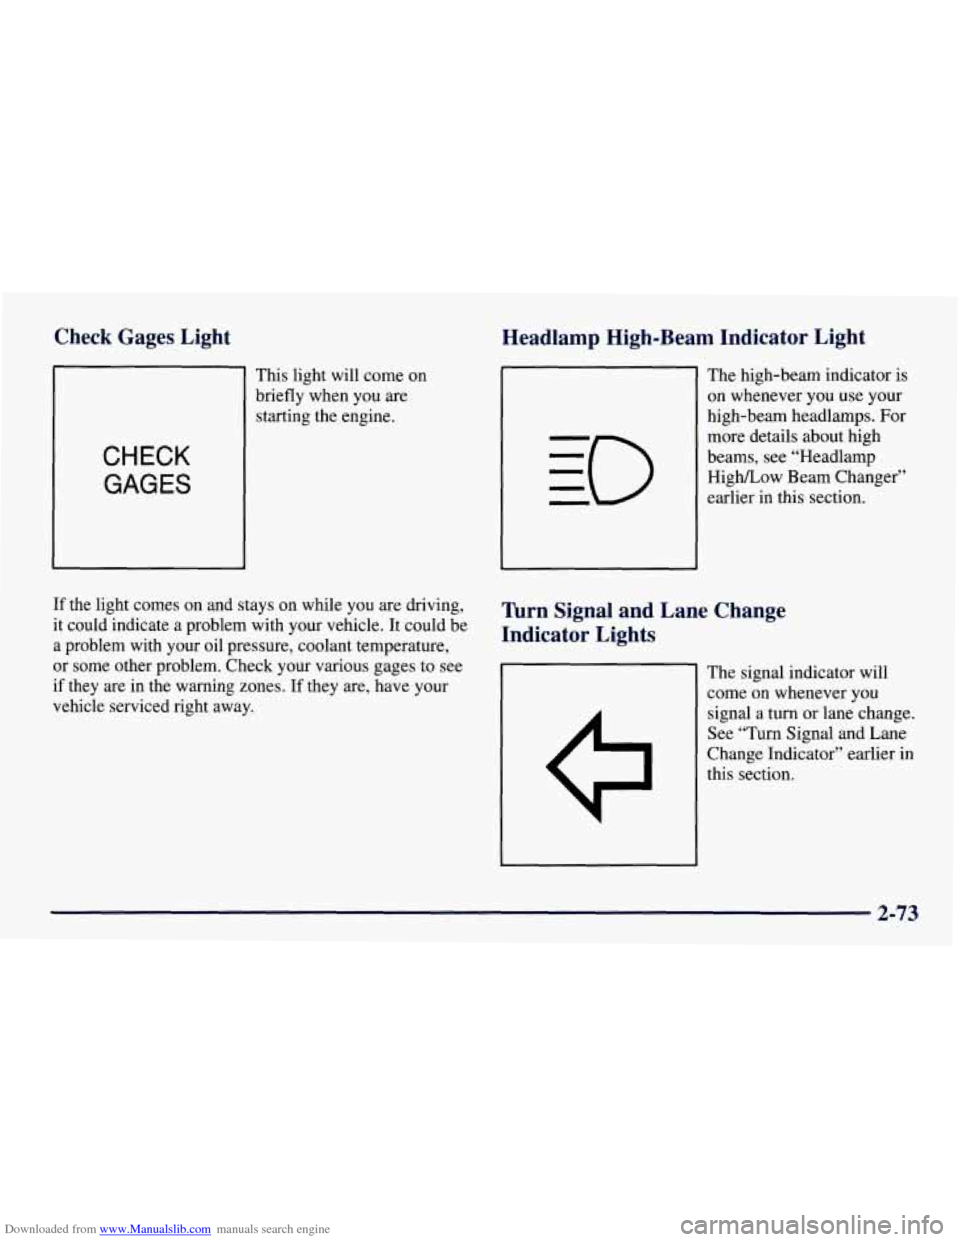
CHECK
GAGES
This light will come on
briefly when you are
starting the engine. The
high-beam indicator is
on whenever you use your
high-beam headlamps. For
more details about high
beams, see “Headlamp
HighLow Beam Changer”
earlier in this section.
If the light comes on and stays on while
YOU are driving, Turn Signal and Lane Change
it could indicate a problem with your vehicle. It could be
a problem with your oil pressure, coolant temperature,
or some other problem. Check your various gages
to see
signal a turn
or lane change.
vehicle serviced right
away. come on whenever
you
if they are in the warning zones. If they are, have your The signal indicator
will
See “Turn Signal and Lane
Change Indicator” earlier in
Indicator Lights
this section.
2-73
Page 155 of 433
Downloaded from www.Manualslib.com manuals search engine Heating Ventilation System
The heater works best if you keep your windows closed
while using it. On cold days, use the HEATER or
VENT/HEAT setting with the temperature knob in
the
red area.
If you use the engine coolant heater before starting your
engine in cold weather,
20°F (-8 O C) or lower, your
heating system will produce warmer air faster, to heat
the passenger compartment in cold weather.
The use
of an engine coolant heater also reduces the
time it takes for the engine to reach normal operating
temperature, and shortens the time it takes the heater to
reach full output. For more information, see “Engine
Coolant Heater” in the Index. For
mild outside temperatures when little heating or
cooling is needed, use VENT to direct outside air
through your vehicle. Air will flow through the
instrument panel outlets.
Your vehicle’s ventilation system supplies outside air
to the inside of your vehicle when it is moving. With
the side windows closed, air will flow into the front
air inlet grilles, through the vehicle, and out the air
exhaust valves.
Outside air will also enter the vehicle when the heater or
the air conditioning fan
is running, unless you have the
recirculation button pushed
in. For more information on
the recirculation button, see
“Air Conditioning” earlier
in this section.
Page 231 of 433
Downloaded from www.Manualslib.com manuals search engine Making ’hms
NOTICE:
Making very sharp turns while trailering could
cause the trailer to come in contact with the
vehicle. Your vehicle could be damaged. Avoid
making very sharp turns while trailering.
When you’re turning with a trailer, make wider turns than
normal.
Do this so your trailer won’t strike soft shoulders,
curbs, road signs, trees or other objects. Avoid jerky or
sudden maneuvers. Signal well
in advance.
Turn Signals When Towing a Trailer
The arrows on your instrument panel will flash
whenever you signal a turn or lane change. Properly
hooked up, the trailer lamps will also flash, telling other
drivers you’re about to turn, change lanes or stop.
When towing a trailer, the arrows on your instrument
panel will flash for turns even
if the bulbs on the trailer
are burned out. Thus, you may think drivers behind you
are seeing your signal when they are not. It’s important
to check occasionally to be sure the trailer bulbs are
still working.
Driving On Grades
Reduce speed and shift to a lower gear before you start
down a long or steep downgrade. If you don’t shift
down, you might have
to use your brakes so much that
they would get hot and no longer work well.
On a long uphill grade, shift down and reduce your
speed to around
45 mph (70 kmh) to reduce the
possibility of engine and transmission overheating.
If you have an automatic transmission, you can tow
in
AUTOMATIC OVERDRIVE (0). You may want to
shift the transmission to THIRD
(3) or, if necessary, a
lower gear selection if the transmission shifts too often
(e.g., under heavy loads and/or hilly conditions).
When towing at high altitude on steep uphill grades,
consider the following: Engine coolant will boil at a
lower temperature than at normal altitudes. If you turn
your engine off immediately after towing at high altitude
on steep uphill grades, your vehicle may show signs
similar
to engine overheating. To avoid this, let the
engine run while parked (preferably on level ground)
with the automatic transmission in PARK
(P) for a few
minutes before turning the engine off. If you do get the
overheat warning, see “Engine Overheating” in
the Index.
4-52
Page 248 of 433
Downloaded from www.Manualslib.com manuals search engine Engine Overheating
(Gasoline Engine)
You will find a coolant temperature gage on your
vehicle’s instrument panel.
If your vehicle has a diesel engine, see “Engine
Overheating” in the Diesel Engine Supplement.
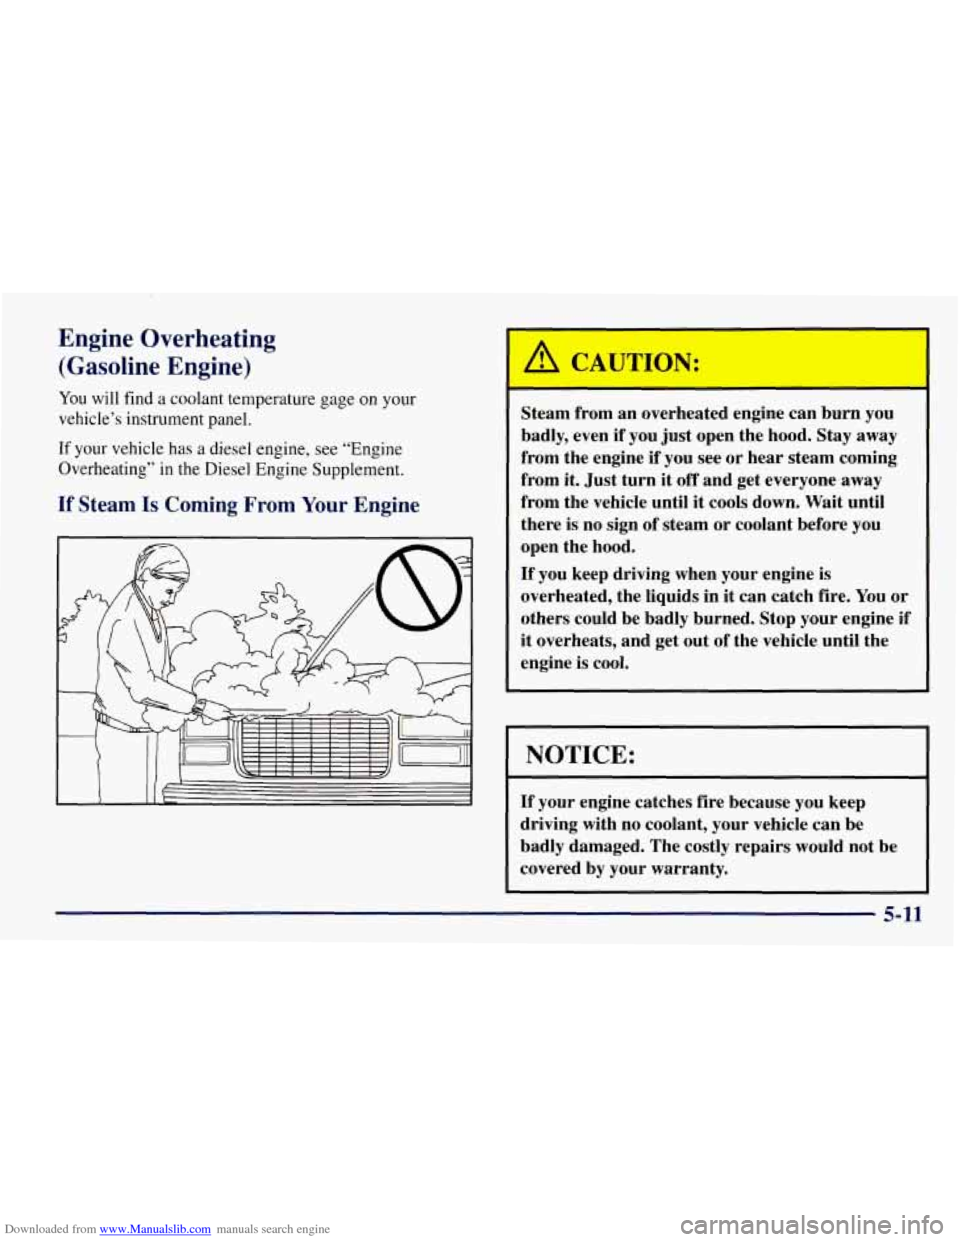
If Steam Is Coming From Your Engine
Steam from an overheated engine can burn you
badly, even
if you just open the hood. Stay away
from the engine
if you see or hear steam coming
from it. Just turn it
off and get everyone away
from the vehicle until it cools down. Wait until
there is no sign of steam or coolant before you
open the hood.
If you keep driving when your engine is
overheated, the liquids in it can catch fire. You or
others could be badly burned. Stop your engine if
it overheats, and get out of the vehicle until the
engine
is cool.
I
If your engine catches fire because you keep
driving with no coolant, your vehicle can be
badly damaged. The costly repairs would not be
covered by your warranty.
5-11
Page 305 of 433

Downloaded from www.Manualslib.com manuals search engine If the differential is at operating temperature (warm),
add enough lubricant to raise the level
to the bottom of
the filler plug hole.
If the differential is cold, add enough lubricant
to raise
the level to
1/2 inch (12 mm) below the filler plug hole.
What to Use
Refer to the Maintenance Schedule to determine what
kind
of lubricant to use. See “Recommended Fluids and
Lubricants” in the Index.
Engine Coolant
The cooling system in your vehicle is filled with new
DEX-COOL@ engine coolant. This coolant is designed
to remain
in your vehicle for 5 years or 150,000 miles
(240
000 km), whichever occurs first, if you add only
DEX-COOL@ extended life coolant.
The following explains
your cooling system and how
to add coolant when it is low. If you have a problem
with engine overheating, see “Engine Overheating” in
the Index.
A 50/50 mixture of water and the proper coolant for
your vehicle will:
0 Give freezing protection down to -34°F (-37°C).
0 Give boiling protection up to 265 “F ( 129 * C).
0 Protect against rust and corrosion.
0 Help keep the proper engine temperature.
0 Let the warning gages work as they should.
NOTICE:
When adding coolant, it is important that you use
only DEX-COOL@ (silicate-free) coolant.
If coolant other than DEX-COOL@ is added to
the system, premature engine, heater core or
radiator corrosion may result.
In addition, the
engine coolant will require change sooner
-- at
30,000 miles (50 000 km) or 24 months,
whichever occurs first. Damage caused by the use
of coolant other than DEX-COOL@ is not
covered by your new vehicle warranty.
6-26
Page 308 of 433
Downloaded from www.Manualslib.com manuals search engine Radiator Pressure Cap
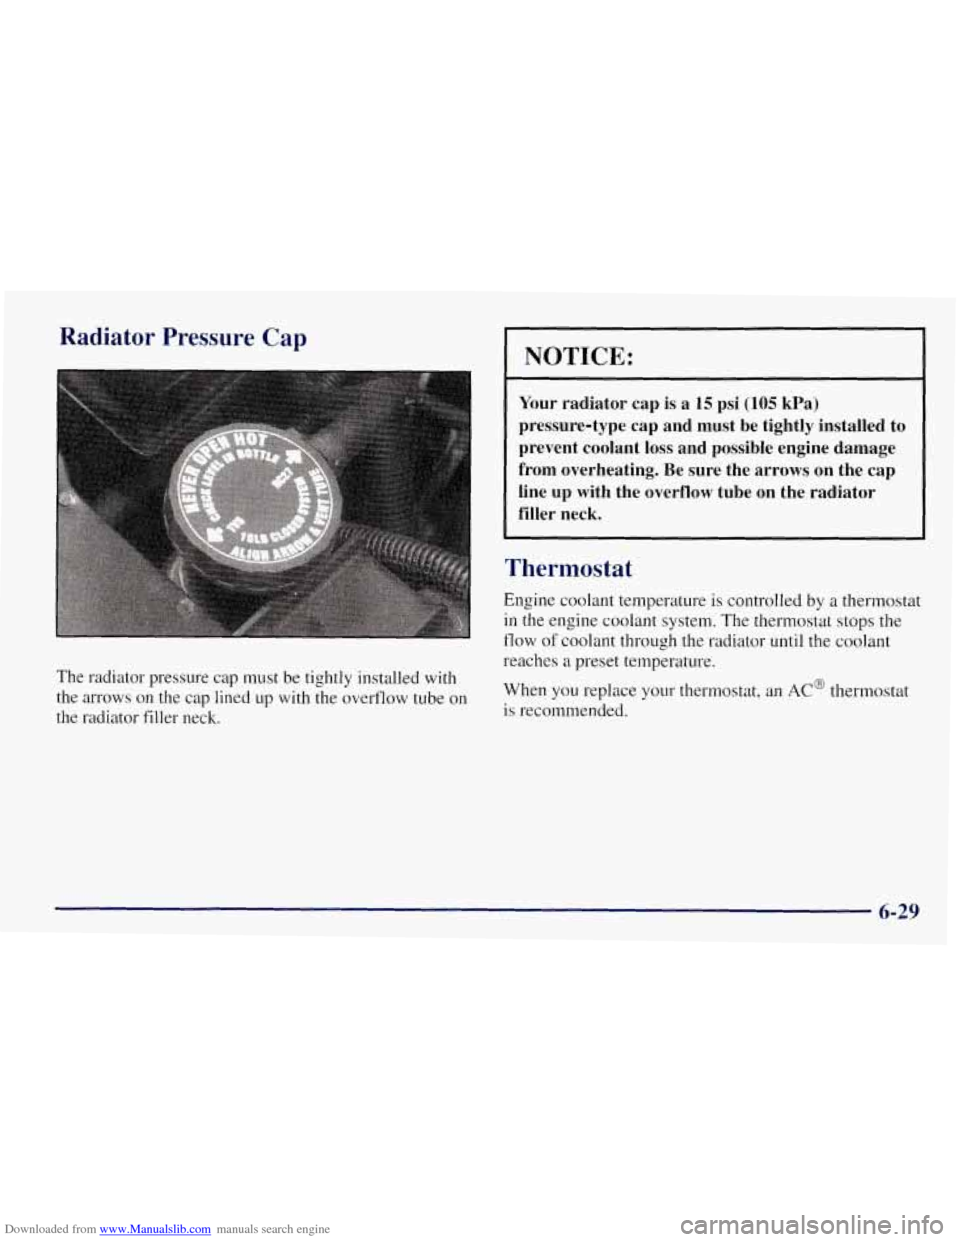
The radiator pressure cap must be tightly installed with
the arrows on the cap lined up with the overflow tube on
the radiator filler neck.
NOTICE:
Your radiator cap is a 15 psi (105 kPa)
pressure-type cap and must be tightly installed to
prevent coolant loss and possible engine damage
from overheating. Be sure the arrows on the cap
line up with the overflow tube on the radiator
filler neck.
Thermostat
Engine coolant temperature is controlled by a thermostat
in the engine coolant system. The thermostat stops the
flow
of coolant through the radiator until the coolant
reaches a preset temperature.
When you replace your thermostat, an
AC@ thermostat
is recommended.
6-29