1997 CHEVROLET MALIBU ECO mode
[x] Cancel search: ECO modePage 132 of 354

Downloaded from www.Manualslib.com manuals search engine P.SCAN: Press this button to listen to each of your
favorite stations stored on your pushbuttons for a few
seconds. The radio will scan through each of the stations
stored on your pushbuttons, except those stations
with
weak reception. The AUTO TONE setting stored for
that pushbutton will be automatically chosen. Press
P.SCAN or one of the pushbuttons again to stop
scanning. P.SCAN will be displayed whenever the tuner
is
in the P.SCAN mode. The channel number (Pl-P6)
will appear momentarily just before the frequency is
displayed. In FM mode, this function will scan through
both FM1
and FM2 preset stations and EM1 or FM2
will appear
on the display.
Setting the Tone
BASS: Press this knob lightly so it extends. Turn the
knob clockwise to increase bass and counterclockwise
to decrease bass. When you use this control, the radio’s
AUTO TONE setting will switch to manual and the AUTO TONE display will
go blank.
TREB: Press this knob lightly so it extends. Turn the
knob clockwise to increase treble and counterclockwise
to decrease treble. When you use this control, the radio’s
AUTO TONE setting will switch to manual and the
AUTO TONE display will
go blank. If a station is
weak or noisy, you may want to decrease the treble. Push these knobs back
into their stored positions when
you’re not using them.
AUTO TONE: This feature allows you to choose
preset bass and treble equalization settings designed
for classical, news, rock, pop, countqdwestern and jazz
stations.
C/W will appear on the display when you first
press AUTO TONE. Each time you press it, another
setting will appear on the display. Press it again after
JAZZ appears and the AUTO TONE display will
go
blank. Tone control will return to the BASS and TREB
knobs. Also,
if you use the BASS and TREB knobs,
control will return to them and the AUTO TONE display will go blank.
Adjusting the Speakers
BAL: Press this knob lightly so it extends. Turn the
knob clockwise for the right speakers and
counterclockwise for the left speakers. The middle
position balances the sound between the speakers.
FADE: Press this knob lightly so it extends. Turn the
knob clockwise to adjust the sound to the front speakers
and counterclockwise for the rear speakers. The middle
position balances the sound between the speakers.
Push these knobs back into their stored positions when
you’re not using them.
3-11
Page 136 of 354

Downloaded from www.Manualslib.com manuals search engine SCAN: Press one of the SEEK arrows for two seconds,
and SCAN will appear on the display. Use SCAN to
listen to stations for a few seconds. The radio will go to
a station, stop for
a few seconds, then go on to the next
station. Press SEEK again to stop scanning. The sound
will mute while scanning.
PUSHBUTTONS: The six numbered pushbuttons let
you return to your favorite stations. You can set up to
18 stations (six AM, six
FM1 and six FM2). Just:
1.
2.
3.
4.
5.
6.
Turn the radio on.
Press AM-FM to select the band.
Tune in
the desired station.
Press AUTO TONE to select the equalization that
best suits the type of station selected.
Press and hold one of the
six numbered buttons.
The sound will mute. When it returns, release the
button. Whenever
you press that numbered button,
the station you set will return and the AUTO
TONE equalization that you selected will also be
automatically selected for that button.
Repeat the steps for each pushbutton.
P.SCAN: Press this button to listen to each of your
favorite stations stored on your pushbuttons for a few
seconds. The radio will scan through each
of the stations
stored on your pushbuttons, except those stations with
weak reception. The AUTO TONE setting stored for
that pushbutton will be automatically chosen. Press
P.SCAN or one of the pushbuttons again to stop
scanning. P.SCAN will be displayed whenever the tuner
is in the P.SCAN mode. In
FM mode, this function will
scan through both FMl and FM2 preset stations and
FM1 or FM2 will appear on the display.
Setting the Tone
BASS:
Press this knob lightly so it extends. Turn the
knob clockwise to increase bass and counterclockwise
to decrease bass. When you use this control, the radio’s AUTO TONE setting will switch to manual and the
AUTO TONE display will
go blank.
TREB: Press this knob lightly so it extends. Turn the
knob clockwise to increase treble and counterclockwise
to decrease treble. When you use this control, the radio’s
AUTO TONE setting will switch to manual and the
AUTO TONE display will
go blank. If a station is weak
or noisy, you may want
to decrease the treble.
Push these knobs back into their stored positions when
you’re not using them.
3-15
Page 139 of 354

Downloaded from www.Manualslib.com manuals search engine Remote Cassette Tape Player (If Equipped)
Playing a Cassette Tape
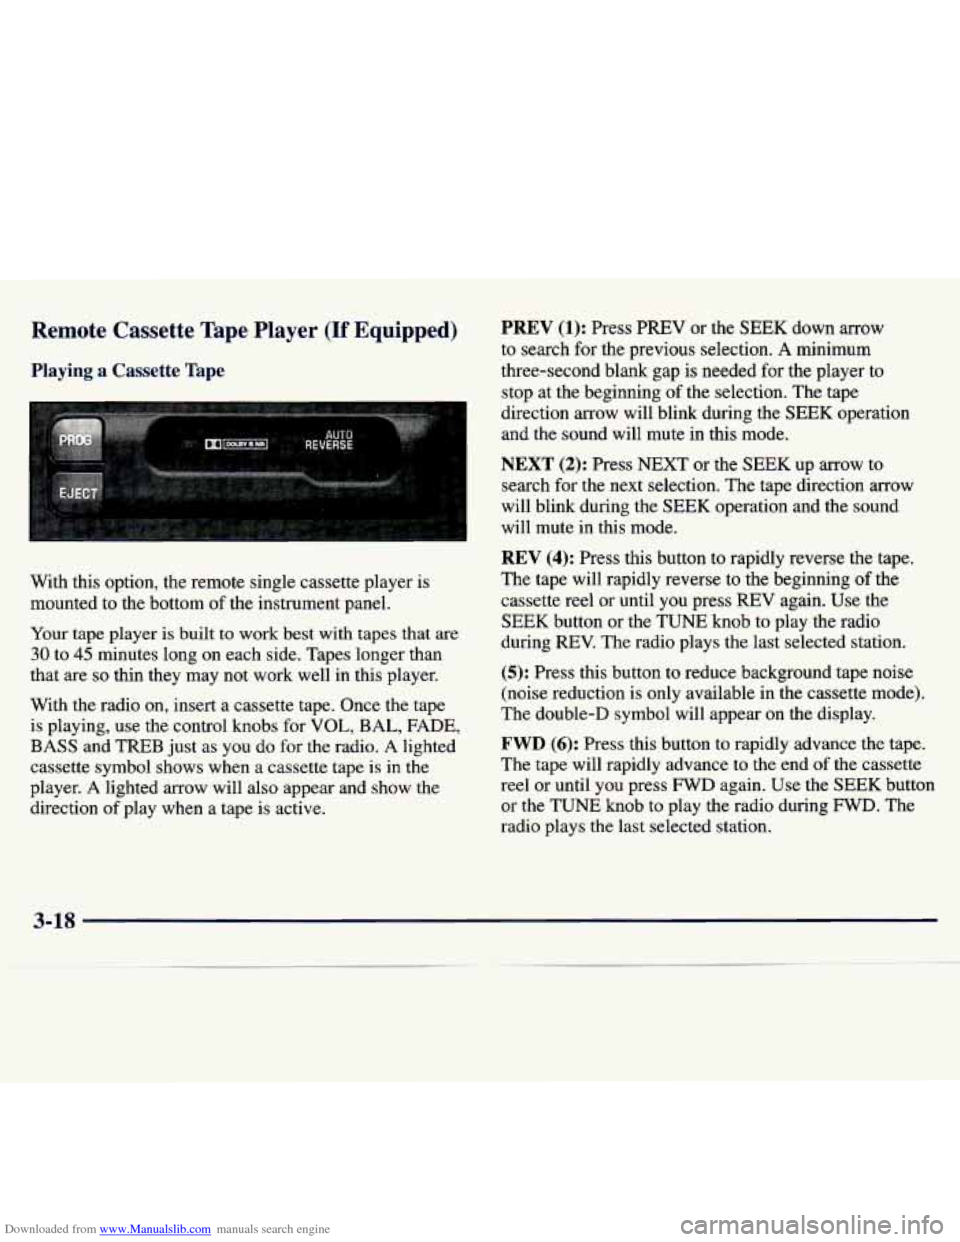
With this option, the remote single cassette player is
mounted to the bottom of the instrument panel.
Your tape player is built to work best with tapes that are
30 to 45 minutes long on each side. Tapes longer than
that are
so thin they may not work well in this player.
With the radio on, insert a cassette tape. Once the tape
is playing, use the control knobs for VOL, BAL, FADE,
BASS and TREB just as you do for the radio. A lighted
cassette symbol shows when a cassette tape is in the
player.
A lighted arrow will also appear and show the
direction
of play when a tape is active.
PREV (1): Press PREV or the SEEK down arrow
to search for the previous selection. A minimum
three-second blank gap
is needed for the player to
stop at the beginning of the selection. The tape
direction arrow will blink during the SEEK operation
and the sound will mute in this mode.
NEXT (2): Press NEXT or the SEEK up arrow to
search for the next selection. The tape direction arrow
will blink during the
SEEK operation and the sound
will mute in this mode.
REV (4): Press this button to rapidly reverse the tape.
The tape will rapidly reverse to the beginning
of the
cassette reel or until you press
REV again. Use the
SEEK button or the
TUNE knob to play the radio
during
REV. The radio plays the last selected station.
(5): Press this button to reduce background tape noise
(noise reduction is only available in the cassette mode).
The double-D symbol will appear on the display.
FWD (6): Press this button to rapidly advance the tape.
The tape will rapidly advance to the end
of the cassette
reel or until you press
FWD again. Use the SEEK button
or the TUNE knob to play the radio during
FWD. The
radio plays the last selected station.
3-18
Page 249 of 354

Downloaded from www.Manualslib.com manuals search engine Brake Pedal Travel
See your dealer if the brake pedal does not return to
normal height, or if there is a rapid increase in pedal
travel. This could be
a sign of brake trouble.
Brake Adjustment
Every time you make a moderate brake stop, your disc
brakes adjust for wear.
If you rarely make a moderate or
heavier stop, then your brakes might not adjust correctly. If you drive in that way, then
-- very carefully -- make
a few moderate brake stops about every
1,000 miles
(1 600 km), so your brakes will adjust properly.
If your brake pedal goes down farther than normal, your
rear drum brakes may need adjustment. Adjust them by
pumping the brake pedal repeatedly while the engine is
running with the shift lever
in PARK (P).
Replacing Brake System Parts
The braking system on a modern vehicle is complex. Its
many parts have to be
of top quality and work well
together if the vehicle is to have really good braking.
Your vehicle was designed and tested with top-quality
GM brake parts. When you replace parts of your braking system
-- for example, when your brake linings wear
down and you have to have new ones put
in -- be sure
you get new approved GM replacement parts.
If you
don’t, your brakes may no longer work properly. For
example, if someone puts in brake linings that
are wrong
for your vehicle, the balance between your front and
rear brakes can change
-- for the worse. The braking
performance you’ve come to expect can change in many
other ways if someone puts in the wrong replacement
brake parts.
Battery
Every new Chevrolet has a Delco Freedom@ battery.
You never have to add water to one of these. When it’s
time for a new battery, we recommend a Delco Freedom
battery. Get one that has the replacement number shown
on the original battery’s label.