1997 CHEVROLET EXPRESS oil type
[x] Cancel search: oil typePage 152 of 386

Downloaded from www.Manualslib.com manuals search engine Care of Your Cassette Tape Player
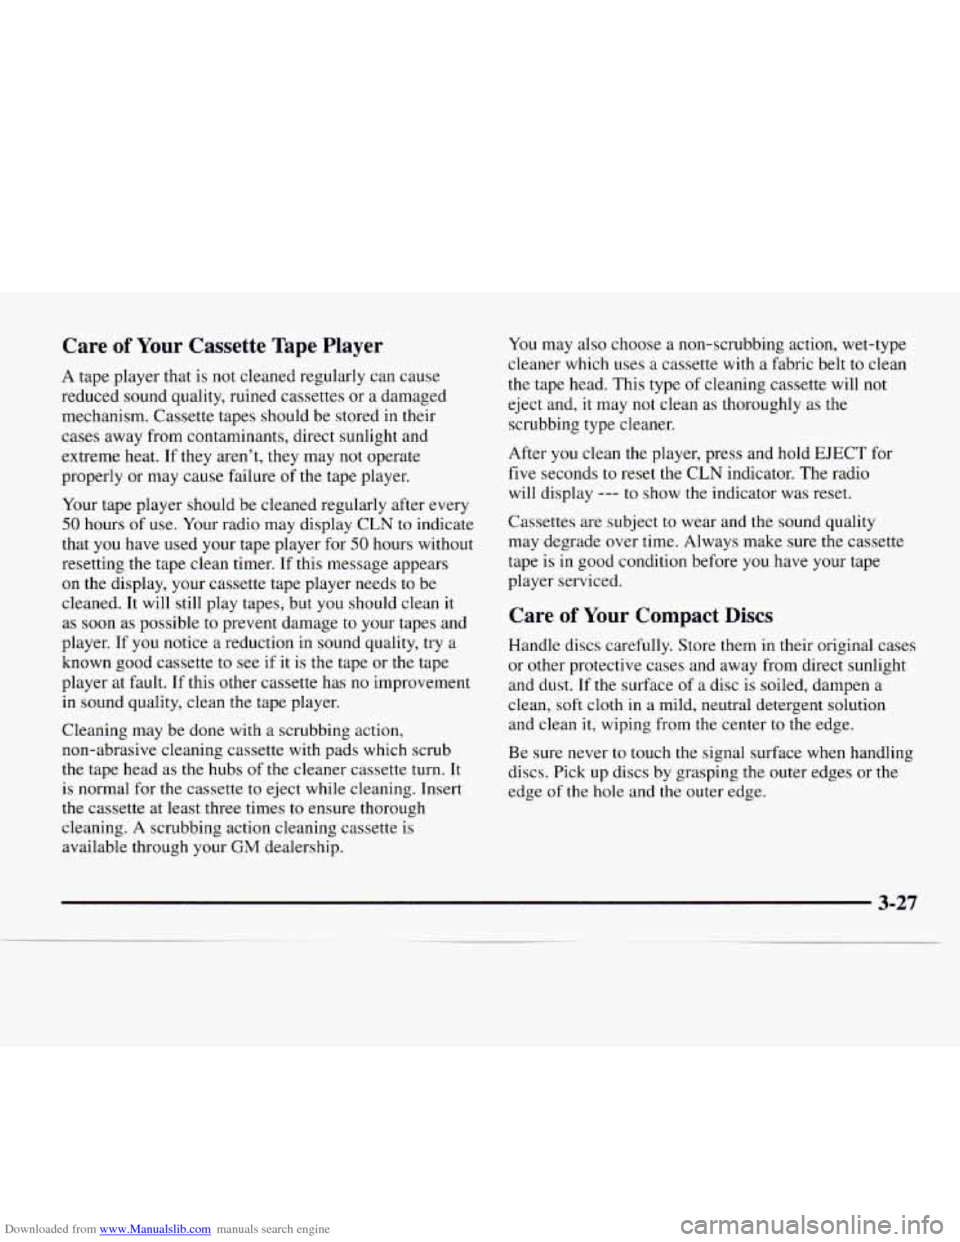
A tape player that is not cleaned regularly can cause
reduced sound quality, ruined cassettes or a damaged
mechanism. Cassette tapes should be stored in their
cases away from contaminants, direct sunlight and
extreme heat. If they aren’t, they may not operate
properly or may cause failure
of the tape player.
Your tape player should be cleaned regularly after every
50 hours of use. Your radio may display CLN to indicate
that you have used your tape player for
50 hours without
resetting the tape clean timer. If this message appears
on the display, your cassette tape player needs to be
cleaned. It will still play tapes, but you should clean it
as soon as possible to prevent damage to your tapes and
player. If you notice a reduction in sound quality, try a
known good cassette
to see if it is the tape or the tape
player at fault.
If this other cassette has no improvement
in sound quality, clean the tape player.
Cleaning may be dc
: with a scrubbing action,
non-abrasive cleaning cassette with pads which scrub
the tape head as the hubs
of the cleaner cassette turn. It
is normal for the cassette to eject while cleaning. Insert
the cassette at least three times to ensure thorough
cleaning. A scrubbing action cleaning cassette is
available through your
GM dealership. You
may also choose a non-scrubbing action, wet-type
cleaner which uses a cassette with a fabric belt to clean
the tape head. This type of cleaning cassette will not
eject and, it may not clean as thoroughly as the
scrubbing type cleaner.
After you clean the player, press and hold EJECT for
five seconds
to reset the CLN indicator. The radio
will display
--- to show the indicator was reset.
Cassettes are subject
to wear and the sound quality
may degrade over time. Always make sure the cassette
tape is in good condition before you have your tape
player serviced.
Care of Your Compact Discs
Handle discs carefully. Store them in their original cases
or other protective cases and away from direct sunlight
and dust.
If the surface of a disc is soiled, dampen a
clean,
soft cloth in a mild, neutral detergent solution
and clean it, wiping from the center to the edge.
Be sure never
to touch the signal surface when handling
discs. Pick up discs by grasping the outer edges or the
edge
of the hole and the outer edge.
3-27
Page 284 of 386

Downloaded from www.Manualslib.com manuals search engine Using Solvent-Type Cleaner on Fabric
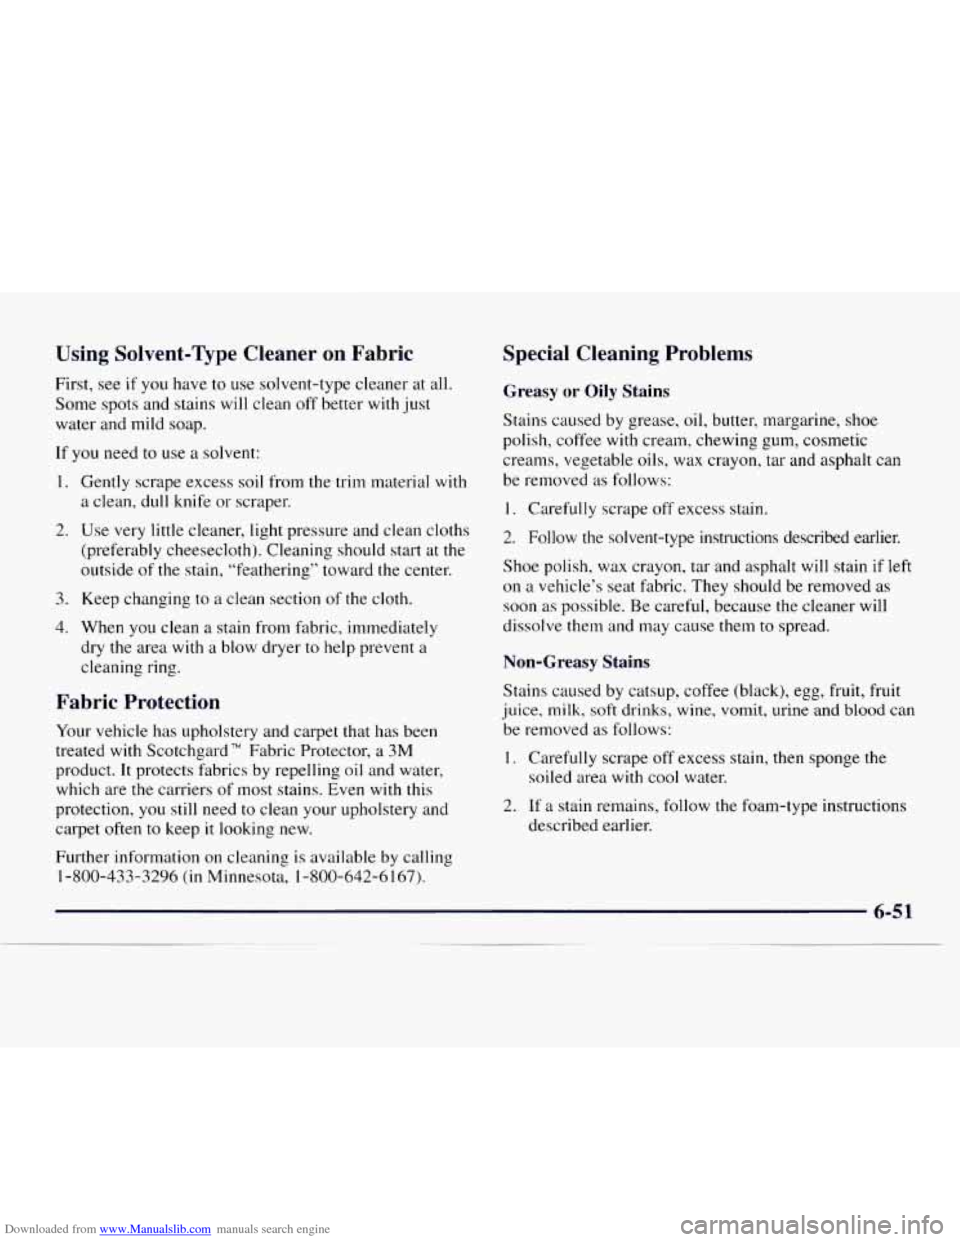
First, see if you have to use solvent-type cleaner at all.
Some
spots and stains will clean off better with just
water and mild soap.
If
you need to use a solvent:
1. Gently scrape excess soil from the trim material with
a clean, dull knife or scraper.
2. Use very little cleaner, light pressure and clean cloths
(preferably cheesecloth). Cleaning should start at the
outside
of the stain, “feathering” toward the center.
3. Keep changing to
a clean section of the cloth.
4. When you clean a stain from fabric, immediately
dry the area with a blow dryer to help prevent a
cleaning ring.
Fabric Protection
Your vehicle has upholstery and carpet that has been
treated with Scotchgard
TM Fabric Protector, a 3M
product. It protects fabrics by repelling oil and water,
which are the carriers of most stains. Even with this
protection, you
still need to clean your upholstery and
carpet often to keep
it looking new.
Further information
on cleaning is available by calling
1-800-433-3296
(in Minnesota, 1-800-642-6 167).
Special Cleaning Problems
Greasy or Oily Stains
Stains caused by grease, oil, butter, margarine, shoe
polish, coffee with cream, chewing gum, cosmetic
creams, vegetable oils, wax crayon, tar and asphalt can
be removed as follows:
1. Carefully scrape off excess stain.
2. Follow the solvent-type instructions described earlier.
Shoe polish, wax crayon, tar and asphalt will stain if left
on a vehicle’s seat fabric. They should be removed as
soon as possible. Be careful, because the cleaner will
dissolve them and may cause them to spread.
Non-Greasy Stains
Stains caused by catsup, coffee (black), egg, fruit, fruit
juice, milk, soft drinks, wine, vomit, urine and
blood can
be removed as follows:
1. Carefully scrape off excess stain, then sponge the
soiled area with cool water.
2. If a stain remains, follow the foam-type instructions
described earlier.
Page 285 of 386

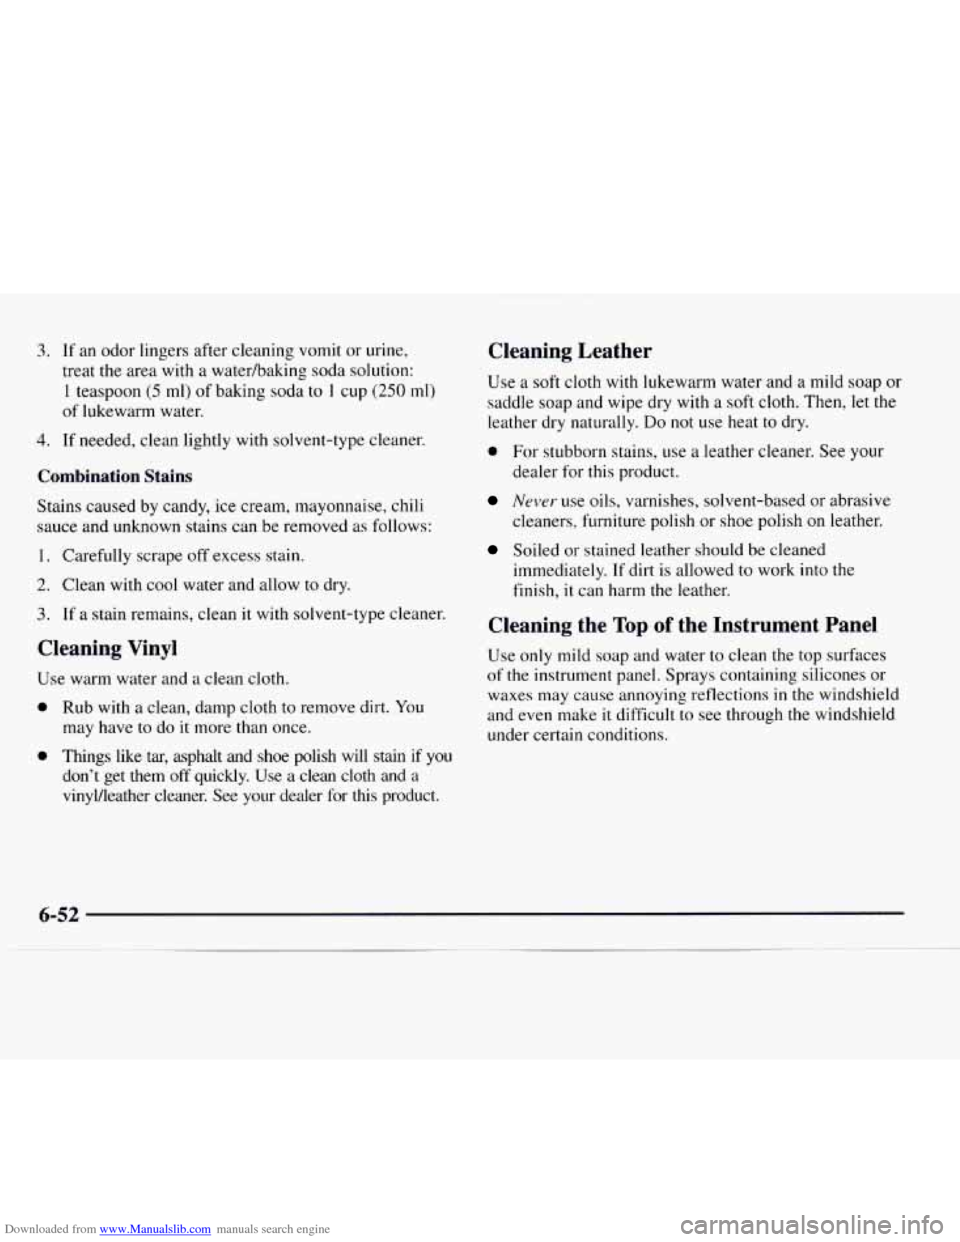
Downloaded from www.Manualslib.com manuals search engine 3. If an odor lingers after cleaning vomit or urine,
treat the area with
a waterhaking soda solution:
1 teaspoon (5 ml) of baking soda to I cup (250 ml)
of lukewarm water.
4. If needed, clean lightly with solvent-type cleaner.
Combination Stains
Stains caused by candy, ice cream, mayonnaise, chili
sauce and unknown stains can be removed
as follows:
1. Carefully scrape off excess stain.
2. Clean with cool water and allow to dry.
3. If a stain remains, clean it with solvent-type cleaner.
Cleaning Vinyl
use warm water and a clean cloth.
0 Rub with a clean, damp cloth to remove dirt. You
may have to do it more than once.
0 Things like tar, asphalt and shoe polish will stain if you
don’t get them
off quickly. Use a clean cloth and a
vinylheather cleaner. See your dealer for this product.
Cleaning Leather
Use a soft cloth with lukewarm water and a mild soap or
saddle soap and wipe dry with a soft cloth. Then, let the
leather dry naturally.
Do not use heat to dry.
0 For stubborn stains, use a leather cleaner. See your
dealer for this product.
Never use oils, varnishes, solvent-based or abrasive
cleaners, furniture polish or shoe polish on leather.
Soiled or stained leather should be cleaned
immediately.
If dirt is allowed to work into the
finish, it can harm the leather.
Cleaning the Top of the Instrument Panel
Use only mild soap and water to clean the top surfaces
of the instrument panel. Sprays containing silicones or
waxes may cause annoying reflections
in the windshield
and even make
it difficult to see through the windshield
under certain conditions.
Page 299 of 386

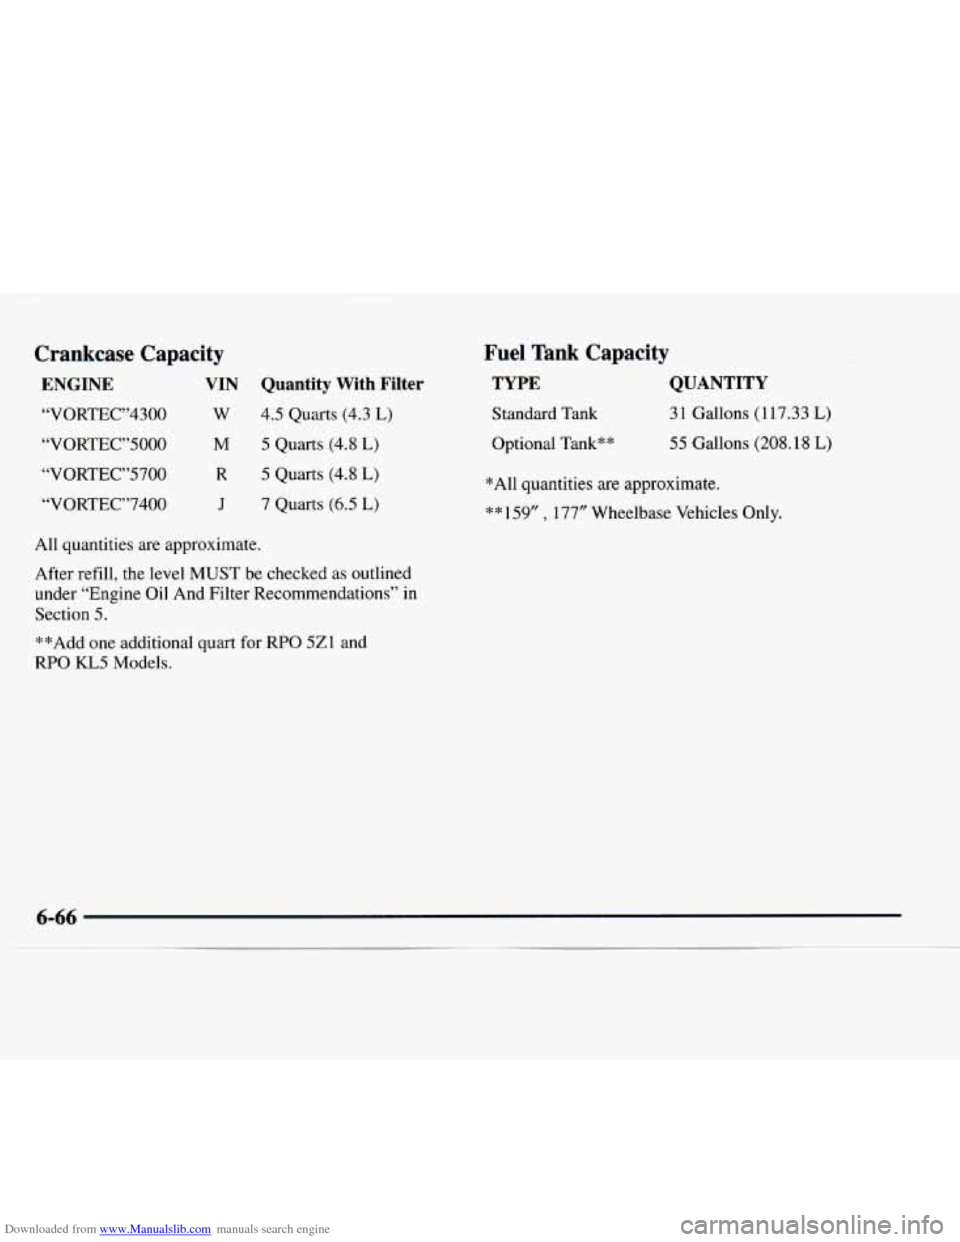
Downloaded from www.Manualslib.com manuals search engine Crankcase Capacity
ENGINE VIN Quantity With Filter
“VORTEC”4300 W 4.5 Quarts (4.3 L)
“VORTEC”5000 M 5 Quarts (4.8 L)
“VORTEC”5700 R 5 Quarts (4.8 L)
“VORTEC”7400 J 7 Quarts (6.5 L)
All quantities are approximate.
After refill, the level
MUST be checked as outlined
under “Engine Oil And Filter Recommendations”
in
Section 5.
**Add one additional quart for RPO 5Zl and
RPO KL5 Models.
Fuel Tank Capacity
TYPE QUANTITY
Standard Tank 31 Gallons (117.33 L)
Optional Tank** 55 Gallons (208.18 L)
*All quantities are approximate.
** 159” , 177” Wheelbase Vehicles Only.
Page 300 of 386

Downloaded from www.Manualslib.com manuals search engine Normal Replacement Parts
Engine VIN
Oil Filter
Air Cleaner Filter*
PCV Valve
Spark Plugs
Fuel Filter
Radiator Cap
*Replace with AC Ai
“VORTEC”4300
w
PF52
A9 17C
CV789C
41-932 GF48
1
RC36
“VORTEC”5000
r Filter, Part No. A917C and fi
Air Conditioning Refrigerant Capacity
M
PF1218
A917C
cv774c
4 1-932 GF48
1
RC36
or severe dua
NOTICE:
R-134A refrigerant is not compatible with R-12
refrigerant in an air conditioning system. R-12 in
an R-134A system
will cause compressor failure,
refrigerant oil sludge, or poor air conditioning
system performance. “VORTEC”5700
R
PF1218
A9 17C
cv774c
4 1-932
GF48
1
RC36
“VORTEC”7400
J
PF1218
A917C
cv774c
41-932 GF48
1
RC36
;ty conditions, use, AC Air Filter, Part No. 1236C.
TYPE QTY Front Only QTY Front and Rear
Refrigerant 3.00 Ibs. (1.36 kg) 4.875 Ibs. (2.2 1 kg)
R- 134A
Air Conditioning Refrigerants
Not all air conditioning refrigerants are the same.
If the air conditioning system in your vehicle needs
refrigerant,
be sure the proper refrigerant is used.
Tf you’re not sure, ask your GM dealer.