Page 90 of 388

Downloaded from www.Manualslib.com manuals search engine Windows
I On a vehicle with manual windows, use the window
crank to open and close each window.
Power Windows (If Equipped)
The driver’s window switch has an auto-down feature.
The driver’s window can be opened to the desired
amount by pushing the rear
of the switch to the first
detent. For the auto-down feature, push the rear
of the
switch all the way down. The window will continue
going down until fully opened.
To stop the window while it is lowering, briefly press
the switch forward, then release.
To raise the window, press and hold the switch forward.
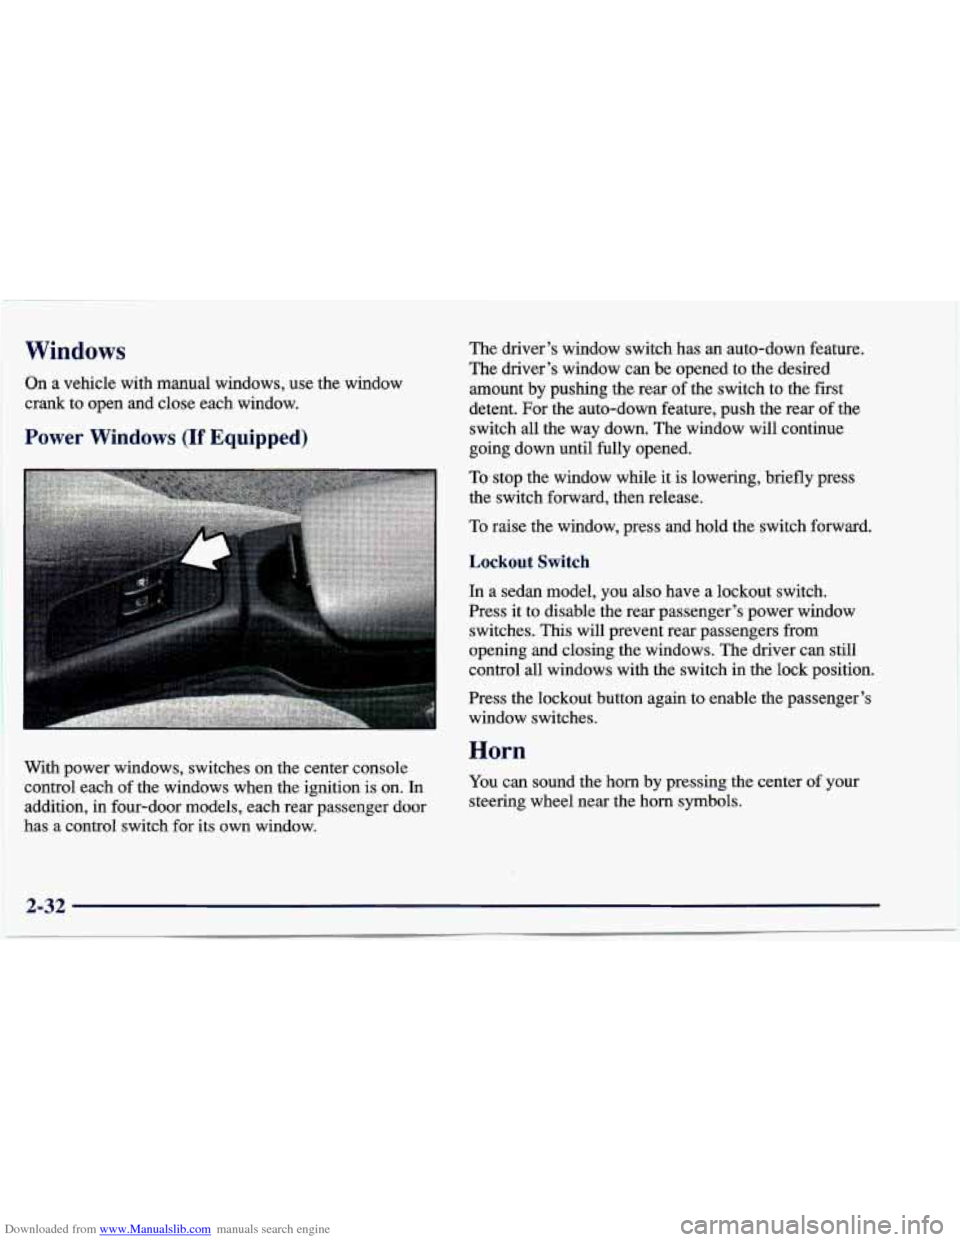
With power windows, switches on the center console
control each of the windows when the ignition is on. In
addition, in four-door models, each rear passenger door
has a control switch for its own window.
Lockout Switch
In a sedan model, you also have a lockout switch.
Press it to disable the rear passenger’s power window
switches.
This will prevent rear passengers from
opening and closing the windows. The driver can still
control
all windows with the switch in the lock position.
Press the lockout button again
to enable the passenger’s
window switches.
Horn
You can sound the horn by pressing the center of your
steering wheel near the horn symbols.
2-32
Page 171 of 388

Downloaded from www.Manualslib.com manuals search engine Remember: Anti-lock doesn’t change the time you need
to get your foot up to the brake pedal or always decrease
stopping distance. If you get too close to the vehicle in
front
of you, you won’t have time to apply your brakes
if that vehicle suddenly slows or stops. Always leave
enough room up ahead to stop, even though you have
anti-lock brakes.
Using Anti-Lock
Don’t pump the brakes. Just hold the brake pedal down
and let anti-lock work for you. You may feel the system
working, or you may notice some noise, but
this is normal.
Enhanced Traction System (If Equipped)
If your vehicle has the optional four-speed automatic
transaxle, it also has an Enhanced Traction System
(ETS) that limits wheel spin. This is especially useful
in slippery road conditions. The system operates only
when the transaxle shift lever is in
the REVERSE (R),
THIRD (3) or OVERDRIVE (a) position and the
system senses that one
or both of the front wheels are
spinning or beginning to lose traction. When this
happens, the system reduces engine power and may also
upshift the transaxle to limit wheel spin.
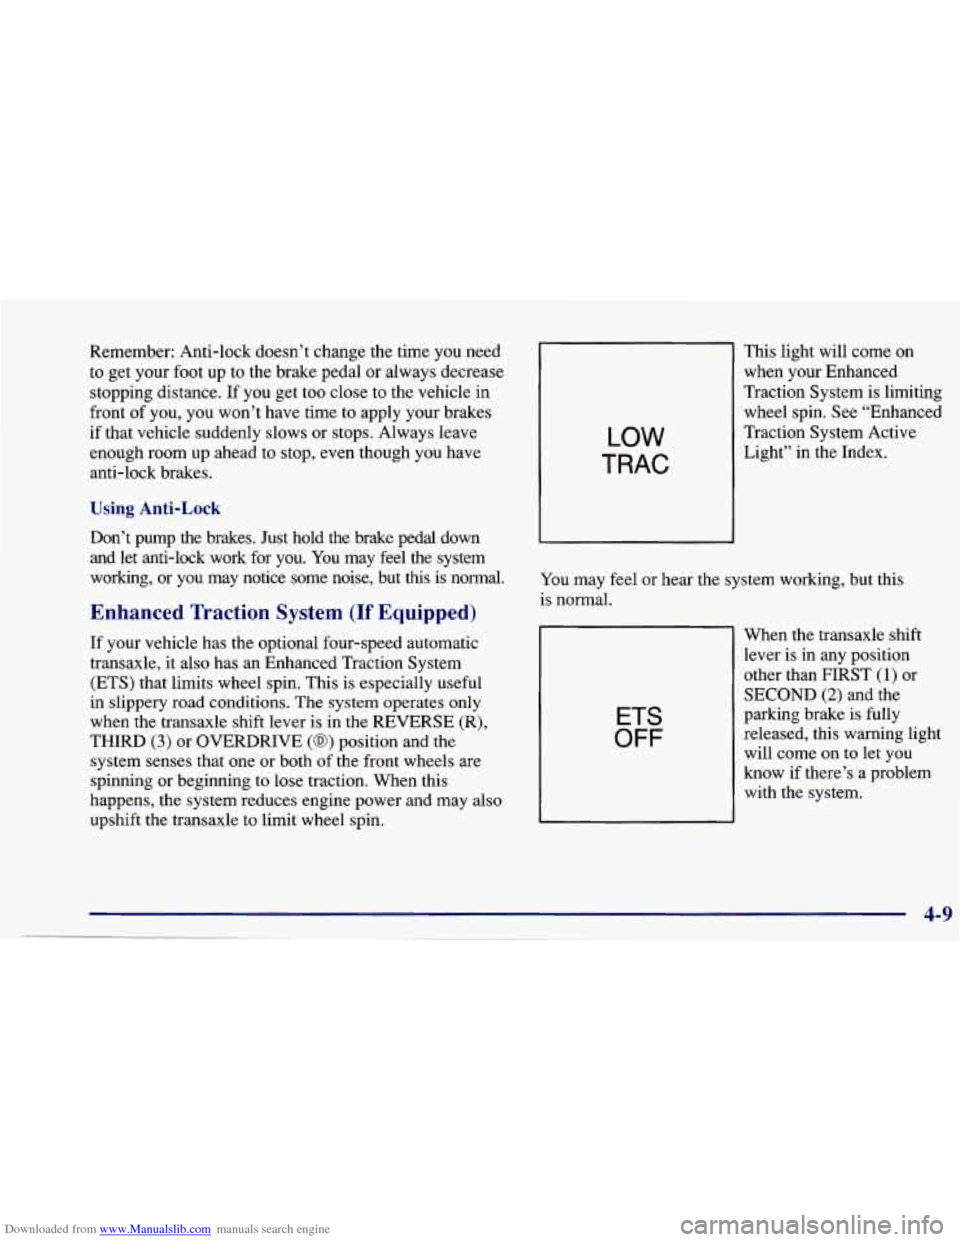
LOW
TRAC
This light will come on
when your Enhanced
Traction System is limiting
wheel spin. See “Enhanced
Traction System Active Light” in the Index.
You may feel or hear the system working, but this
is normal.
ETS
OFF
When the transaxle shift
lever is in any position
other than
FIRST (1) or
SECOND (2) and the
parking brake is fully
released, this warning light will come on to let you
know if there’s a problem
with the system.
Page 194 of 388

Downloaded from www.Manualslib.com manuals search engine Towing Your Vehicle From the Front
(Without
a Dolly)
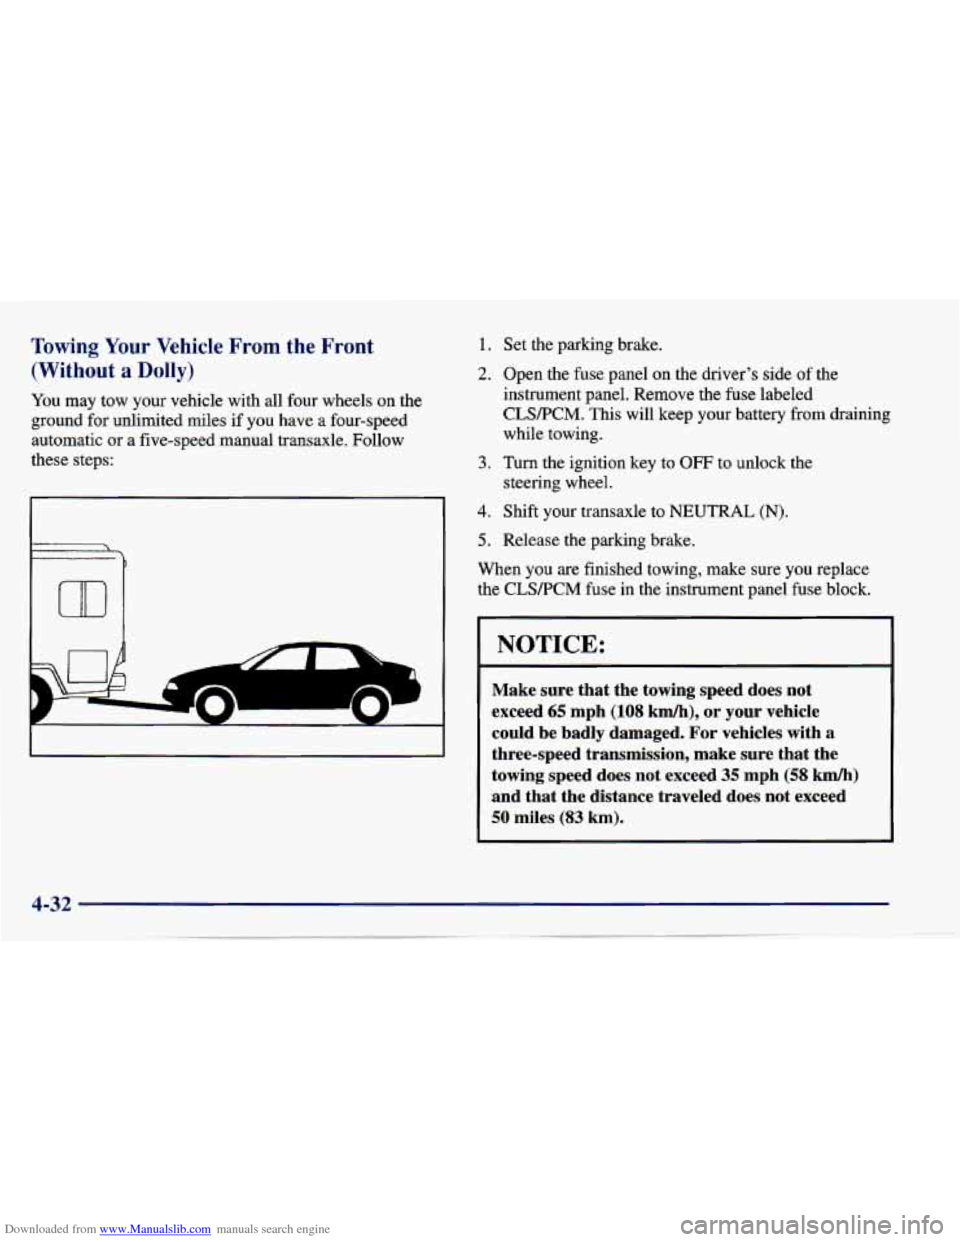
You may tow your vehicle with all four wheels on the
ground for unlimited miles if you have
a four-speed
automatic or
a five-speed manual transaxle. Follow
these steps:
L
1.
2.
3.
4.
5.
Set the parking brake.
Open the fuse panel on
the driver’s side of the
instrument panel. Remove the fuse labeled
CLSPCM. This will keep your battery from draining
while towing.
Turn the ignition key
to OFF to unlock the
steering wheel.
Shift your transaxle to NEUTRAL
(N).
Release the parking brake.
When you
are finished towing, make sure you replace
the CLSRCM fuse in the instrument panel fuse block.
NOTICE:
Make sure that the towing speed does not
exceed
65 mph (108 kmh), or your vehicle
could be badly damaged. For vehicles with
a
three-speed transmission, make sure that the
towing speed does not exceed
35 mph (58 km/h)
and that the distance traveled does not exceed
50 miles (83 km).