1997 CHEVROLET BLAZER tow
[x] Cancel search: towPage 92 of 402
Downloaded from www.Manualslib.com manuals search engine Running Your Engine While You’re
Parked (Automatic Transmission)
It’s better not to park with the engine running. But if
ever have
to, here are some things to know.
A CAUTION:
Idling the engine with the air system control
off could allow dangerous exhaust into
your vehicle (see the earlier Caution under
“Engine Exhaust”).
Also, idling in
a closed-in place can let deadly
carbon monoxide
(CO) into your vehicle even if
the fan switch is at the highest setting. One place
this can happen is
a garage. Exhaust 9- with
CO -- can come in easily. NEVER park in a
garage
with the engine running.
Another closed-in place can be a blizzard.
(See “Blizzard” in the Index.)
I A CAUTION:
It can be dangerous to get out of your vehicle if
the shift lever
is not fully in PARK (P) with the
parking brake firmly set. Your vehicle can roll.
Don’t leave your vehicle when the engine
is
running unless you have to. If you’ve left the
engine running, the vehicle can move suddenly.
You or others could be injured.
To be sure your
vehicle won’t move, even when you’re on fairly
level ground, always set your parking brake and
move the shift lever to PARK
(P).
If you have four-wheel drive with a manual transfer case
shift lever and your transfer case
is in NEUTRAL (N),
your vehicle will be free to roll, even if your shift lever
is
in PARK (P). So, be sure the transfer case is in a drive
gear
-- not in NEUTRAL (N). Always set your parking
brake. Follow the proper steps
to be sure your vehicle
won’t move. See “Shifting Into PARK
(P)” in the Index.
If you’re pulling a trailer, see ”Towing a Trailer”
in
the Index.
2-35
Page 95 of 402
Downloaded from www.Manualslib.com manuals search engine Tilt Wheel (If Equipped)
I
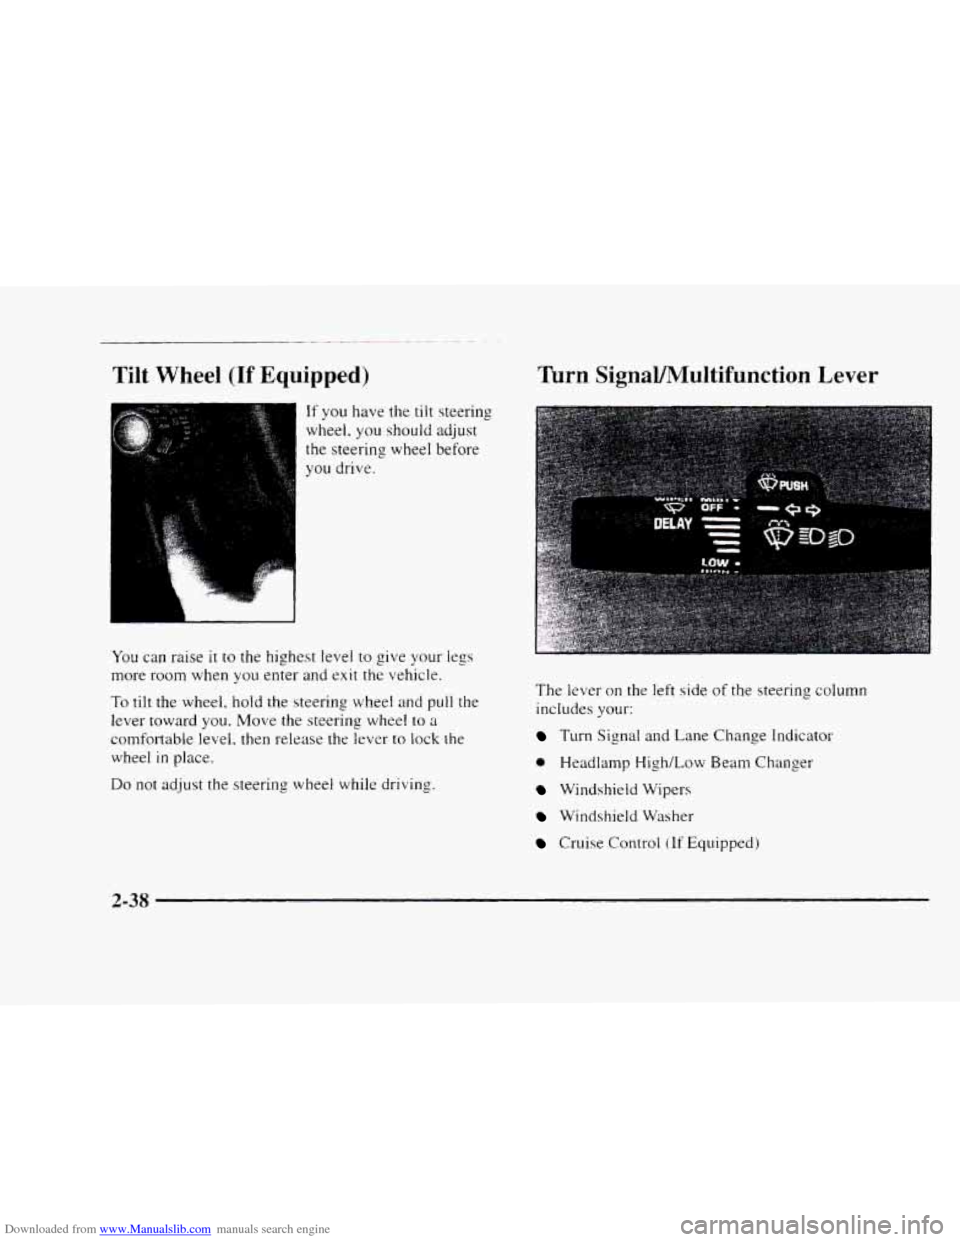
If you have the tilt steering
wheel.
you should adjust
the steering wheel before
you drive.
You can raise it to the highest level to give your legs
more room when you enter and exit the vehicle.
To tilt the wheel, hold the steering wheel and pull the
lever toward
you. Move the steering wheel to a
comfortable level. then release the lever to lock the
wheel
in place.
Do not adjust the steering wheel while driving.
Turn SignaVMultifunction Lever
The level- on the left side of the steering column
includes
your:
Turn Signal and Lane Change Indicator
0 Headlamp High/Low Beam Changer
Windshield Wipers
Windshield Washer
Cruise Control (If Equipped)
2-38
Page 96 of 402
Downloaded from www.Manualslib.com manuals search engine ’krn and Lane Change Signals
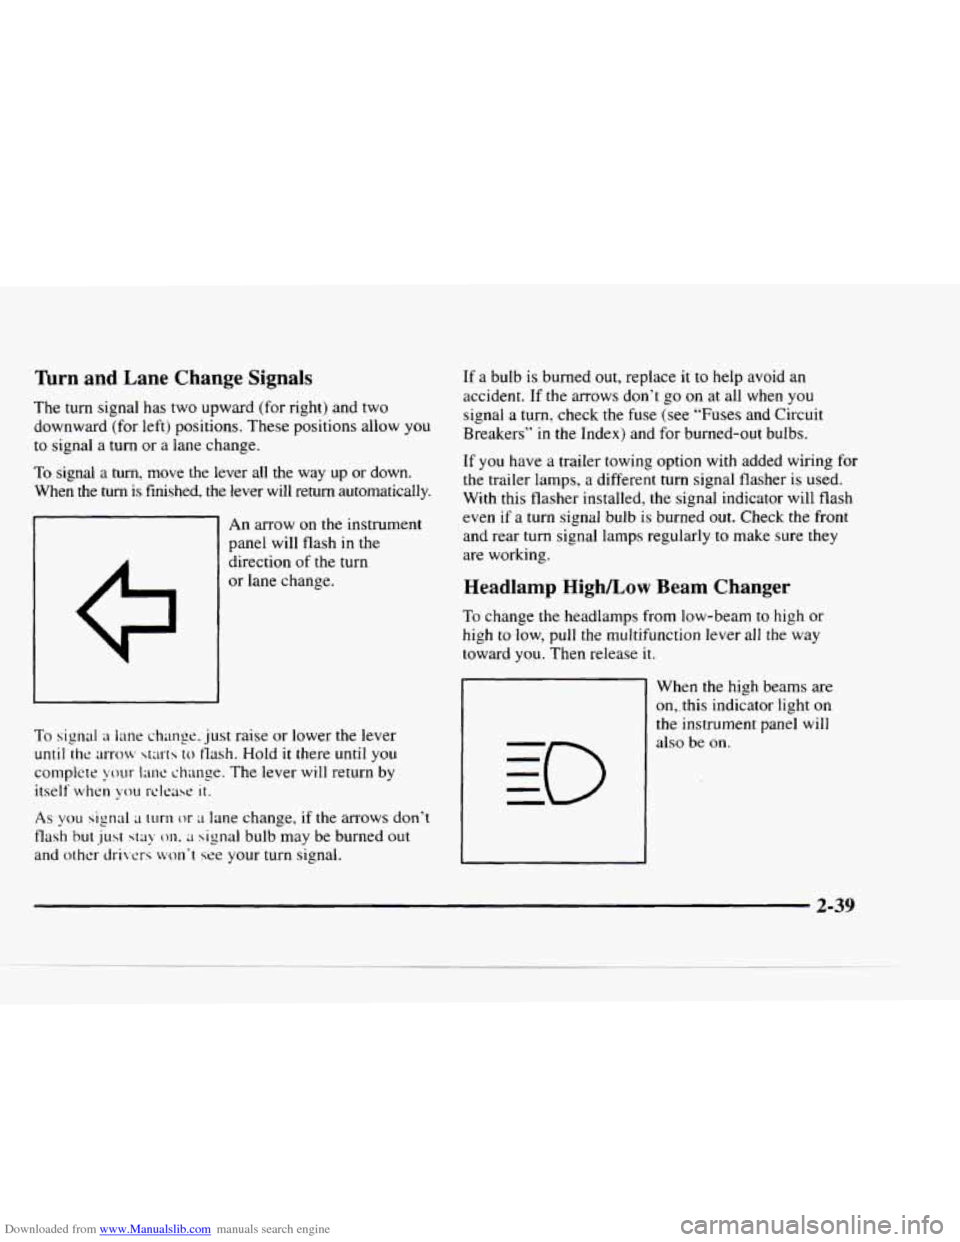
The turn signal has two upward (for right) and two
downward (for left) positions.
These positions allow you
to signal a turn or a lane change.
To signal a turn, move the lever all the way up or down.
When
the turn is finished, the lever will return automatically.
An arrow on the instrument
panel will flash in the
direction
of the turn
or lane change.
To signal a lane change. just raise or lower the lever
until the ;lrrocv starts to tlash. Hold it there until you
complete your
1mc change. The lever will return by
itself when you rclt.ast: it.
As you signal ;1 turn or LI lane change, if the arrows don’t
flash but just stay 011. ;I signal bulb may be burned out
and other drivers won‘t see your turn signal.
If a bulb is burned out, replace it to help avoid an
accident.
If the arrows don’t go on at all when you
signal a turn, check the fuse (see
“Fuses and Circuit
Breakers’’ in the Index) and for burned-out bulbs.
If
you have a trailer towing option with added wiring for
the trailer lamps, a different turn signal flasher is used.
With this flasher installed,
the signal indicator will flash
even
if a turn signal bulb is burned out. Check the front
and rear turn signal lamps regularly
to make sure they
are working.
Headlamp Highkow Beam Changer
To change the headlamps from low-beam to high or
high
to low, pull the multifunction lever all the way
toward
you. Then release it.
1
When the high beams are
on,. this indicator light on
the instrument panel will
also be
on.
2-39
Page 106 of 402
Downloaded from www.Manualslib.com manuals search engine Mirrors
Inside Daymight Rearview Mirror
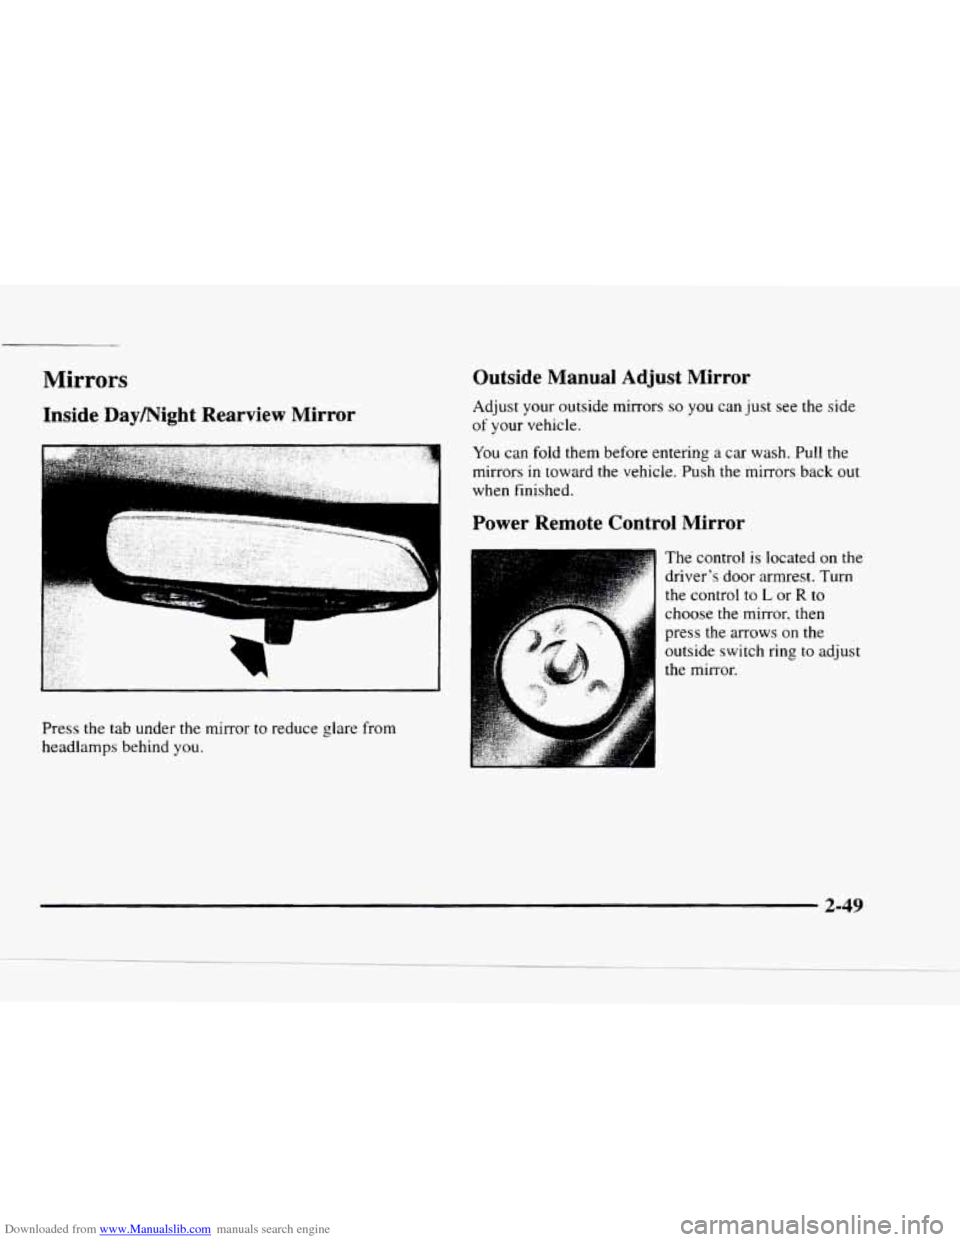
Press the tab under the mirror to reduce glare from
headlamps behind you.
Outside Manual Adjust Mirror
Adjust your outside mirrors so you can just see the side
of your vehicle.
You can fold them before entering a car wash. Pull the
mirrors
in toward the vehicle. Push the mirrors back out
when finished.
Power Remote Control Mirror
The control is located on the
driver's door armrest. Turn
the control
to L or R to
choose the mirror, then
press the
arrows on the
outside switch
ring to adjust
the mirror.
2-49
Page 132 of 402
Downloaded from www.Manualslib.com manuals search engine Brake System Warning Light
Your vehicle’s hydraulic brake system is divided into
two parts.
If one part isn’t working, the other part can
still work and stop you. For good braking, though, you
need both parts working well.
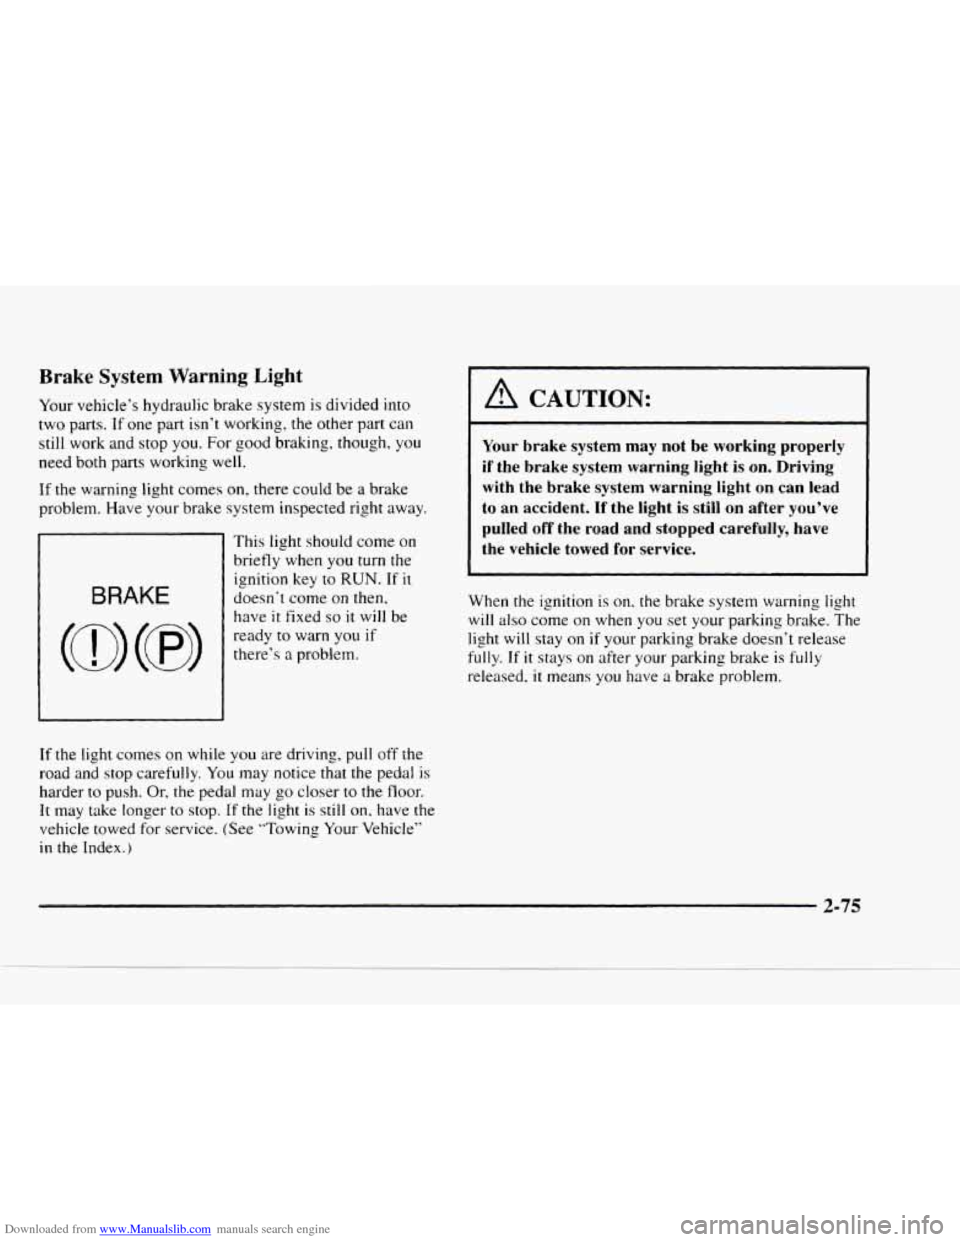
If the warning light comes
on, there could be a brake
problem. Have your brake system inspected right away.
1
This light should come on
briefly when
you turn the
ignition key to RUN. If it
doesn‘t come on then, BRAKE
(a) (0)
:;2:0,;21:: if
have it fixed so it will be
If the light comes on
while you are driving, pull off the
road and stop carefully. You may notice that the pedal is
harder to push. Or, the pedal may go closer to the floor.
It may take longer to stop. if the light is still on, have the
vehicle towed for service. (See ”Towing Your Vehicle”
in the Index.)
I A CAUTION:
I 1
Your brake system may not be working properly
if the brake system warning light is on. Driving
~ with the brake system warning light on can lead
to an accident. If the light is still on after you’ve
pulled
off the road and stopped carefully, have
the vehicle towed for service.
When the ignition is on. the brake system warning light
will
also come on when you set your parking brake. The
light
will stay on if your parking brake doesn’t release
fully. If it stays on after your parking brake is fully
released, it means you have a brake problem.
2-75
Page 135 of 402
Downloaded from www.Manualslib.com manuals search engine If the Light Is Flashing
The following may prevent more serious damage to
your vehicle:
0 Reducing vehicle speed.
0 Avoiding hard accelerations.
Avoiding steep uphill grades.
If you are towing a trailer. reduce the amount of
cargo being hauled as soon as it is possible.
If the light stops trashing and remains on steady. see "If
the Light Is On Steady" following.
If the light continues to flash, when it is safe to do so.
stop the lyehiclc. Find a safe place to park your vehicle.
Turn the key off, wait at least
10 seconds and restart the
engine.
If the light remains on steady. see "If the Light
Is On Steady" following. If the light is still flashing,
follow the previous steps. and drive the vehicle
to your
dealer
or qualified service center for service.
If the Light Is On Steady
You may be able to correct the emission system
malfunction by considering the following:
Did you recently
put fuel into your vehicle'?
If so, reinstall the fuel cap. making sure to fully install
the cap. The diagnostic system can determine
if the fuel cap
has been left off
or improperly installed. A loose or
missing fuel cap will allow fuel to evaporate into the
atmosphere.
A few driving trips with the cap properly
installed should turn the light off.
Did you just drive through a deep puddle of water'?
If so. your electrical system may be wet. The condition
will usually be corrected when the electrical system
dries out.
A few driving trips should turn the light off.
Have you recently changed brands of fuel?
If so. be sure to fuel your vehicle with quality fuel (see
"Fuel"
in the Index). Poor fuel quality will cause your
engine not
to run as efficiently as designed. You may
notice
this as stalling after start-up. stalling when you put
the vehicle into gear, misfiring, hesitation on acceleration
or stumbling
on acceleration. (These conditions may go
away once the engine is warmed up.) This will be detected
by the system and cause the light to turn on.
If you experience one or more of these conditions.
change the fuel brand
you use. It will require at least one
full tank of the proper fuel to turn the light off.
tr none of the above steps have made the light turn off,
have your ciealer or qualified service center check the
vehicle. Your dealer has the proper test equipment and
diagnostic
tools to fix any mechanical or electrical
problems
that may have developed.
2-78
Page 141 of 402

Downloaded from www.Manualslib.com manuals search engine Temperature Knob Comfort Controls
With this system. you can control the heating. cooling
and ventilation in your vehicle.
Climate Control System
1
$8
hl
OF
Fan Control
The switch with the fan symbol changes the fan speed.
To increase the fiu1 speed. move the switch upward
toward
HI. To decrease the fan speed, move the switch
downward toward
LO.
The upper knob regulates the temperature of the air
coming through the system. Turn the knob clockwise
for
wrnw air, Turn the knob co~~nterclockwise for
cooler air.
Mode Knob
The lower knob allows you to choose the direction of
air delivery.
OFF: This setting turns the system off. Some outside air
will still enter the vehicle whenever the vehicle is
moving fot-w;lrd.
XlAX A/C: This setting provides maximuM cooling
with the least amount of work. MAX A/C recirculates
much
of the air inside your vehicle so it cools quickly.
NC: This settins cools the air entering your vehicle and
directs it 1111-ough the instrument panel outlets.
.)/J BI-LEVEL A/C: Air is delivered through the
heater 11oor outlets as well as the instrument panel outlets.
/J VENT: This setting directs airflow through the
instrument panel outlets. The air conditioning
conlpressor
is not working when VENT is selected.
+e
+e
3-2
Page 144 of 402

Downloaded from www.Manualslib.com manuals search engine Defogging and Defrosting
On cool, humid days. use BLEND to keep the
windshield and side windows clear.
Use
DEFROST to remove fog or ice from the
windshield quickly
in extreme humid or cold conditions.
Turn the temperature knob clockwise and move the fan
control toward
HI.
Rear Window Defogger (Option)
If your vehicle has this option, the rear window will
have lines that warm the glass. For best results. clear the window
of as
much snow or ice as possible before using
the rear window defogger.
To turn on the rear window defogger. find the switch
marked
REAR DEFOG on your instrument panel below
the headlamp switch. Press
ON until the light in the
switch comes on, then release it. it will
only work if the
ignition switch is turned to RUN.
The rear window defogger will stay on for five to seven
minutes, then turn off.
If you need additional warming
time, turn
it on again. You can turn the defogger off at
any time
by pressing OFF.
Do not attach a temporary vehicle license. tape or decals
across the defogger grid on the rear window.
1 NOTICE:
Don’t use a razor blade or something else sharp
on the inside of the rear window. If you do, you
could cut or damage the warming grid, and the
repairs wouldn’t be covered by your warranty.
3-5