Page 156 of 203

149
Tire surface and wheel nuts
Check the tires carefully for cuts, damage
or excessive wear. See Chapter 7-2 for
additional information. When checking
the tires, make sure no nuts are missing,
and check the nuts for looseness. T ighten
them if necessary.
Tire rotation
Rotate the tires every 12000 km (7500
miles). See Chapter 7-2 for additional in-
formation.
Fluid leaks
Check underneath for leaking fuel, oil, wa-
ter or other fluid after the vehicle has been
parked for a while. If you smell fuel fumes
or notice any leak, have the cause found
and corrected immediately.
Doors and engine hood
Check that all doors including trunk lid or
back door operate smoothly and all
latches lock securely. Make sure the en-
gine hood secondary latch secures the
hood from opening when the primary latch
is released.
INSIDE THE VEHICLE
Items listed below should be checked
regularly, e.g. while performing peri-
odic services, cleaning the vehicle,
etc. Lights
Make sure the headlights, stop lights, tail
lights, turn signal lights, and other lights
are all working. Check headlight aim.
Service reminder indicators and
warn-
ing buzzers
Check that all service reminder indicators
and warning buzzers function properly.
Steering wheel
Be alert for changes in steering condition,
such as hard steering or strange noise.
Seats
Check that all front seat controls such as
seat adjusters, seatback recliner, etc. op-
erate smoothly and that all latches lock
securely in any position. Check that the
head restraints move up and down
smoothly and that the locks hold securely
in any latched postiion. For folding-down
rear seatbacks, check that the latches
lock securely.
Seat belts
Check that the seat belt system such as
buckles, retractors and anchors operate
properly and smoothly. Make sure the belt
webbing is not cut, frayed, worn or dam-
aged. Accelerator pedal
Check
the pedal for smooth operation and
uneven pedal effort or catching.
Clutch pedal
Check the pedal for smooth operation.
Brake pedal
Check the pedal for smooth operation and
that the pedal has the proper clearance.
Check the brake booster function.
Brakes
At a safe place, check that the brakes do
not pull to one side when applied.
Parking brake
Check that the lever has the proper travel
and that, on a safe incline, your vehicle is
held securely with only the parking brake
applied.
Automatic transmission Parkº mech-
anism
Check the lock release button of the se-
lector lever for proper and smooth opera-
tion. On a safe incline, check that your ve-
hicle is held securely with the selector
lever in Pº position and all brakes re-
leased.
IN THE ENGINE COMPARTMENT
Items listed below should be checked
from time to time , e.g. each time when
refueling.
ProCarManuals.com
Page 176 of 203

169
CAUTION
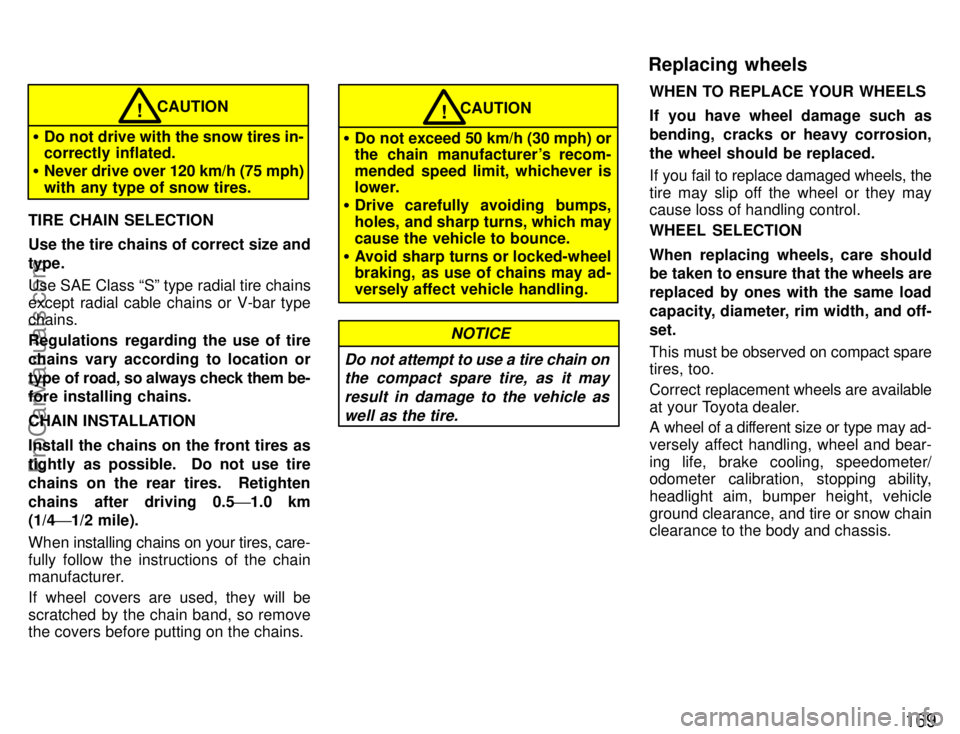
� Do not drive with the snow tires in-
correctly inflated.
� Never drive over 120 km/h (75 mph)
with any type of snow tires.!
TIRE CHAIN SELECTION
Use the tire chains of correct size and
type.
Use SAE Class Sº type radial tire chains
except radial cable chains or V-bar type
chains.
Regulations regarding the use of tire
chains vary according to location or
type of r oad, so always check them be-
fore installing chains.
CHAIN INSTALLATION
Install the chains on the front tires as
tightly as possible. Do not use tire
chains on the rear tires. Retighten
chains after driving 0.5 '1.0 km
(1/4 '1/2 mile).
When installing chains on your tires, care-
fully follow the instructions of the chain
manufacturer.
If wheel covers are used, they will be
scratched by the chain band, so remove
the covers before putting on the chains.
� Do not exceed 50 km/h (30 mph) or
the chain manufacturer's recom-
mended speed limit, whichever is
lower.
� Drive carefully avoiding bumps,
holes, and sharp turns, which may
cause the vehicle to bounce.
� Avoid sharp turns or locked-wheel
braking, as use of chains may ad-
versely affect vehicle handling.
CAUTION!
Do not attempt to use a tire chain on
the compact spare tire, as it may
result in damage to the vehicle aswell as the tire.
NOTICE
WHEN TO REPLACE YOUR WHEELS
If you have wheel damage such as
bending, cracks or heavy corrosion,
the wheel should be replaced.
If you fail to replace damaged wheels, the
tire may slip off the wheel or they may
cause loss of handling control.
WHEEL SELECTION
When replacing wheels, care should
be taken to ensure that the wheels are
replaced by ones with the same load
capacity, diameter, rim width, and off-
set.
This m ust be observed on compact spare
tires, too.
Correct replacement wheels are available
at your Toyota dealer.
A wheel of a different size or type may ad-
versely affect handling, wheel and bear-
ing life, brake cooling, speedometer/
odometer calibration, stopping ability,
headlight aim, bumper height, vehicle
ground clearance, and tire or snow chain
clearance to the body and chassis.
Replacing wheels
ProCarManuals.com
Page 178 of 203

Part 7Checking battery conditionÐ
ÐPrecautions171
DO-IT-YOURSELF
MAINTENANCEÐ
Chapter 7-3
Electrical components
�Checking battery condition
� Battery recharging precautions
� Checking and replacing fuses
� Adding washer fluid
� Checking headlight aims
� Replacing light bulbs
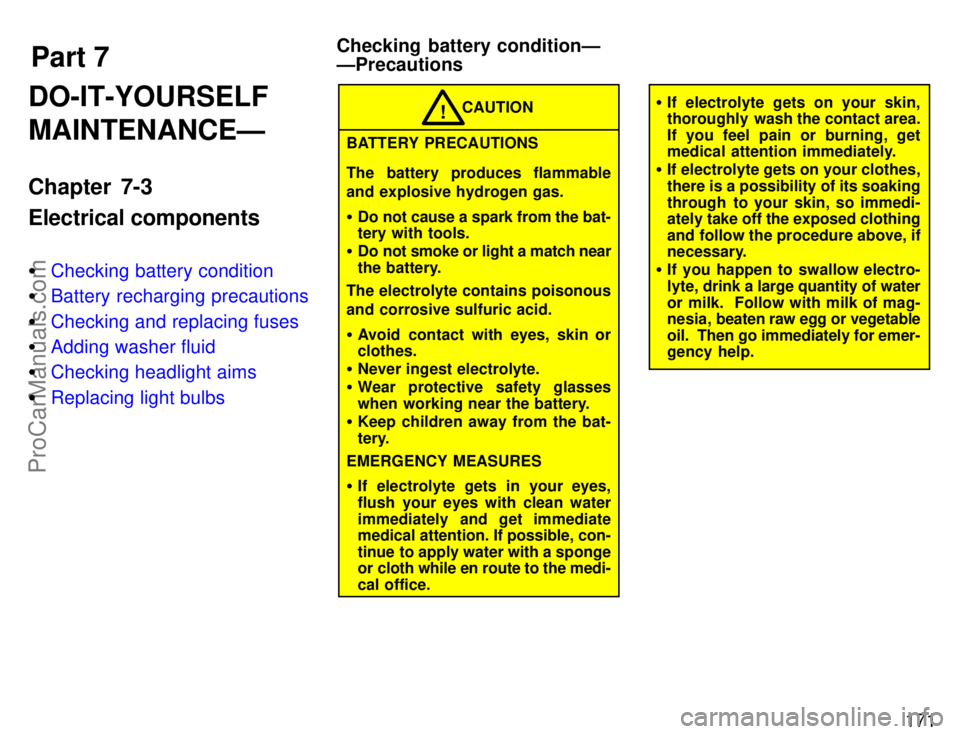
BATTERY PRECAUTIONS
The battery produces flammable
and explosive hydrogen gas.
�Do not cause a spark from the bat-
tery with tools.
� Do not smoke or light a match near
the battery.
The electrolyte contains poisonous
and corrosive sulfuric acid.
� Avoid contact with eyes, skin or
clothes.
� Never ingest electrolyte.
� Wear protective safety glasses
when working near the battery.
� Keep children away from the bat-
tery.
EMERGENCY MEASURES
� If electrolyte gets in your eyes,
flush your eyes with clean water
immediately and get immediate
medical attention. If possible, con-
tinue to apply water with a sponge
or cloth while en route to the medi-
cal office. CAUTION
!�
If electrolyte gets on your skin,
thoroughly wash the contact area.
If you feel pain or burning, get
medical attention immediately.
� If electrolyte gets on your clothes,
there is a possibility of its soaking
through to your skin, so immedi-
ately take off the exposed clothing
and follow the procedure above, if
necessary.
� If you happen to swallow electro-
lyte, drink a large quantity of water
or milk. Follow with milk of mag-
nesia, beaten raw egg or vegetable
oil. Then go immediately for emer-
gency help.
ProCarManuals.com
Page 182 of 203

175
If the headlights or other electrical
components do not work, check the
fuses. If any of the fuses are blown,
they must be replaced.
See Fuse locationsº in Chapter 7-1 for
locations of the fuses.
Turn the ignition switch and inopera-
tive component off. Pull a suspected
fuse straight out and check it.
Determine which fuse may be causing the
problem. The lid of the fuse box shows the
name of the circuit for each fuse. See Part
8 of this manual for the functions con-
trolled by each circuit.
Type A fuses can be pulled out by using
the pull-out tool. The location of the pull-
out tool is shown in the illustration. If you are not sure whether the fuse has
blown, try replacing the suspected fuse
with one that you know is good.
If the fuse has blown, push a new fuse
into the clip.
Only install a fuse with the amperage rat-
ing designated on the fuse box lid.
If you do not have a spare fuse, in an
emergency you can pull out the CIG &
RADº, DOMEº or HTRº fuse, which may
be dispensable for normal driving, and
use it if its amperage rating is the same.
If you cannot use one of the same amper-
age, use one that is lower, but as close as
possible to the rating. If the amperage is
lower than that specified, the fuse might
blow out again but this does not indicate
anything
wrong. Be sure to get the correct
fuse as soon as possible and return the
substitute to its original clip.
It is a good idea to purchase a set of spare
fuses and keep them in your vehicle for
emergencies.
If the new fuse immediately blows out,
there is a problem with the electrical sys-
tem. Have your Toyota dealer correct it as
soon as possible.
Checking and replacing fuses
ProCarManuals.com
Page 183 of 203

176
Never use a fuse with a higher am-
perage rating, or any other object,
in place of a fuse. This may cause
extensive damage and possibly a
fire.CAUTION
!
If any washer does not work, the wash-
er tank may be empty. Add washer
fluid.
You may use plain water as washer fluid.
However, in cold areas where tempera-
tures range below freezing point, use
washer fluid containing antifreeze. This
product is available at your Toyota dealer
and most auto parts stores. Follow the
manufacturer 's directions for how much
to mix with water.
NOTICE
Do not use engine antifreeze or any other substitute because it may
damage your vehicle's paint.
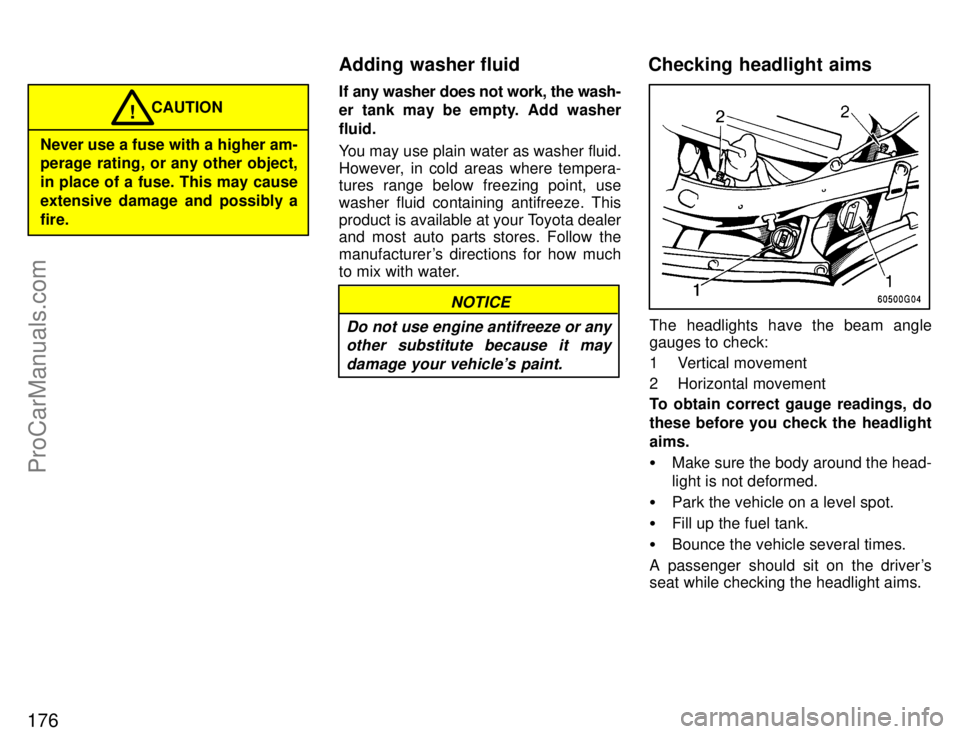
The headlights have the beam angle
gauges to check:
1 Vertical movement
2 Horizontal movement
To obtain correct gauge readings, do
these before you check the headlight
aims.
� Make sure the body around the head-
light is not deformed.
� Park the vehicle on a level spot.
� Fill up the fuel tank.
� Bounce the vehicle several times.
A passenger should sit on the driver's
seat while checking the headlight aims.
Adding washer fluid Checking headlight aims
ProCarManuals.com
Page 184 of 203

177
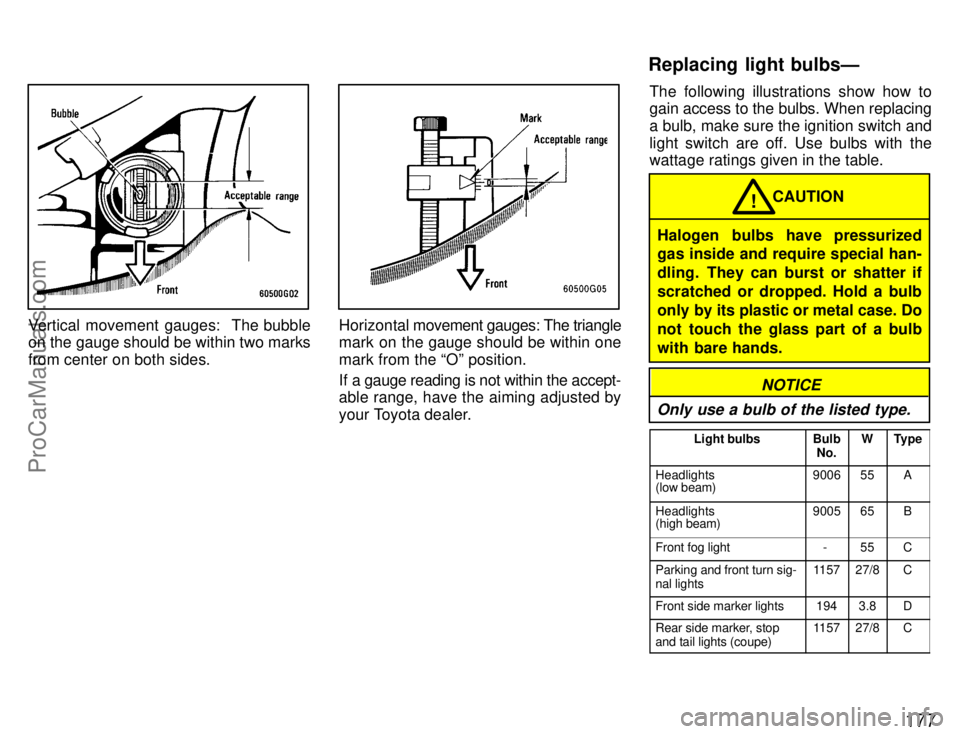
Vertical movement gauges: The bubble
on the gauge should be within two marks
from center on both sides.Horizontal movement gauges: The triangle
mark on the gauge should be within one
mark from the Oº position.
If a gauge reading is not within the accept-
able range, have the aiming adjusted by
your Toyota dealer. The following illustrations show how to
gain access to the bulbs. When replacing
a bulb, make sure the ignition switch and
light switch are off. Use bulbs with the
wattage ratings given in the table.
Halogen bulbs have pressurized
gas inside and require special han-
dling. They can burst or shatter if
scratched or dropped. Hold a bulb
only by its plastic or metal case. Do
not touch the glass part of a bulb
with bare hands.
CAUTION
!
NOTICE
Only use a bulb of the listed type.
Light bulbsBulb
No.WType
Headlights
(low beam)900655A
Headlights
(high beam)900565B
Front fog light-55C
Parking and front turn sig-
nal lights115727/8C
Front side marker lights1943.8D
Rear side marker, stop
and tail lights (coupe)115727/8C
Replacing light bulbsÐ
ProCarManuals.com
Page 185 of 203
178
Light bulbsBulb
No.WType
Rear side marker lights
(liftback)1944.9D
Rear turn signal lights115627C
Stop and tail lights115727/8C
Back-up lights115627C
License plate lights1685D
High mounted stoplight92118D
Interior light
(with moon roof)Ð10C
Interior lights
(without moon roof)Ð8C
Personal lightsÐ5E
Glovebox lightÐ1.2D
Door courtesy lightsÐ3.8D
Luggage compartment
lightÐ5E
Trunk lightÐ3.8D
A: HB4 halogen bulbs
B: HB3 halogen bulbs
C: Single end bulbs
D: Wedge base bulbs
E: Double end bulbs
1. Unplug the connector while de-
pressing the lock release.
If the connector is tight, wiggle it.2. Turn the bulb and remove it.
ÐHeadlights
ProCarManuals.com
Page 188 of 203
181
Use a Phillips-head screwdriver.Use a Phillips-head screwdriver.
ÐParking and front turn
signal lights ÐFront side marker lights
ProCarManuals.com