1996 PONTIAC PONTIAC reset
[x] Cancel search: resetPage 97 of 370
Windshield Wipers
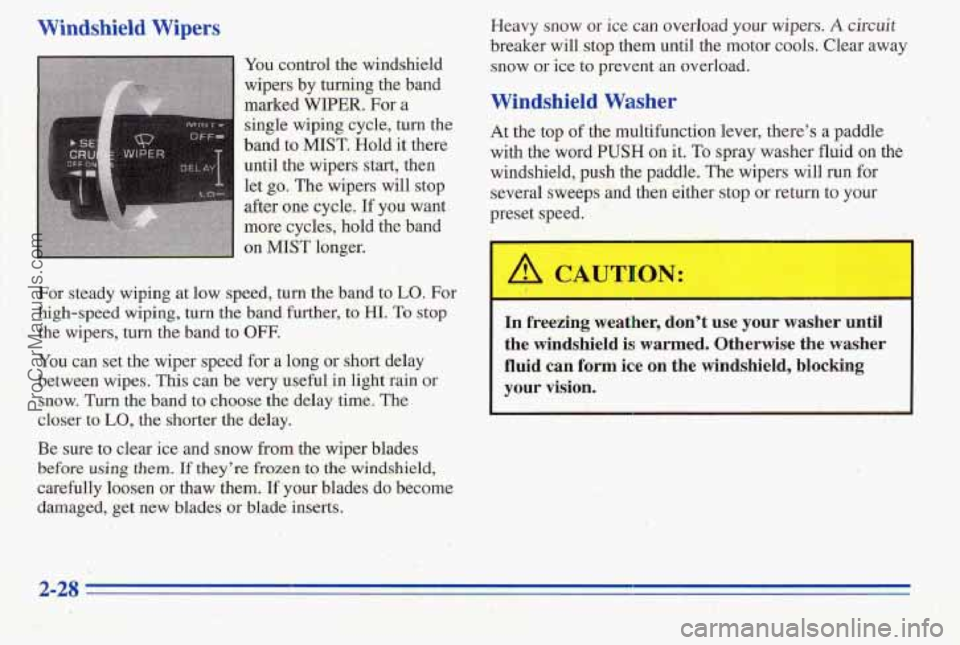
You. control the windshield
wipers
by tuning the band
marked WIPER. Fora
single wiping cycle,
turn the
band to
MIST. Hold it there
until
the wipers start; then
let
go. The wipers will stop
dter-one cycle.
If you want.
more. cycles, hold the band
on
MIST longer.
For steady wiping at low speed, turn the band to LO. For
high-speed wiping, turn
the band’ further, to HI. To stop
You can set the wiper speed for a long or short delay
between wipes.
This can be very useful in light rain or
snow. Turn the band to choose the delay time. The
closer
to LO, the shorter the delay.
Be sure to clear ice and snow
from the wiper blades
before using th&n. If they’re Frozen,to the windshield,
carefully loosen or thaw them. If your blades do become
damaged, get new blades or blade inserts.
the wipers, turn the band to OW.
Heavy snow or ice can overload your wipers. A circuit
breaker will stop them until the motor cools. Clear away
snow
or ice to prevent an overload.
Windshield Washer
At he top of the multifunction lever, there’s a paddle
with the word
PUSH on it. To spray washer fluid on the
windshield,
push the paddle. The wipers will run far
several sweeps and then either stop
or return to your
preset speed.
,
I
In freezing weatll=r, don’t use your washer until
the
windshield is warmed. Otherwise the washer
fluid can form ice on the windshield, blocking
your
vision.
ProCarManuals.com
Page 99 of 370
Setting Cruise Control Resuming
a Set Speed
A CAUTION:
If you leave your cruise control switch on when
you’re not
lasing cruise, you might hit a button and
go into cruise when you don’t want to. You could
be startled and even lose control* Keep the cruise
control switch
OFF’ until you want to use it.
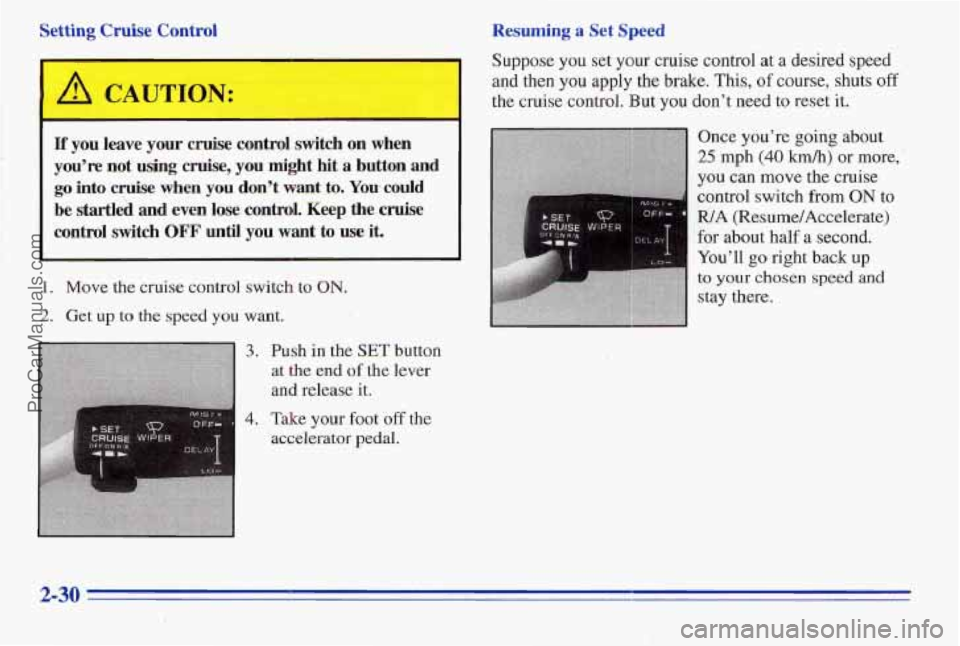
1. Move the cruise control switch to ON.
2. Get up to the speed you want.
3.
4.
Push in the SET.button
at
the end of the lever
and release it.
Take
your foot off the
accelerator pedal. Suppose
you set your
cruise control at a desired speed
and then you apply the brake. This, of course, shuts off
the cruise control. But you don’t need to reset it.
2-30
ProCarManuals.com
Page 114 of 370
Speedometer/Odometer
Your speedometer lets you see your speed in both miles
per hour (mph) and kilometers per hour
(M). Your
odometer shows how far your vehicle has been driven in
either miles (used in the United States) or in kilometers
(used in Canada).
Your Pontiac has a tamper-resistant odometer.
If you see
silver lines between the numbers, you’ll know someone
has probably tampered with it and the numbers may not
be correct.
YQU may wonder what happens if your-vehicle needs a
, new odometer installed. If the new one can be set to the
mileage total of the old odometer, then that will be done.
If it can’t, then it will be set at zero and a label must be
put on the driver’s door to show the old mileage reading ,
when the new odometer was installed.
Trip Odometer
Your trip odometer tells how far you have driven since
you last reset it.
To set it to zero, press the RESET
button on the right side of the instrument cluster.
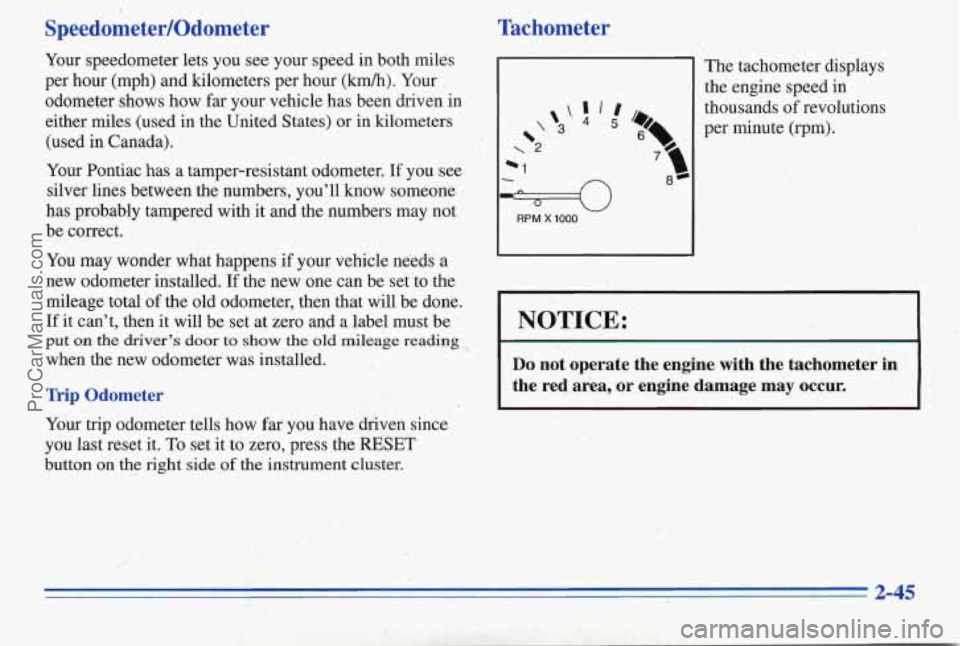
Tachometer
1
The tachometer displays
the engine speed
in
w
*1
RPM X 1000
thousands of revolutions
per minute (rpm).
I 1
NOTICE:
Do not operate the engine with the tachometer in
the red area, or engine damage may occur.
I I
2-45
ProCarManuals.com
Page 118 of 370
Anti-Lock Brake System Warning Light (Option)
(@)
With the anti-lock brake
system, this light will
come on when you start
your engine and it will
stay
on for three seconds.
That’s normal.
If the light flashes when you’re ( ving, you don’t have
anti-lock brakes and there could be a problem with your
regular brakes. Pull off the road and stop carefully.
You
may notice that the pedal is harder to push. Or, the pedal
may
go closer to the floor. It may take longer to stop.
Have the vehicle towed for service. (See ‘Towing Your
Vehicle’’ in the Index.)
A CAUTION:
I
Your regular brake system may not be working
properly if the anti-lock brake system warning
light is flashing. Driving with the anti-lock
brake system warning light flashing can lead to
an accident. After you’ve pulled
off the road
and stopped carefully, have the vehicle towed
for service.
If the anti-lock brake system warning light stays on
longer than normal after you’ve started your engine, turn
the ignition
off. Or, if the light comes on and stays on
when you’re driving, stop as soon as possible and turn
the ignition
off. Then start the engine again to reset the
system.
If the light still stays on, or comes on again
while you’re driving, your Pontiac needs service.
If the
light
is on but not flashing and the regular brake system
warning light isn’t on, you still have brakes, but you
don’t have anti-lock brakes.
The anti-lock brake system warning light should come
on briefly when you turn
the ignition key to RUN. If the
light doesn’t come on then, have it fixed so it will be
ready to
warn you if there is a problem.
ProCarManuals.com
Page 126 of 370

Low Fuel Light
Ill If your fuel is low, a light
LOW
FUEL
will come on and stay on
until you add fuel. It will
also
come on for a few
seconds when you first turn
on the ignition as
a check to
show you it's working. If it
doesn't come on then, have
it fixed.
Trip Calculator (Option)
b INSTECON
fi FMp b AVGECON 3 8:8 8:8.8 MVGMPH'F L/lOOh/h%
b TRIP b AVG SPEED
ELAPSED
b FUELUSED
RANGE
When you start your engine, the trip calculator will
display a mode. A lighted arrow shows which mode
is displayed.
INST ECON: Shows your fuel economy when you
select this mode. This display will update every second
and cannot be reset.
AVG ECON: Shows your average fuel economy since
you last reset this mode.
AVG SPEED: Shows your average speed since you last
reset
this mode. It counts anly the time the engine is
running. The display will be updated every three
seconds until you select another mode.
FUEL USED: Shows the total amount of fuel used
since you last reset this mode. The amount can be
displayed in gallons or liters.
RANGE: Shows how much farther you can travel with
the fuel you have before refueling.
I€ there is less than
one-eighth of a tank,
LOFUEL will be displayed. If
the fuel level
is low enough, LOFUEL will show on
the display in all modes. The message will flash for
60 seconds and then stay on until you add more fuel.
You can't reset RANGE mode. Range is updated
automatically when you reset AVG
ECON.
2-57
ProCarManuals.com
Page 127 of 370
EXT. TEMP: Shows the temperature outside your
vehicle. Temperature can be displayed in Fahrenheit or
Celsius. This mode can’t be reset.
TRIP: Shows how far you’ve driv’en since you last reset
this mode.
ELAPSED TIME: Shows how much time has passed
with the engine running since you last reset this mode.
Control Buttons
The trip calculator has three buttons that control
its functions.
MODE: Press this button to change the mode
being displayed.
EM: Press this button to change the display from
English to metric units or metric to English.
RESET: Press this button for one second to reset the
mode displayed.
If you push and hold RESET for more
than five seconds, all the modes will reset. You can’t
reset
INST ECON, RANGE or EXT. TEMP.
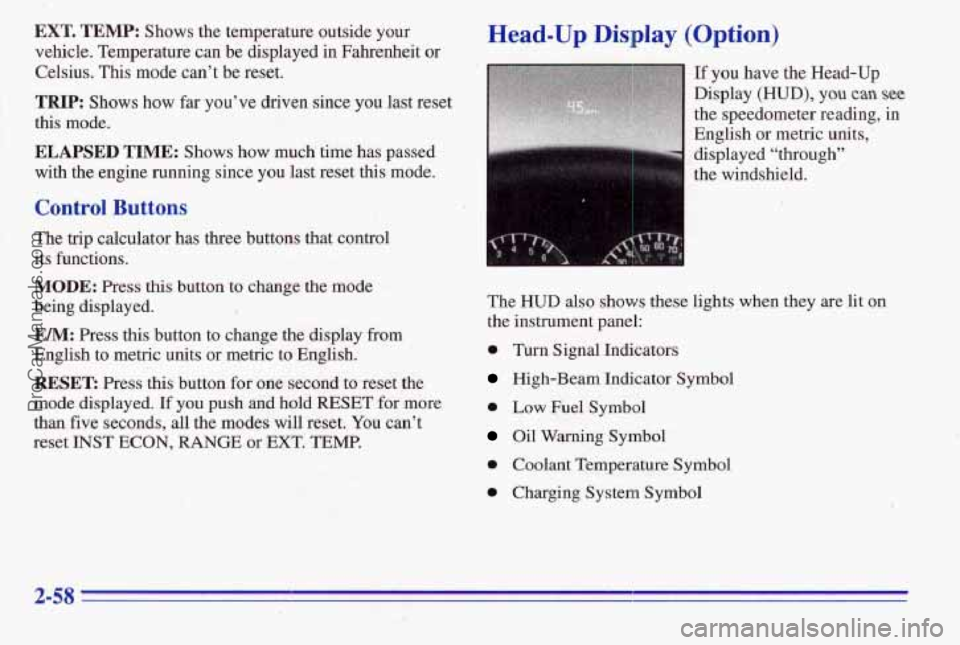
Head-Up Display (Option)
If you have the Head-Up
Display
(HUD), you can see
the speedometer reading, in
English or metric units,
’
displayed “through”
the windshield.
The
HUD also shows these lights when they are lit on
the instrument panel:
0 Turn Signal Indicators
High-Beam Indicator Symbol
0 Low Fuel Symbol
Oil Warning Symbol
0 Coolant Temperature Symbol
0 Charging System Symbol
ProCarManuals.com
Page 128 of 370
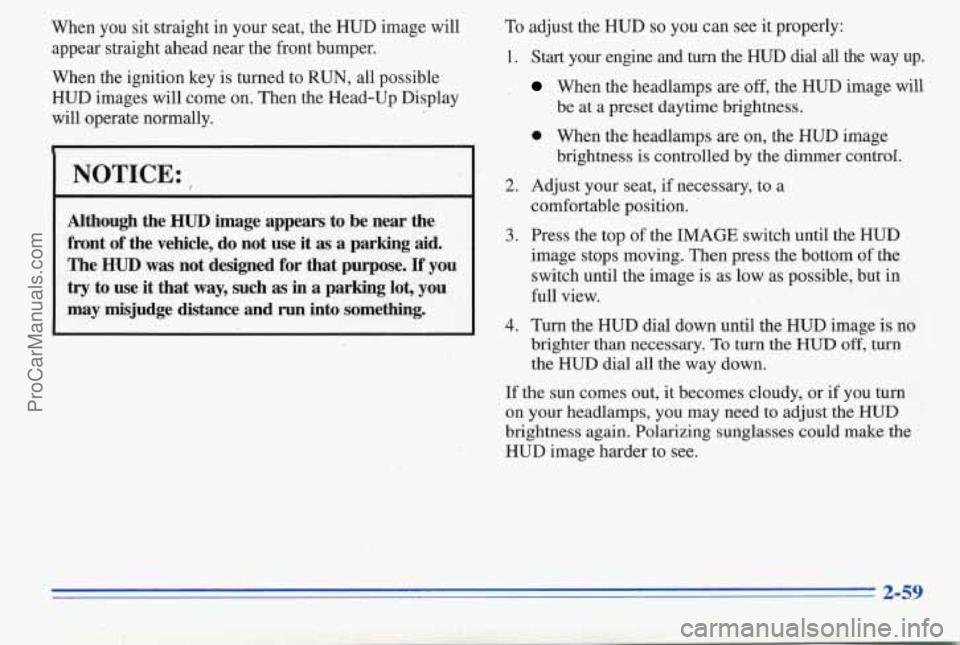
When you sit straight in your seat, the HUD image will
appear straight ahead near the front bumper.
When the ignition key is turned to RUN, all possible
HUD images will come on. Then the Head-Up Display
will operate normally.
NOTICE: ,
Although the HUD'image appears to be near the
front of the vehicle,
do not use it as a parking aid.
The HUD was not designed for that purpose. If you
try to use it that way, such as in a parking lot, you
may misjudge distance
and run into something.
To adjust the HUD so you can see it properly:
1.
2.
3.
4.
Start your engine and turn the HUD dial all the way up.
When the headlamps are off, the HUD image will
0 When the headlamps are on, the HUD image
Adjust your seat, if necessary, to a
comfortable position.
Press the top of the
IMAGE switch until the HUD
image stops moving. Then press the bottom
of the
switch until the image
is as low as possible, but in
full view.
Turn the HUD dial down until the HUD image
is no
brighter than necessary.
To turn the HUD off, turn
the HUD dial all the way down.
be
at a preset daytime brightness.
brightness is controlled by the dimmer control.
If the sun comes out, it becomes cloudy, or if you turn
on your headlamps, you may need to adjust the
HUD
brightness again. Polarizing sunglasses could make the
HUD image harder to see.
ProCarManuals.com
Page 137 of 370

SEEK: Press the up or down arrow to go to the next
higher or lower station.
PUSHBUTTONS: The four numbered pushbuttons let
you return to your favorite stations. You can set up to
14 stations (seven AM and seven FM).
1. Press AM-F;M to select the band.
2. Tune in the desired station.
3. Press SET;
Playing the Radio
VOLUME: Turn this knob to turn the system on or off.
Turn the knob clockwise to increase volume. Turn it
counterclockwise
to decrease volume.
RCL: Press the upper knob briefly to recall the station
being played or to display the clock.
Finding a Station
AM-F": Press the lower knob to get AM or FM. The
display shows
your selection.
TUNE: Turn the lower knob to choose radio stations.
4. Whenever you press the same buttons, the station
you set will return.
4. Within five seconds, press one of the four numbered
pushbuttons. Whenever
you press that numbered
pushbutton, the station
you set will return.
5. Repeat the steps for each pushbutton.
In addition to the four stations set as above, up to three
additional stations may be preset
on each band by
pressing two adjoining huttons at the same
time. Just:
1. Tune in the desired station.
2. Press SET.
3. Press any two adjoining pushbuttons at the same
time
(within five seconds).
3-6
ProCarManuals.com