Page 161 of 370

Avoid needless heavy braking. Some people drive in Anti-Lock Brakes (Option)
spurts -- heavy acceleration followedby heavy
braking
-- rather than keeping pace with traffic. This is a
mistake. Your brakes may not have time to cool between
hard
stops. Your brakes will wear out much faster if you
--
Your vehicle may have anti-lock brakes (ABS). ABS is
an advanced electronic
braking system that will help
prevent a braking
skid.
do a lot of heavy braking. If you keep pace with the
traffic and allow realistic following distances, you will
eliminate a lot
of unnecessary braking. That means
better braking and longer brake life.
If your engine ever stops while you're driving', brake
normally
but don't pump your brakes. If you do, the
pedal may get harder to push.down. If your engine
stops, you will still have some power brake assist. But
you will use it when you brake. Once the power assist is
used up, it may take longer to stop and the brake pedal
will
be harder to push.
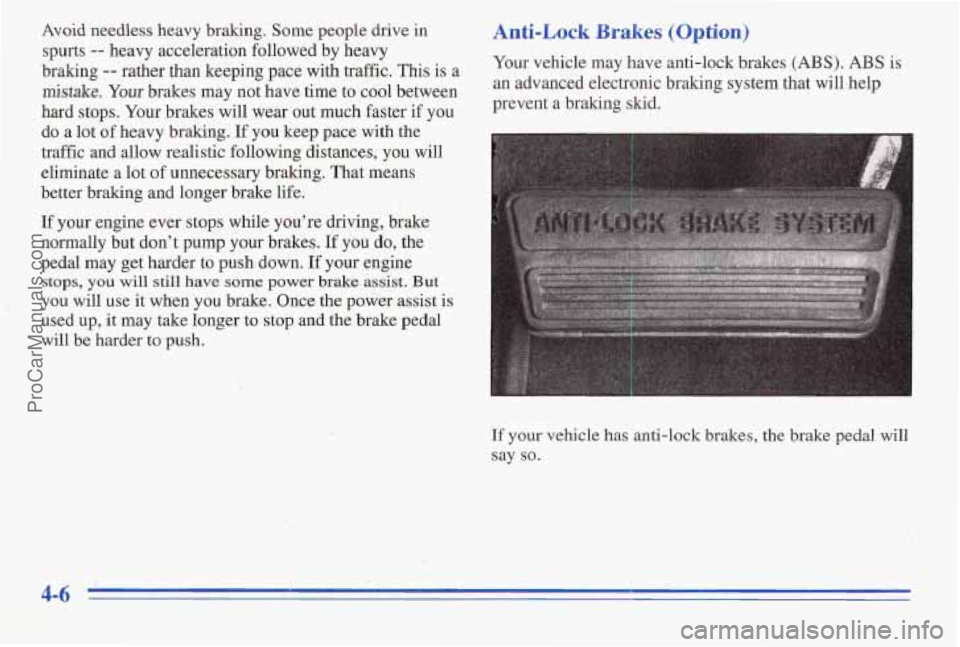
If your vehicle has anti-lock brakes, the brake pedal will
say so.
I.. ._ . I ..
ProCarManuals.com
Page 162 of 370
And this warning light on
the instrument panel will
come on briefly when you
start your vehicle.
When you start your engine, or when you begin to drive
away, your anti-lock brake system will check itself. ‘You
may hear a momentary motor or clicking noise while
this test
is going on, and you may even notice that your
brake pedal moves a little. This is normal.
If there’s a problem with the anti-lock brake system, the
anti-lock brake system warning light will stay on or
flash. See “Anti-Lock Brake System Warning Light” in
the Index. Here’s how anti-lock works. Let’s say
the road is wet.
You’re driving safely. Suddenly an animal jumps out in
front of you.
You slam on the brakes. Here’s what happens with
ABS.
A computer senses that wheels are slowing down. If one
of the wheels is about to stop rolling, the computer will
separately work the brakes at each front wheel and at the
rear wheels.
4-7
ProCarManuals.com
Page 192 of 370

Parking on Hills
You really should not park your vehicle, with a trailer
attached, on
a hill. If something goes wrong, your rig
could
start to move. People can be injured, and both
your vehicle and the trailer can be damaged.
But if you ever have to park your rig on a hill, here’s
how to do it:
1.
2.
3.
4.
5.
Apply your regular brakes, but don’t shift into
PARK (P) yet.
Have someone place chocks under
the trailer wheels.
When the wheel chocks are in place, release the
regular brakes until the chocks absorb the load.
Reapply the regular brakes. Then apply your parking
brake,
and then shift to PARK (P).
Release the regular brakes.
When You Are Ready to Leave After
Parking on a Hill
1. Apply your regular brakes and hold the pedal down
while you:
Start your engine;
Shift into a gear; and
Release the parking brake.
2. Let up on the brake pedal.
3. Drive slowly until the trailer is clear of the chocks.
4. Stop and have someone pick up and store the chocks.
Maintenance When Trailer Towing
Your vehicle will need service more oken when you’re
pulling a trailer. See the Maintenance Schedule for -more
on this. Things that are especially important in trailer
operation
are automatic transaxle fluid (don’t overfill),
engine oil, belt, cooling system and brake adjustment.
Each
of these is covered in this manual, and the Index
will help you find them quickly. If you’re trailering, it’s
a good idea to review these sections before you start
your trip.
Check periodically to see that all hitch nuts and bolts
are tight. ’
4-37
ProCarManuals.com
Page 259 of 370
/ 2. Remove the screw at
the top
of the headlamp
support panel. Loosen
the two screws at the
bottom
of the panel.
Loosen these two screws
until they
are out of the
headlamp frame, but still
in the brackets on
the
headlamp assembly.
3. Carefully lift the headlamp assembly and
support panel.
4. Lift the plastic locking tabs on the electrical connector
and pull the connector from the headlamp socket.
0 Note which way the socket is pointing before
you disconnect
it. You’ll need to install the
new headlamp
so the socket points in the
same direction.
5. Set the headlamp assembly on a work surface with
the lens facing you.
ProCarManuals.com
Page 260 of 370
6. Remove the Ton@
screws
at the end of the
aiming ring. The aiming
ring will swing open like
a gate.
$1 10. Insert the tabs on
the aiming ring into
7. Remove. the aiming ring. Place it face down on the
8. Check that the number on the new headlamp
work surface
with the
aim indicator up.
matches the number on the headlamp being replaced.
The letter on the headlamp (U or L) must also match.
9. Put the new headlamp in position.
Makesure the socket points in the same direction
as it did with the old headlamp.
11. Holding the aiming ring closed, insert the screws at
the end
of the ring. Tighten the screws until the
aiming ring touches the plastic nuts
on both the top
and bottom.
0 Do not overtighten.
e Do not damage the vertical aiming bubble.
ProCarManuals.com
Page 261 of 370
12.
13.
14.
15.
16.
Plug the electrical connector into the headlamp
socket. Make
sure the locking tabs snap onto
the socket.
Put the headlamp assembly in position. Make sure
the two guide tabs drop into their holes in the
headlamp support panel.
Tighten the two bottom screws. Make sure
the guide tabs are still in place before tightening
the screws.
Insert the top screw
and tighten it.
Close
the headlamp panel.
/
Headlamps (4-Door Models)
1. Open the headlamp panel.
ProCarManuals.com
Page 272 of 370
Center High-Mounted Stoplamp
(&Door Models)
4. Pull out the bulb.
5. Pushin a new bulb.
1. Remove the two screws from the cover.
2. Pull down the cover.
3. Lift the tabs at the
top and bottom
of the
socket and pull it from
the housing.
6. Push the socket back into the housing. Make sure the
7. Replace the cover and screws.
tabs snap in place.
6-45
ProCarManuals.com
Page 293 of 370
Circuit Description
Breaker
c Power Windows
D Power Seats
Fuse
1
3
4
5
6
7
10
11
12
13
14
Description
CIGARETTE LIGHTER --' Instrument
Panel Cigarette Lighter
DRL MDL
HVAC
#2 -- €WAC Control Assembly
Solenoid
Box
HAZARD FLASHER
POWER ACCESSORY
#2 -- Sunroof Control Unit
LOCK CONTROL
-- Door
Lock Relay
I/P ELECTRONICS BATTERY
FEED -- Chime Module, Ele'ctronic ,
Brake Control Module (EBCM),
Theft-Deterrent Module, Radio,
Radio Amplifier, Trip Computer
STARTER RELAY
ANTI-THEFT -- Theft-Deterrent
Module
ABS -- Electronic Brake Control
Module
(EBCM), ABS Relay
HVAC
BLOWER MOTOR -- Blower
Motor Relay
-. . 2. , . ,I .. .- , 7.2: ' I- ...,.
ProCarManuals.com